

Creating a Melted Crayon Rainbow Butterfly Suncatcher can turn a busy afternoon into a creative adventure. Imagine your kids asking to make something fun right now, and you have the perfect answer. This craft not only captures their imagination but also brings vibrant colors into your home. The process is simple and requires a few everyday materials, making it an ideal choice for any family looking to embark on a fun and rewarding project together. You may also find Butterfly Rainbow Suncatcher Layered Glue Craft useful.
Why This Melted Crayon Rainbow Butterfly Suncatcher Works So Well
This project is remarkably low-prep and engaging. With minimal planning, you can bring out your artistic side and your child’s creativity without a lot of fuss. The simplicity of using items typically found at home allows you to focus on the fun rather than the preparation. The satisfying result—a colorful butterfly suncatcher—is something that kids can feel proud of. This project consistently delivers great results, ensuring that your time together is not just enjoyable but also rewarding. You may also find Melted Crayon Flower Suncatchers useful.
A Quick Look Before You Begin
It’s essential to understand how this DIY comes together. The overall time for this project is about an hour, including prep time and allowing time for the creations to cool. The setup is quick; gather all materials within an arm’s reach. While you don’t need a dedicated crafting space, having a flat, safe area to work in is crucial. This project does involve some mess, mainly crayon shavings, but don’t worry—it’s easy to clean up afterward with a simple wipe or vacuum. Also, having adult involvement makes the ironing step smooth and safe. You may also find Rainbow Glue Butterfly Suncatcher Craft Kids useful.
Materials You’ll Need
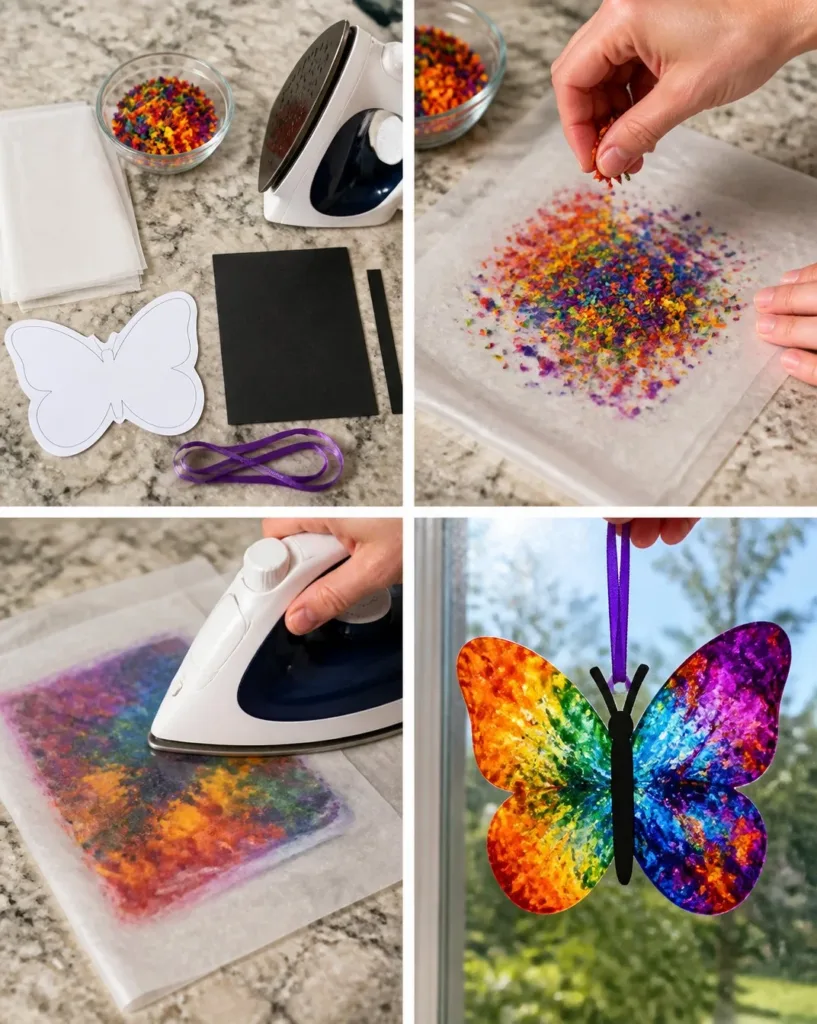
For this fun butterfly suncatcher, you’ll need the following materials: You may also find Butterfly Suncatchers useful.
- Wax paper: A common household item that helps in the melting process.
- Rainbow crayon shavings: Create beautiful colors using various crayons.
- Butterfly template: A simple guide to get your butterfly shapes right.
- Parchment paper: Protects your surfaces while you iron.
- Iron (with adult help): Essential for melting the crayon shavings.
- Black cardstock: Provides a solid base for the butterflies.
- Ribbon: Perfect for hanging your creations.
Having these items on hand makes this project easy to start without any last-minute trips to the store.
Step-by-Step Directions
Now let’s dive into the steps for creating your colorful Melted Crayon Rainbow Butterfly Suncatcher.
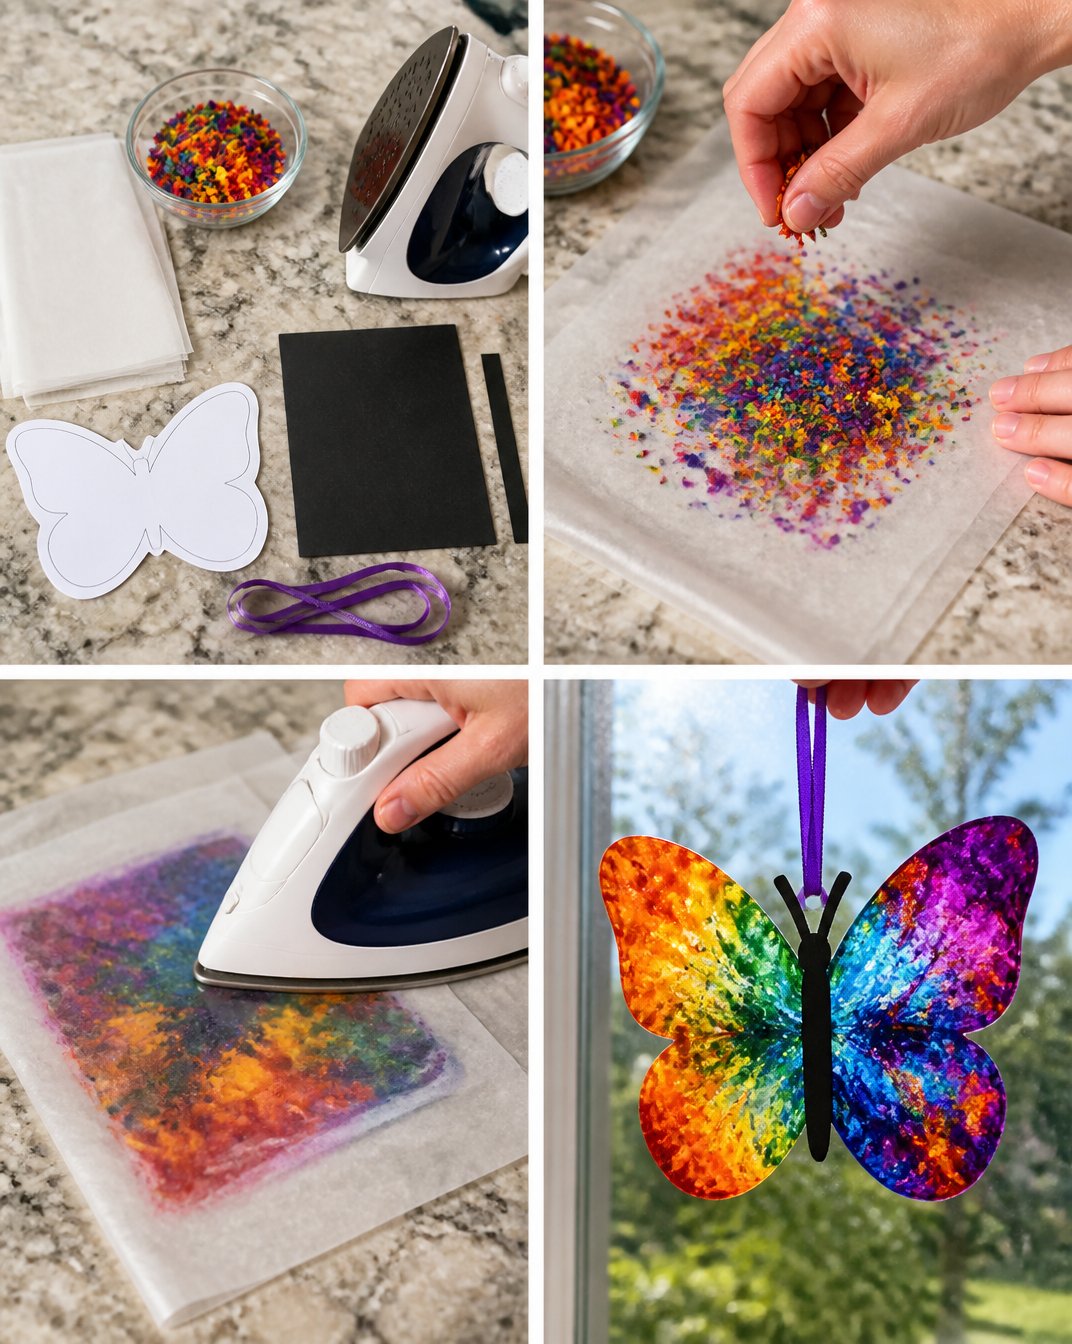
Sprinkle crayon shavings between two sheets of wax paper. Use a variety of colors to create a beautiful mix. It’s fun to see which combinations look best once melted.
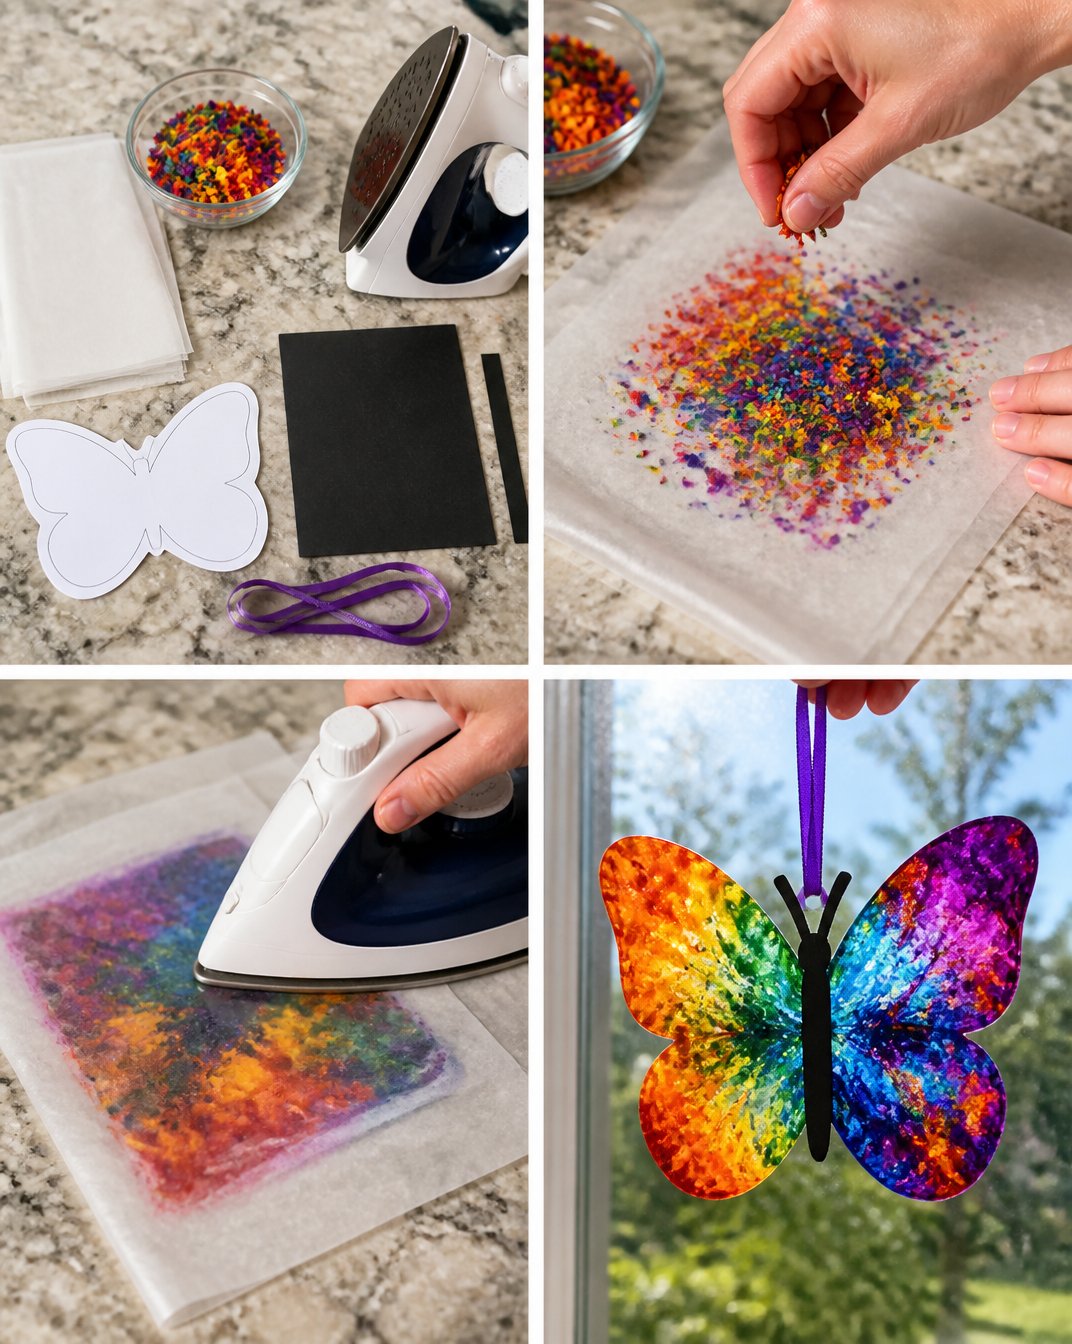
Cover with parchment paper and briefly iron (make sure to have adult help for this part!). Set your iron to a medium setting and gently glide it over the parchment paper. You’ll begin to see the colors blend together beautifully as they melt.
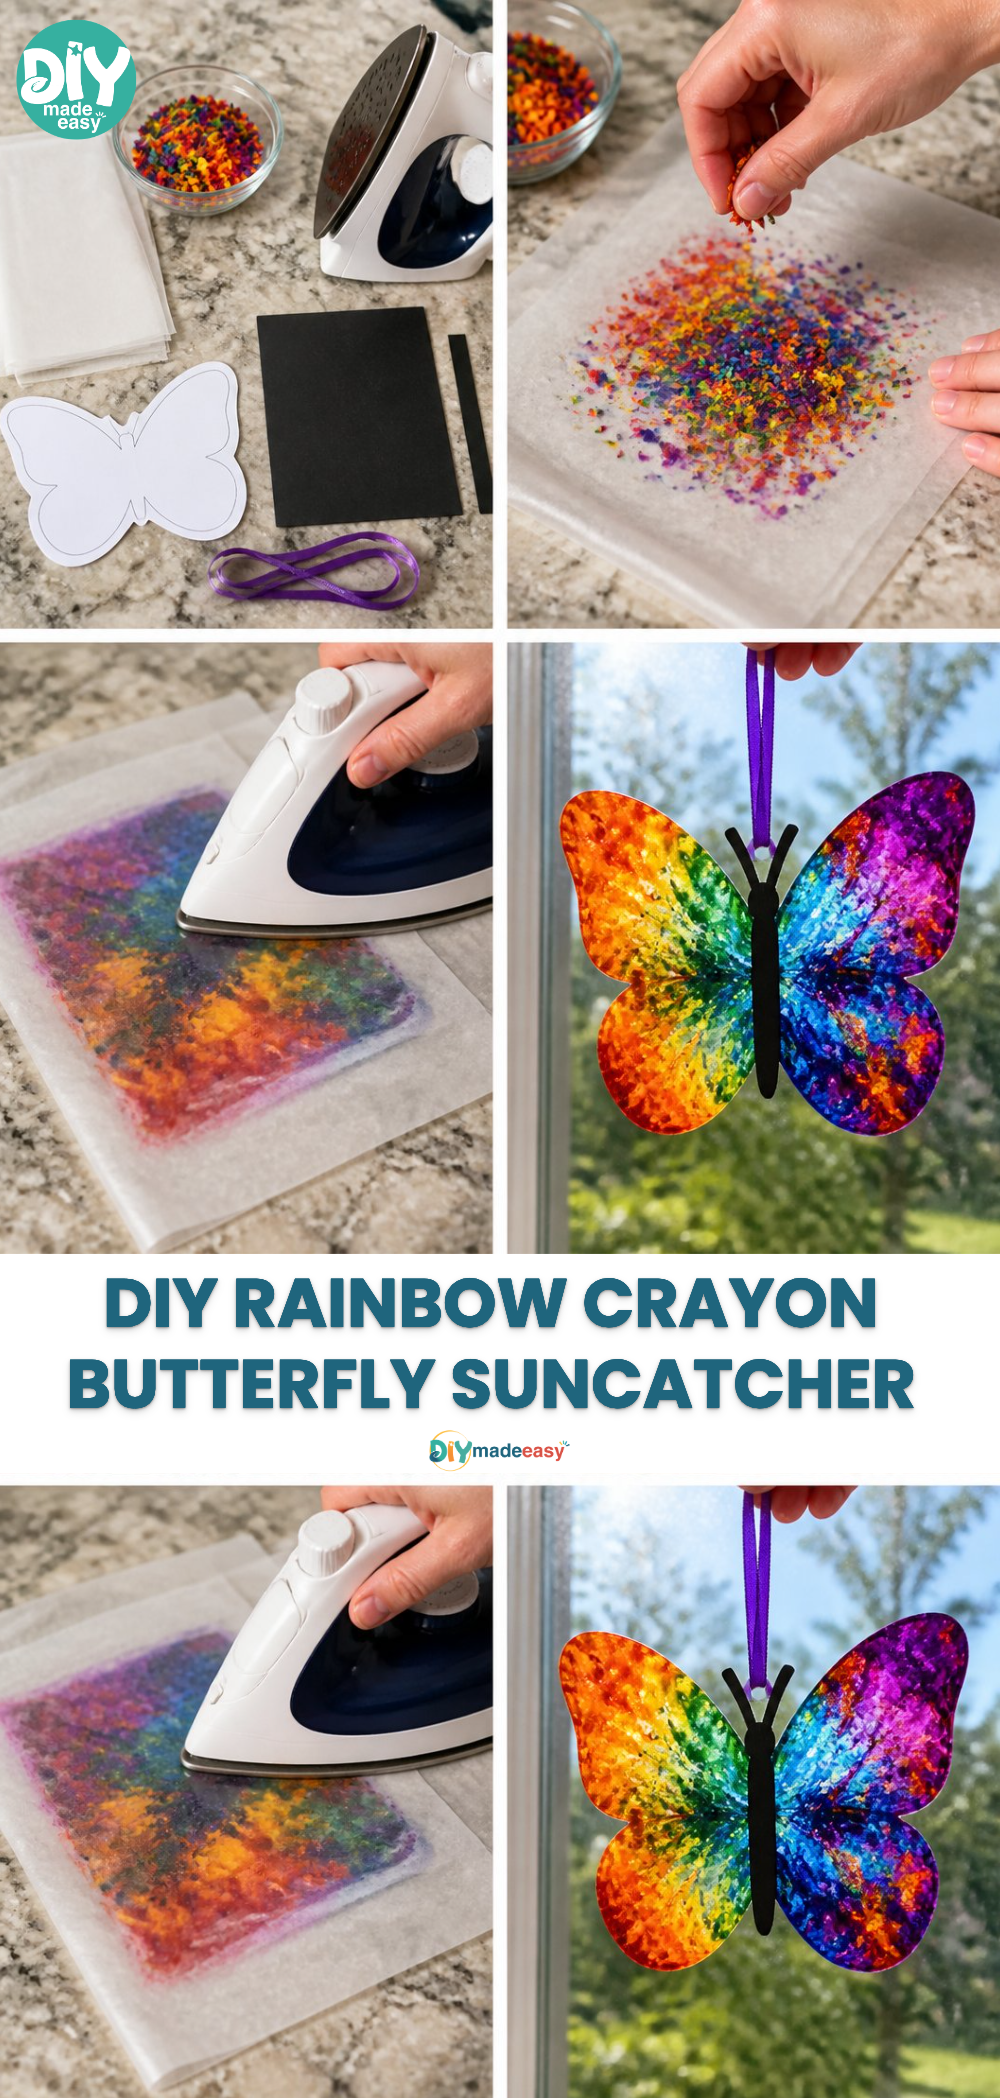
Allow to cool, then cut into butterfly shapes. Once the crayon shavings have cooled and solidified, carefully take off the top layer of wax paper and cut out butterfly shapes using scissors.
Add cardstock bodies to the butterflies and use ribbon for hanging. Simply glue or attach the cardstock to give your butterflies some structure, and don’t forget to add a nice piece of ribbon to hang them up.
The Learning Behind This DIY
Making these butterfly suncatchers is not only a creative activity, but it also supports valuable skills for kids. While working on this craft, children can practice fine motor skills as they sprinkle, cut, and glue different materials. They explore color mixing through crayon shavings, learning how different shades combine when heated. This project also introduces basic science concepts like melting and cooling, demonstrating how temperature affects solid materials.
Troubleshooting Common Issues
Sometimes, things may not go as planned, and that’s okay! One common issue is that crayon shavings may not melt evenly, leading to patchy colors. If this happens, try to spread the shavings more uniformly next time and ensure the iron is at the right temperature. If you apply too much heat, the wax paper can burn, so make sure to keep the iron moving. Another issue could be the butterfly shapes not holding together well; adding a sturdy cardstock body can help them stay intact better.
Easy Variations to Try
To mix things up, here are a few simple variations for your suncatcher project:
- Try using different templates for animals or shapes to expand your designs.
- Explore seasonal colors; for example, use autumn hues like red, brown, and yellow for a fall-themed craft.
- Incorporate other materials such as glitter or sequins for added sparkle.
- Use thicker cardstock or foam sheets for more robust bodies, perfect for outdoor hanging.
- Experiment with layering different thicknesses of melted crayon for various textures.
Storing or Reusing This Project
After you’ve made your butterfly suncatchers, think about how you can store them or reuse materials. If you have leftovers from your crayon and paper, consider keeping them in a labeled bag for future projects. For the suncatchers, they can be stored safely in a box or hung up in a window until you want to change your home décor. Remember, reusing your materials reduces waste while fostering creativity—both good values to instill in kids.
FAQs About Melted Crayon Rainbow Butterfly Suncatcher
One concern many parents have is the mess involved. How messy will this project be? While there will be crayon shavings, they are easy to clean up with a quick vacuum or wipe.
Another question often relates to safety and age range. Is it safe for younger kids? Yes, with supervision, younger kids can certainly participate, especially with the simpler steps like sprinkling and gluing.
Parents often ask about ingredient substitutions. What if I don’t have certain materials? You can often substitute with similar items; for example, clear tape can replace cardstock for sturdiness, and crayon alternatives can be used if you don’t have many colors on hand.
Lastly, what about storage or reuse of the materials? It’s great to keep unused supplies for future projects, which means you’ll always be prepared for your next crafting day!
A Final Helpful Note
As you finish up your butterfly suncatcher, remember to relax and enjoy the process. Crafting should feel fun and not stressful. Let your kids express their creativity freely and adjust the project to fit your family’s pace. Every butterfly will be unique and a reflection of your special time together.
Conclusion
Crafting a Melted Crayon Rainbow Butterfly Suncatcher is a delightful way for families to spend quality time together. If you’re looking for more fun ideas, check out this melted crayon sun catcher project that’s sure to inspire. Additionally, for a wider range of creative ideas, don’t miss this list of cool craft projects for kids that can spark your next family adventure in creativity.
PrintMelted Crayon Rainbow Butterfly Suncatcher
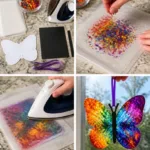
A fun and engaging craft project for kids to create colorful butterfly suncatchers using melted crayon shavings.
- Prep Time: 15 minutes
- Cook Time: 30 minutes
- Total Time: 45 minutes
- Yield: 4 suncatchers
- Category: Craft
- Method: Melting
- Cuisine: N/A
- Diet: N/A
Ingredients
- Wax paper
- Rainbow crayon shavings
- Butterfly template
- Parchment paper
- Iron (with adult help)
- Black cardstock
- Ribbon
Instructions
- Sprinkle crayon shavings between two sheets of wax paper.
- Cover with parchment paper and briefly iron.
- Allow to cool, then cut into butterfly shapes.
- Add cardstock bodies to the butterflies and use ribbon for hanging.
Notes
This project supports fine motor skills and introduces basic science concepts like melting and cooling.
Nutrition
- Serving Size: 1 suncatcher
- Calories: 50
- Sugar: 0g
- Sodium: 0mg
- Fat: 2g
- Saturated Fat: 0g
- Unsaturated Fat: 1g
- Trans Fat: 0g
- Carbohydrates: 10g
- Fiber: 0g
- Protein: 1g
- Cholesterol: 0mg