

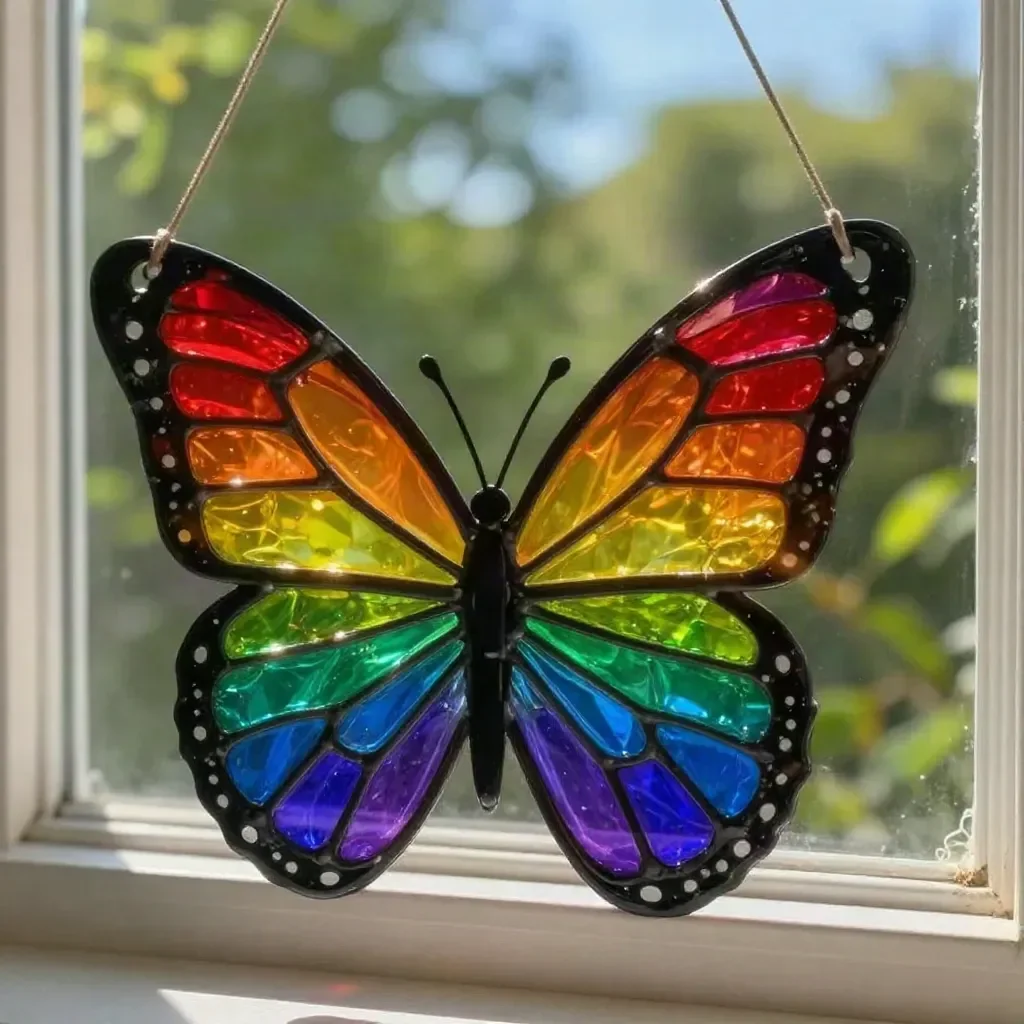
The sun streams through the window on a busy afternoon, and kids are eager to create something colorful and fun. If you find yourself in need of a quick and engaging craft idea, the Layered Rainbow Glue Butterfly Suncatcher is the perfect solution. This easy project combines household materials with a bit of creativity to produce stunning sun-catchers that can brighten any room. Not only will the kids enjoy the process, but they’ll also have a beautiful piece of art to hang in the window when they’re done. You may also find Clear Glue Mosaic Suncatcher useful.
Why You’ll Love Making Layered Rainbow Glue Butterfly Suncatcher
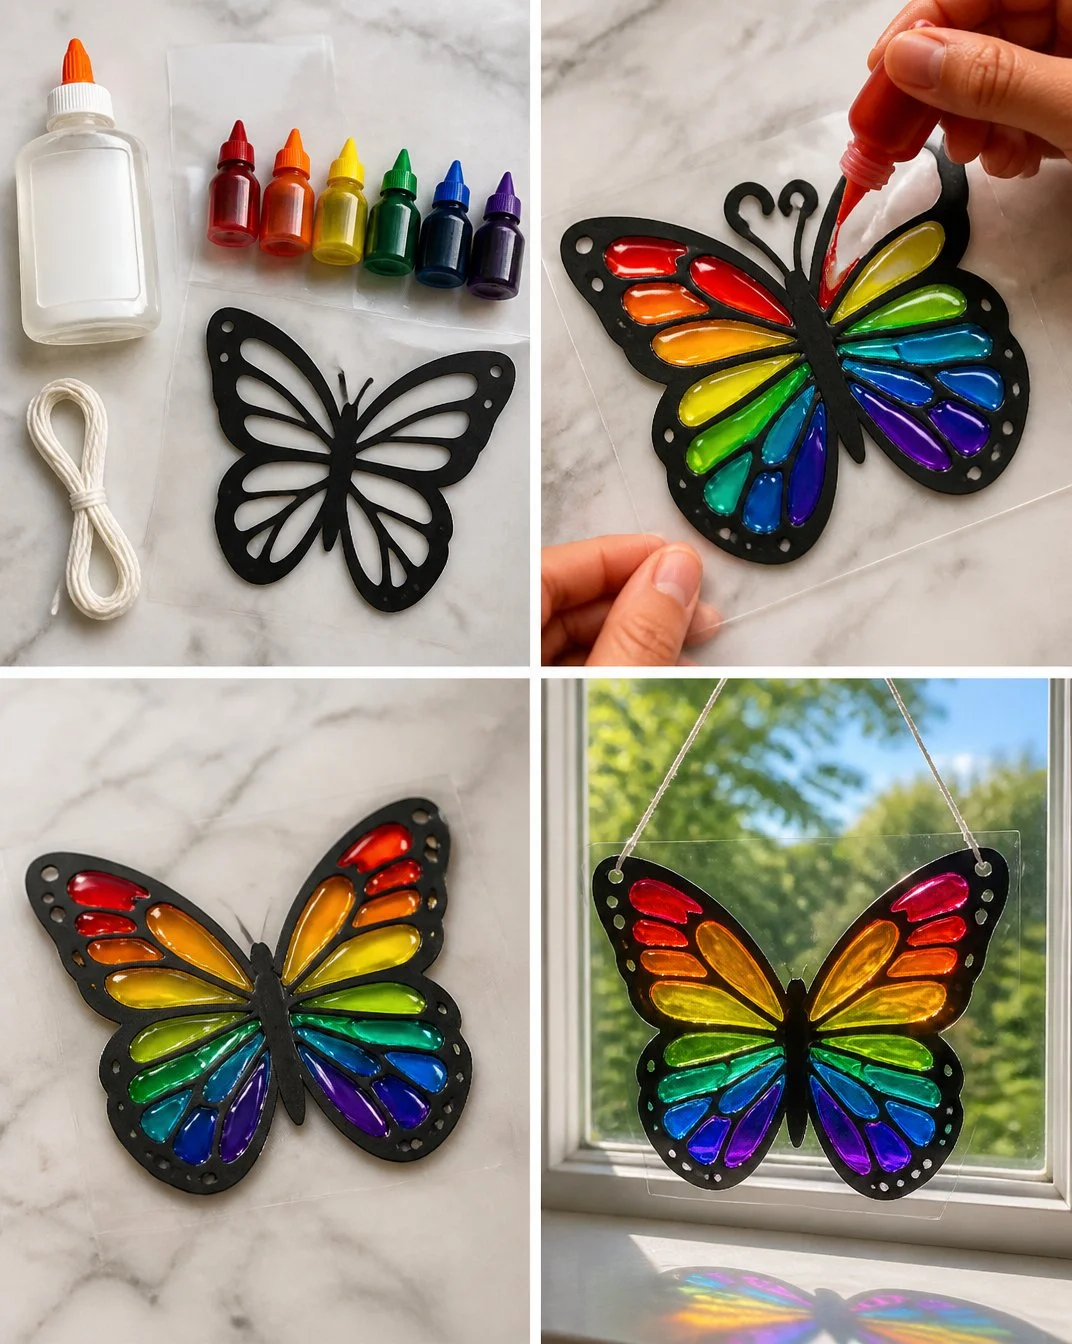
The appeal of the Layered Rainbow Glue Butterfly Suncatcher lies in its simplicity and the joyful experience of creating something beautiful. It’s a low-prep project that doesn’t require specialized supplies, making it suitable for any busy schedule. With just clear school glue, food coloring, a plastic sheet, black cardstock, and some string, you can transform a simple afternoon into a creative adventure. Plus, the use of vibrant colors provides a delightful visual output that kids love. It’s a dependable way to engage young minds and let their creativity shine without the pressure of achieving perfection. You may also find Clear Glue Suncatcher Quiet Joy Making useful.
The Flow of Making Layered Rainbow Glue Butterfly Suncatcher
Before we dive into the details, it’s reassuring to know that this project flows smoothly. Plan on a few hours—from setting up the workspace to letting your masterpiece dry completely. The mess level is manageable since most of the materials are easy to clean up, and adult supervision is minimal, making it a perfect project for kids to take the lead. You’ll feel proud watching their imaginations run wild while creating a layered art piece. You may also find Clear Glue Suncatcher useful.
Materials You’ll Need
To begin this butterfly suncatcher adventure, gather the following materials:
- Clear school glue: A common household item that acts as the base for your colors.
- Food coloring: To create vibrant hues for your butterfly wings.
- Clear plastic sheet: This will serve as your canvas.
- Black cardstock: To outline your butterfly wings and provide contrast.
- String: For hanging your beautiful creation once it’s finished.
These materials are budget-friendly and simple to find, allowing you to jump in without any stress.
Step-by-Step Directions
Start by outlining butterfly wings on the black cardstock. Use a pencil or marker to draw the shape of your butterfly. Don’t worry about getting it perfect; the beauty is in the creativity.
Mix your clear school glue with food coloring to create beautiful, vibrant colors. In a mixing bowl or cup, add several drops of food coloring into the glue until you reach your desired hue. The more drops you add, the more intense the color will be.
Carefully fill in the outlined sections of the wings with your rainbow-colored glue. Use a plastic pipette or a small spoon to fill in the areas you’ve drawn. Layer the colors for a rich, dimensional look. Allow the colors to blend slightly for a more natural effect.
Let your butterfly dry completely—this may take a few hours! Place your creation in a safe spot where it won’t be disturbed. Watching the glue dry is exciting as it transforms the colors into a glossy finish.
Once dried, gently peel your butterfly from the plastic sheet. Be cautious while peeling to keep the wings intact. If you notice any delicate spots, take your time.
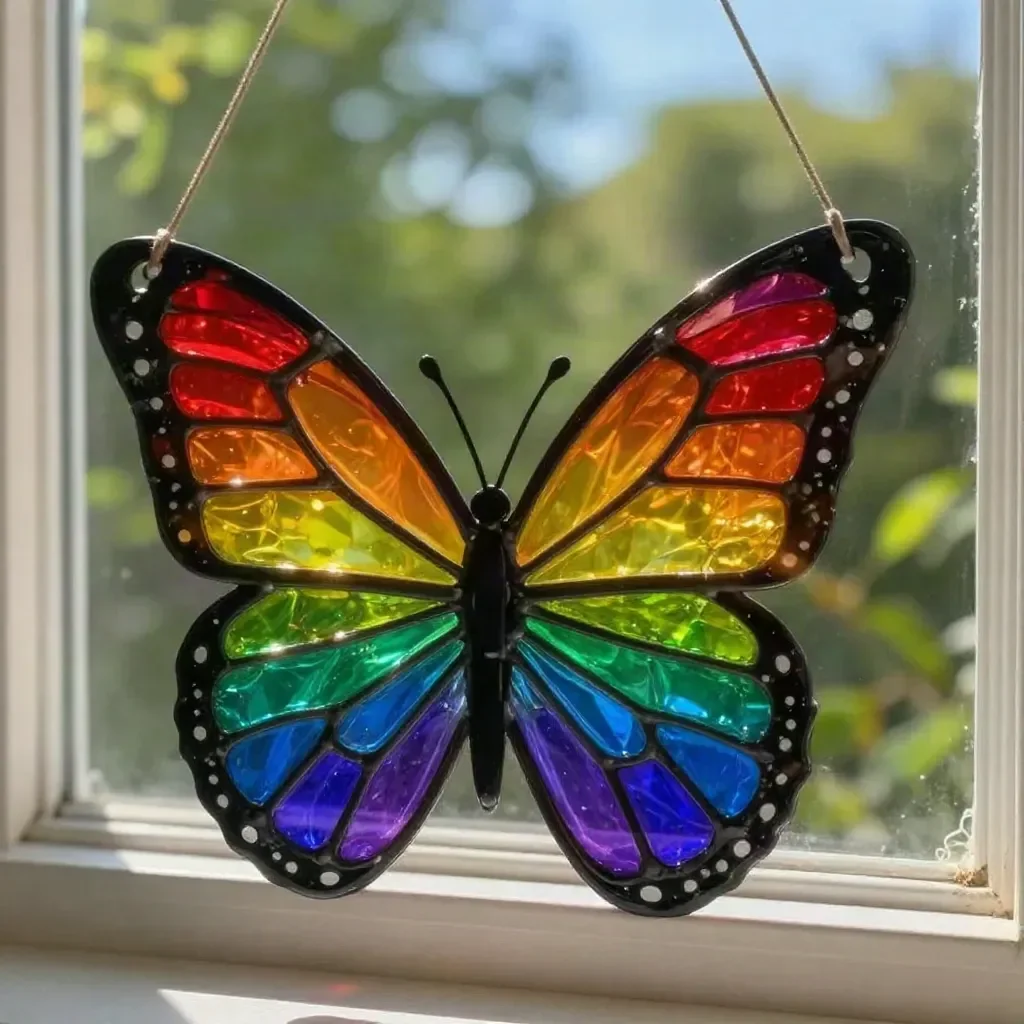
Hang your stunning creation in a sunny window using the string! Find a place where it can catch the light and showcase your colorful suncatcher.
While making this layered butterfly is rewarding, many find additional butterfly inspirations helpful. Check out other creative resources like butterfly suncatchers available for ideas to expand your crafting.
The Learning Behind This DIY

Engaging in this DIY project encompasses several learning opportunities for kids. As they mix colors, they practice fine motor skills that enhance their hand-eye coordination. Watching the glue dry introduces concepts of patience and anticipation. The overall process allows children to observe cause and effect, making it a relevant educational experience.
Troubleshooting Common Issues
While this craft is straightforward, issues can arise. If the colors run into each other too much while drying, you may have filled the areas too close together or used too much glue. It’s essential to control the amount you apply to create distinct sections. If the butterfly doesn’t peel off easily, it could be that it wasn’t fully dry before removal. Always allow sufficient drying time to avoid mishaps.
Easy Variations to Try
If you’re looking to change things up a bit, consider these variations:
- Add glitter to the glue mixture for some sparkle!
- Try different shapes, not just butterflies; flowers and hearts also work well.
- Make a seasonal theme, such as autumn leaves or winter snowflakes, to match the time of year.
- Experiment with textures by using additional household items like sand or beads mixed into the glue.
These ideas give you room to personalize the project based on your child’s interests and the seasons.
Storing or Reusing This Project
After you’ve created your butterfly suncatcher, think about how to store it. If you want to reuse the supplies, carefully remove the glue residue from the plastic sheet and save it for next time. To store your finished butterfly, keep it flat in a cardboard box or hang it in a window as a permanent decoration. This not only reduces waste but also extends the life of your crafting materials.
FAQs About Layered Rainbow Glue Butterfly Suncatcher
One common question is whether this project will create a mess. While there will be some spills, especially when mixing colors, using a plastic sheet underneath can help contain most of it. Another concern is safety; all materials used are non-toxic, making this a suitable activity for various age groups, though supervision is always a good idea. Parents often wonder about substitutions; for instance, you can use liquid soap or clear gel instead of school glue if needed. Lastly, many ask about the final results—while each butterfly will be unique, the layered colors and shine from the glue create beautiful outcomes.
Conclusion
Making a Layered Rainbow Glue Butterfly Suncatcher is about more than just crafting; it’s about the joy of creation and the delight of displaying a colorful piece in your home. As you and your kids engage in this activity, consider exploring more inspiring crafts like Repurposed Butterfly Suncatchers or engage with Glue Resist Watercolor Rainbow projects to inspire further creativity. This DIY journey can lead to beautiful memories and proud moments as you watch the sunshine through your handmade creations.
PrintLayered Rainbow Glue Butterfly Suncatcher
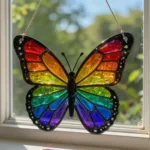
Create a beautiful and colorful butterfly suncatcher using simple household materials and a bit of creativity.
- Prep Time: 10 minutes
- Cook Time: 120 minutes
- Total Time: 130 minutes
- Yield: 1 butterfly suncatcher
- Category: Craft
- Method: DIY Crafting
- Diet: Non-Dietary
Ingredients
- Clear school glue
- Food coloring
- Clear plastic sheet
- Black cardstock
- String
Instructions
- Start by outlining butterfly wings on the black cardstock using a pencil or marker.
- Mix your clear school glue with food coloring to create vibrant colors.
- Carefully fill in the outlined sections of the wings with your rainbow-colored glue.
- Let your butterfly dry completely, which may take a few hours.
- Once dried, gently peel your butterfly from the plastic sheet.
- Hang your creation in a sunny window using the string.
Notes
Adult supervision is recommended. Allow sufficient drying time to avoid mishaps.
Nutrition
- Serving Size: 1 suncatcher
- Calories: 0
- Sugar: 0g
- Sodium: 0mg
- Fat: 0g
- Saturated Fat: 0g
- Unsaturated Fat: 0g
- Trans Fat: 0g
- Carbohydrates: 0g
- Fiber: 0g
- Protein: 0g
- Cholesterol: 0mg