

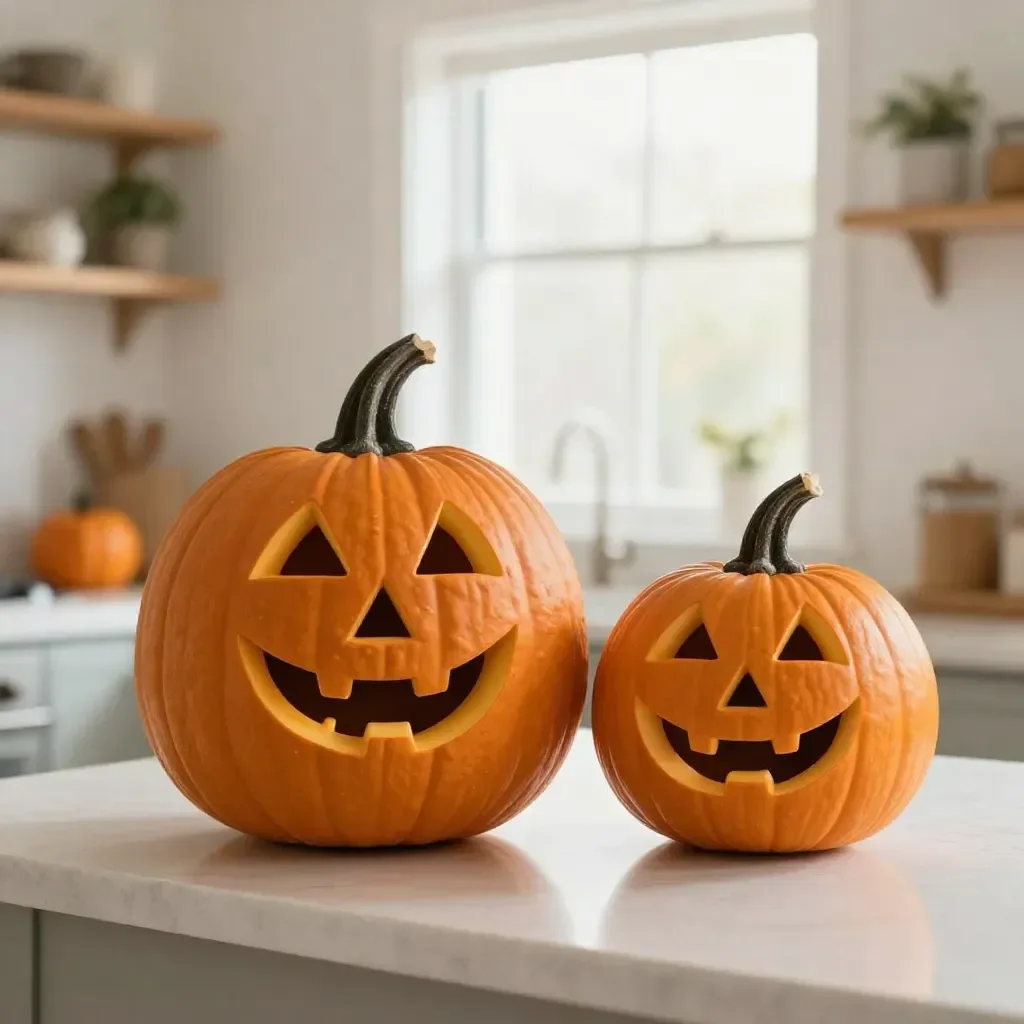
Creating a fun and engaging project can sometimes feel like a race against time, especially when kids express their desire to make something creative and exciting. Picture one of those busy afternoons when you find yourself needing an activity that not only captivates your little ones but is also simple to execute. That’s where Easy Paper Pumpkins come into play—they’re a delightful solution that combines creativity with minimal prep work, perfect for those spontaneous crafting moments. You may also find Bioplastic Suncatchers Easy Recipe useful.
Why This Easy Paper Pumpkins Works So Well
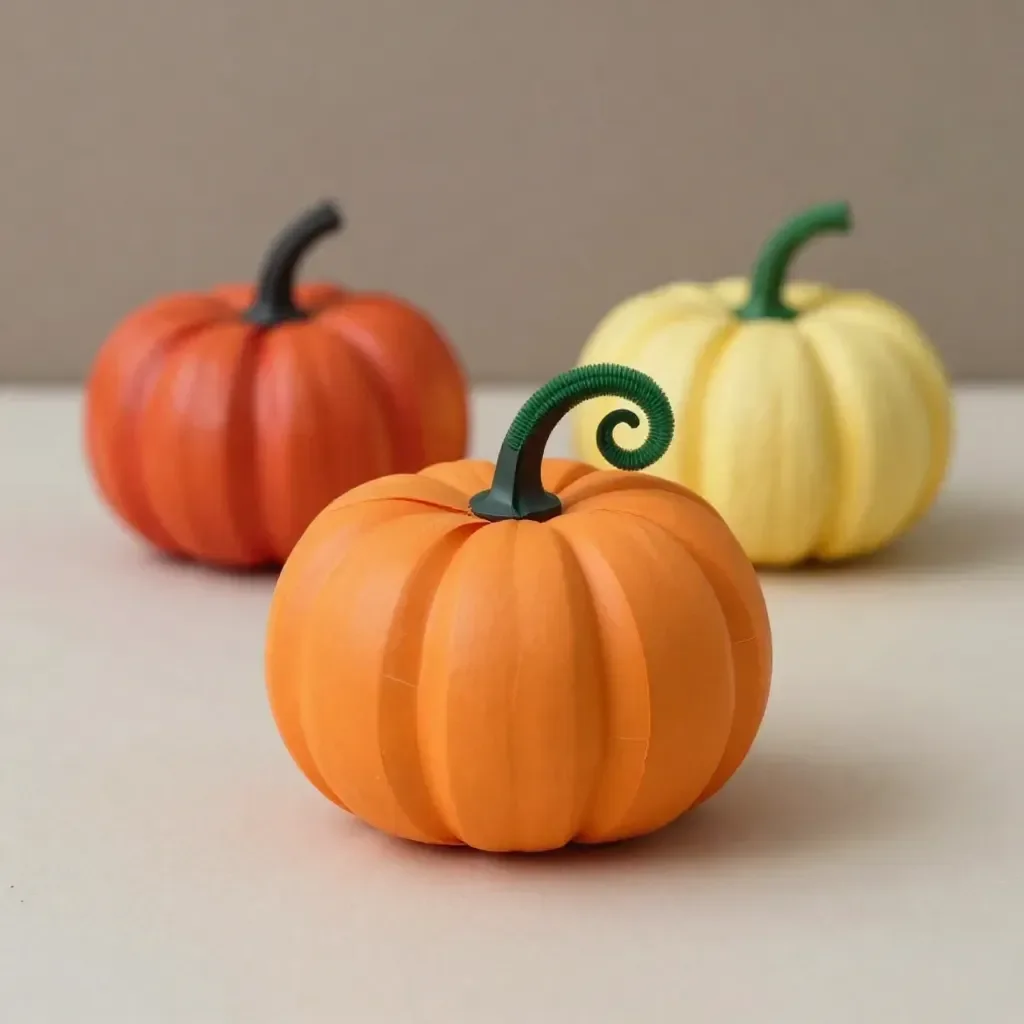
Easy Paper Pumpkins stand out because they require very few materials and can be set up quickly without taking over your entire day. The beauty of this craft lies in its simple approach—everything you need is likely already at home. No need to scramble for specialty items at the craft store. This makes it straightforward and stress-free, ideal for busy schedules. Furthermore, the clear outcomes boost confidence as everyone in the family can see their creative efforts come to life. You may also find Diy Bioplastic Suncatchers Easy Recipe useful.
A Quick Look Before You Begin
The beauty of making Easy Paper Pumpkins is how quickly you can swing into action. Setting aside about 30 minutes is all you need to bring this project to life. Gather your materials on a flat surface, and designate a spot for mess management—perhaps an easy-to-clean kitchen table or a covered area outside. While some adult supervision is beneficial, kids can take the lead on this one, making it a lovely bonding activity without needing constant guidance. You may also find Easy Baking Soda And Vinegar Experiment useful.
Materials You’ll Need
To create your Easy Paper Pumpkins, gather the following items: You may also find Easy Bioplastic Suncatchers Colorful Swirls useful.
- Orange construction paper (common household item)
- Green paper for the leaves (common household item)
- Scissors (adult supervision recommended)
- Glue stick or tape (common household item)
- Markers or crayons for decorating (optional)
- A small piece of string (optional)
These materials keep the project accessible and budget-friendly, primarily utilizing what you likely already have.
Step-by-Step Directions
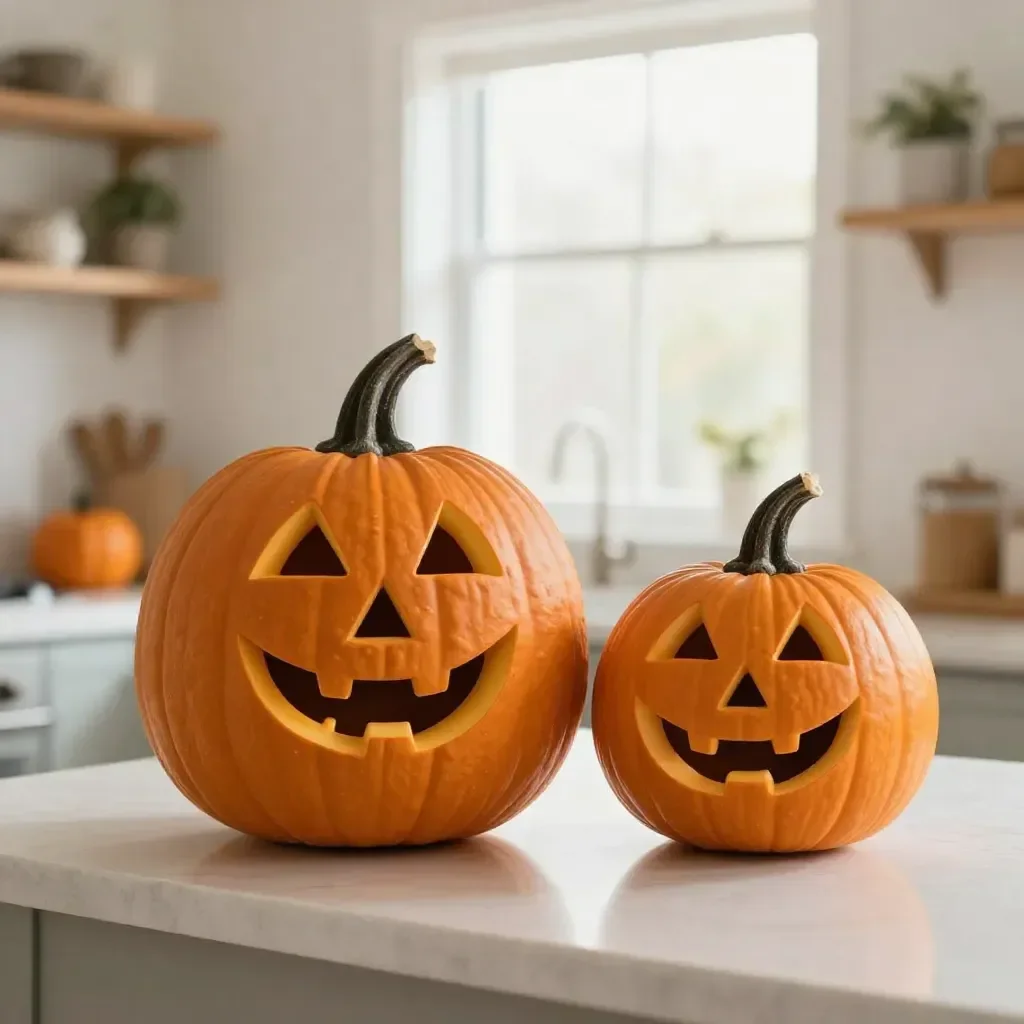
Start by cutting your orange construction paper into strips about 1 inch wide and 10 inches long. Each pumpkin will need several strips.
Take one strip and loop it, gluing or taping the ends together at the top to form a circle.
Repeat step two with the remaining strips, looping each one and stacking them on top of each other. This will give your pumpkin a fuller shape.
Once all strips are attached, pinch the top of the pumpkin slightly to create a small indent at the top.
Cut a small rectangle from your green paper to create the pumpkin stem. Glue or tape this to the top of your pumpkin.
For additional flair, use markers or crayons to add fun facial features or details to your pumpkin.
If you wish, cut leaves from the green paper and glue them near the stem for a more finished look.
To finish, tie a small piece of string around the stem for a more rustic touch.
This sequence keeps everything clear, manageable, and reinforces the process of crafting. Each step builds on the previous one, making it easy to follow along.
The Learning Behind This DIY

Making Easy Paper Pumpkins is not just fun; it supports various skills in your little ones. As they cut, glue, and create, they practice their fine motor skills, enhancing hand-eye coordination. Additionally, kids get to explore creativity by deciding how to decorate their pumpkins. Familiar concepts of cause and effect come into play as they witness the transformation of simple paper into vibrant pumpkins. It’s a hands-on experience that solidifies learning through doing, making it perfect for this age.
Troubleshooting Common Issues
If the pumpkins end up somewhat misshapen or the strips seem unruly, don’t fret! Sometimes the paper may not hold the desired shape initially. If this happens, simply adjust the positioning of the strips while the glue is still wet to ensure everything sits right. Encourage the kids that it’s okay if their creations look a little different—that’s part of the charm of crafting.
Easy Variations to Try
Feel free to customize your Easy Paper Pumpkins! Here are some simple variations:
- Incorporate different colors of construction paper for a rainbow of pumpkins.
- Use patterned paper to add more personality to your designs.
- Create a pumpkin patch display by making several pumpkins and arranging them together.
- Add googly eyes or other embellishments to make the pumpkins even more whimsical.
These ideas can transform this basic idea into something uniquely theirs.
Storing or Reusing This Project
After your creative session, think about how to clean up or store your pumpkins. Since these projects are made from paper, they can be kept for display during the fall season. Alternatively, consider reusing the materials for future projects—cardboard tubes, for example, can be made into various crafts. Keeping supplies condensed and organized goes a long way in reducing waste and enhancing the crafting experience.
FAQs About Easy Paper Pumpkins
What if it becomes too messy?
A little mess is part of the fun! Lay down some newspaper or a disposable tablecloth underneath to catch any glue or scraps. Cleanup should be easy with a few wipes or a sweep.
Are these suitable for all ages?
Absolutely! With adult supervision, even younger children can enjoy this task. Older kids can take on more responsibility in cutting and assembling.
Can we make different sizes of pumpkins?
Yes! Adjust the length of the strips to create smaller or larger pumpkins based on your preference.
How should we store our pumpkins after making them?
Put them in a sturdy box or basket to prevent them from getting squished. Alternatively, display on a shelf and enjoy your handiwork!
Is there a specific time recommended for this activity?
About 30 minutes to an hour should suffice for most families, depending on the number of pumpkins they wish to make.
A Final Helpful Note
Crafting Easy Paper Pumpkins is not only a delightful activity, but it’s also an opportunity to bond with your kids through creativity. Remember that the goal is not perfection, but rather fun and exploration. Embrace the joy of making together—flexibility and ease will ensure everyone has a fulfilling experience.
Conclusion
If you enjoyed making Easy Paper Pumpkins, consider exploring other crafting ideas like how to create patterned paper pumpkins or check out simple 3D paper pumpkins for more fall-themed projects that can inspire you and your family. Each new venture offers a chance to learn and grow creatively together.
PrintEasy Paper Pumpkins
A fun and engaging project that allows kids to create delightful paper pumpkins using simple materials.
- Prep Time: 5 minutes
- Cook Time: 30 minutes
- Total Time: 35 minutes
- Yield: Multiple pumpkins
- Category: Craft
- Method: Crafting
- Cuisine: N/A
- Diet: N/A
Ingredients
- Orange construction paper
- Green paper for leaves
- Scissors (adult supervision recommended)
- Glue stick or tape
- Markers or crayons (optional)
- A small piece of string (optional)
Instructions
- Start by cutting your orange construction paper into strips about 1 inch wide and 10 inches long.
- Take one strip and loop it, gluing or taping the ends together to form a circle.
- Repeat this with the remaining strips, stacking them on top of each other.
- Once all strips are attached, pinch the top slightly to create an indent.
- Cut a small rectangle from the green paper for the stem and attach it.
- Use markers or crayons to decorate your pumpkin.
- If desired, cut leaves from the green paper and glue near the stem.
- Finish by tying a small piece of string around the stem for a rustic touch.
Notes
For additional flair, feel free to use patterned paper or incorporate googly eyes for decoration.
Nutrition
- Serving Size: 1 pumpkin
- Calories: N/A
- Sugar: N/A
- Sodium: N/A
- Fat: N/A
- Saturated Fat: N/A
- Unsaturated Fat: N/A
- Trans Fat: N/A
- Carbohydrates: N/A
- Fiber: N/A
- Protein: N/A
- Cholesterol: N/A