

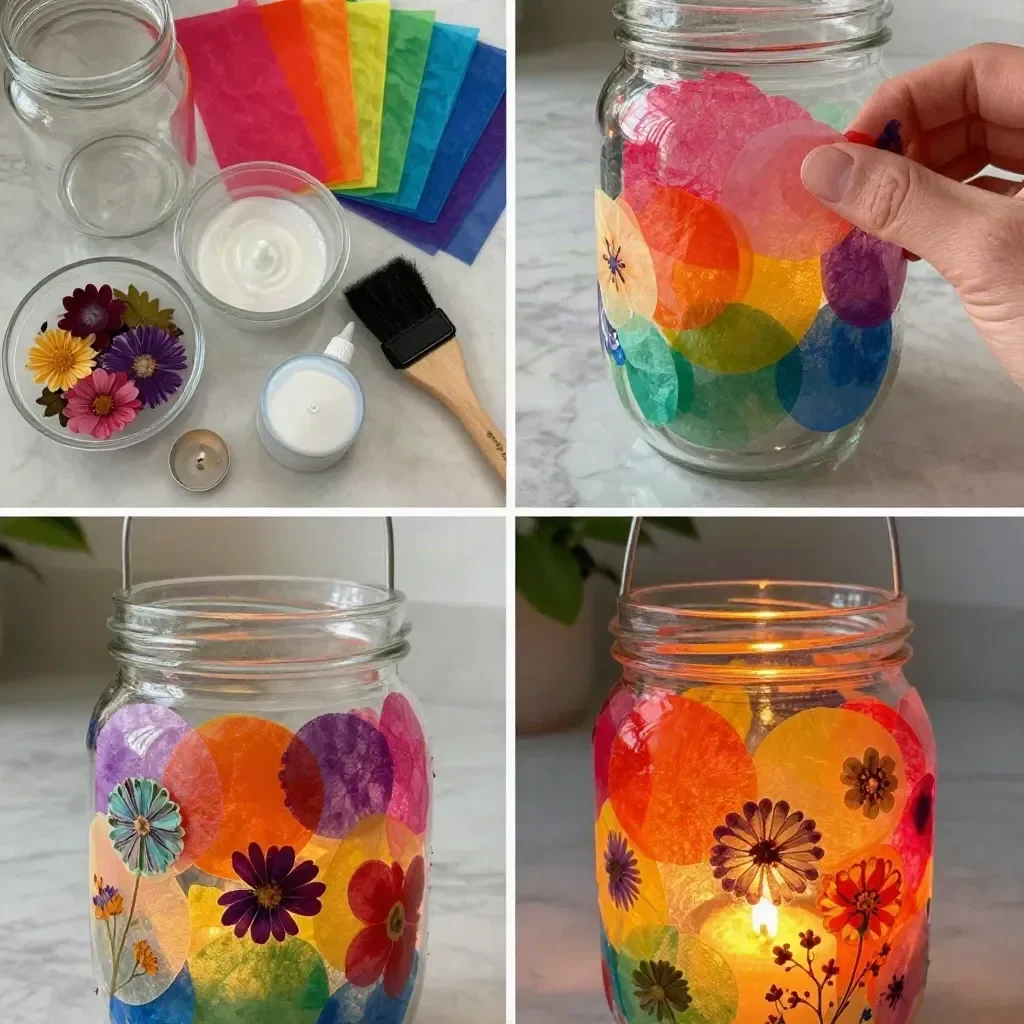
A sunny Saturday afternoon was on the horizon, and the kids were buzzing with energy, eager to create something beautifully bright. The thought of decorating with a Rainbow Tissue-Paper Flower Lantern emerged as a delightful, simple project that would keep them engaged and bring a splash of color to the home. With just a few materials, this craft promises not only fun but also a chance to exercise creativity, making it perfect for a family activity. You may also find Colorful Rainbow Paper Flower Lanterns For Parties useful.
Why This Rainbow Tissue-Paper Flower Lantern Works So Well
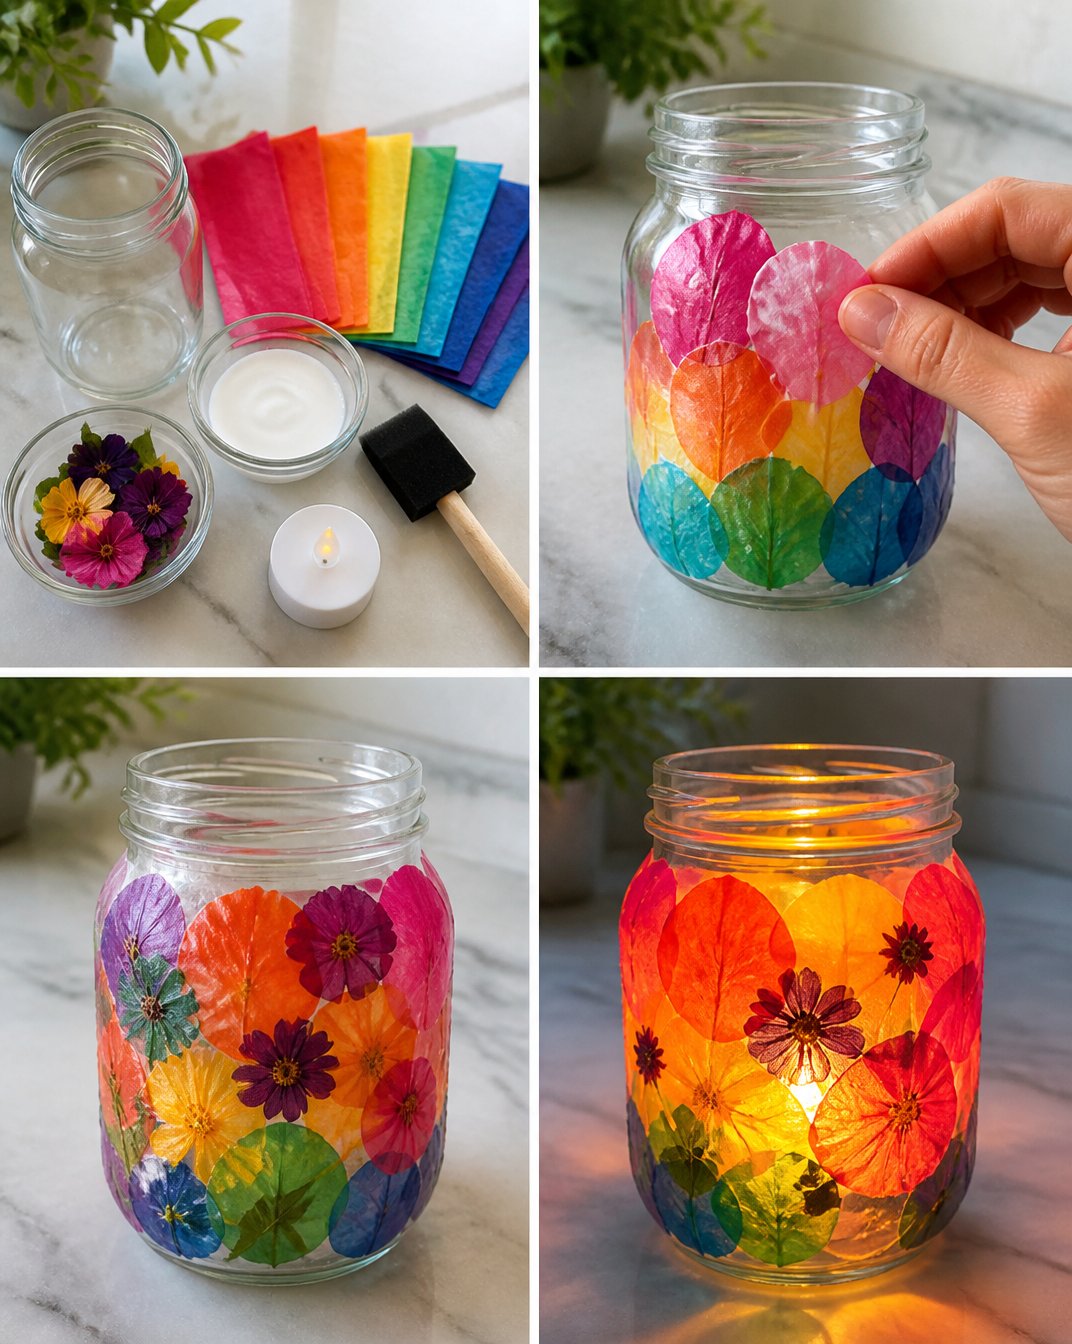
Creating a Rainbow Tissue-Paper Flower Lantern is a fantastic choice for several reasons. First, it involves low-prep activities that require minimal setup and clean-up, making it mom-friendly. The materials are easily accessible—most households will have a few items already on hand. Also, it brings together children of various ages, allowing everyone to contribute to the project. This lantern isn’t just a decorative item; it becomes an emblem of creativity and family time. You may also find Rainbow Tissue Paper Butterfly Lantern Diy Decor useful.
Moreover, the layering of tissue paper allows kids to experiment with colors and designs. They can express individual styles that culminate in a beautiful final piece. This project is also reliable in terms of results; even if they don’t get it perfect, the lantern will still look lovely once the tea light is placed inside. It’s an activity that is enjoyable and provides a sense of accomplishment without the stress of too many intricate steps. You may also find Colorful Flower Garden Decor Rainbow Painted Rocks useful.
A Quick Look Before You Begin
Creating the Rainbow Tissue-Paper Flower Lantern is straightforward and engaging. The entire process generally takes about an hour, but it can be stretched over the afternoon if kids want to take breaks for snacks or play. Set-up is as easy as laying out your materials on a designated table, allowing for a manageable mess level. Adults can take part, yes, but you might find that taking a step back allows the kids to shine, boosting their confidence. You may also find Create Colorful Rainbow Hearts With Pressed Flowers useful.
While crafting, ensure a workspace is covered with newspaper or an old tablecloth to catch any glue spills or accidental messes. An adult should supervise, especially when using the decoupage glue, to ensure safety and support. You’ll find that engaging children in the process not only creates wonderful memories but also helps in developing their motor skills.
Materials You’ll Need
You don’t need an extensive list to get started; here’s what you’ll need for the Rainbow Tissue-Paper Flower Lantern:
- 1 clear plastic jar
- Rainbow tissue paper
- 2 tbsp decoupage glue
- Pressed petals (dried flowers or leaves)
- Foam brush
- LED tea light
These materials are easy to gather and typically found around the house or at your local craft store. If you don’t have pressed petals, fresh flowers can be used instead—just dry them out beforehand. The foam brush often comes with the decoupage glue, so there’s a chance you won’t need to buy it separately. This project is also budget-friendly, allowing for creativity without breaking the bank.
Step-by-Step Directions
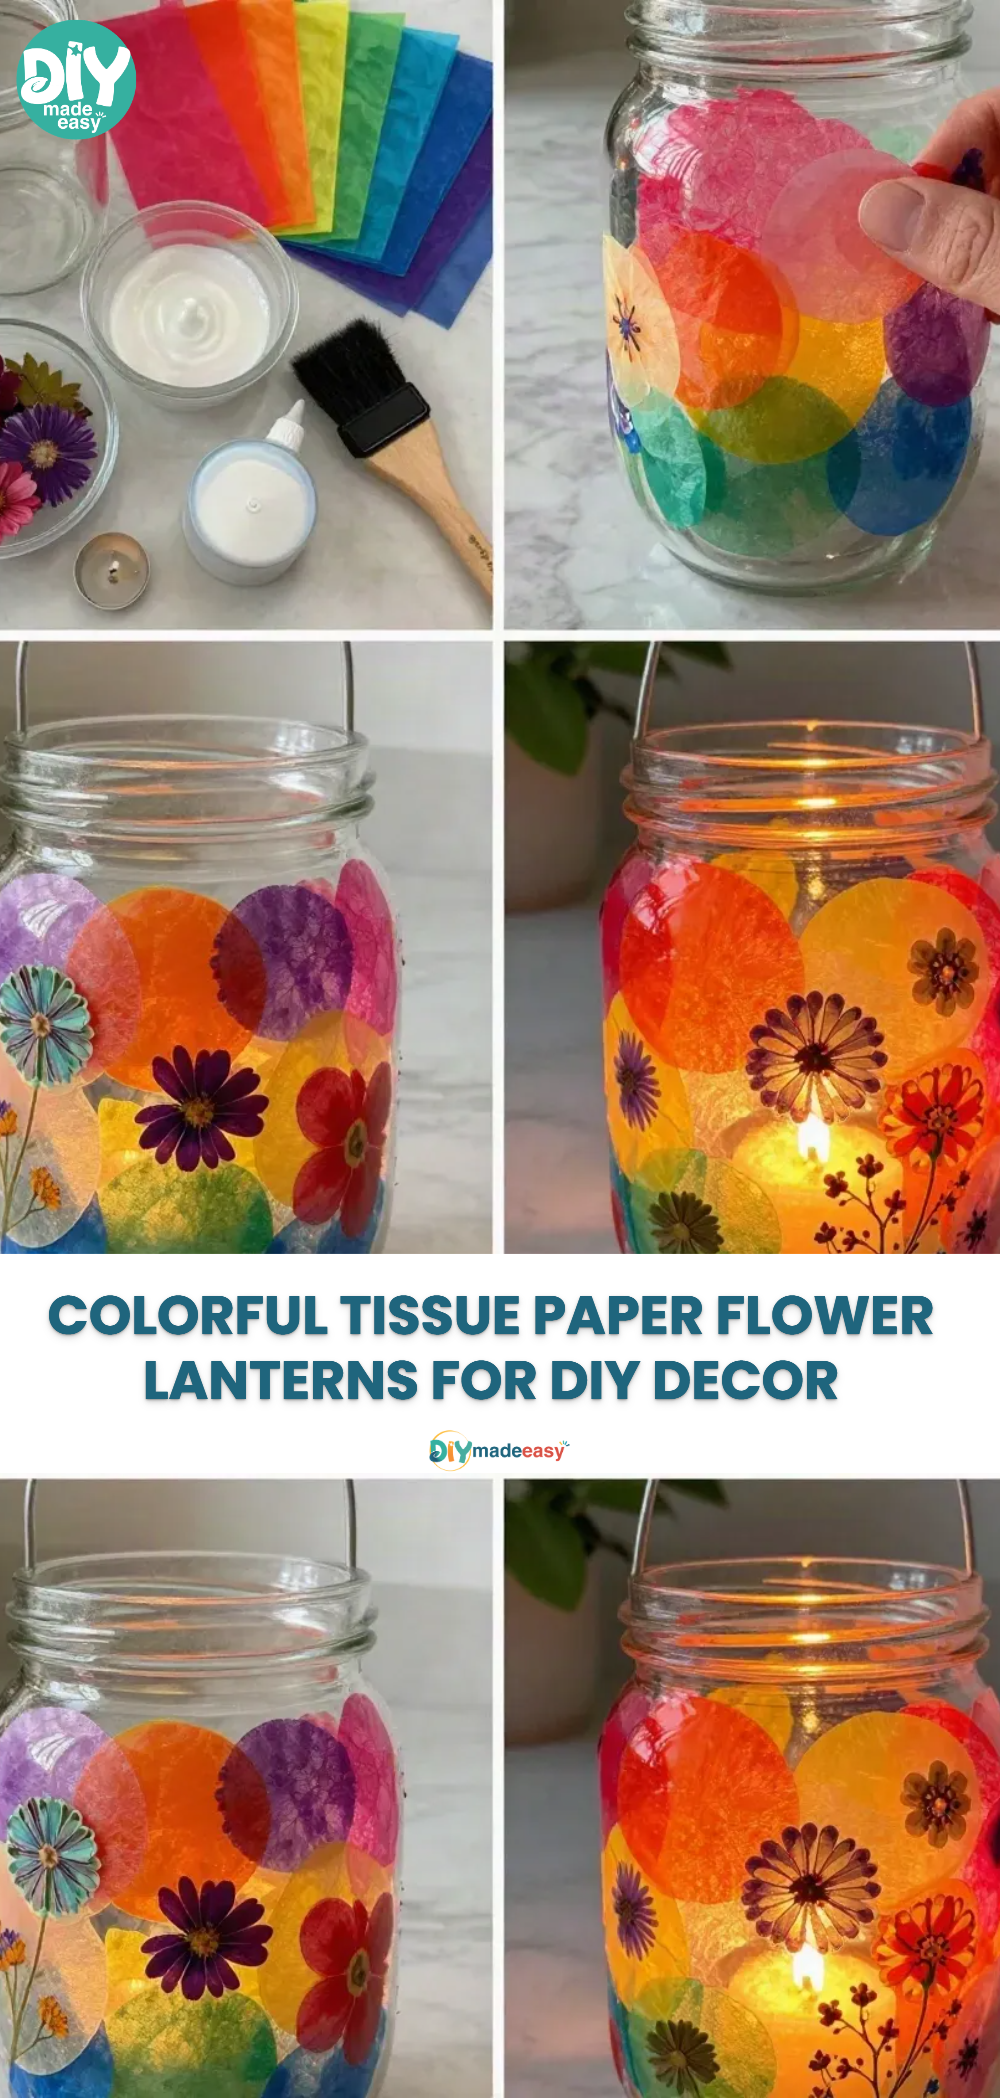
Tear the Tissue Paper: Start by tearing the rainbow tissue paper into petal shapes. The shapes don’t have to be perfect; the beauty of the finished lantern lies in its handmade, eclectic look.
Apply the Petals: Using the foam brush, overlap the petal-shaped tissue paper around the clear jar, applying the decoupage glue to secure each piece. Go for a layered look, allowing some colors to blend while others stand out.
Add Pressed Petals: Once the tissue paper is mostly in place, gently press the dried petals onto the jar in a creative fashion. This is where you can add personal touches that make the lantern special.
Seal with Glue: After getting everything the way you want, apply a thin layer of decoupage glue over the entire design to seal the petals and tissue paper. This will help protect your work and give it a polished finish.
Let it Dry: Patience is key here! Allow the lantern to dry completely, which typically takes about 30-60 minutes. Be sure to place it in a safe spot where it won’t be disturbed.
Add the Tea Light: Finally, place the LED tea light inside the jar and switch it on to see your colorful creation glow with warmth. Enjoy the soft flicker of the light shining through the layers you’ve made.
The Learning Behind This DIY
While crafting this lovely lantern, children will engage in several learning opportunities. First, they’ll practice fine motor skills as they tear and glue the paper. This activity also supports coordination as they carefully apply the glue and position the petals.
Moreover, they’ll learn about cause and effect—understanding how their actions produce results (like the lantern lighting up) encourages problem-solving. There’s also a bit of science at play, as they see how materials interact and uncover the joy of tactile exploration through the different textures of the tissue paper and petals.
Troubleshooting Common Issues
If you find things aren’t going as planned during your crafting session, fret not! Common problems include tissue paper tearing too much or glue clumping. If the tissue paper tears, simply embrace the look of the lantern and add smaller pieces or create a more intricate layered design.
If glue becomes too clumpy, you can thin it out slightly with a little water or apply a fresh layer to try again. Over time, you’ll notice that most projects take a bit of trial and error, and that’s part of the creative experience.
Easy Variations to Try
To make this project even more enjoyable, consider these variations:
- Use seasonal colors for different holidays.
- Try varying the shapes you tear from the tissue paper—think butterflies or stars instead of petals.
- Incorporate glitter glue for added sparkle on the flowers.
- This project can also benefit from themes based on personal interests like favorite colors or seasonal changes.
Encourage kids to draw their inspiration from nature, other art pieces, or even their favorite movies!
Storing or Reusing This Project
After the lanterns have served their purpose, consider ways to clean up and reuse. These lanterns can be stored in a safe, dry place until the next occasion for display arises. If the kids enjoyed this project, consider keeping the materials for future crafts, minimizing waste. Alternatively, involve the kids in cleaning up the workspace to teach responsibility for their creative environment.
FAQs About Rainbow Tissue-Paper Flower Lantern
What if my kids make a mess while crafting?
It’s completely normal for kids to get a bit messy during crafting. Lay out newspapers or old sheets for easy cleanup, and remember that the experience is just as important as the finished product.
Is this project safe for young children?
Yes, with adult supervision, this project is safe for young kids. Just be cautious with the decoupage glue and make sure they know not to eat any materials.
Can we substitute the pressed petals for something else?
Of course! Fresh flowers can be used, or even other materials like beads or sequins to add different textures and colors.
Will the lantern get damaged if it’s used outdoors?
It’s best to keep your Rainbow Tissue-Paper Flower Lantern indoors. While it can withstand some light moisture, prolonged exposure to the elements might damage the paper design.
Can we create lanterns in different sizes?
Absolutely! You can use various jar sizes to create a unique display set. Just adjust the amount of tissue paper and design accordingly.
Conclusion
Creating a Rainbow Tissue-Paper Flower Lantern is a rewarding experience that combines creativity, craft skills, and family fun. For those looking to expand their decorative options, consider exploring more about Pastel Rainbow Colorful Party-Decorations Paper Flowers Lanterns or dive into a related project on Rainbow Tissue-Paper Flower Lantern | DIY Glow. Enjoy the process, embrace the colors, and let your family’s creativity shine brightly!
PrintRainbow Tissue-Paper Flower Lantern
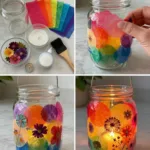
A fun and colorful project for kids to create beautiful rainbow tissue-paper flower lanterns, perfect for adding a splash of color to your home.
- Prep Time: 15 minutes
- Cook Time: 45 minutes
- Total Time: 60 minutes
- Yield: 1 lantern 1x
- Category: Craft
- Method: Crafting
- Cuisine: N/A
- Diet: N/A
Ingredients
- 1 clear plastic jar
- Rainbow tissue paper
- 2 tbsp decoupage glue
- Pressed petals (dried flowers or leaves)
- Foam brush
- LED tea light
Instructions
- Tear the rainbow tissue paper into petal shapes.
- Apply the petal-shaped tissue paper around the clear jar using the foam brush and decoupage glue.
- Add the dried petals onto the jar for personal touches.
- Seal the entire design with a layer of decoupage glue.
- Let the lantern dry completely, about 30-60 minutes.
- Add the LED tea light inside the jar and switch it on.
Notes
Keep surfaces protected with newspaper or cloth during crafting. Adult supervision is recommended when using glues.
Nutrition
- Serving Size: N/A
- Calories: N/A
- Sugar: N/A
- Sodium: N/A
- Fat: N/A
- Saturated Fat: N/A
- Unsaturated Fat: N/A
- Trans Fat: 0g
- Carbohydrates: N/A
- Fiber: N/A
- Protein: N/A
- Cholesterol: N/A