

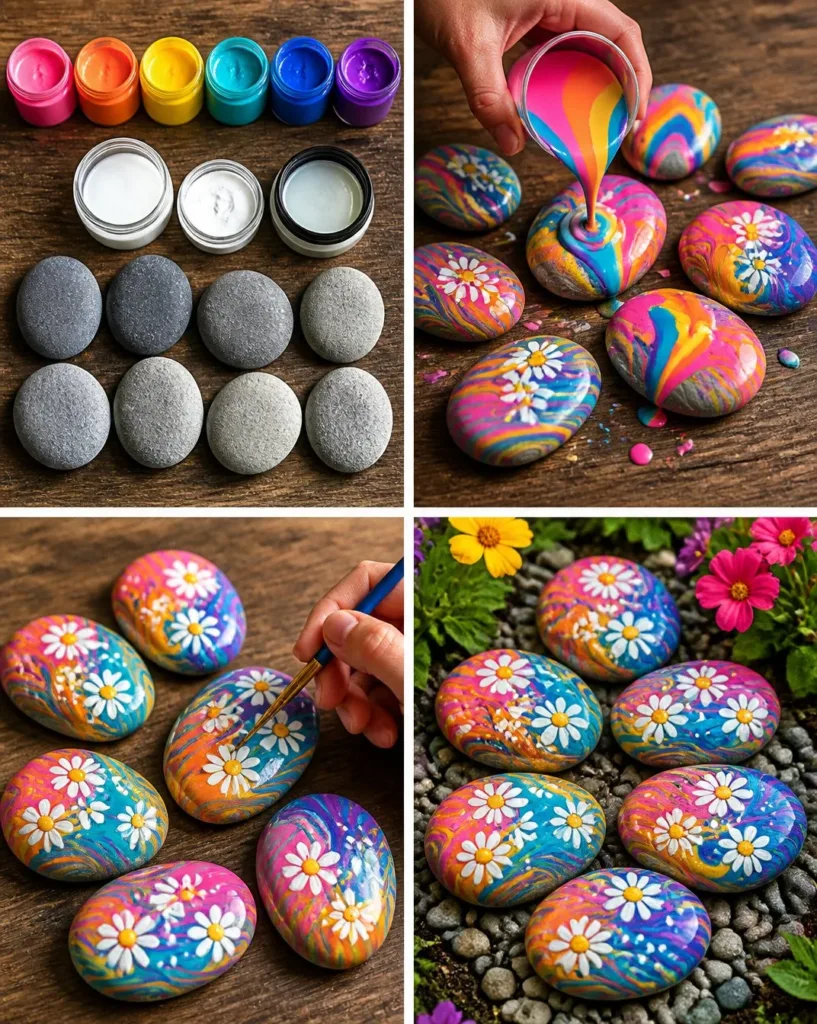
Rainbow-painted rocks make for a delightful DIY project, especially on those busy afternoons when kids want to create something fun and colorful. Imagine a last-minute need for an engaging activity that also adds charm to your garden. These vibrant stones not only brighten up your outdoor space but also provide a wonderful opportunity for some quality family time. With a few smooth rocks and a splash of colorful paints, you can easily make these eye-catching decorations that bring joy and creativity to your home. You may also find Fork Pom Pom Flower Bouquet Garden useful.
Why This Rainbow Painted Rocks for a Colorful Flower Garden Works So Well
This project stands out for several reasons. First, it requires minimal prep time. You won’t need to gather complex materials, making it approachable for any skill level. It’s also incredibly reliable; with straightforward steps, you can count on beautiful results without worrying about technical mishaps. This project fits seamlessly into real-life schedules—perfect for those quick bursts of creativity that emerge amidst a busy day. If you’ve enjoyed other simple projects like making a fork pom-pom flower bouquet, you’ll find this equally satisfying.
A Quick Look Before You Begin
Planning is key to making this DIY enjoyable. You’ll likely need about an hour to complete the entire project, though the drying time may extend the process a little. Setting up is simple; just cover your work area to manage any potential paint splatters. The level of mess is moderate—think finger painting level—with vibrant colors that might get on clothes or surfaces. Most importantly, this activity requires minimal adult involvement once the materials are set out. Kids can lead the way, which fosters independence and creativity. You may also find Colorful Monster Pencil Organizers For Desk useful.
Materials You’ll Need
- 8 smooth rocks
- Pink acrylic paint
- Orange acrylic paint
- Yellow acrylic paint
- Turquoise acrylic paint
- Blue acrylic paint
- Purple acrylic paint
- Pouring medium
- White paint
- Outdoor sealer
You can find everything you need at your local craft store or possibly around your home. Acrylic paints, for instance, are a common household item that can bring your stones to life without breaking the bank. The pouring medium might be less familiar, but it’s a budget-friendly way to get that swirling effect. You may also find Pinwheel Flower Garden Stake useful.
Step-by-Step Directions
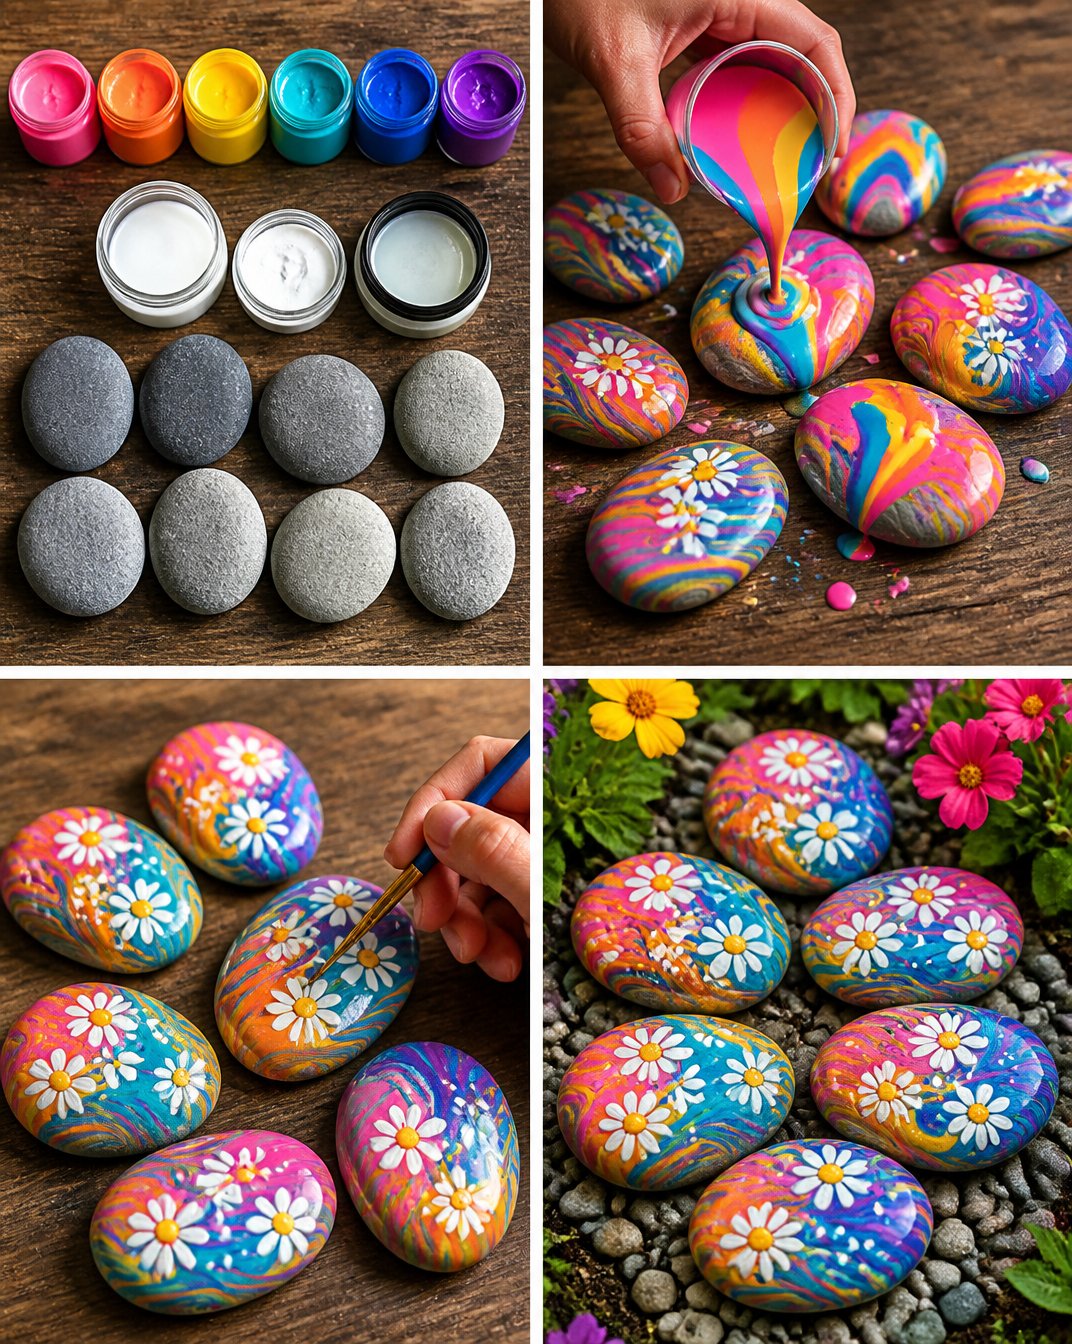
Create the Colorful Background: Start by pouring several colors of acrylic paint over each smooth rock. Allow the colors to swirl and blend together for a vibrant backdrop. You can use the pouring medium to help the paint flow together beautifully.
Let Them Dry: Once you’ve created your beautiful swirls, set the rocks aside to dry completely. It’s important to be patient here; rushing can lead to smudges. Take this time to clean your brushes or discuss what designs you might want for your flowers.
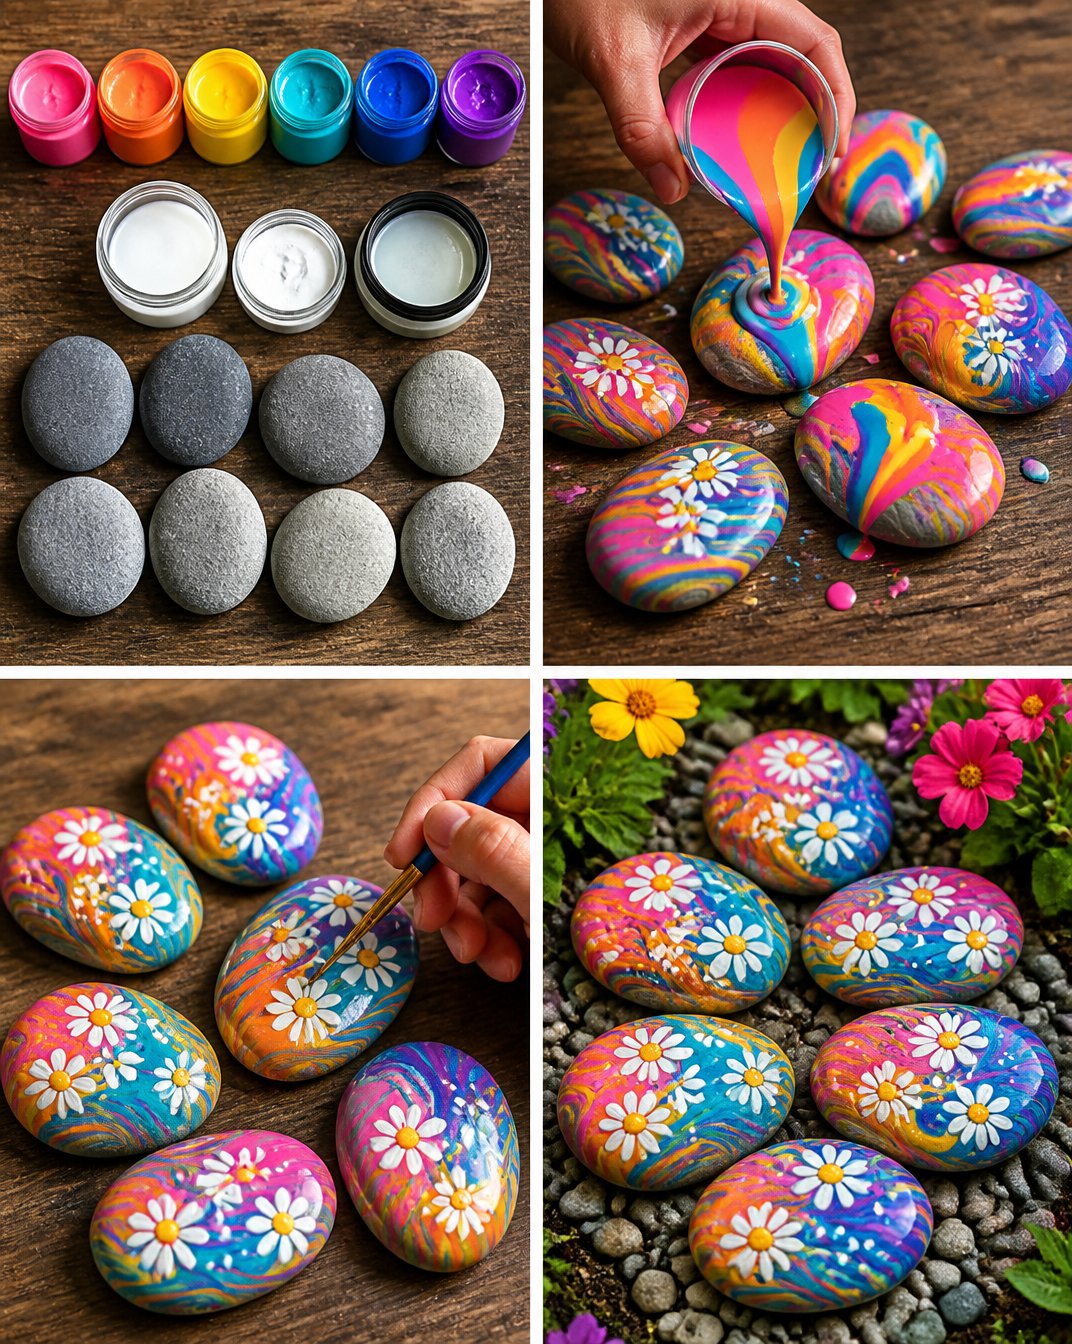
Paint the Flowers: With the colorful backgrounds dry, grab your white paint and a brush. Paint simple flower shapes on the rocks. These can be anything from daisies to tulips—whatever inspires you!
Seal the Rocks: After your painted flowers have dried, carefully apply an outdoor sealer to protect your creations from the elements. This sealing step is crucial for ensuring your beautiful artwork lasts through rain and sun.
The Learning Behind This DIY
While painting these rainbow rocks, kids practice essential skills and concepts. The project encourages fine motor skills, as they manipulate brushes and control paint flow. Color mixing is another delightful aspect; kids see firsthand how colors blend and complement each other. The act of creating also introduces cause and effect as they learn how different techniques yield various visual results.
Troubleshooting Common Issues
If a rock isn’t turning out as expected, don’t worry! Common problems can include uneven paint or colors looking muddied. For uneven paint, consider adjusting the amount of pouring medium next time. If the colors are muddied, remember that it’s perfectly okay to embrace imperfections—sometimes those accidents lead to unexpected beauty.
Easy Variations to Try
Feeling adventurous? Here are a few easy variations:
- Use glitter paint for an extra sparkle.
- Incorporate shapes like hearts or stars alongside flowers.
- Try a seasonal theme, like autumn leaves or summer suns.
- Experiment with different sizes and shapes of rocks for variety.
Storing or Reusing This Project
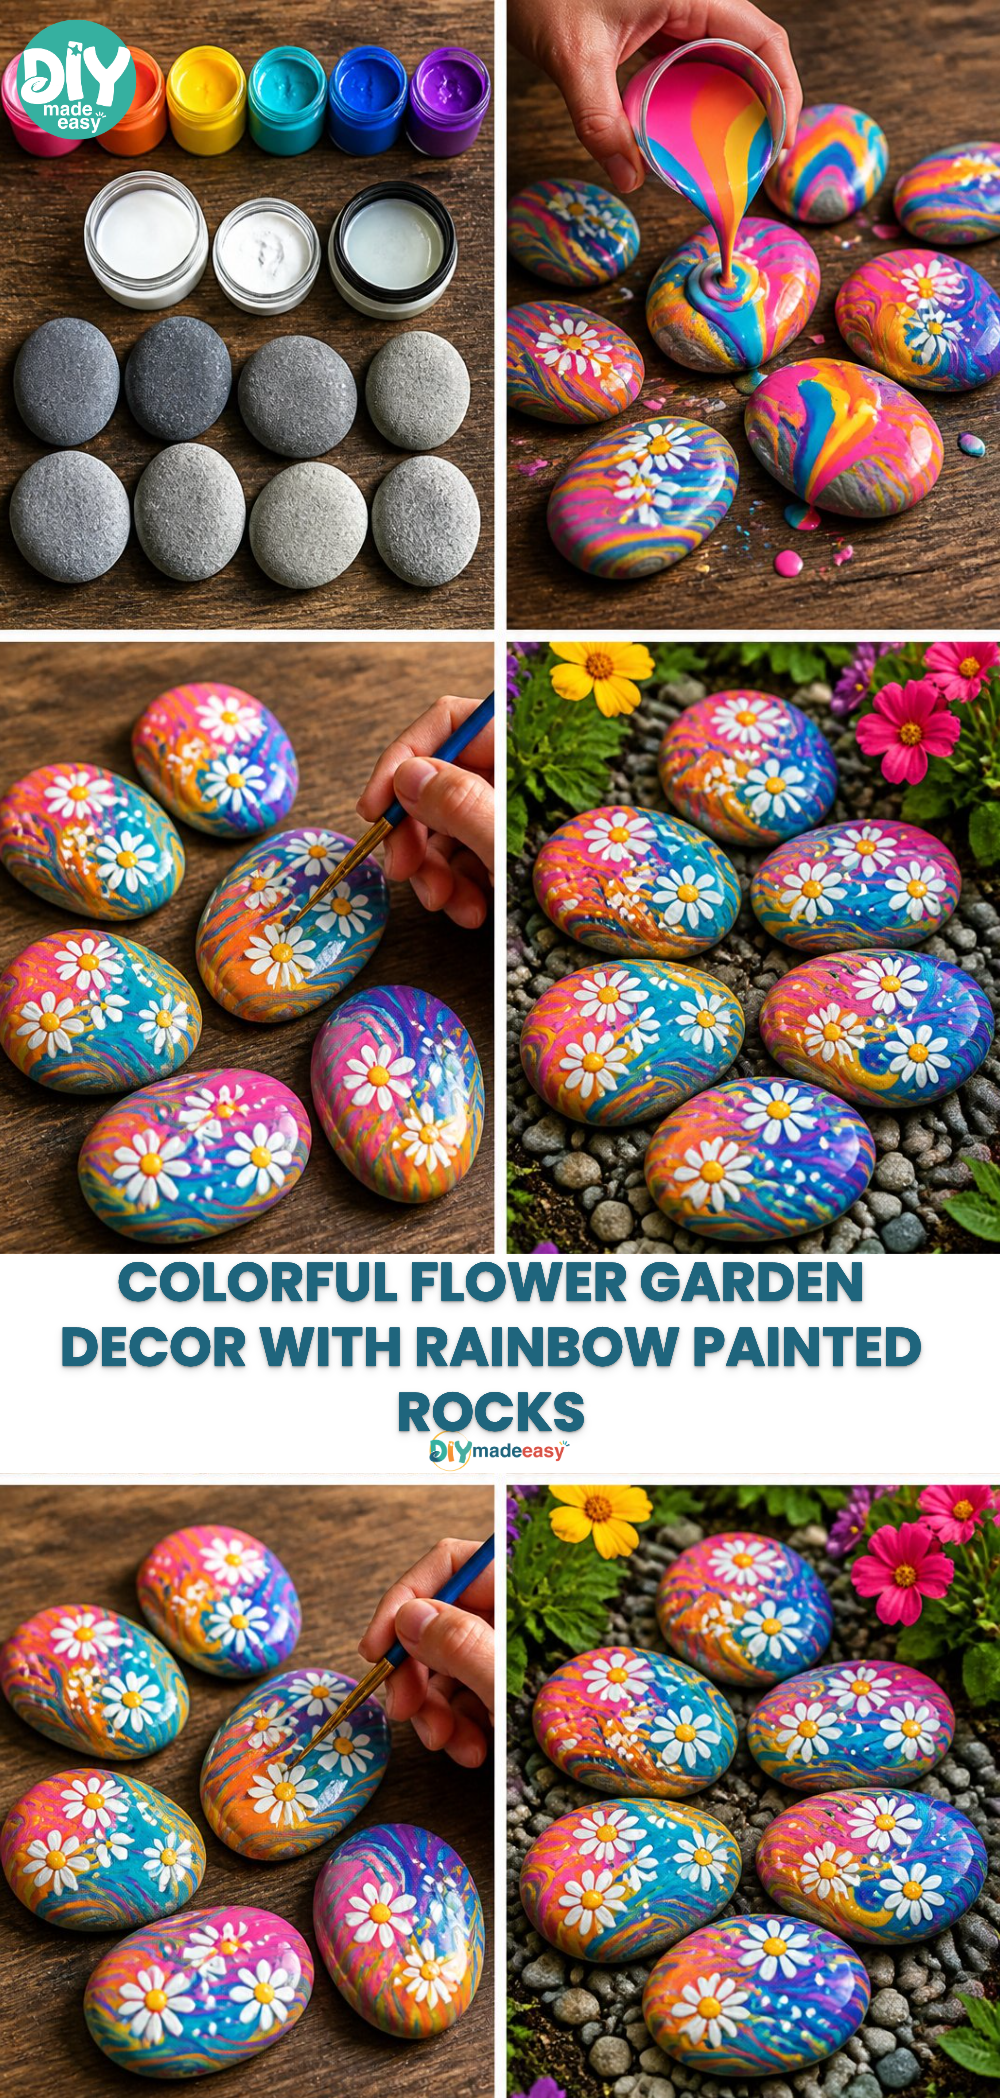
If you want to keep your painted rocks safe, consider giving them a designated spot in your garden or home where they can be appreciated. After sealing, these rocks can withstand various weather conditions. If you choose to refresh the project, simply repaint over the old designs with a base coat and start again. This not only saves materials but also enhances creativity—perfect for seasonal or thematic decoration.
FAQs About Rainbow Painted Rocks for a Colorful Flower Garden
What if my kids make a mess during the painting?
It’s completely normal for a little mess! Cover your work area with old newspapers or a plastic tablecloth to manage spills easily.
Are these paints safe for young kids?
Yes, acrylic paints are generally non-toxic. However, it’s always good to supervise younger children to ensure they don’t ingest any supplies.
Can I use different types of paint?
While acrylics work best for this project, you can use watercolors or even tempera paints if that’s what you have on hand. Just be mindful that they may not withstand outdoor elements without proper sealing.
How long will the painted rocks last outside?
With a good outdoor sealer, your beautiful rocks can last through multiple seasons! Just make sure to reapply the sealer as needed.
What happens if my colors don’t turn out as I planned?
Art is all about expression! If the colors look muddy or uneven, embrace it. Sometimes these surprises lead to unique patterns that can be more beautiful than the original intention.
Conclusion
Creating rainbow-painted rocks is a wonderful way to brighten up any garden. These colorful additions can add a cheerful touch while reflecting your family’s creativity. If you want to explore more colorful decor, check out the Rainbow Flower Painted Rock on Etsy. For additional inspiration, consider the ideas shared in Ladybug Painted Rocks – Crafts by Amanda. Enjoy these moments of creativity with your loved ones as you bring a splash of color to your outdoor space!
PrintRainbow Painted Rocks for a Colorful Flower Garden

A delightful DIY project that transforms smooth rocks into vibrant decorations for your garden, perfect for family creativity.
- Prep Time: 15 minutes
- Cook Time: 45 minutes
- Total Time: 60 minutes
- Yield: Varies, depending on number of rocks painted
- Category: Crafts
- Method: Painting
- Cuisine: N/A
- Diet: N/A
Ingredients
- 8 smooth rocks
- Pink acrylic paint
- Orange acrylic paint
- Yellow acrylic paint
- Turquoise acrylic paint
- Blue acrylic paint
- Purple acrylic paint
- Pouring medium
- White paint
- Outdoor sealer
Instructions
- Create the colorful background: Start by pouring several colors of acrylic paint over each smooth rock. Allow the colors to swirl and blend together for a vibrant backdrop.
- Let them dry: Once you’ve created your beautiful swirls, set the rocks aside to dry completely.
- Paint the flowers: With the colorful backgrounds dry, grab your white paint and a brush. Paint simple flower shapes on the rocks.
- Seal the rocks: After your painted flowers have dried, carefully apply an outdoor sealer to protect your creations from the elements.
Notes
Use glitter paint for an extra sparkle or incorporate seasonal themes for variety.
Nutrition
- Serving Size: 1 finished rock
- Calories: 0
- Sugar: 0g
- Sodium: 0mg
- Fat: 0g
- Saturated Fat: 0g
- Unsaturated Fat: 0g
- Trans Fat: 0g
- Carbohydrates: 0g
- Fiber: 0g
- Protein: 0g
- Cholesterol: 0mg