

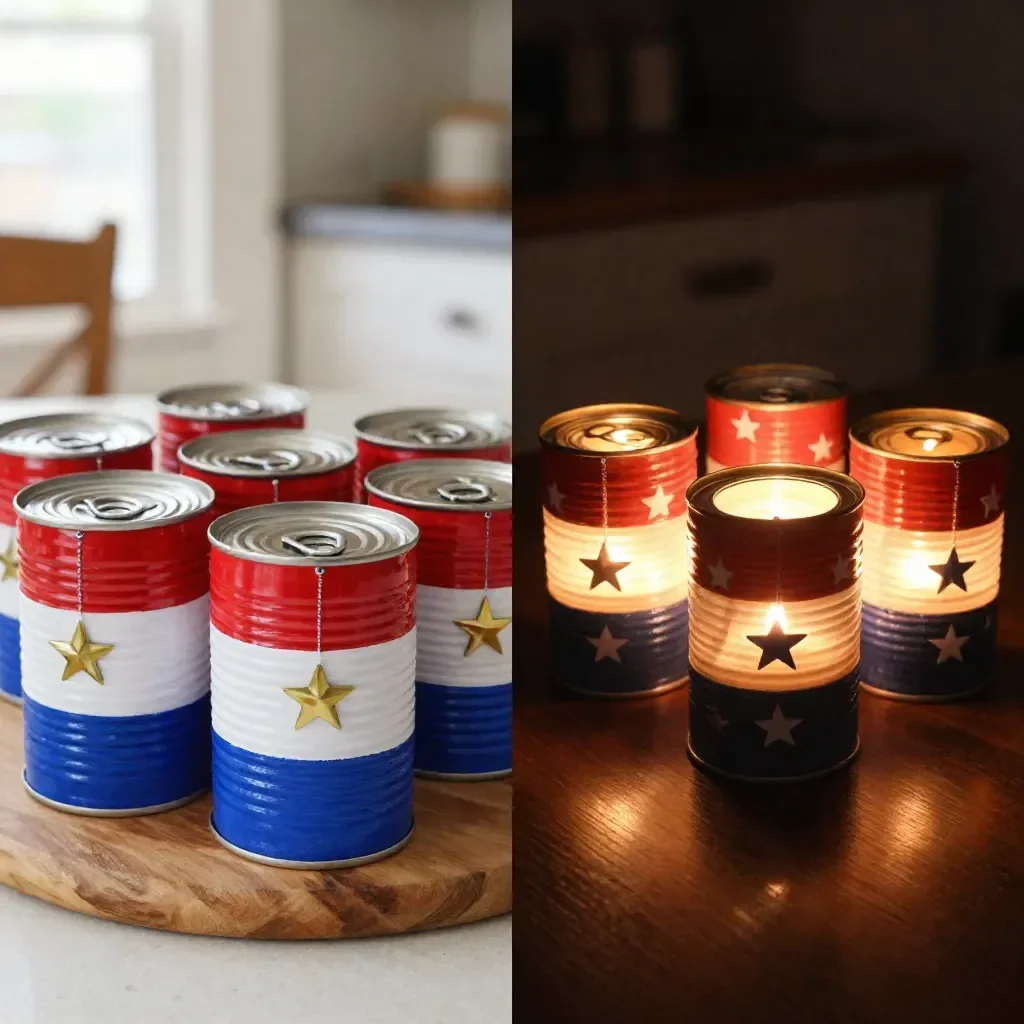
As the summer heat settles in, you might find yourself in need of a fun and creative project to keep the little ones engaged. Picture this: the kids are asking for a last-minute activity to add a touch of summer spirit to your backyard. What better way to embrace the vibrant colors of the season and celebrate all things patriotic than by making a Star Spangled Wind Chime? This charming DIY project is not only easy to set up but also allows everyone to express their creativity. Plus, it’s a wonderful opportunity to learn about colors and shapes while creating a delightful piece of art for your garden. You may also find Cornstarch Bioplastic Pressed Flowers Recipe useful.
Why You’ll Love Making Star Spangled Wind Chime
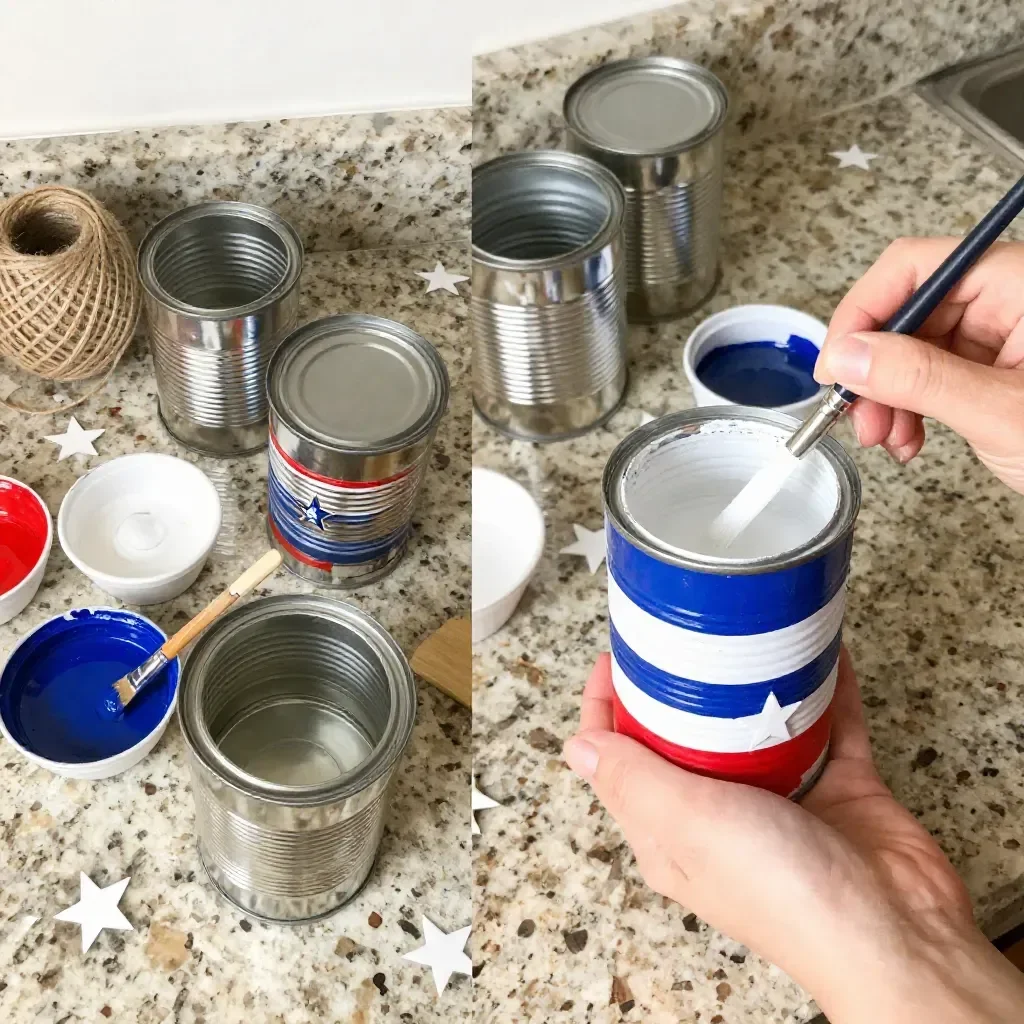
Creating a Star Spangled Wind Chime is a project that perfectly balances fun and functionality. It’s low-prep, requiring minimal materials that you might already have at home. The straightforward steps make it approachable, even if you’re juggling a busy schedule. It’s a reliable activity for family bonding, turning time spent together into precious memories as you paint and decorate your cans. Each step is simple enough to involve younger kids while still being engaging for older ones—everyone can contribute through their own artistic flair. Best of all, the joy that comes from hearing that gentle tinkling sound as the wind passes through your creation will be a source of delight all summer long. You may also find Cornstarch Bioplastic Pressed Flowers useful.
A Quick Look Before You Begin
Embarking on the journey of crafting your Star Spangled Wind Chime doesn’t have to be daunting. In just about an hour, you’ll have a charming wind chime that’s ready to sway in the breeze. First, gather your materials, making sure to have everything handy to minimize interruptions. Since this project involves painting, it might be wise to set up in an area where cleanup is easy—perhaps outdoors or on a covered surface. You may also find Cornstarch Dish Soap Bubble Dough useful.
While adult supervision is helpful, especially for the punching and threading steps, kids will relish the freedom of painting their cans. The mess level is manageable, but it’s best to have some old newspapers or drop cloths nearby to catch any drips. Think of this as a vibrant, expressive activity that everyone can enjoy together. With a simple setup and a touch of creativity, you’ll be ready to bring your wind chime to life. You may also find Cornstarch Flower Charms useful.
Materials You’ll Need
- Tin cans
- Red paint
- White paint
- Blue paint
- String
- Star charms
Each of these materials is a common household item or easily found at local stores. The paint offers a chance for vibrant colors, while tin cans can often be reused, making this project budget-friendly. Besides, the star charms provide an option to add a little sparkle to your finished wind chime, bringing it to life in a unique way.
Step-by-Step Directions
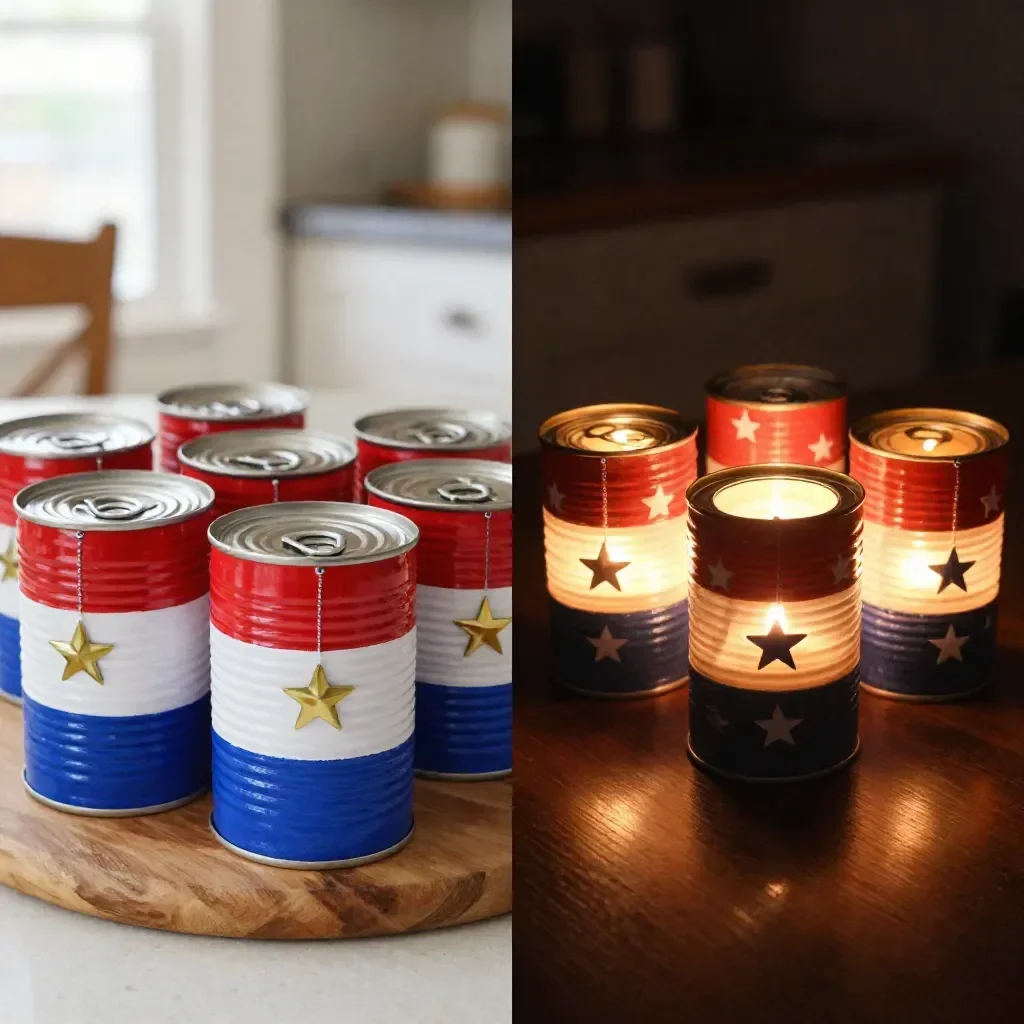
- Begin by painting the outside of your tin cans in festive red, white, and blue. Let the colors dry completely; a patient heart is a happy heart!
- Once dry, carefully punch a small hole in the top of each can. This is where our string will go, so take your time.
- Now, thread a piece of string through the holes in each can, securing them so they’ll dangle nicely.
- Add a few star charms to the string for that magical touch. After all, every chime deserves a little sparkle!
- Finally, hang your beautiful wind chime in a spot where the wind can gently play its tune, filling your garden with sweet melodies.
Each step takes you closer to creating a piece that not only looks good but also sounds delightful. Enjoy the process, be patient, and have fun with colors; this is a moment for creativity!
The Learning Behind This DIY
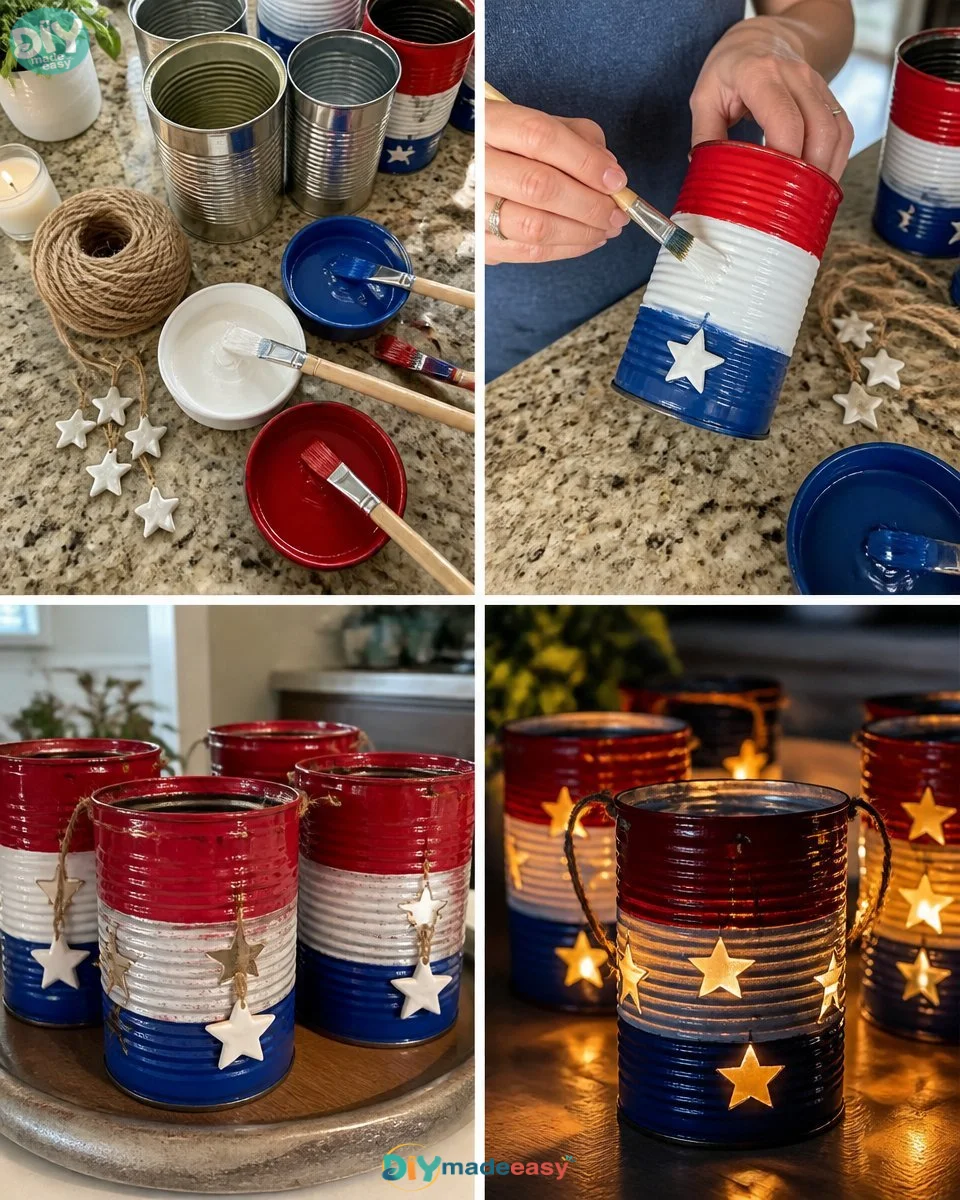
This wind chime serves as more than just a decoration; it provides valuable learning opportunities for kids. Painting the cans allows them to practice fine motor skills and coordination as they hold brushes and make strokes. Understanding how colors mix or layering them can introduce basic art concepts, making this a fun way to learn as they create.
As they punch holes and thread the string, they are developing hand-eye coordination. The process of hanging the wind chime reinforces spatial awareness, teaching them about balance and design. Each of these practices comes together naturally as they engage in the activity, making it a fantastic blend of fun and education.
Troubleshooting Common Issues
If your wind chime doesn’t look as polished as you hoped, don’t worry! Here are some common issues and simple fixes. If the paint is dripping or running, it might be due to applying too thick a layer; try using lighter coats next time. In case a can is dented or isn’t hanging straight, simply re-position it on the string or consider using tape to secure it.
Sometimes, the charms might seem too heavy for the string or cans. If so, hanging fewer charms could maintain aesthetics without risking the wind chime’s integrity. Remember, flexibility is key—making adjustments along the way can lead to creative solutions!
Easy Variations to Try
Looking to shake things up? Here are a few simple ways to change your wind chime. Consider painting the cans in solid colors or even creating patterns like stripes or polka dots for a personalized touch. You might also try using different types of cans; larger ones could create more substantial chimes.
Adding beads or lightweight ornaments can elevate the charm of your wind chime even further. For younger kids, skipping the drilling step and instead hanging the cans horizontally on a piece of driftwood could be an easier option, making the project more accessible for everyone.
Storing or Reusing This Project
After the summertime ends, consider how to best store or reuse your wind chime. It can be gently cleaned and placed indoors as a decoration, adding a bit of summer flair to your home. If you’re looking to reduce waste, consider disassembling the charms and string for future crafts.
Alternatively, the cans can be repurposed for new projects, reinforcing the idea of sustainability. Remember, every creation is an opportunity to inspire further creativity!
FAQs About Star Spangled Wind Chime
Will this project make a mess?
Like any art project, there’s a potential for mess, especially during the painting phase. Having a covered workspace and some old newspapers can help tackle any spills. It’s all part of the fun!
Is this project suitable for younger children?
Yes! With adult supervision, younger children can enjoy painting and decorating the cans. Just be mindful during the punching and threading steps, as they may require an extra hand.
Can I substitute materials?
Absolutely! If you don’t have star charms, any small light decorative items or even dried flowers can work wonders. Creativity is about using what you have around you!
How do I store the wind chime when not in use?
Storing your wind chime in a cool dry place will help maintain its quality. You can dismantle it and save the components for future projects if desired.
What if the charmed string breaks?
If that happens, simply replace it with a new piece of string. It’s easy to fix, and it’s a good opportunity to explore new inventive ways to hang your wind chime.
Conclusion
Conclusion
Making a Star Spangled Wind Chime is not only a delightful way to celebrate summer but also encourages creativity and family bonding. It offers a perfect outlet for kids to explore colors and design using everyday materials. Plus, you’ll have something lovely to hang in your yard, adding a unique soundscape to your outdoor space.
If you’re looking for more inspiration on similar projects, consider checking out resources like the 30 in. H Avria Hand Tuned Wind Chime or the Avria Wind Chime. Enjoy the process and happy crafting!
PrintStar Spangled Wind Chime
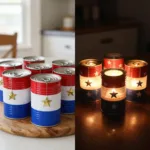
Engage your kids in crafting a colorful and festive wind chime to celebrate summer.
- Prep Time: 15 minutes
- Cook Time: 0 minutes
- Total Time: 60 minutes
- Yield: 1 wind chime
- Category: Craft
- Method: DIY
- Cuisine: N/A
- Diet: N/A
Ingredients
- Tin cans
- Red paint
- White paint
- Blue paint
- String
- Star charms
Instructions
- Begin by painting the outside of your tin cans in festive red, white, and blue. Let the colors dry completely.
- Once dry, carefully punch a small hole in the top of each can.
- Now, thread a piece of string through the holes in each can, securing them.
- Add a few star charms to the string for that magical touch.
- Finally, hang your beautiful wind chime in a spot where the wind can gently play its tune.
Notes
This project is great for family bonding and allows kids to express their creativity. Just ensure adult supervision during certain steps.
Nutrition
- Serving Size: 1 chime
- Calories: 0
- Sugar: 0g
- Sodium: 0mg
- Fat: 0g
- Saturated Fat: 0g
- Unsaturated Fat: 0g
- Trans Fat: 0g
- Carbohydrates: 0g
- Fiber: 0g
- Protein: 0g
- Cholesterol: 0mg