

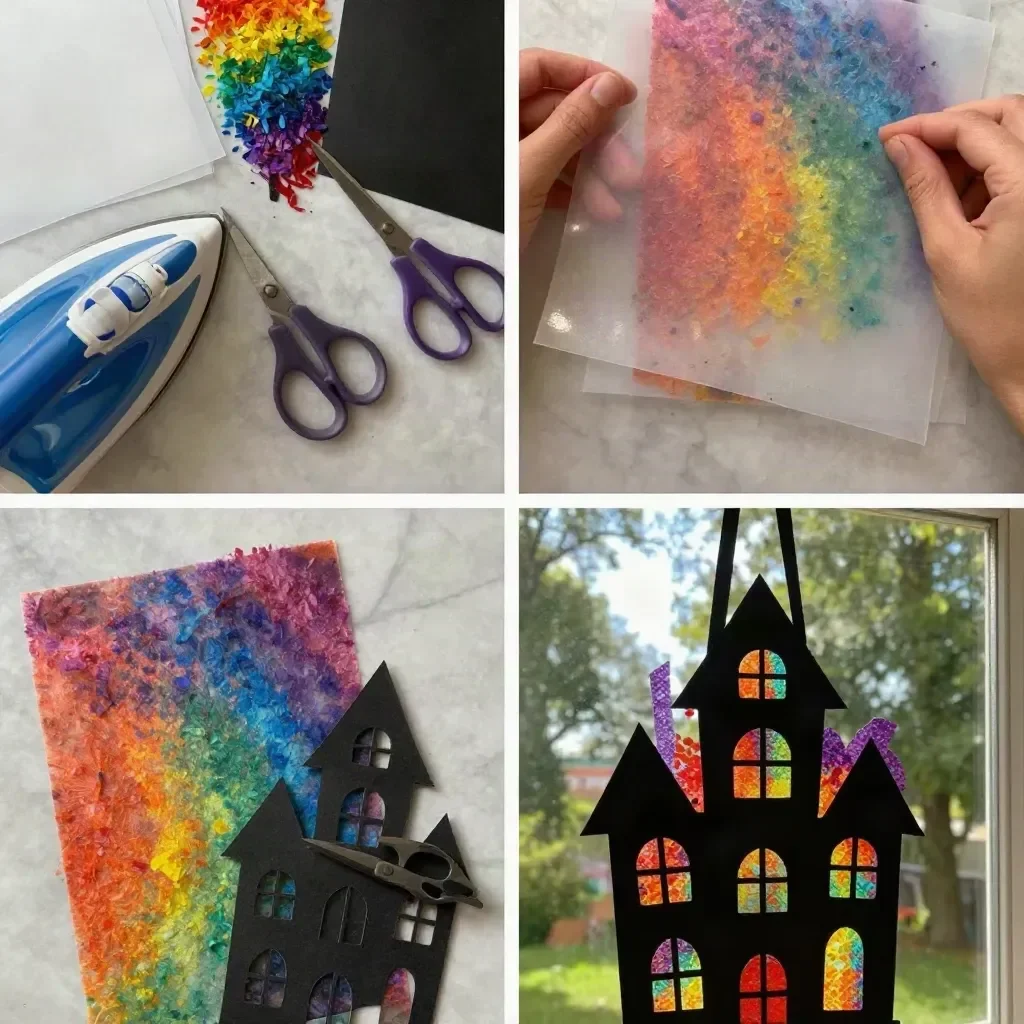
The afternoon sunlight streamed through the kitchen window, casting warm patches on the table. Kids buzzed around, filled with the energy only a weekend can provide, their eyes shining with creativity and curiosity. They asked for a quick craft that could bring some color into their day. That’s when the idea of making a Melted Crayon Rainbow Haunted House Suncatcher came to mind. It’s a simple, engaging project that not only brightens up a window with vibrant hues but also keeps little hands busy with a bit of melting and cutting. You may also find Diy Melted Crayon Rainbow Heart Suncatcher Tutorial useful.
Why You’ll Love Making Melted Crayon Rainbow Haunted House Suncatcher
This project stands out because it’s incredibly low-prep and approachable for both kids and adults. With just a few materials, you can create something beautiful without feeling overwhelmed. Many families appreciate such DIY activities, especially during busy afternoons when everyone seems to be yearning for a little creativity. Additionally, it’s a reliable choice if you’re tight on time or materials. Simply grab some crayons and wax paper, and you’ll be on your way to crafting a delightful suncatcher. You may also find Melted Crayon Flower Suncatchers useful.
A Quick Look Before You Begin
This DIY project can come together in a short while, usually around 30-45 minutes, depending on the kids’ involvement and experience. The setup mainly requires the kitchen or dining table, where you can spread out the materials. It’s best to have a flat surface for melting and cutting, and ideally, a spot where supervision is easy. Mess levels are minimal; crayon shavings can be swept up quickly. While adult help is necessary for the ironing step, the rest can be easily handled by children, making it a collaborative experience. You may also find Butterfly Rainbow Suncatcher Layered Glue Craft useful.
Materials You’ll Need
- Wax paper
- Rainbow crayon shavings
- Black cardstock
- Parchment paper
- Iron
- Scissors
- Ribbon (for hanging)
These materials are typically common household items. The wax paper acts as a barrier that allows for easy melting of the crayons without making a mess, while cardstock provides a sturdy base for the haunted house silhouette. Ensure you have enough crayons ready since different colors will enhance the beauty of your suncatcher.
Step-by-Step Directions
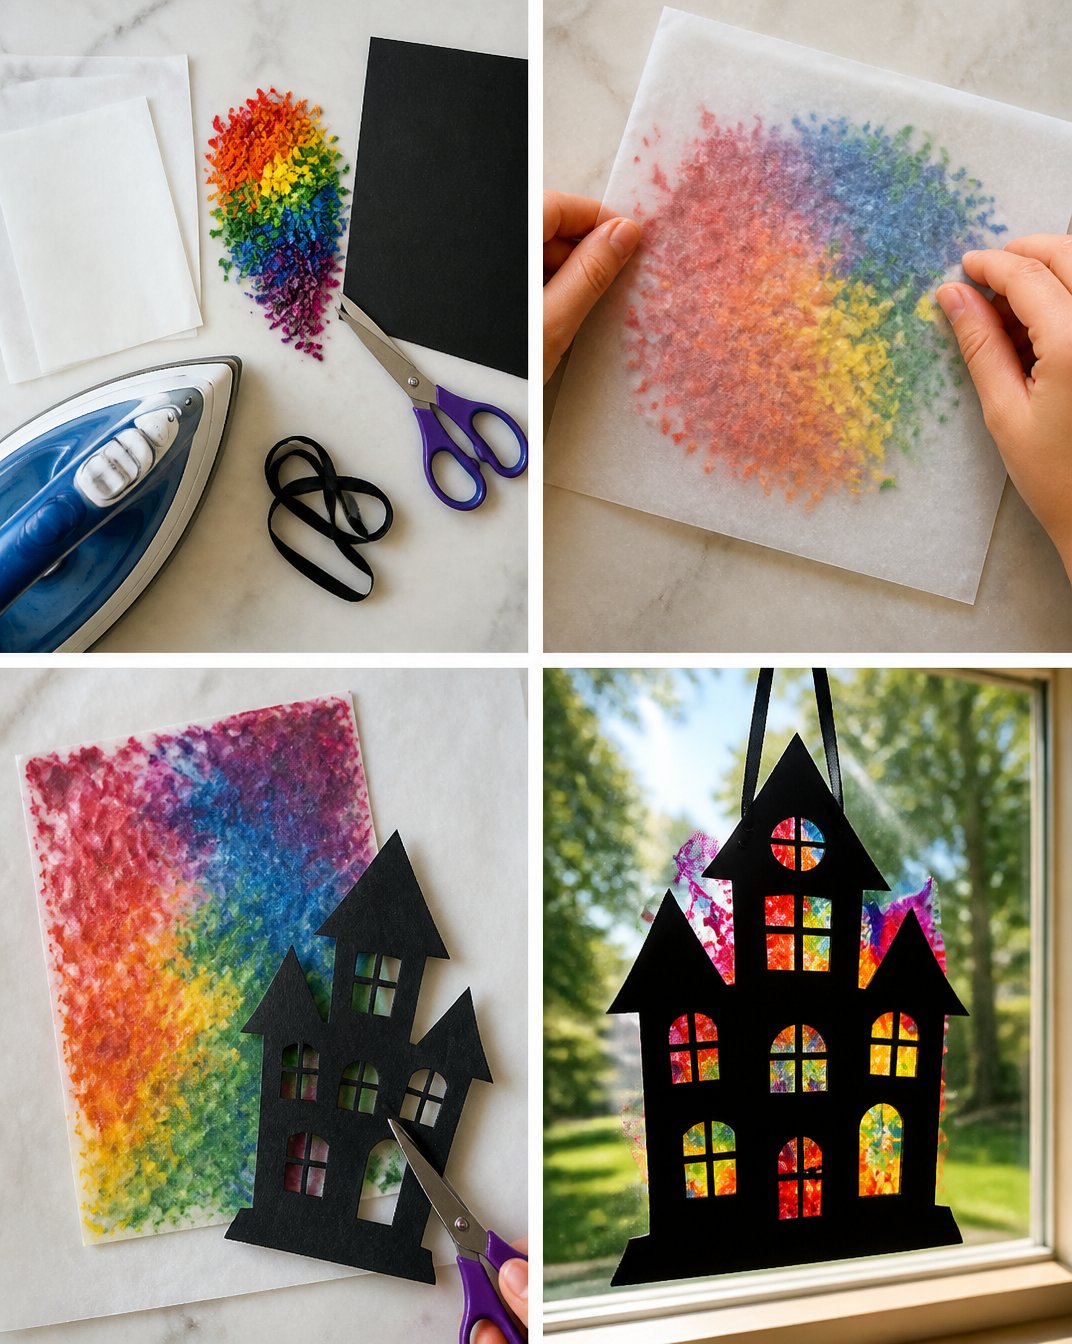
With adult help, grate the crayons into shavings and place them between two sheets of wax paper. This step is fun and sensory; the kids can watch as the colors start to mix.
Use an iron on a low setting to melt the crayon shavings. Ensure you cover the wax paper with parchment paper during this step to protect your iron and keep everything tidy. The heat will transform the shavings into a beautiful blend of colors.
Cut out a haunted-house silhouette from black cardstock. Have fun with this! You can add windows, doors, and even some spooky elements to make it extra special.
Position the melted crayon sheet behind the windows of the haunted house. Make sure to align it well so the light can shine through the vibrant colors.
Hang your suncatcher in a sunny window with a ribbon to display the colorful effect. Seeing the light reflect through the crayon colors is truly rewarding!
What Kids Practice While Making This
Engaging in this DIY project does more than just create a beautiful piece of art; it’s a powerful learning experience. Kids practice fine motor skills while grating crayons and cutting out shapes. They also explore simple science concepts, like melting, as they see how heat transforms the solid crayons into colorful liquid. Coordinating these tasks involves cause and effect thinking, enhancing their problem-solving abilities. Plus, the fun of mixing colors reinforces their artistic expression and creativity.
Troubleshooting Common Issues
If you encounter any issues, don’t worry! Sometimes, the crayon shavings may not melt evenly. This can happen if the iron is too hot or if the shavings are too thickly layered. If that happens, you can always reheat them slowly. If the colors seem dull, perhaps more layers of shavings can help produce a bolder effect. Keeping a close eye during the melting stage helps prevent any mishaps.
Easy Variations to Try
If you want to switch things up a bit, there are several fun variations. You can utilize other shapes, like pumpkins or stars, for seasonal fun. For younger kids, it could be helpful to create simpler designs. You could also try using different surfaces instead of cardstock, like transparent plastic sheets, which can add more light to the final product. Alternatively, explore other projects such as creating a rainbow crayon butterfly suncatcher for a delightful twist.
What to Do With It After
After finishing your suncatcher, storage options are simple. Just ensure everything is cleaned up properly and any unused materials are put away. These suncatchers can be displayed in windows or can even be given as gifts to brighten someone else’s day. If you want to store them for later use, hang them up with care or place them flat in a box where they won’t be damaged.
FAQs About Melted Crayon Rainbow Haunted House Suncatcher
Is this project too messy for my kitchen?
Not at all! While there may be a few crayon shavings, they can be easily swept up afterward. Just lay down some newspaper or a placemat to catch any spills.
What age is this project good for?
This activity is perfect for ages 5 and up, with adult assistance during the ironing step. Younger kids can help with grating and cutting under supervision.
Can I substitute the materials?
Absolutely! If you don’t have certain colors of crayons, try mixing shavings to create unique patterns. Additionally, any sturdy paper can work instead of cardstock.
Will the colors fade over time?
While direct sunlight might fade colors slowly, your suncatcher should keep its vibrant look for quite a while if displayed in a dimmer light.
What do I do if my melted crayon isn’t sticking?
If the crayon shavings don’t adhere well, it might be a sign that they’re too thick. Always ensure that the layers are even and that you’re using enough heat to help them blend.
Conclusion
Making a Melted Crayon Rainbow Haunted House Suncatcher is not just a fun project; it creates a lovely memento that also serves as a unique decoration. As you make your colorful creation, you can find additional inspiration and ideas from resources like Rainbow Crayon Haunted House Window Art – Cozy Hands DIY or explore more crafting options in the Glow & Light Crafts collection. Enjoy the process, embrace the creativity, and watch as your children create something truly special!
PrintMelted Crayon Rainbow Haunted House Suncatcher
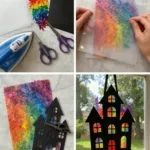
A fun and engaging DIY project for kids to create a colorful suncatcher using melted crayon shavings.
- Prep Time: 15 minutes
- Cook Time: 30 minutes
- Total Time: 45 minutes
- Yield: 1 suncatcher
- Category: Craft
- Method: Crafting
- Cuisine: Not Applicable
- Diet: Not Applicable
Ingredients
- Wax paper
- Rainbow crayon shavings
- Black cardstock
- Parchment paper
- Iron
- Scissors
- Ribbon (for hanging)
Instructions
- Grate the crayons into shavings and place them between two sheets of wax paper.
- Use an iron on a low setting to melt the crayon shavings, ensuring to cover with parchment paper.
- Cut out a haunted-house silhouette from black cardstock.
- Position the melted crayon sheet behind the windows of the haunted house.
- Hang your suncatcher in a sunny window with a ribbon to display.
Notes
This project is great for fine motor skill practice and exploring color mixing.
Nutrition
- Serving Size: 1 suncatcher
- Calories: 0
- Sugar: 0g
- Sodium: 0mg
- Fat: 0g
- Saturated Fat: 0g
- Unsaturated Fat: 0g
- Trans Fat: 0g
- Carbohydrates: 0g
- Fiber: 0g
- Protein: 0g
- Cholesterol: 0mg