


As the sun begins to set on a busy afternoon, you might find yourself with a house full of energetic kids looking for something creative to do. Instead of defaulting to screen time, why not engage them with a delightful project? The DIY Rainbow Salt Dough Barn Star Ornaments tutorial is the perfect way to pour some creativity into that moment. With simple ingredients and a little guidance, you can create colorful star-shaped ornaments that brighten any space. Plus, this activity provides both fun and a chance for the kids to express their artistic sides. You may also find Colorful Rainbow Jellyfish Salt Art Tutorial useful.
Why You’ll Love Making DIY Rainbow Salt Dough Barn Star Ornaments Tutorial
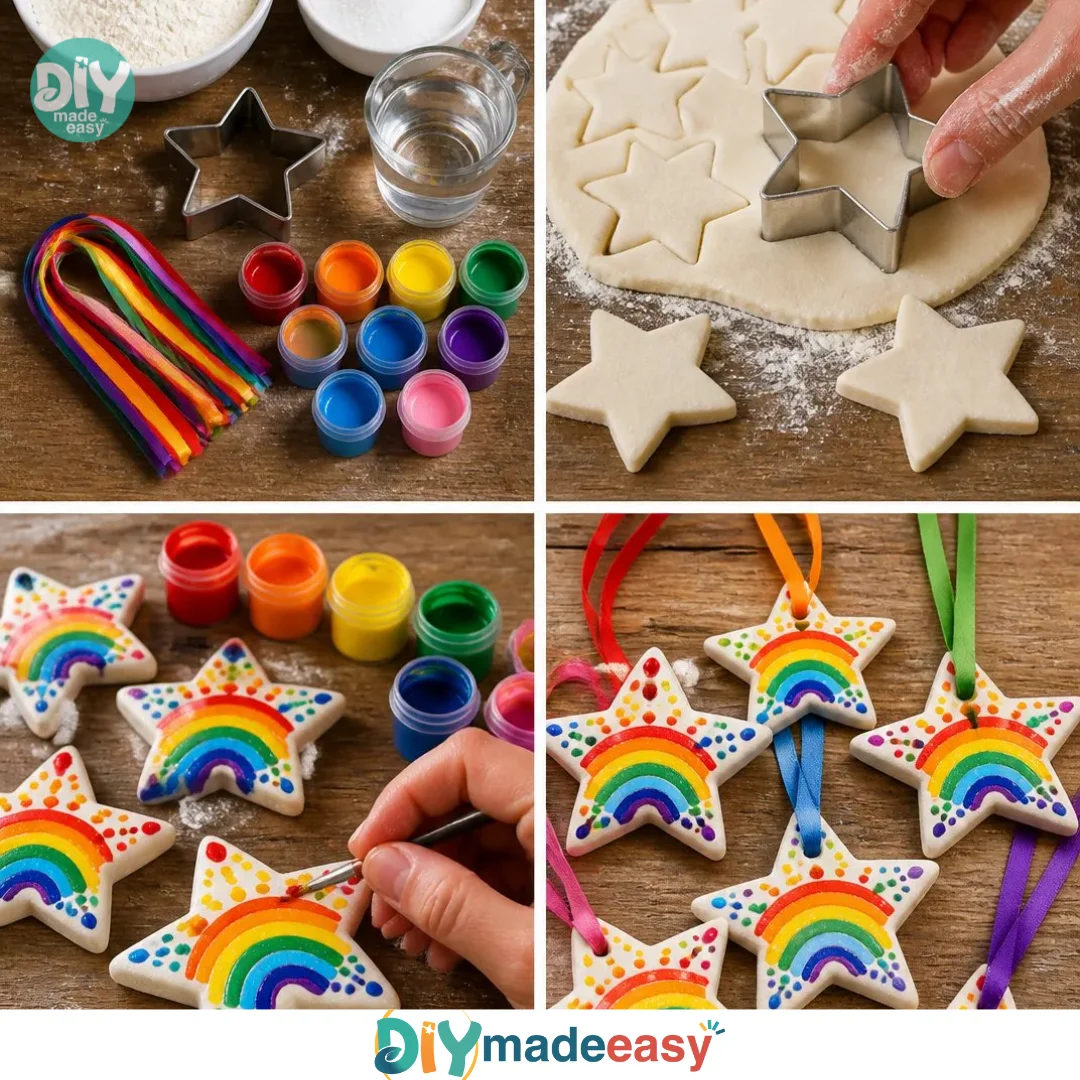
You may also find Diy Crystal Growing Star Tutorial At Home Crafts useful.
This project is a hit for a multitude of reasons. First and foremost, it’s low-prep. You’ll find that you likely have most, if not all, the materials you need at home. Gather ingredients and tools such as flour, salt, warm water, and a star cutter, and you’re ready to dive in. The steps are straightforward, making it approachable even for those who don’t consider themselves crafting experts. You may also find Diy Melted Crayon Rainbow Heart Suncatcher Tutorial useful.
The DIY Rainbow Salt Dough Barn Star Ornaments are not only reliable, but they also fit seamlessly into real-life schedules. You can complete this project in just a couple of hours, allowing you to enjoy family time without feeling rushed. The entire experience is soothing yet exhilarating as the kids watch their creations take shape and transform with vibrant colors. You may also find Diy Rainbow Bottle Cap Daisy Wreath Tutorial useful.
A Quick Look Before You Begin
This project doesn’t just get your hands messy; it also fosters joy and bonding. You can expect to spend about 2 hours from start to finish. Begin by mixing the basic ingredients, and then allow for some time to bake the stars at 250°F. The whole setup is manageable, and it doesn’t require intense adult involvement, making it a fantastic option for kids to take the lead. The mess level is perfect for a fun afternoon project but still easy enough to clean up afterward.
Materials You’ll Need
- 2 cups flour – a staple in most kitchens.
- 1 cup salt – easily accessible and inexpensive.
- 3/4 cup warm water – essential for bringing the dough to life.
- Star cutter – can be found in baking sections or craft stores.
- Acrylic paint – perfect for adding personality to your stars.
- Ribbon – to hang your beautiful creations.
These materials are not only straightforward but also budget-friendly, making this a great option for everyone to enjoy.
Step-by-Step Directions
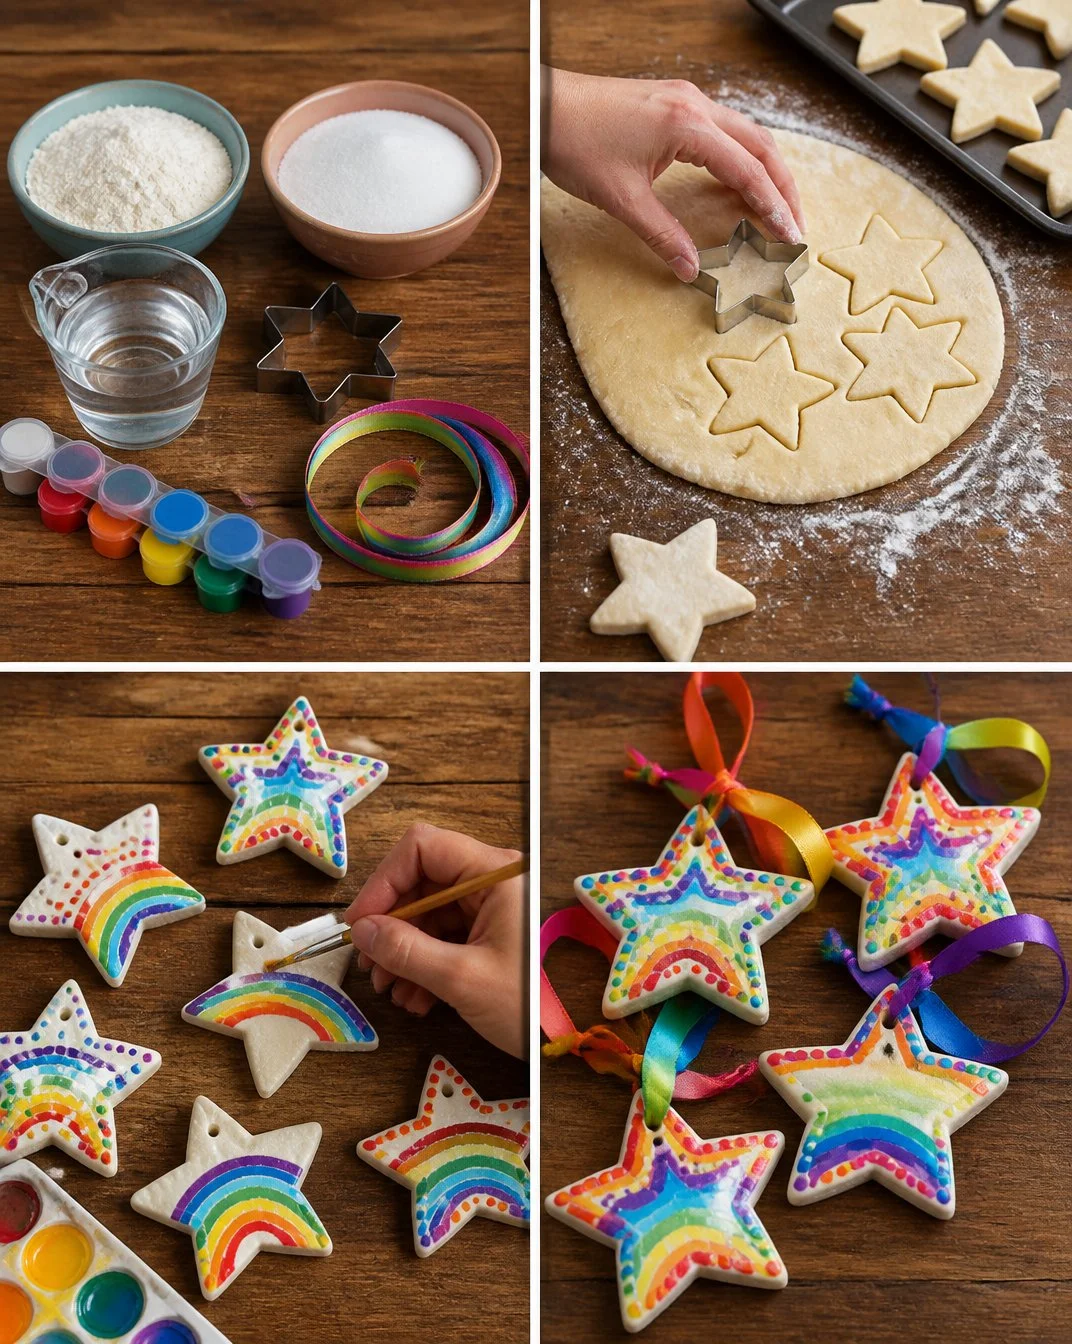
Mix the Dough: In a large bowl, combine 2 cups of flour and 1 cup of salt. Slowly add 3/4 cup of warm water while stirring. The mixture should become a soft, pliable dough. If it’s too sticky, add a bit more flour until you reach the desired consistency.
Roll and Cut the Stars: On a lightly floured surface, roll the dough to about 1/4 inch thickness. Use your star cutter to punch out star shapes. Place these onto a baking sheet lined with parchment paper.
Bake the Stars: Preheat your oven to 250°F. Bake the stars for approximately 2 hours, or until they feel hard and firm. Keep an eye on them to prevent any burning.
Cool and Paint: Once baked, remove the stars from the oven and let them cool completely. This is a great time for the kids to decide how to decorate their creations. Use acrylic paint to add rainbow folk designs to each star.
Add Finishing Touches: After the paint has dried, attach a ribbon to the top of each star for hanging. These ornaments will make beautiful decorations for your home or gifts for loved ones.
The Learning Behind This DIY
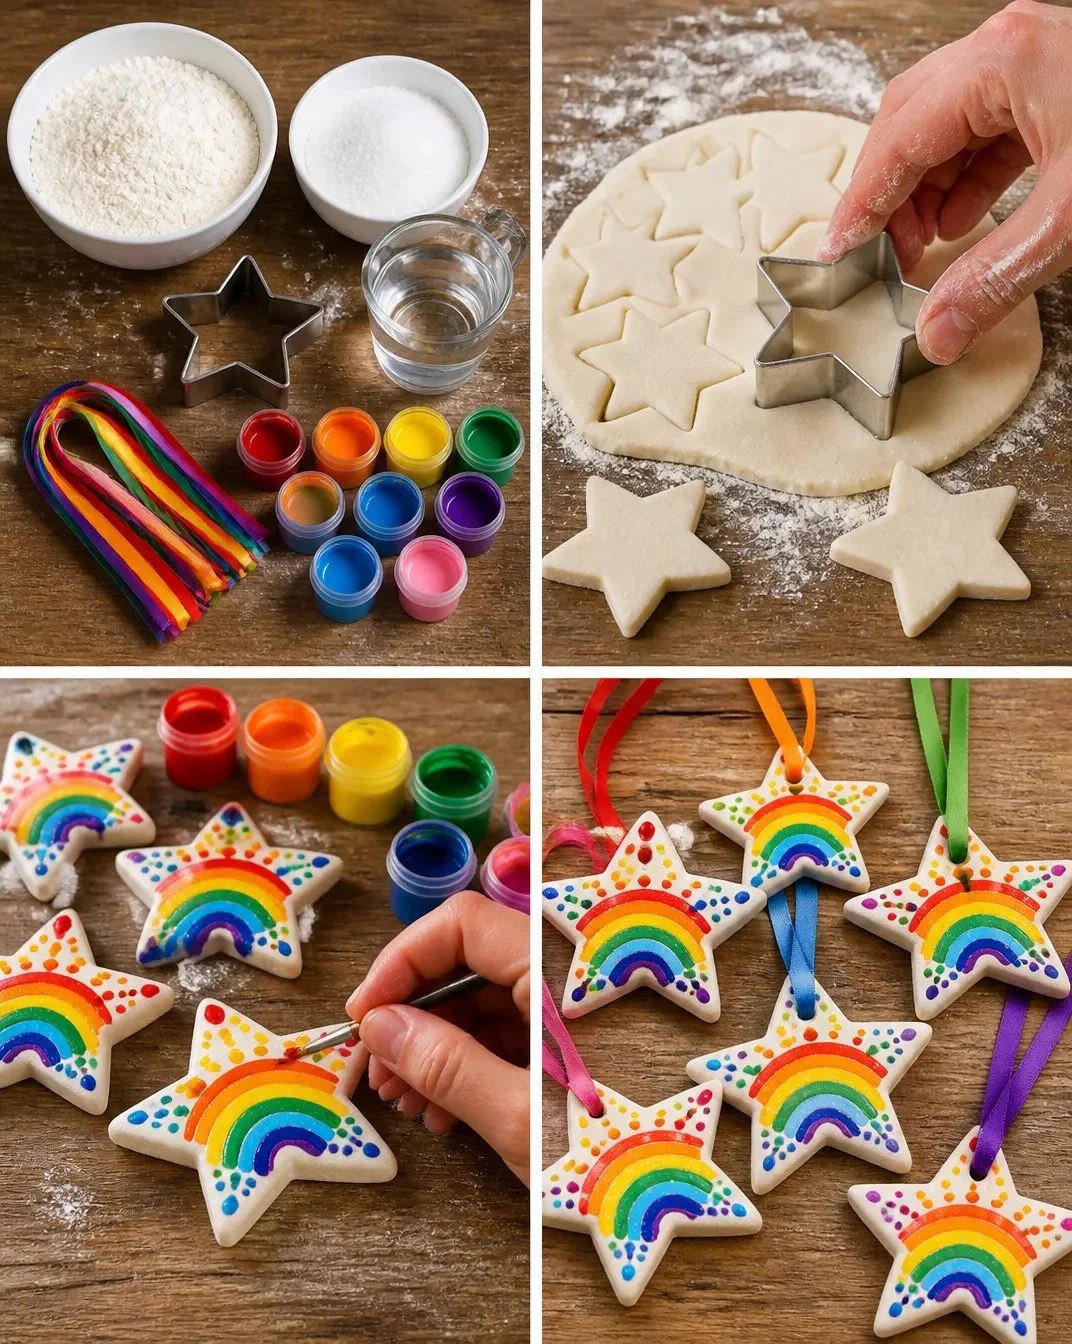
As your kids roll, cut, and paint, they engage in valuable learning. They practice fine motor skills as they manipulate the dough and handle tools like the cutter and paintbrush. This DIY project also introduces basic science concepts like mixing, changing states (from dough to solid), and color mixing with paint, reinforcing cognitive development in a fun and artistic context.
Troubleshooting Common Issues
While making these ornaments is usually smooth sailing, it’s helpful to anticipate a few common problems. For example, if the dough is too crumbly, adding a little more warm water can help achieve the right consistency. If the stars are too thin and break easily after baking, consider rolling the dough thicker next time to provide more stability. Simply adjusting these small factors can make a big difference in the overall outcome.
Easy Variations to Try
You might want to switch things up a bit with these suggestions:
- Add Scent: Try adding a few drops of vanilla extract to the dough for a pleasing aroma.
- Holiday Themes: Use seasonal cookie cutters for different holidays, creating ornaments that reflect those specific times of year.
- Nature Elements: Integrate natural items like leaves or flower petals into the dough before baking for added texture and decoration.
These variations encourage creativity and keep the crafting experience fresh every time.
Storing or Reusing This Project
After the fun is over, you’ll want to consider how to best store your creations. These ornaments can be displayed around the house during the holiday season or saved for future use. Simply wrap them in tissue paper and place them in a sturdy box to keep them safe. If you have leftover dough, you can store it in an airtight container in the fridge for up to a week. That way, you can finish crafting another day.
FAQs About DIY Rainbow Salt Dough Barn Star Ornaments Tutorial
Is the baking process safe for kids?
Absolutely! As long as you supervise the baking and ensure they understand not to touch the oven, the process is safe and straightforward.
What should I do if my dough is too sticky?
If your dough becomes sticky, sprinkle a bit more flour during kneading until you achieve a workable consistency.
Can we make the dough ahead and store it?
Yes, you can prepare the dough and store it wrapped in plastic wrap in the fridge for about a week. Just allow it to come to room temperature before rolling out.
What if I run out of acrylic paint?
If you run out of acrylic paint, you can use food coloring mixed with the white glue for a similar effect or try washable markers to color your stars.
What’s the best way to clean up after this project?
Cleaning up is simple! Just sweep any flour from the surface, wipe down the counters, and soak any tools that have dough stuck to them in warm soapy water.
Conclusion
Conclusion
Creating DIY Rainbow Salt Dough Barn Star Ornaments is a wonderful way to spend quality time with your children while engaging their creativity. This activity not only yields unique decorations but also provides an enriching learning experience. For more inspiration, check out
Salt Dough Ornaments – The ULTIMATE guide!for tips on similar projects. Another great resource is the
Best Salt Dough Recipe for Ornaments & Craftsto help you master this delightful dough. Enjoy the process, and remember that it's about the joyful moments created along the way!