

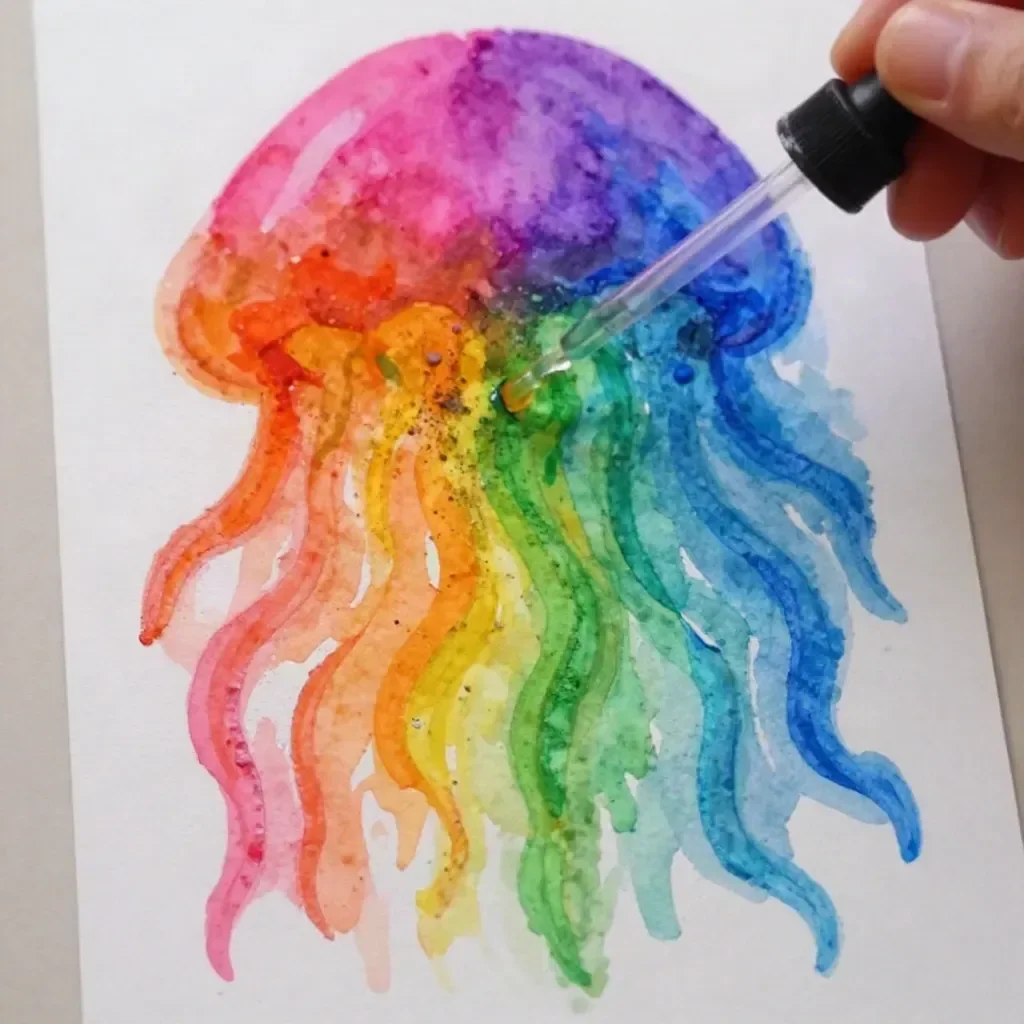
Vibrant Rainbow Jellyfish Salt Art You may also find Rainbow Crystal Heart useful.
Imagine a busy afternoon where you find yourself looking for a quick yet engaging project that your kids can dive into. You need something simple, enjoyable, and visually stunning. That’s where the Vibrant Rainbow Jellyfish Salt Art comes into play. This colorful and creative activity not only inspires imagination but also provides an opportunity for hands-on learning. With minimal prep required and everyday materials at your fingertips, you can create a stunning jellyfish art piece that your kids will adore. It’s a project that brings joy and a splash of color to your day. You may also find Baking Soda Rainbow Crystal Forest useful.
Why This Vibrant Rainbow Jellyfish Salt Art Works So Well
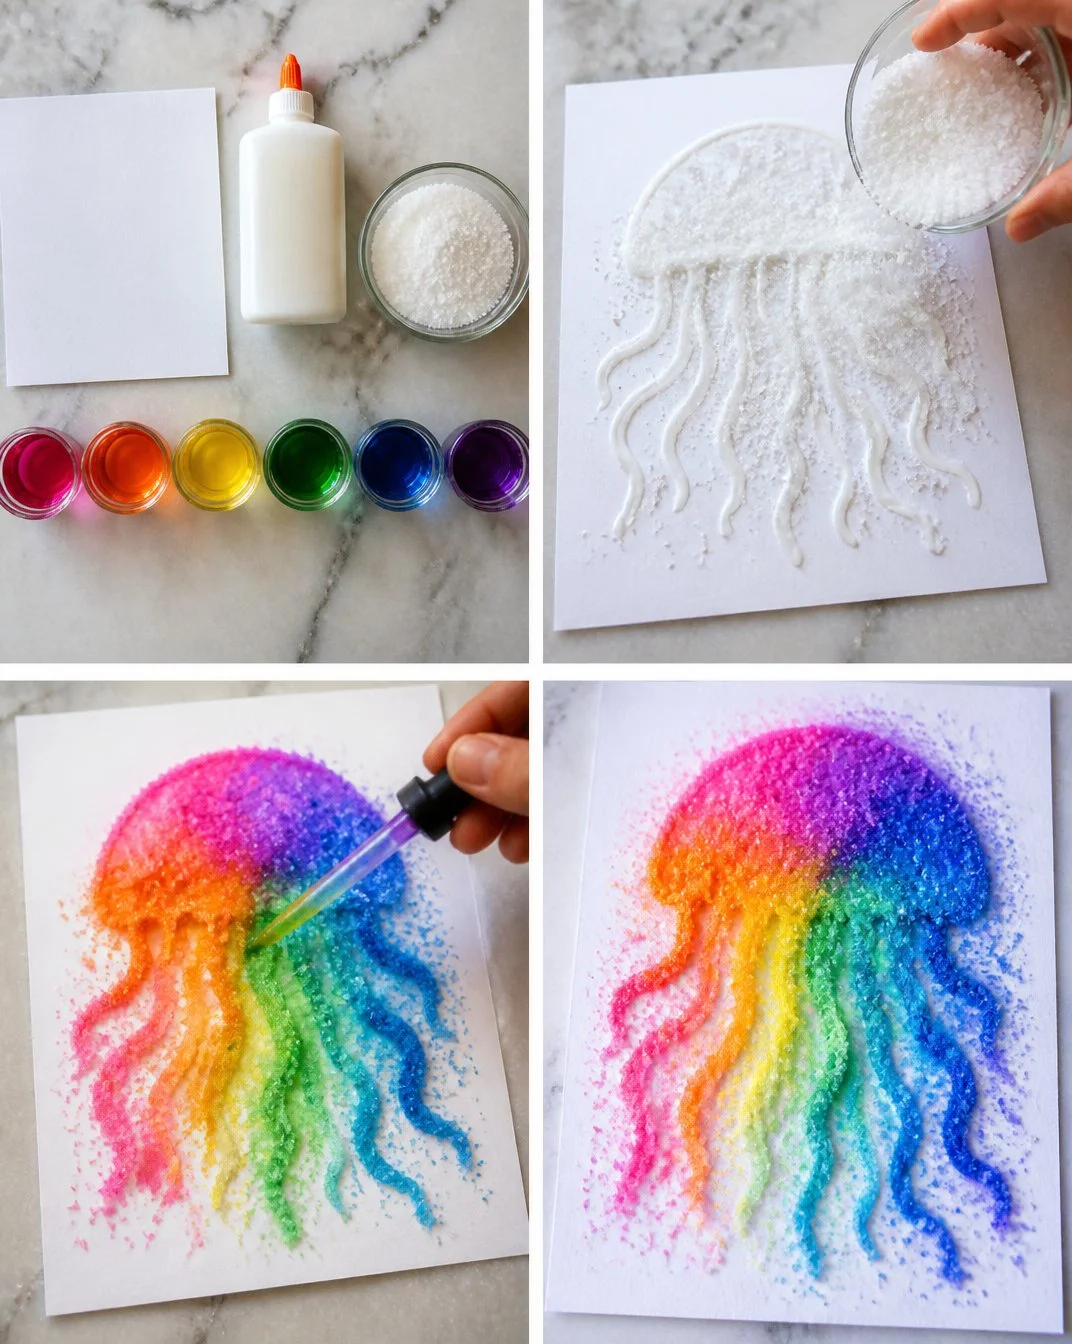
The beauty of this project lies in its simplicity. It uses basic materials that you likely have at home, making it incredibly accessible for families. The hands-on nature of the Vibrant Rainbow Jellyfish Salt Art captures children’s attention, keeping them engaged and encouraging creativity. This project supports fine motor skills as they manipulate the salt and glue, and it also introduces them to color mixing with liquid watercolors. The process is reliable, ensuring fantastic results every time, and being low-prep means you can enjoy this fun activity without the stress of extensive setup.
A Quick Look Before You Begin
When you decide to embark on this creative journey, take a moment to consider your time and space. This project typically takes a little under an hour to complete, including drying time. The setup is straightforward, requiring just a clear space to work and a few household items. Your kids will enjoy the tactile experience of pouring salt and watching the colors swirl together. Cleanup is a breeze, especially if you lay out some newspaper or a plastic tablecloth. You might want to be nearby to supervise and help with any tricky bits, but overall, it’s straightforward enough for kids to handle on their own.
Materials You’ll Need
- Heavy cardstock
- White glue (3 oz)
- Coarse salt (½ cup)
- Liquid watercolors
This list keeps things simple and focuses on items that are common around the house. Using heavy cardstock gives your jellyfish a sturdy base, while the white glue holds everything together nicely. Coarse salt provides texture and enhances the visual appeal. Liquid watercolors are perfect for adding vibrant hues. You can easily find these items in your local craft or grocery store, and they are budget-friendly, making it an ideal choice for families.
Step-by-Step Directions
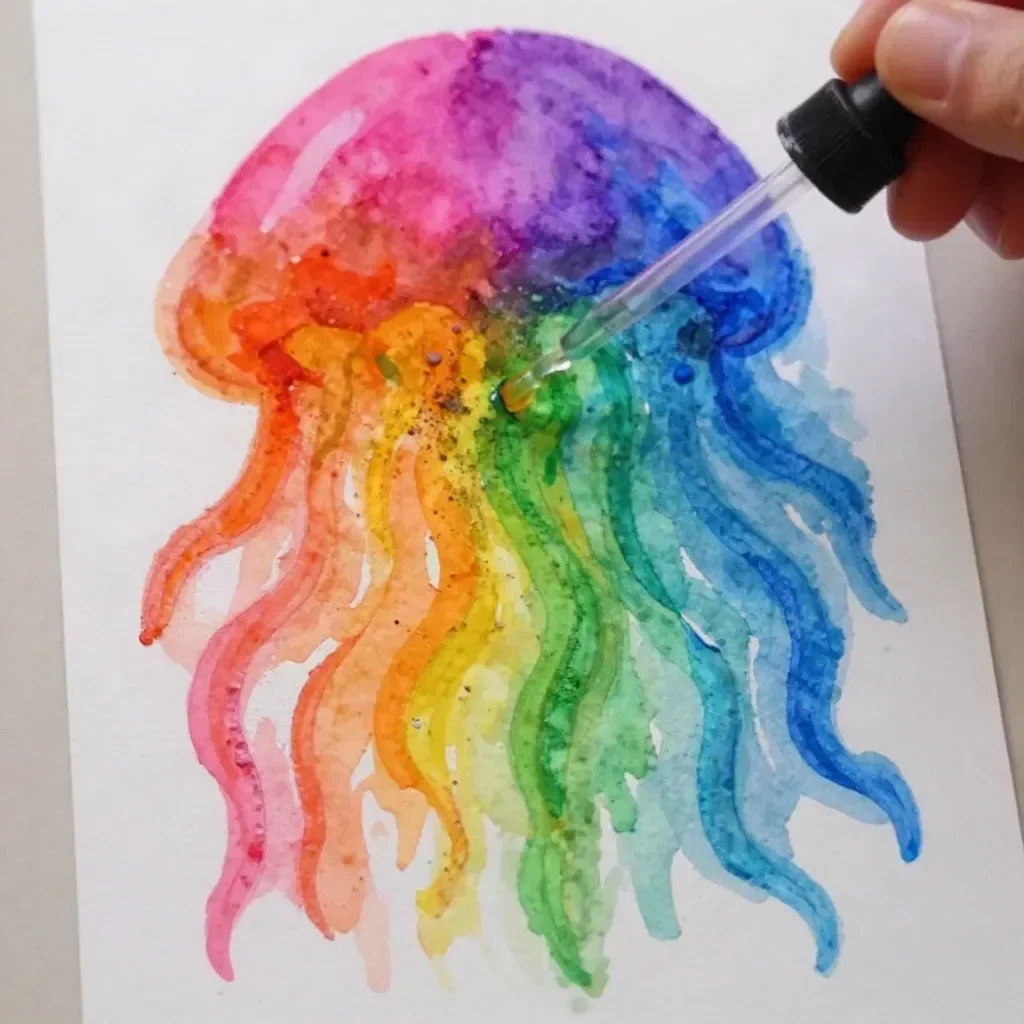
Draw the jellyfish with glue: Start by carefully sketching your jellyfish on the cardstock using white glue. Encourage your kids to creatively add details like tentacles and a bell shape. Since the glue dries clear, you won’t see it once it’s set, so worry less about neatness during this step!
Cover with salt: Once your jellyfish is drawn, immediately cover the glue with coarse salt. Pour the salt generously over the jellyfish, allowing it to stick to the glue. This part can get a bit messy, so a tray or large piece of paper underneath will help catch any salt that spills.
Shake off excess: After letting the salt sit for a moment, pick up the cardstock and gently shake it to remove any excess salt. You can tap the back carefully to ensure most of the loose salt is gone. The salt will remain glued to the jellyfish, creating a lovely sparkly texture.
Drop rainbow colors onto the salt: Now comes the fun part! Use liquid watercolors to drop vibrant colors onto the salt. Watch as they spread and mix together, creating beautiful patterns. Kids can experiment with different colors, making this step a wonderful opportunity for creativity.
Dry flat: Finally, leave your artwork to dry flat for several hours. This step is crucial to ensure the colors set properly and the salt sticks well. Once dry, your jellyfish will be ready to display or gift!
The Learning Behind This DIY

While creating this jellyfish art, kids are practicing several important skills. They engage in fine motor activities by handling glue and salt, which helps with coordination and dexterity. The artistic process introduces them to color theory as they mix different hues, observing how one color can change another. Additionally, the project incorporates scientific concepts, such as the absorption of liquids and how salt interacts with moisture in the air.
Troubleshooting Common Issues
If something doesn’t go as planned, don’t fret! It’s common for kids to spill salt or accidentally use too much glue. If too much glue overflows, reassure them that art is about exploration—it can still turn out great. If the colors seem muddled, encourage them to use paler or more vibrant shades individually to see more distinct results. You can simply dab off areas with a paper towel if that happens. With these simple fixes, they can adjust their approach and still have a fantastic piece of art.
Easy Variations to Try
Consider trying these variations to keep the project fresh and exciting. First, introduce different animal shapes—like sea turtles or colorful fish—following the same salt art technique. You can also experiment with different backgrounds, such as painting the cardstock a singular color before applying glue and salt. For a seasonal twist, make jellyfish in fall-themed colors or holiday patterns. If you’re working with slightly older kids, challenge them to create a whole underwater scene!
Storing or Reusing This Project
After finishing the jellyfish, think about how to store or display it. If you want to keep it, a simple frame can preserve it nicely. If you prefer to reuse materials or clean up, gently shake off the salt and try to extract the glue from the cardstock carefully, although this might damage the artwork. For next-time use, all remaining materials can certainly be repurposed into future projects like a bubble firework art or baking soda crystals art.
FAQs About Vibrant Rainbow Jellyfish Salt Art
Will this project make a huge mess? Not if you take a few precautions! Lay down some newspaper or a plastic cover before you start to catch any salt spills, and it will make cleanup much easier.
How safe is this activity for young children? The materials used are generally safe, but adult supervision is always wise, especially around younger kids, to avoid any choking hazards with small pieces or spills from liquid watercolors.
Can we use regular table salt instead of coarse salt? While the texture may differ, it is possible to use table salt. However, the coarse salt tends to create a more textured look, which enhances the final piece.
What if we want to change the colors used? Liquid watercolors are easy to mix and can be exchanged for any color you have at hand—be it food coloring or even watercolor paints.
How do we store our finished jellyfish art? It’s best to display your artwork in a place that’s not overly damp since moisture can cause the salt to dissolve over time. If you’re keen on saving it, opt for framing!
Conclusion
In conclusion, the Vibrant Rainbow Jellyfish Salt Art project offers a delightful creative outlet for children and parents alike. Not only does it promote artistic expression, but it also provides valuable lessons about color mixing and texture. If you’re looking for related ideas, check out this jellyfish salt painting project or explore splat painting techniques for even more fun and engaging arts and crafts!
PrintVibrant Rainbow Jellyfish Salt Art
A fun and engaging art project where kids create colorful jellyfish using salt and glue, promoting creativity and fine motor skills.
- Prep Time: 10 minutes
- Cook Time: 30 minutes
- Total Time: 40 minutes
- Yield: 1 art piece
- Category: Arts and Crafts
- Method: Crafting
- Cuisine: N/A
- Diet: N/A
Ingredients
- Heavy cardstock
- White glue (3 oz)
- Coarse salt (½ cup)
- Liquid watercolors
Instructions
- Draw the jellyfish with glue: Start by carefully sketching your jellyfish on the cardstock using white glue. Encourage your kids to creatively add details.
- Cover with salt: Once your jellyfish is drawn, immediately cover the glue with coarse salt. Pour the salt generously over the jellyfish.
- Shake off excess: After letting the salt sit, pick up the cardstock and gently shake it to remove any excess salt.
- Drop rainbow colors onto the salt: Use liquid watercolors to drop vibrant colors onto the salt, allowing them to spread and mix.
- Dry flat: Leave your artwork to dry flat for several hours to ensure the colors set properly.
Notes
Consider variations such as different animal shapes or seasonal colors to keep the project fresh.
Nutrition
- Serving Size: 1 project
- Calories: 0
- Sugar: 0g
- Sodium: 0mg
- Fat: 0g
- Saturated Fat: 0g
- Unsaturated Fat: 0g
- Trans Fat: 0g
- Carbohydrates: 0g
- Fiber: 0g
- Protein: 0g
- Cholesterol: 0mg