

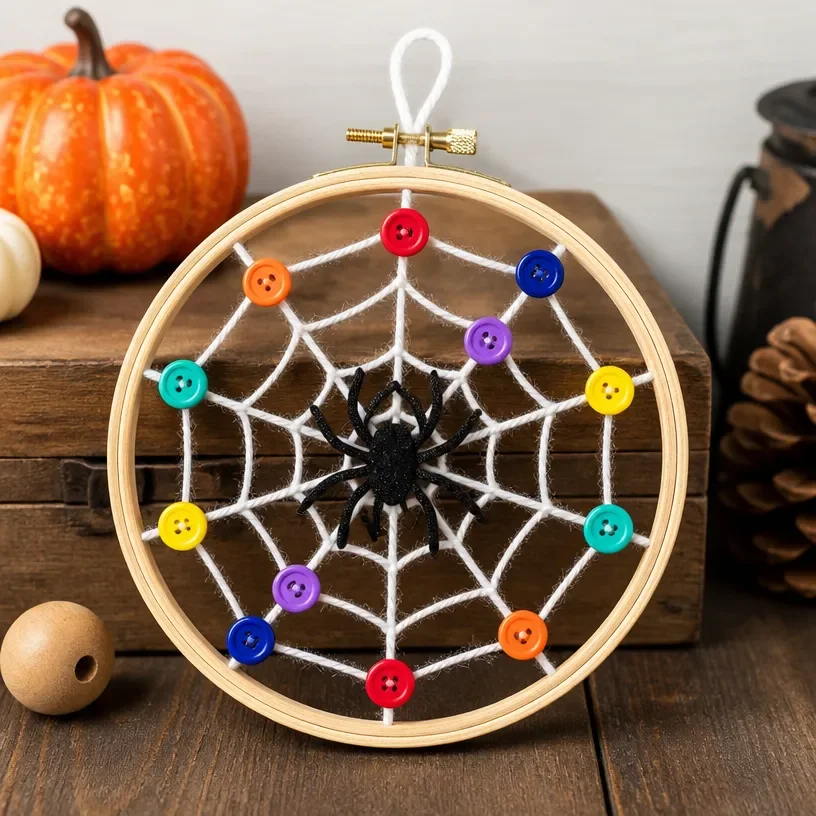
Rainbow Button Embroidery Hoop with Spiderweb Design captures the imagination of both kids and adults alike. Imagine a busy afternoon when your children suddenly express the urge to create something colorful and fun. Instead of searching for complex projects, you can opt for this charming and simple embroidery design. This project allows families to engage creatively while incorporating elements of nature and color, making the Rainbow Button Embroidery Hoop a delightful experience. You may also find Create Colorful Rainbow Hearts With Pressed Flowers useful.
Why You’ll Love Making Rainbow Button Embroidery Hoop with Spiderweb Design
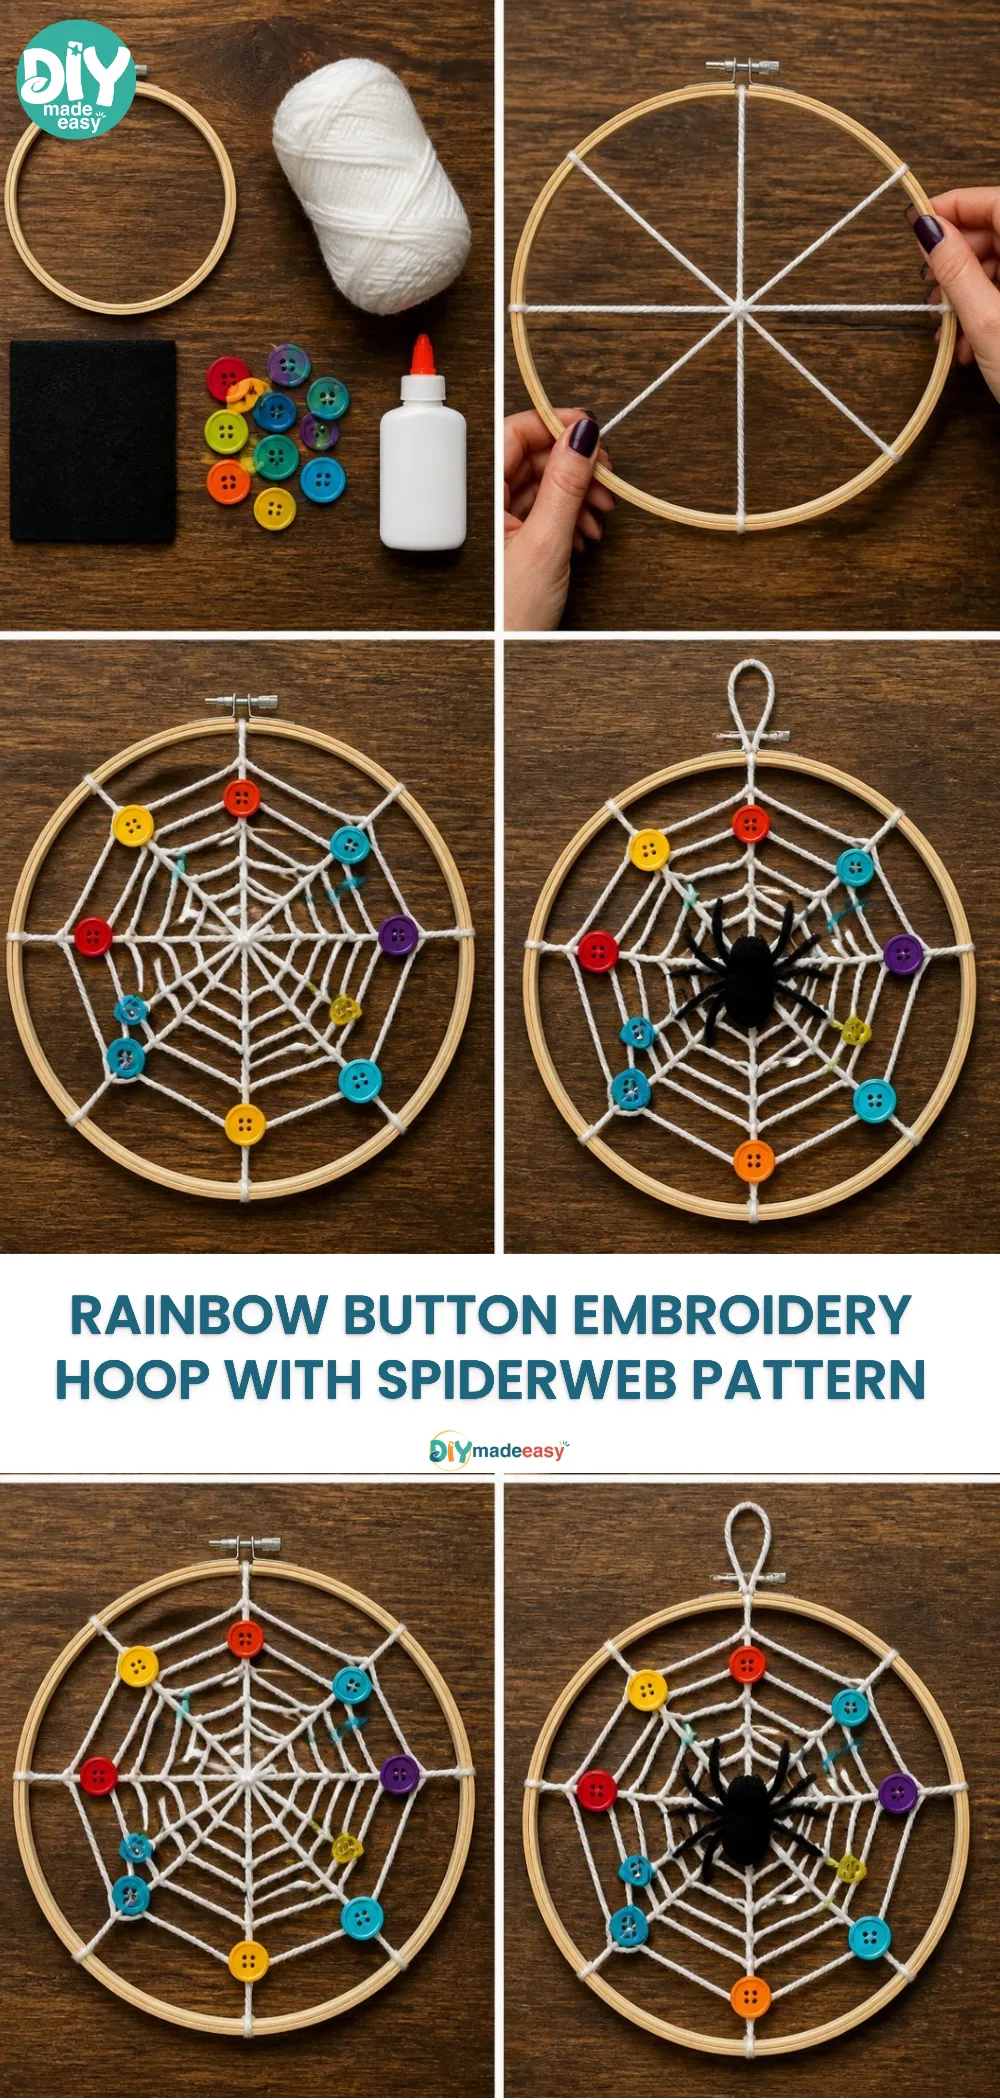
The charm of this embroidery project lies in its simplicity. First and foremost, it requires minimal preparation. You don’t need to gather an extensive list of supplies, making it accessible for a casual afternoon. Plus, it introduces kids to sewing and design elements without overwhelming them. The tasks involved are manageable, thus minimizing frustration. This project also accommodates various age groups, allowing for adaptability in complexity based on skill levels. From selecting vibrant buttons to stitching the fabric, children confidently progress through the creative process. You may also find How To Create Rainbow Apple Button Mosaic useful.
A Quick Look Before You Begin
Before diving in, it’s crucial to set up a comfortable workspace. Gather your materials in a designated area for ease during the craft, keeping distractions at bay. This helps not only manage clutter but also keeps the mood light. The overall timing for completion can vary, but expect it to take around an hour or so, depending on your pace. With cleanup in mind, this craft doesn’t create excessive mess, primarily using buttons and fabric that are easily handled. Adults can participate by guiding steps or offering help when needed, fostering teamwork. You may also find Rainbow Butterfly Stakes Eco Friendly Design Recycled Bottles useful.
Materials You’ll Need
- Embroidery hoop: A common household item that gives structure to your design.
- Colorful buttons: These can be found in various craft supplies or even reused from old clothing.
- Fabric: Use a simple cotton fabric, which is budget-friendly and easy to work with.
- Needle and thread: Essential for stitching the buttons onto the fabric.
- Scissors: Handy for trimming excess fabric or threads.
Step-by-Step Directions
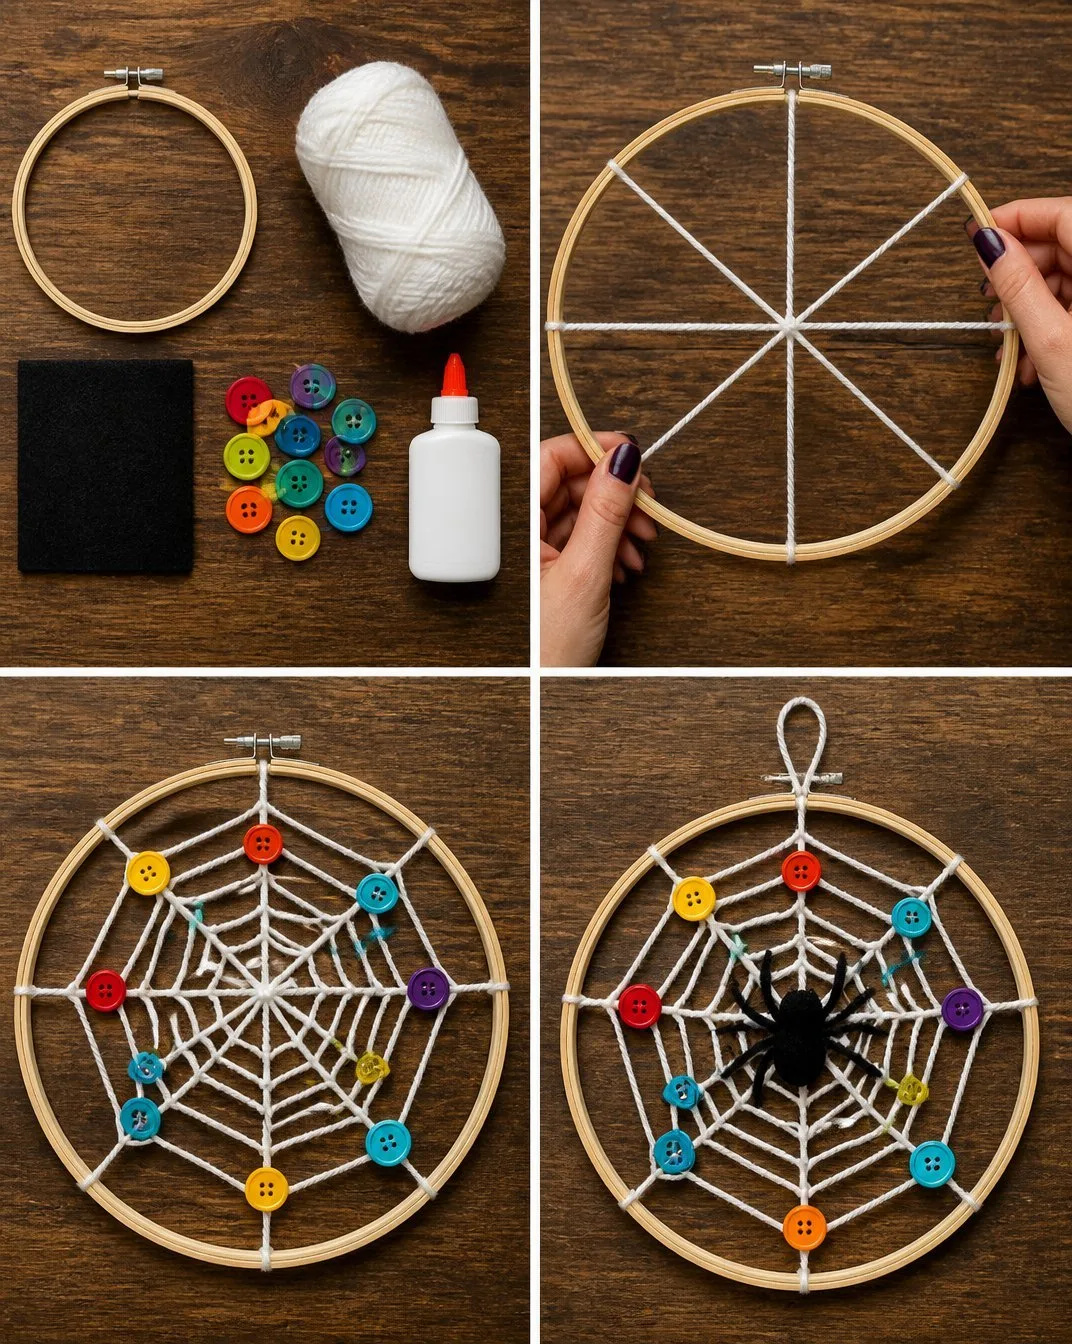
- Prepare Your Hoop: Begin by loosening the embroidery hoop and placing the fabric over the inner circle, ensuring it’s centered. Tighten the outer hoop to hold the fabric in place.
- Choose Your Design: Decide how you want to arrange the buttons on your fabric. You can create a random pattern or a structured design, such as a spiderweb.
- Begin Stitching: Thread your needle, tie a knot at the end, and start sewing the buttons onto the fabric. Loop the thread through the button holes, ensuring they are anchored securely.
- Layer Your Colors: Use a variety of buttons to create a colorful effect. The mingling of hues can help in forming the rainbow theme.
- Finalize Your Design: Once you’ve sewn on all the buttons, ensure they’re tightly secured. You may want to add additional decorative elements if desired.
- Trim Excess Fabric: Carefully cut away any fabric that extends beyond the hoop, but leave a small border to prevent fraying.
- Display Your Work: You can choose to hang the finished hoop as a decoration, making it a colorful centerpiece in your home.
The Learning Behind This DIY
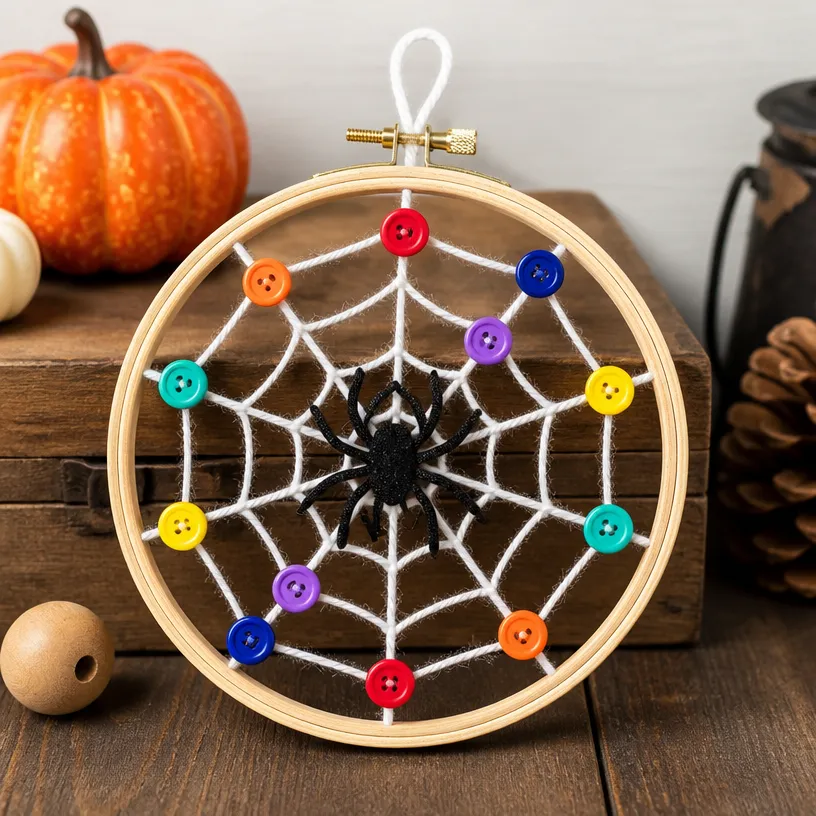
This embroidery project teaches more than just artistic skills; children practice fine motor skills as they manipulate small buttons and thread. They also enhance their hand-eye coordination when lining up buttons during stitching. As they work through the design process, kids learn about color theory by matching and contrasting different hues to create vibrant visual effects. Understanding basic designs influences their spatial awareness, too. Projects like this facilitate the exploration of cause and effect; for instance, if a stitch is too loose, it might unravel, prompting learners to correct their approach. You may also find Baking Soda Rainbow Crystal Forest useful.
Troubleshooting Common Issues
While working on the Rainbow Button Embroidery Hoop, you may encounter some challenges. A common issue is buttons becoming loose over time. If this occurs, re-thread your needle and add a few extra stitches to secure them properly. Occasionally, a thread may tangle. Gently tease apart the strands, and if necessary, trim the knotted thread and re-thread your needle. Another issue could be uneven fabric tension; if the fabric appears bumpy, loosen the hoop slightly and adjust the fabric before tightening it again.
Easy Variations to Try
Consider these fun variations to personalize your Rainbow Button Embroidery Hoop:
- Seasonal Themes: Create a Halloween design with spooky buttons or a winter vibe using snowflake shapes.
- Button Size Mix: Use both large and small buttons to add depth and dimension to your artwork.
- Nature Elements: Incorporate pressed flowers alongside buttons to create a combined look that celebrates nature.
- Using Fabric Markers: Allow kids to decorate the surrounding fabric with washable markers for an added artistic touch.
- Personalization: Consider adding kids’ initials or their favorite shapes into the design for a customized piece.
Storing or Reusing This Project
When your Rainbow Button Embroidery Hoop is complete, be sure to display it prominently in your home as a testament to creativity. In terms of cleaning up, stow buttons and thread back into a clearly labeled container to avoid losing them. When the time comes for a new project, consider reusing the hoop for another design just loosen the fabric and start fresh.
FAQs About Rainbow Button Embroidery Hoop with Spiderweb Design
What if my kids make a mess while stitching?
It’s common for some fabric threads or buttons to scatter. Have a catch-all bowl or container nearby to gather stray items and minimize cleanup.
Is this activity safe for younger children?
Yes, with adult supervision, kids can safely engage with buttons and needles. Providing safety scissors can also help manage potential issues.
Can I substitute buttons with something else?
Absolutely! If you don’t have buttons, you can use pieces of fabric or yarn to create texture. Just ensure they can be securely attached.
How long can we keep this finished hoop?
With proper care, your Rainbow Button Embroidery Hoop can remain a lovely decoration for years. It can also serve as a craft assembly line for future projects.
What do I do if a button falls off?
If a button unravels, simply re-attach it with additional stitches to secure. Be sure to check the tension while doing so.
Conclusion
In crafting the Rainbow Button Embroidery Hoop with Spiderweb Design, not only do you create a beautiful piece of art, but you also foster a sense of accomplishment in your children. This project opens doors to various creative expressions and can be easily adapted over time. For those looking for more patterns, consider exploring beginner embroidery patterns on Gathered Shop or check out a fun pride embroidery pattern in the form of a PDF.
PrintRainbow Button Embroidery Hoop with Spiderweb Design
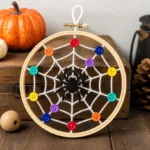
A charming and simple embroidery project that captivates both kids and adults, involving colorful buttons and creative design.
- Prep Time: 15 minutes
- Cook Time: 45 minutes
- Total Time: 60 minutes
- Yield: 1 completed embroidery hoop
- Category: Craft
- Method: Embroidery
- Cuisine: N/A
- Diet: N/A
Ingredients
- Embroidery hoop
- Colorful buttons
- Cotton fabric
- Needle and thread
- Scissors
Instructions
- Prepare Your Hoop: Loosen the embroidery hoop and place the fabric over the inner circle, ensuring it’s centered.
- Choose Your Design: Decide how to arrange the buttons on your fabric.
- Begin Stitching: Thread your needle, tie a knot at the end, and start sewing the buttons onto the fabric.
- Layer Your Colors: Use a variety of buttons to create a colorful effect.
- Finalize Your Design: Ensure all buttons are tightly secured and add any additional decorative elements.
- Trim Excess Fabric: Cut away any fabric extending beyond the hoop.
- Display Your Work: Hang the finished hoop as a decoration.
Notes
This project teaches kids fine motor skills and spatial awareness while encouraging creativity.
Nutrition
- Serving Size: 1 artwork
- Calories: N/A
- Sugar: N/A
- Sodium: N/A
- Fat: N/A
- Saturated Fat: N/A
- Unsaturated Fat: N/A
- Trans Fat: N/A
- Carbohydrates: N/A
- Fiber: N/A
- Protein: N/A
- Cholesterol: N/A