

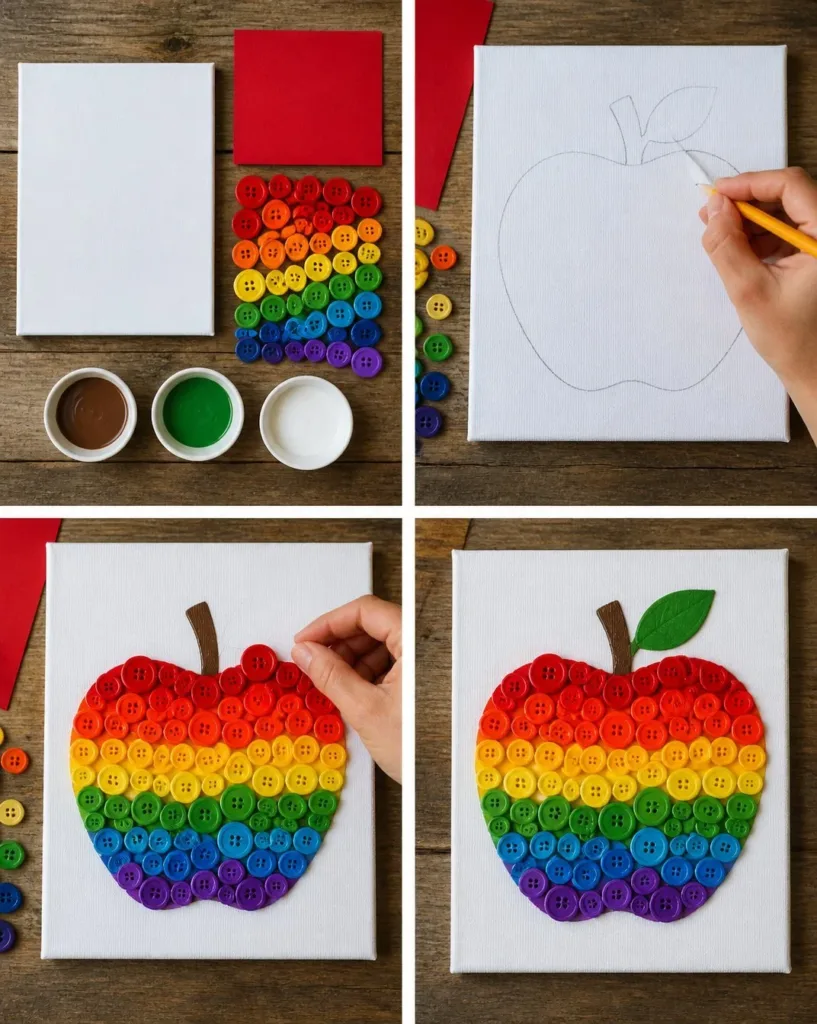
Creating something beautiful on a busy afternoon can seem like a challenge when kids are eager to make art and express themselves. If you ever find yourself in this situation, consider the joy of Creating a Rainbow Apple Button Mosaic. This project provides an opportunity for kids to engage their creativity while using simple materials and enjoying hands-on work. You’ll find that it’s a low-prep activity that fits seamlessly into your day while allowing everyone to decorate with colorful buttons and glue. You may also find Diy Rainbow Pineapple Garland Summer Party Decor useful.
Why This Creating a Rainbow Apple Button Mosaic Works So Well
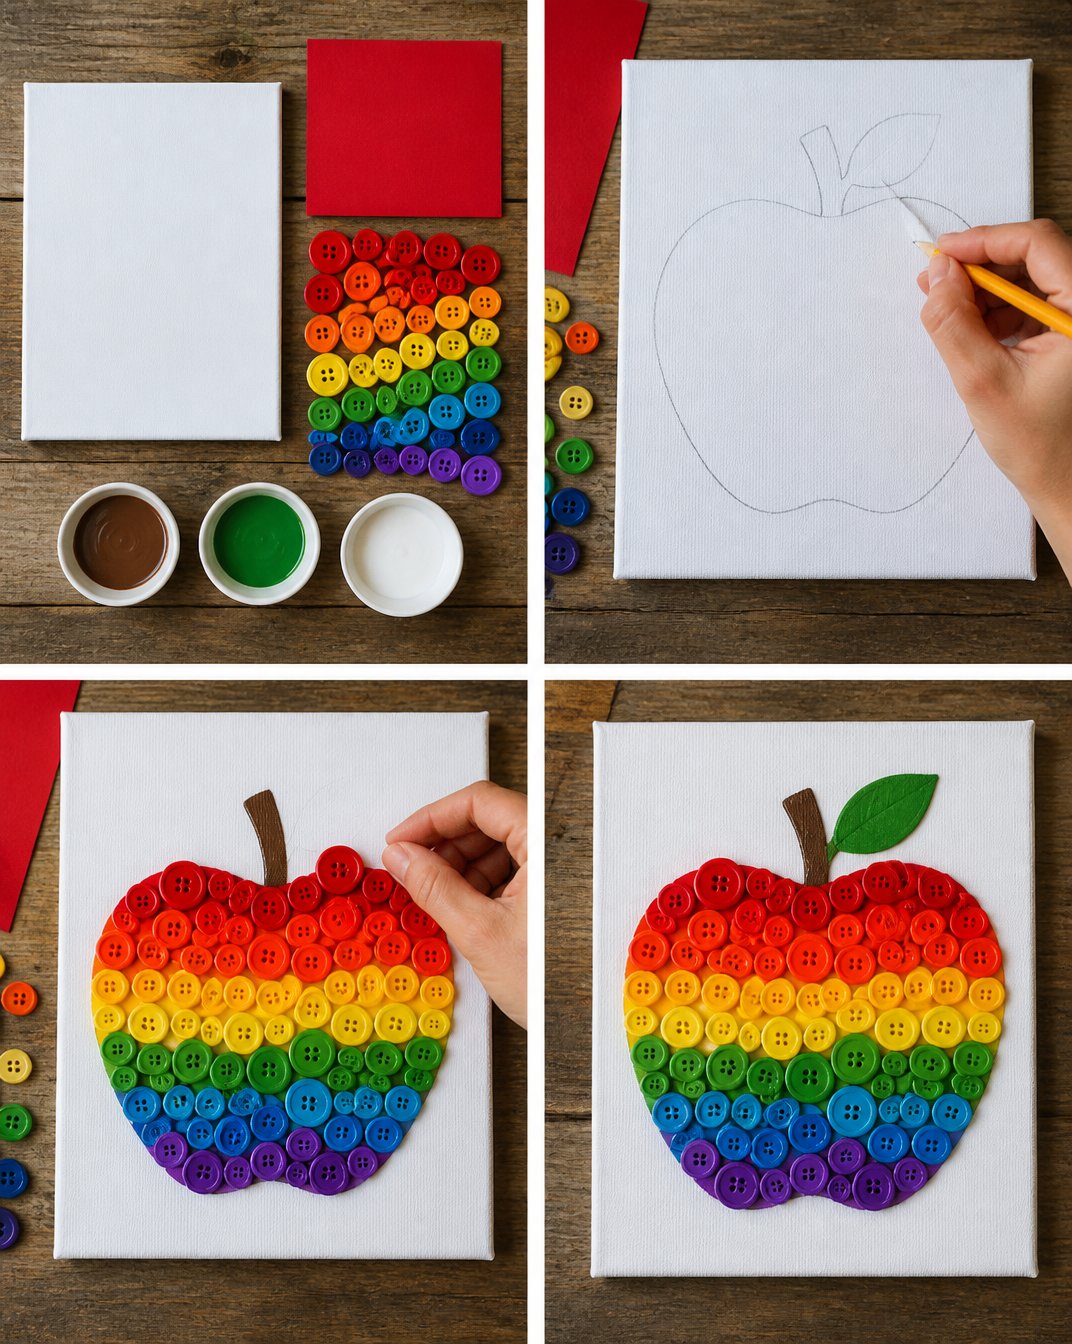
What makes the Rainbow Apple Button Mosaic so appealing is its simplicity. You don’t need advanced crafting skills or a large assortment of supplies to get started. The materials are usually at home or can be easily acquired, making it an approachable project for families on a budget. Additionally, this activity engages children of various ages and can be tailored according to their skill levels. There’s no pressure to create something “perfect,” allowing kids to focus on enjoying the process while enhancing their problem-solving skills. You may also find Clear Glue Mosaic Suncatcher useful.
How This DIY Comes Together
Before diving into the hands-on steps, let’s take a moment to review how this process flows. You’ll set up your workspace, arrange the buttons into a design, and then glue them onto a sturdy base. Overall, expect to spend about an hour from start to finish, but this can vary based on your kids’ attention spans and creativity. The cleanup should be minimal, especially if you prepare your space beforehand. Adult involvement is mainly required for things like handling the glue or trimming any pieces, allowing kids to take the lead. You may also find Colorful Rainbow Crystal Leaf Sun Catcher useful.
Materials You’ll Need
To make your Rainbow Apple Button Mosaic, gather the following items:
- An assortment of colorful buttons (various sizes)
- A sturdy base (wooden board or canvas)
- Non-toxic glue (craft glue or glue gun)
- Paint (optional for background)
- Scissors (if you need to trim the base)
- Patience and a cozy mindset
Most of these materials are common household items, and you’ll find that many families already have a collection of buttons tucked away in drawers. This project makes for a perfect example of recycling and reusing materials. It’s budget-friendly and a great way to engage kids in crafting.
Step-by-Step Directions
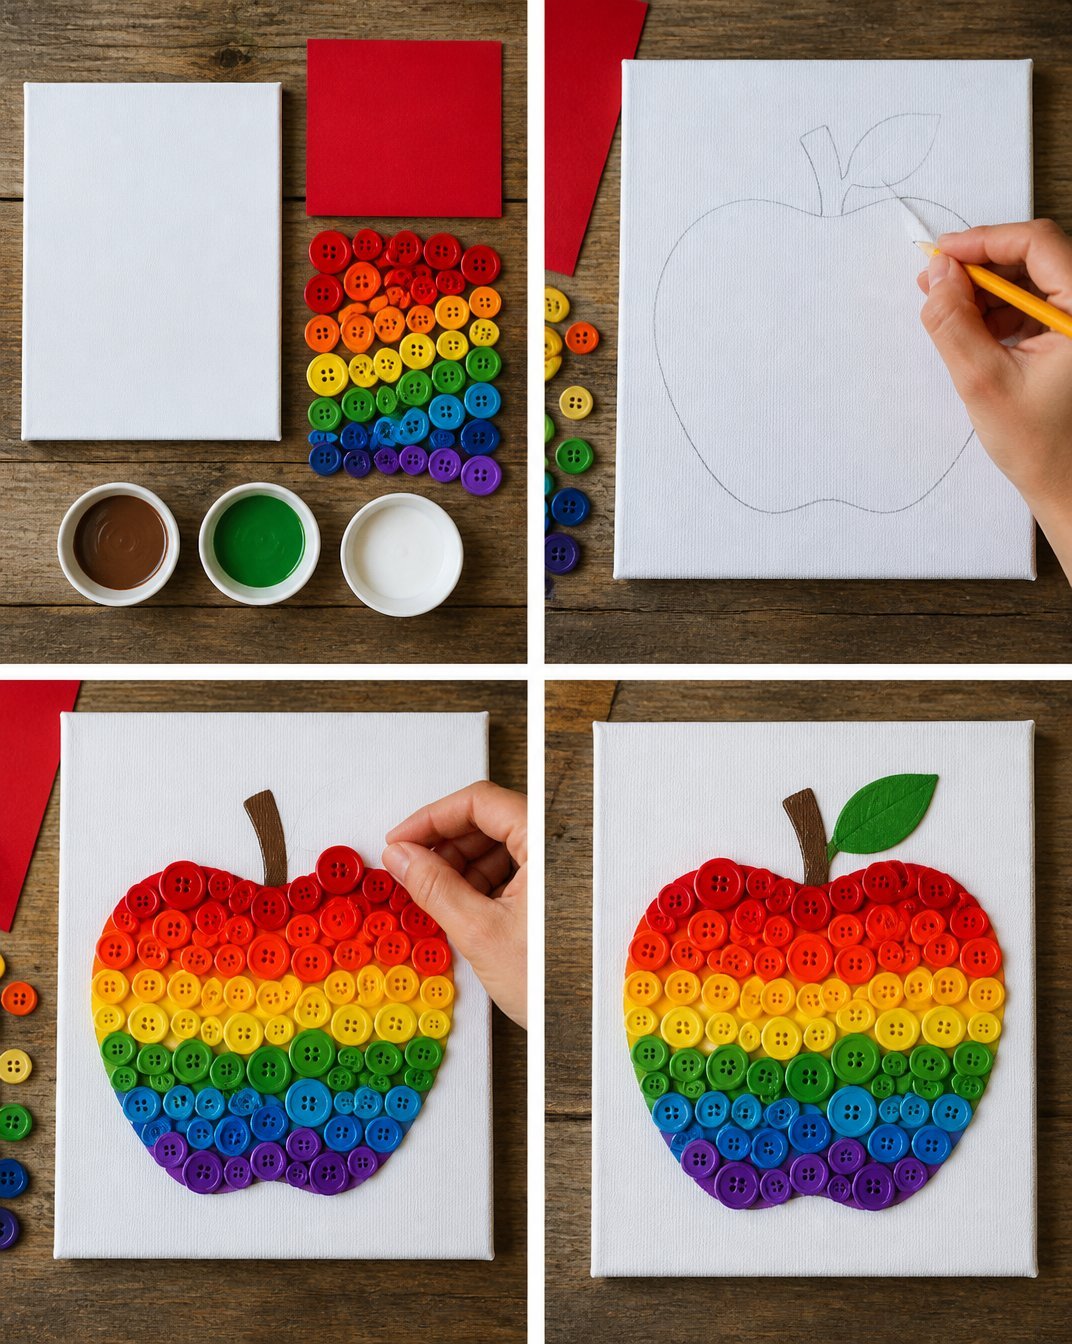
Prepare Your Workspace: Clear a flat surface and lay down a protective covering. This step prevents any spills or mess from getting on your table. It can be as simple as an old newspaper or a plastic tablecloth.
Design Your Layout: Before gluing, arrange the buttons on your base. This step allows you to experiment with colors and patterns, giving kids a chance to visualize their final design. Encourage them to be creative—there are no wrong choices here!
Secure the Buttons: Now comes the fun part! Glue each button to the base using a small dot of glue. Remind your kids to press gently and securely to make sure each button sticks well.
Fill In Gaps: Once all the larger buttons are placed, take a moment to look for gaps in the design. Adding smaller buttons can fill these spaces and enhance the overall look. This is an excellent opportunity for the kids to think about balance in a design.
Let It Dry: Finally, allow the entire mosaic to dry completely. This step may require some patience, but it’s worth it to see the finished product fully set. Once dry, the mosaic can be preserved for display, or gifted to someone special.
The Learning Behind This DIY
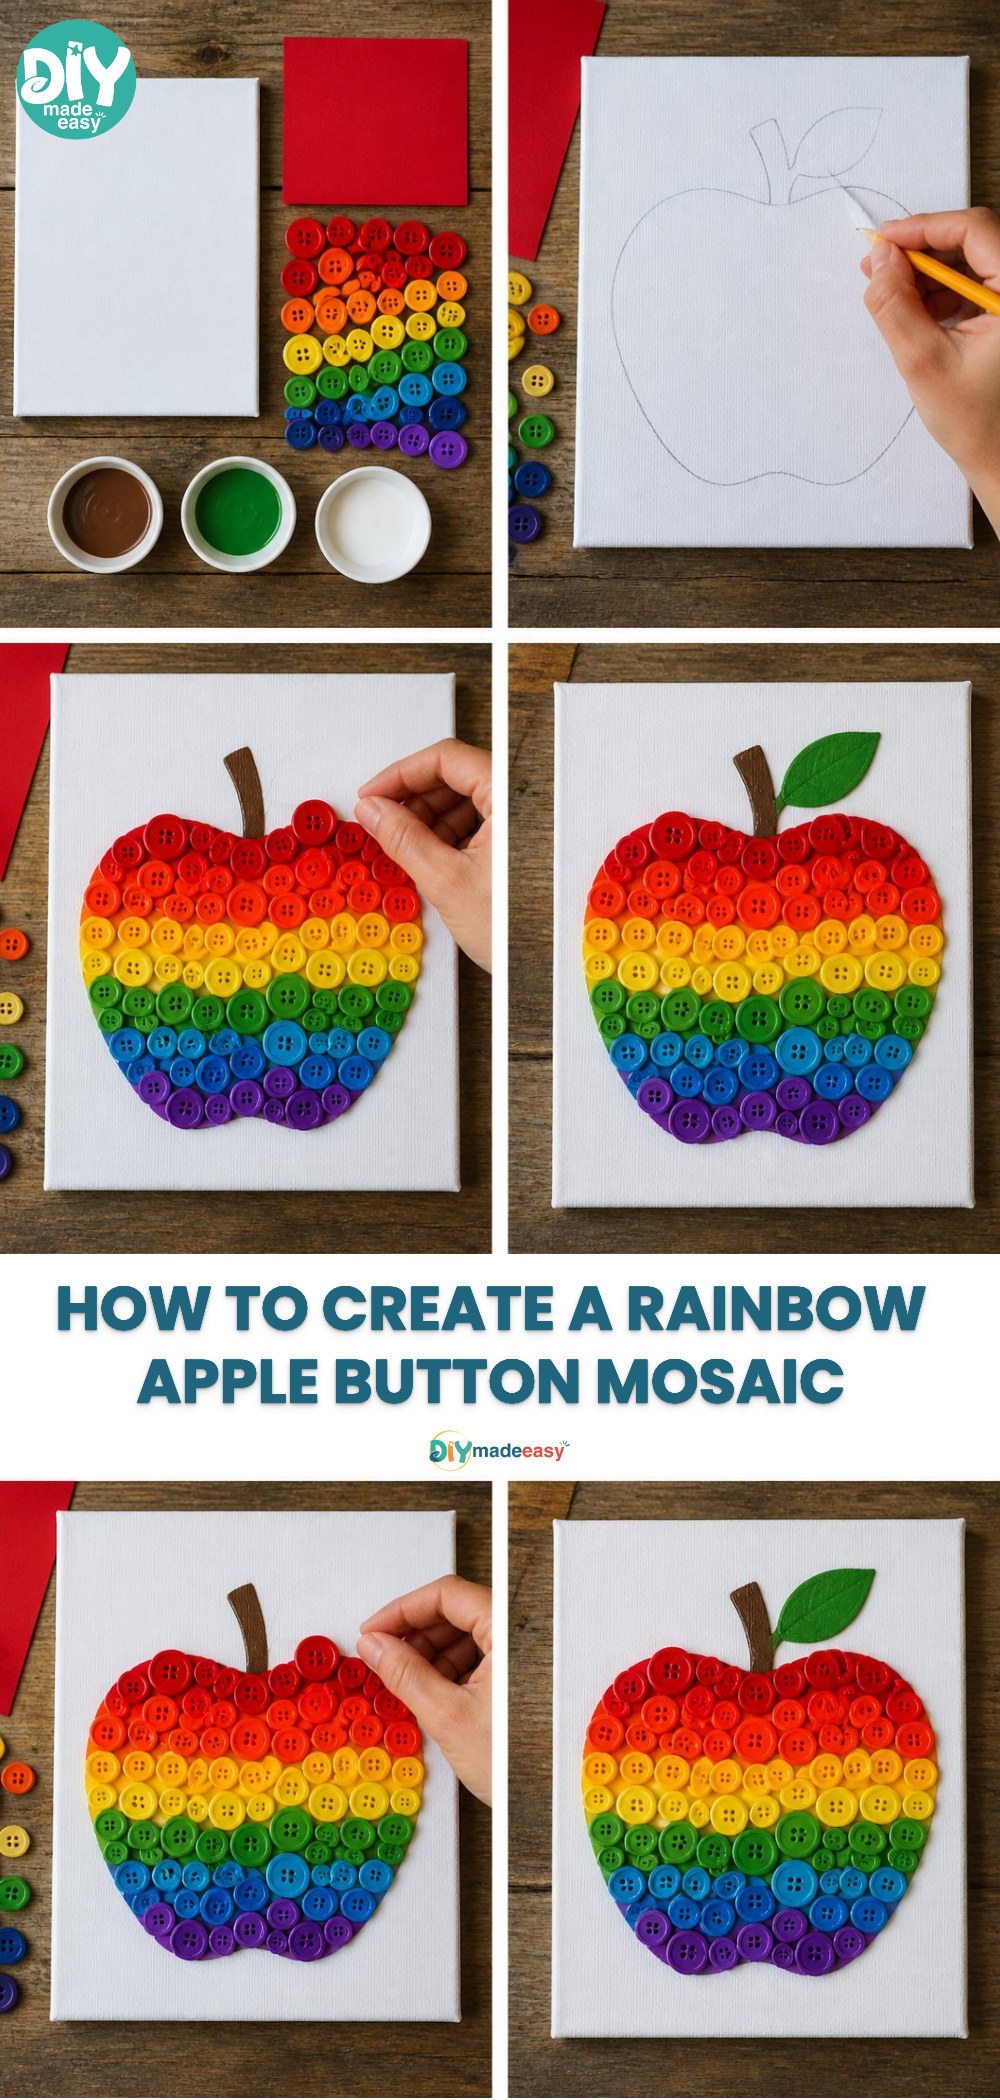
While Creating a Rainbow Apple Button Mosaic may seem like merely a fun activity, there’s some learning at play as well. Kids practice fine motor skills as they pick up and arrange buttons. Coordination comes into play as they glue the buttons in place. At the same time, they learn cause and effect as they observe how their choices impact the layout and balance of the design. Engaging in creative activities like this also promotes confident self-expression, which is invaluable as they grow.
Troubleshooting Common Issues
Sometimes, things don’t go as planned, and that’s okay! Here are a few common hiccups you might encounter along the way:
Buttons Not Sticking: If buttons are coming loose, it could be a sign of not applying enough glue. Consider applying a bit more and pressing firmly. If you’re using a glue gun, give it a moment to heat up before using it; it works best when the glue is nice and warm.
Design Looks Sparse: If your overall mosaic feels empty, encourage your kids to add more buttons or change the layout. Suggest that they think about layering or using various sizes for depth.
Messy Cleanup: A bit of glue might spill during the project. Keep a damp cloth handy for quick cleanups. It’s always good to work on a surface that can be cleaned up easily.
Easy Variations to Try
Here are a few variations to keep the creativity flowing:
Themed Colors: Choose a specific color palette like pastels, wintery blues, or sunset hues.
Seasonal Designs: Adapt the mosaic for different holidays. For instance, use red and green for Christmas or soft pastels for Easter.
Different Shapes: Instead of a rainbow apple, consider making hearts, stars, or even letters.
Add Textures: Besides buttons, encourage using items like fabric scraps or small beads to enhance textures.
Storing or Reusing This Project
After finishing your Rainbow Apple Button Mosaic, you might wonder how to preserve it or reuse materials for another project. If the mosaic is made on a solid base like wood, it can be displayed on a shelf, mounted on a wall, or given as a gift. For cleaning up, try to separate any buttons that can be used again for future projects. Store your craft supplies in clear containers to keep everything organized and accessible for next time.
FAQs About Creating a Rainbow Apple Button Mosaic
How messy is this project?
It can get a bit sticky with glue, but since we use non-toxic materials, clean up is manageable. Just lay down some protective covering and have damp cloths nearby to wipe up any spills.
What’s a good age for this activity?
This activity works well for kids of various ages, but it is ideal for those above five years old. Younger children may need supervision, especially with the glue.
Are the buttons safe for younger kids?
As long as kids are supervised, using buttons is generally safe. Just ensure that no small parts are put in mouths if you have toddlers around.
What if we don’t have buttons?
If buttons aren’t available, you could use cut-out paper shapes or small rocks as substitutes.
Can we store leftover materials?
Absolutely! Store any unused buttons and supplies in a craft box for your next DIY project.
A Final Helpful Note
Creating a Rainbow Apple Button Mosaic can feel like a joyful adventure. Remember, there’s no right or wrong way to do this—your kids can express themselves however they like. The focus should be on the experience, not the end result. Enjoy the process of crafting together, and don’t hesitate to adapt the project as you see fit.
Conclusion
By engaging in creative activities like this, families can experience quality time together while fostering imaginative play among children. For those curious about more delightful projects, check out this baking soda rainbow crystal forest or learn how to craft with an apple mosaic tart with salted caramel. These activities are sure to inspire more creativity in your home!
PrintCreating a Rainbow Apple Button Mosaic
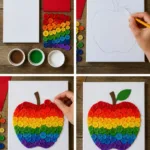
A fun and simple DIY project for kids to create colorful button mosaics, enhancing creativity and motor skills.
- Prep Time: 15 minutes
- Cook Time: 45 minutes
- Total Time: 60 minutes
- Yield: 1 mosaic
- Category: Craft
- Method: Crafting
- Cuisine: N/A
- Diet: N/A
Ingredients
- Assortment of colorful buttons (various sizes)
- A sturdy base (wooden board or canvas)
- Non-toxic glue (craft glue or glue gun)
- Paint (optional for background)
- Scissors (if you need to trim the base)
- Patience and a cozy mindset
Instructions
- Prepare your workspace: Clear a flat surface and lay down a protective covering.
- Design your layout: Arrange the buttons on your base to visualize your design.
- Secure the buttons: Glue each button to the base securely.
- Fill in gaps: Use smaller buttons to fill any spaces in the design.
- Let it dry: Allow the mosaic to dry completely before displaying.
Notes
Encourage creativity and personal expression throughout the project.
Nutrition
- Serving Size: 1 project
- Calories: 0
- Sugar: 0g
- Sodium: 0mg
- Fat: 0g
- Saturated Fat: 0g
- Unsaturated Fat: 0g
- Trans Fat: 0g
- Carbohydrates: 0g
- Fiber: 0g
- Protein: 0g
- Cholesterol: 0mg