

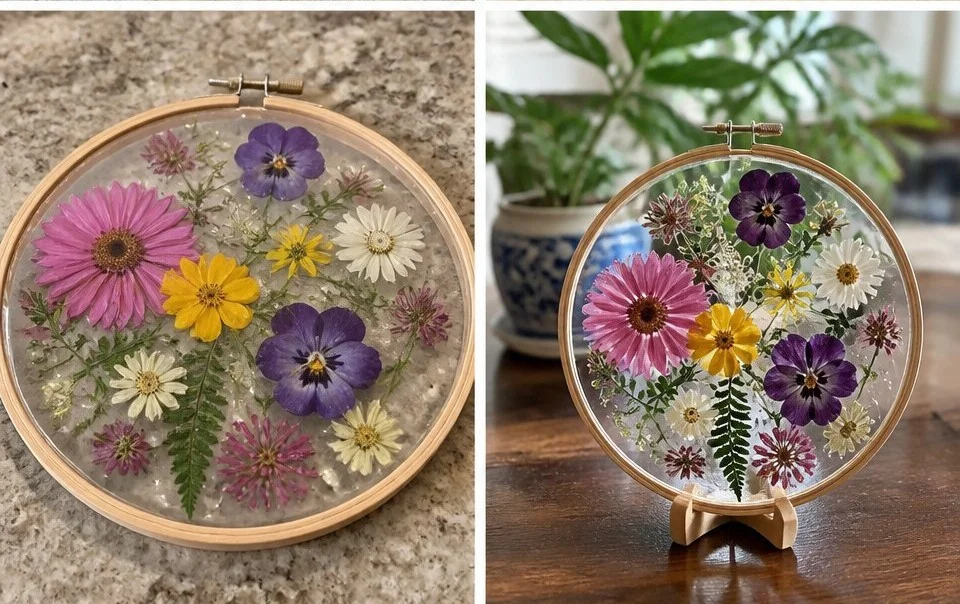
Creating memories can be as simple as an afternoon spent crafting with the kids. Imagine a busy afternoon when the little ones are asking to create something beautiful yet easy. A Pressed Flower Suncatcher is a perfect solution! It’s a delightful way to bring a splash of color into your home while allowing their creativity to flourish. Not only is it fun, but it also provides an opportunity for little hands to practice fine motor skills. You may also find Beautiful Bioplastic Suncatchers Flowers useful.
Why You’ll Love Making Pressed Flower Suncatcher
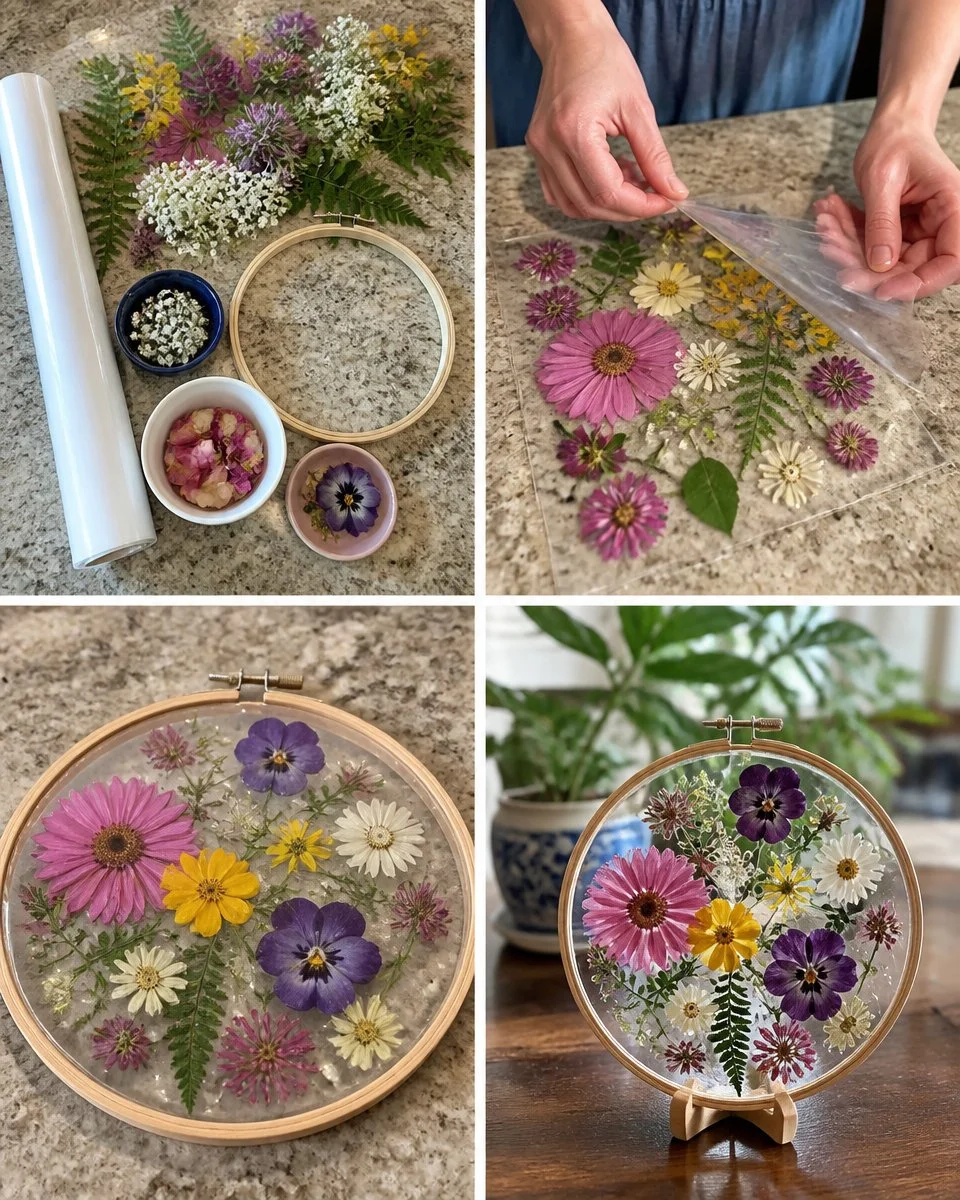
Making a Pressed Flower Suncatcher works so well for several reasons. Firstly, it’s a low-prep activity that requires minimal materials, making it easy to start. You actually just need flowers, contact paper, and an embroidery hoop, all of which are common household items. Moreover, this project is approachable for kids of various ages, and it’s reliable in terms of achieving beautiful results with a little effort. Whether you have just 30 minutes or a couple of hours, you can fit this project into a real-life schedule without a hassle. You may also find Bioplastic Suncatchers Natural Flowers useful.
A Quick Look Before You Begin
Before diving into the crafting process, it’s helpful to have an overview of what to expect. This project generally takes about an hour, depending on how involved the kids are in choosing and arranging the flowers. The mess level is quite low, primarily dealing with flower bits and small pieces of contact paper. An adult might want to supervise the sealing stage, as ensuring that everything is smooth and bubble-free can be a little tricky for younger fingers. Overall, this project is a fantastic way to spend time together creatively. You may also find Cornstarch Bioplastic Pressed Flowers Recipe useful.
Materials You’ll Need
Here’s what you’ll need to make your very own Pressed Flower Suncatcher: You may also find Cornstarch Bioplastic Pressed Flowers useful.
- Contact paper: A common household item that helps seal in your flowers.
- Flowers: Use fresh or dried flowers. Make sure they are flat and dry.
- Embroidery hoop: This will hold your beautiful design in place.
These supplies are easy to find and budget-friendly, making them accessible for anyone looking to dive into this fun project.
Step-by-Step Directions
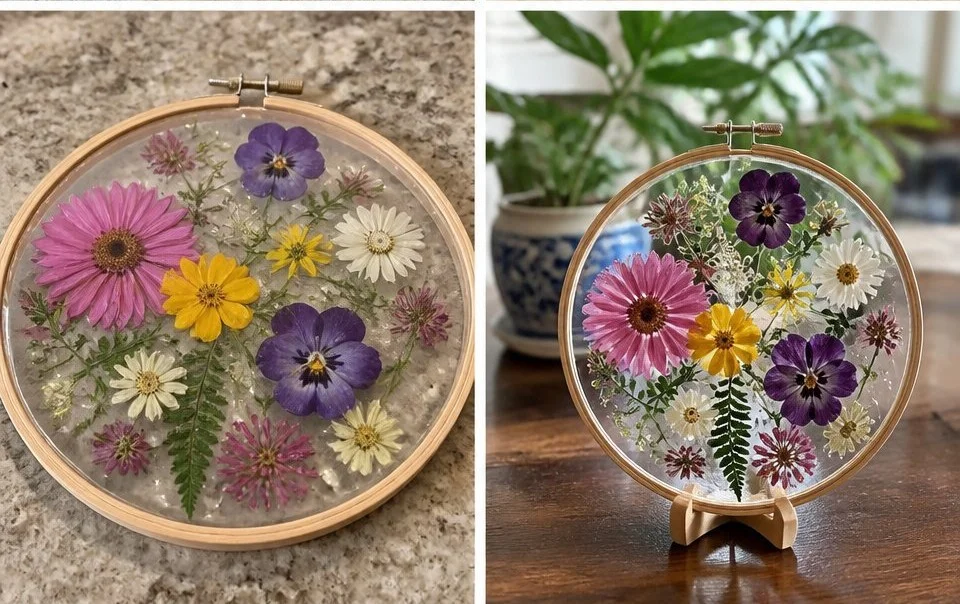
Arrange your flowers: Start by arranging your beautiful flowers on one piece of contact paper, allowing your creativity to flow. Choose colors and shapes that make your heart smile! Take your time and explore different layouts before settling on your favorite design.
Seal your design: Once you’re satisfied with your arrangement, carefully cover it with another piece of contact paper to seal in your design. Be sure to smooth out any bubbles since they can interfere with the finished look.
Set inside the embroidery hoop: Place the sealed flower design inside an embroidery hoop, tightening it just enough to hold everything in place. Now, you’re ready to hang your lovely suncatcher in a sunny spot where it can dance with the light!
What Kids Practice While Making This

While creating the Pressed Flower Suncatcher, kids practice several important skills. Handling flowers and placing them delicately fosters fine motor skills and coordination. Children can engage in conversation about colors and nature, enhancing their verbal skills. The cause-and-effect relationship is palpable: as they experiment with different flower arrangements, they learn how visual aesthetics work. This activity beautifully merges creativity with practical skills.
Troubleshooting Common Issues
Troubleshooting is part of any craft project. If the flower design seems to shift or if bubbles appear when sealing, don’t panic. Gently peel back the top layer of contact paper to readjust the flowers and smooth it out again. If the colors start to fade after a few days, try using glass or clear plastic to allow the sunlight to enhance the colors.
Easy Variations to Try
Sprucing up this activity is simple, especially as nature offers so many options. Here are a few ideas:
- Seasonal themes: Use flowers that reflect the current season for a fresh look.
- Shapes: Experiment with different shapes of contact paper or suncatcher design, like hearts for Valentine’s Day.
- Layering: Try layering multiple pieces of contact paper for a thicker, more dynamic look.
Storing or Reusing This Project
After completing your Pressed Flower Suncatcher, consider where it will hang. If you need to take it down, simply store it in a flat position to avoid crushing the flowers. If you want to reuse the materials, carefully peel apart the contact paper and set your flowers aside for future projects. This helps reduce waste and encourages creativity in your next DIY adventure.
FAQs About Pressed Flower Suncatcher
What is the cleanup process like?
Cleaning up after making your Pressed Flower Suncatcher is quite simple. You might have small bits of flower petals and some contact paper scraps, but they can easily be swept away. Just make sure to contain any mess while working, perhaps by laying down a crafts mat to catch any litter.
Is this activity safe for young children?
Yes, this project is generally safe for young children when supervised. The materials are non-toxic, and the most significant safety concern involves the careful handling of small, delicate flowers, which can be a choking hazard if broken.
Can I use other materials?
Absolutely! While flowers are the star of the show, you can also consider using leaves or other flat natural materials. Just keep in mind that different materials may react in unexpected ways, so test it out first.
What if my flowers don’t press well?
If your flowers don’t seem to hold their shape well or lose color, it may help to dry them out more thoroughly first or to choose sturdier varieties, such as pansies or violets, which often press beautifully.
How long will my suncatcher last?
The longevity of your suncatcher can vary based on how much sunlight it receives. To keep your creation looking fresh, try to hang it in a spot where it can be enjoyed without constant direct sunlight.
Conclusion
Creating a Pressed Flower Suncatcher can be a rewarding experience for both kids and adults. To explore more creative ideas, check out resources like Pressed Flower Suncatcher – The Best Ideas for Kids and Pressed Flower Suncatcher – Little Pine Learners. The process is not just an art project; it’s a delightful exploration of nature, color, and personal creativity. With just a few materials and a little time, you can create beautiful memories and stunning decor together.
PrintPressed Flower Suncatcher
A delightful crafting project that allows kids to create beautiful pressed flower suncatchers, enhancing fine motor skills and creativity.
- Prep Time: 10 minutes
- Cook Time: 30 minutes
- Total Time: 40 minutes
- Yield: 1 suncatcher
- Category: Craft
- Method: Crafting
Ingredients
- Contact paper
- Fresh or dried flowers
- Embroidery hoop
Instructions
- Arrange your flowers on one piece of contact paper, experimenting with different layouts.
- Seal your design by covering it with another piece of contact paper, smoothing out any bubbles.
- Set the sealed flower design inside the embroidery hoop and tighten to hold everything in place.
- Hang your lovely suncatcher in a sunny spot to enjoy its beauty.
Notes
This project is suitable for children under adult supervision. Consider using seasonal flowers for a thematic approach.
Nutrition
- Serving Size: 1 suncatcher
- Calories: N/A
- Sugar: N/A
- Sodium: N/A
- Fat: N/A
- Saturated Fat: N/A
- Unsaturated Fat: N/A
- Trans Fat: N/A
- Carbohydrates: N/A
- Fiber: N/A
- Protein: N/A
- Cholesterol: N/A