

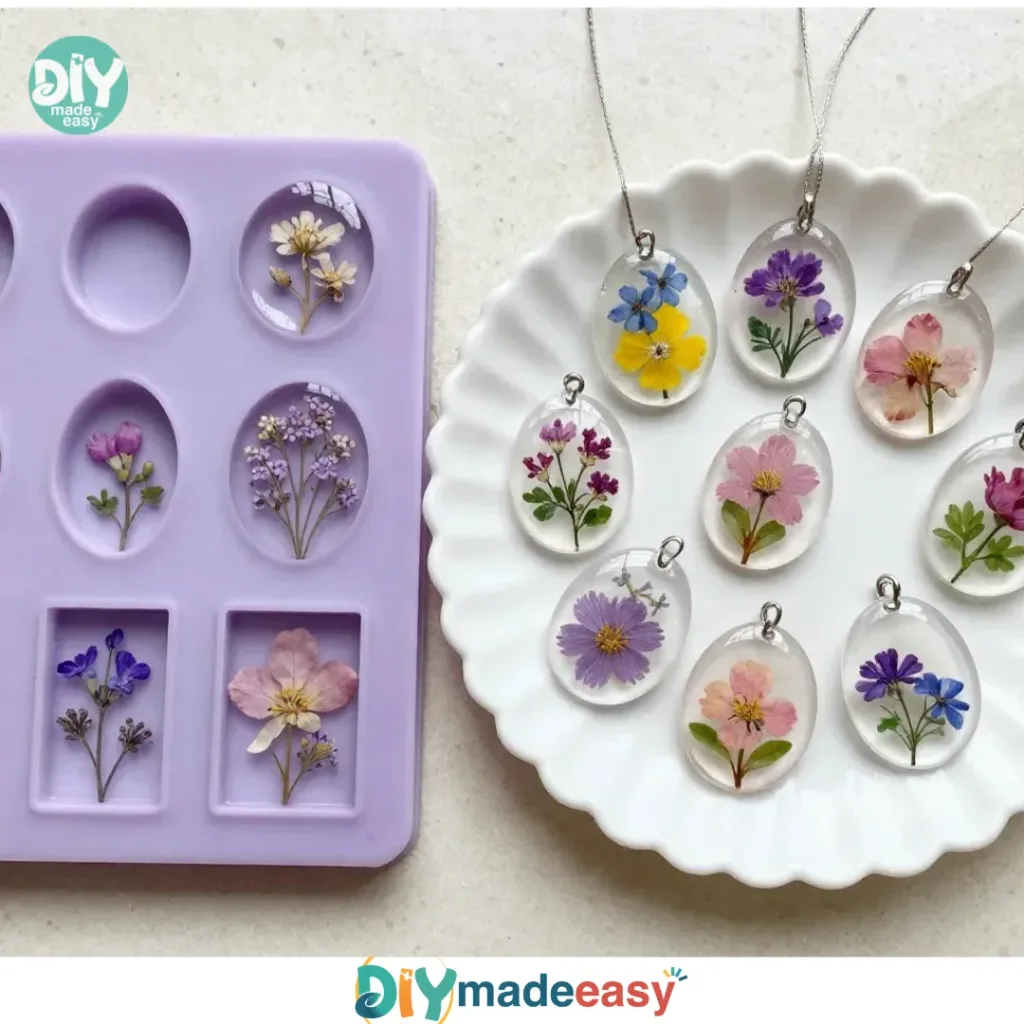
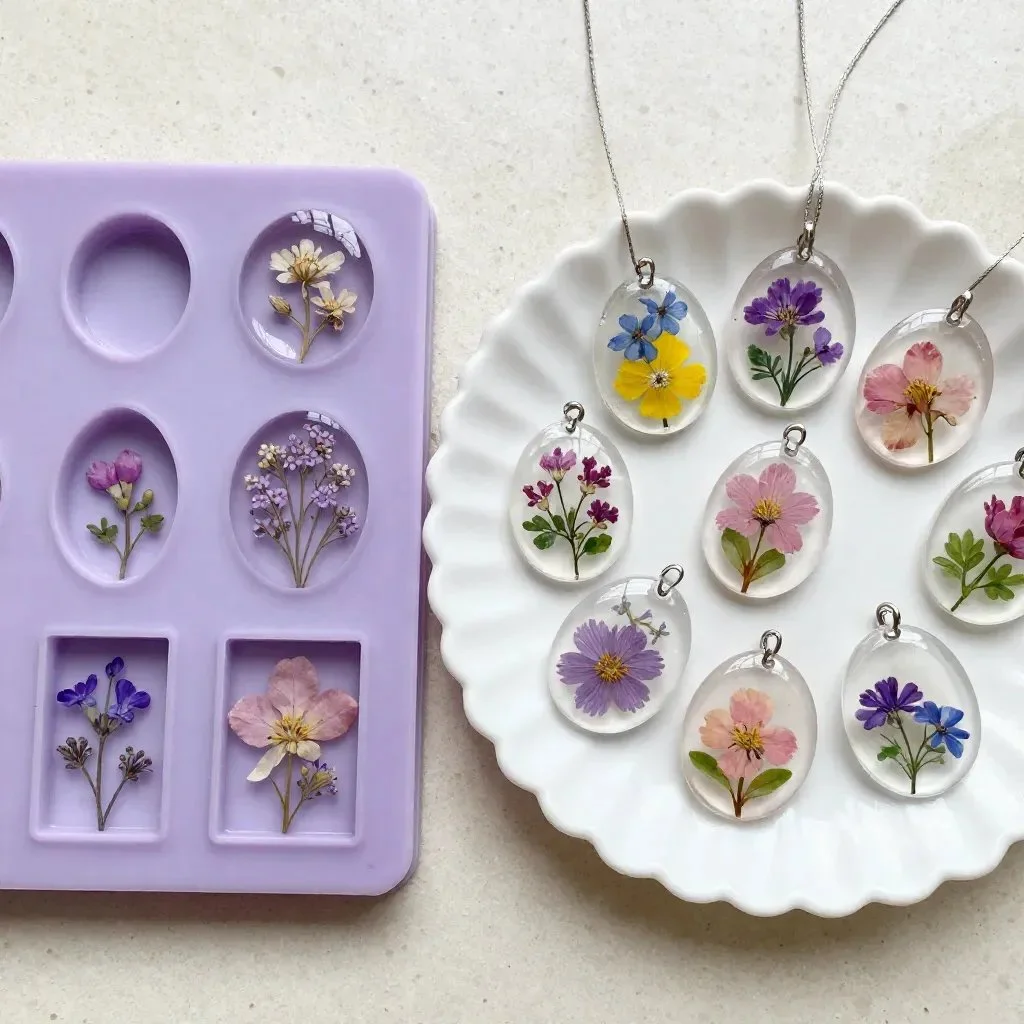
Pressed Flower Cornstarch Charms are a delightful and creative way to brighten any afternoon, whether you’re looking for a special activity to fill a quiet rainy day or the kids want to make something beautiful right now. With just a few common ingredients, including cornstarch and fresh flowers, this simple DIY project lets you create charming ornaments that capture the beauty of nature. Imagine gathering around the kitchen table, mixing together the ingredients, and savoring the sweet scent of blossoms as you craft unique treasures. These Pressed Flower Cornstarch Charms are not only beautiful but also an excellent way to enjoy some quality hands-on time with family. You may also find Cornstarch Bioplastic Pressed Flowers Recipe useful.
Why You’ll Love Making Pressed Flower Cornstarch Charms
You may also find Cornstarch Bioplastic Pressed Flowers useful.
Making Pressed Flower Cornstarch Charms is a project that blends creativity with simplicity. One of the most appealing aspects of this DIY is that it requires minimal preparation, making it fit well into busy schedules. With just a few basic supplies, you can engage your children in a fun and rewarding activity. This project truly shines because it’s enjoyable for all ages, providing a sense of accomplishment without overwhelming stress. Plus, the end results—delicate charms adorned with beautiful flowers—serve as delightful reminders of a time well spent together. You may also find Cornstarch Flower Charms useful.
A Quick Look Before You Begin
Getting started with Pressed Flower Cornstarch Charms is straightforward and uncomplicated. You’ll need to set aside about 30 minutes for the actual crafting process, but be sure to allow another 24 hours for the charms to dry completely. This means that while you can get started quickly, you’ll need to plan ahead to ensure the project is finished and ready to display. The mess level for this activity is low, especially if you cover your work area with wax paper or parchment paper. The hands-on nature of the project does invite some sensory exploration, encouraging kids to enjoy the textures of the dough and delicate flowers. You may also find Quiet Joy Making Cornstarch Flower Charms useful.
Materials You’ll Need
To successfully create Pressed Flower Cornstarch Charms, gather the following materials:
- 1 cup cornstarch
- 1 cup water
- Fresh flowers (or dried)
- Wax paper or parchment paper
- Rolling pin
- Cookie cutters (optional)
- Airtight container for storage
These items are either easily found at home or can be picked up at a local store. The cornstarch and water are common household ingredients, perfect for this simple activity. Dried flowers can also work beautifully if fresh ones aren’t available, allowing you to make these charming ornaments year-round.
Step-by-Step Directions
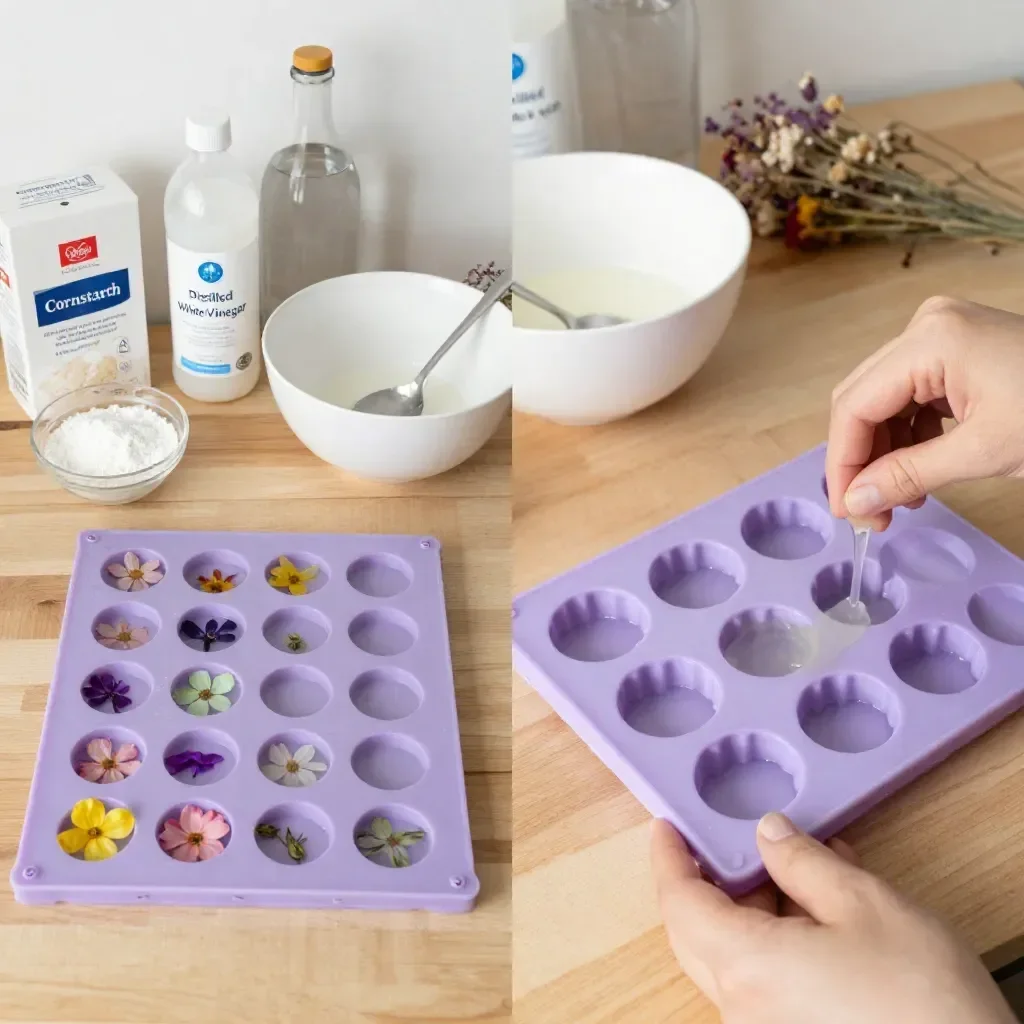
- Pour 1 cup of cornstarch into a saucepan and add 1 cup of water. Stir gently to combine into a smooth mixture.
- Place the saucepan over low heat, stirring continuously until it thickens into a dough-like consistency (about 5 minutes).
- Remove from heat and let it cool slightly.
- Transfer the warm dough onto a clean work surface lined with wax paper.
- Roll out the dough to about 1/4 inch thick.
- Use cookie cutters to cut out shapes from the dough.
- Press fresh flowers into each cut-out shape.
- Carefully peel the shapes from the wax paper and let them dry on a clean surface for at least 24 hours.
- Hang the dried charms as ornaments or gifts.
Each step in this process is designed to be approachable, ensuring a fun and engaging activity. You’ll notice the transformation of the mixture into a pliable dough, and this tactile experience adds to the excitement of creating something entirely unique.
The Learning Behind This DIY
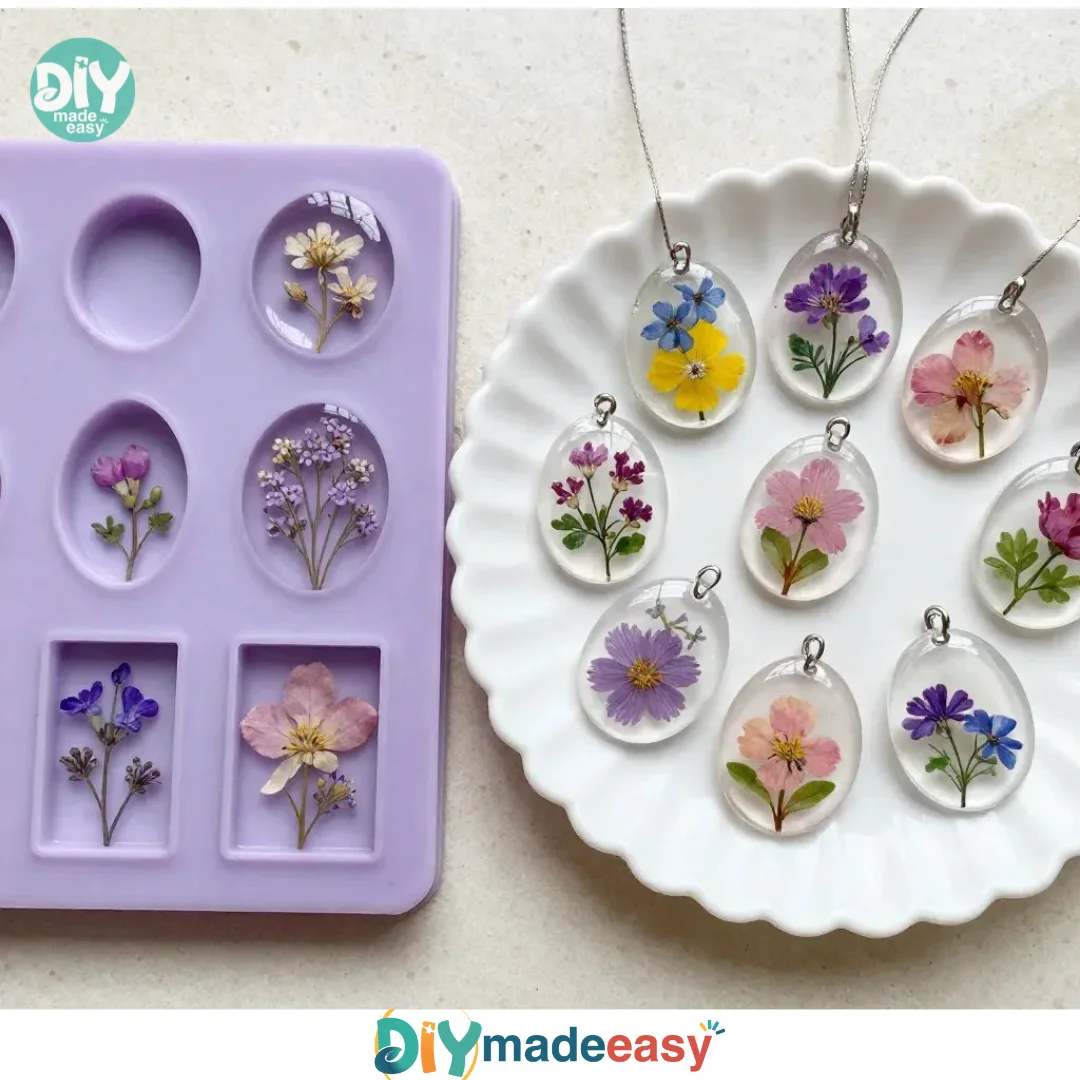
Making Pressed Flower Cornstarch Charms can be a wonderful way to practice many skills. For young children, the process encourages fine motor skills as they mix, roll, and cut the dough. The act of pressing flowers into the shapes helps with hand-eye coordination as they learn to align the petals for aesthetic appeal. Additionally, the project introduces basic scientific concepts such as mixing and the effects of heat on materials, making it an educational activity as well as a creative one.
Troubleshooting Common Issues
Sometimes, things may not go as planned when making your charms. If the dough is too sticky, it’s usually a matter of adding a bit more cornstarch until it’s manageable. If the charms are tearing when you try to peel them off the wax paper, allowing them to cool a little more before handling can make a big difference. Remember that each project offers a learning experience, so embrace any hiccups along the way as part of the fun.
Easy Variations to Try
You can change things up with your Pressed Flower Cornstarch Charms in several easy ways. Consider using different shapes with your cookie cutters to create seasonal or themed designs. For a festive touch, use fall leaves or holiday plants as decorations. Kids might enjoy coloring the charms with food coloring before pressing in the flowers, giving a vibrant twist to their creations. These simple variations allow for endless creativity.
Storing or Reusing This Project
After your charms have dried, think about how to best store them. A simple airtight container can keep them safe until you decide to display them or give them as gifts. If you’re looking to reduce waste, consider reusing or composting the natural materials once they’ve served their decorative purpose, allowing you to integrate sustainability into the fun project.
FAQs About Pressed Flower Cornstarch Charms
One common question parents often ask is about the cleanup involved with making Pressed Flower Cornstarch Charms. Fortunately, the mess is minimal; simply wipe down surfaces and throw away any scraps of dough. Another query is about age appropriateness. This project is perfect for children of various ages, especially with adult supervision during the heating steps. If anyone wonders about any potential ingredient substitutions, cornstarch can often be found in many pantries. Finally, concerning the charm’s durability, the dried charms can be kept for a long time when stored properly.
Conclusion
Conclusion
Pressed Flower Cornstarch Charms are a charming, creative project that combines craft and nature beautifully. For those looking to explore more DIY ideas, consider checking out Homemade Heart Shaped Bath Bombs for another fun endeavor. If you’re interested in more floral crafts, Polymer Clay Rosary Beads with Real Flower Petals could offer a delightful twist to your crafting days. Enjoy the process and let creativity flourish!
PrintPressed Flower Cornstarch Charms
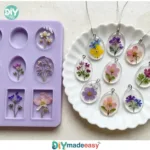
A delightful DIY project to create charming ornaments with cornstarch and fresh flowers, perfect for family bonding.
- Prep Time: 30 minutes
- Cook Time: 5 minutes
- Total Time: 1440 minutes
- Yield: 10 charms 1x
- Category: Craft
- Method: DIY Crafting
- Cuisine: N/A
- Diet: N/A
Ingredients
- 1 cup cornstarch
- 1 cup water
- Fresh flowers (or dried)
- Wax paper or parchment paper
- Rolling pin
- Cookie cutters (optional)
- Airtight container for storage
Instructions
- Pour 1 cup of cornstarch into a saucepan and add 1 cup of water. Stir gently to combine into a smooth mixture.
- Place the saucepan over low heat, stirring continuously until it thickens into a dough-like consistency (about 5 minutes).
- Remove from heat and let it cool slightly.
- Transfer the warm dough onto a clean work surface lined with wax paper.
- Roll out the dough to about 1/4 inch thick.
- Use cookie cutters to cut out shapes from the dough.
- Press fresh flowers into each cut-out shape.
- Carefully peel the shapes from the wax paper and let them dry on a clean surface for at least 24 hours.
- Hang the dried charms as ornaments or gifts.
Notes
If the dough is too sticky, add a bit more cornstarch. Allow charms to cool more before handling to prevent tearing.
Nutrition
- Serving Size: 1 charm
- Calories: 50
- Sugar: 0g
- Sodium: 5mg
- Fat: 0g
- Saturated Fat: 0g
- Unsaturated Fat: 0g
- Trans Fat: 0g
- Carbohydrates: 11g
- Fiber: 1g
- Protein: 1g
- Cholesterol: 0mg