

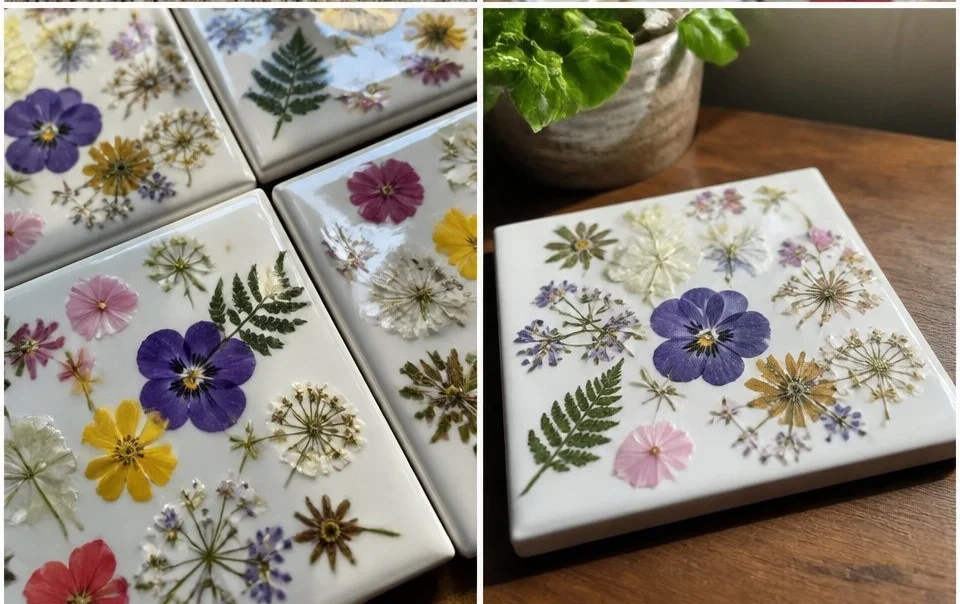
Pressed Flower Coasters are a delightful and creative way to bring nature indoors while engaging in a fun, hands-on activity. Imagine a busy afternoon when the kids suddenly express a desire to create something special. Instead of rushing through something mundane, why not gather some beautiful pressed flowers and ceramic tiles to craft personalized coasters? This project is not only quick to set up but also offers an enjoyable outlet for creativity. You may also find Cornstarch Bioplastic Pressed Flowers Recipe useful.
Why You’ll Love Making Pressed Flower Coasters
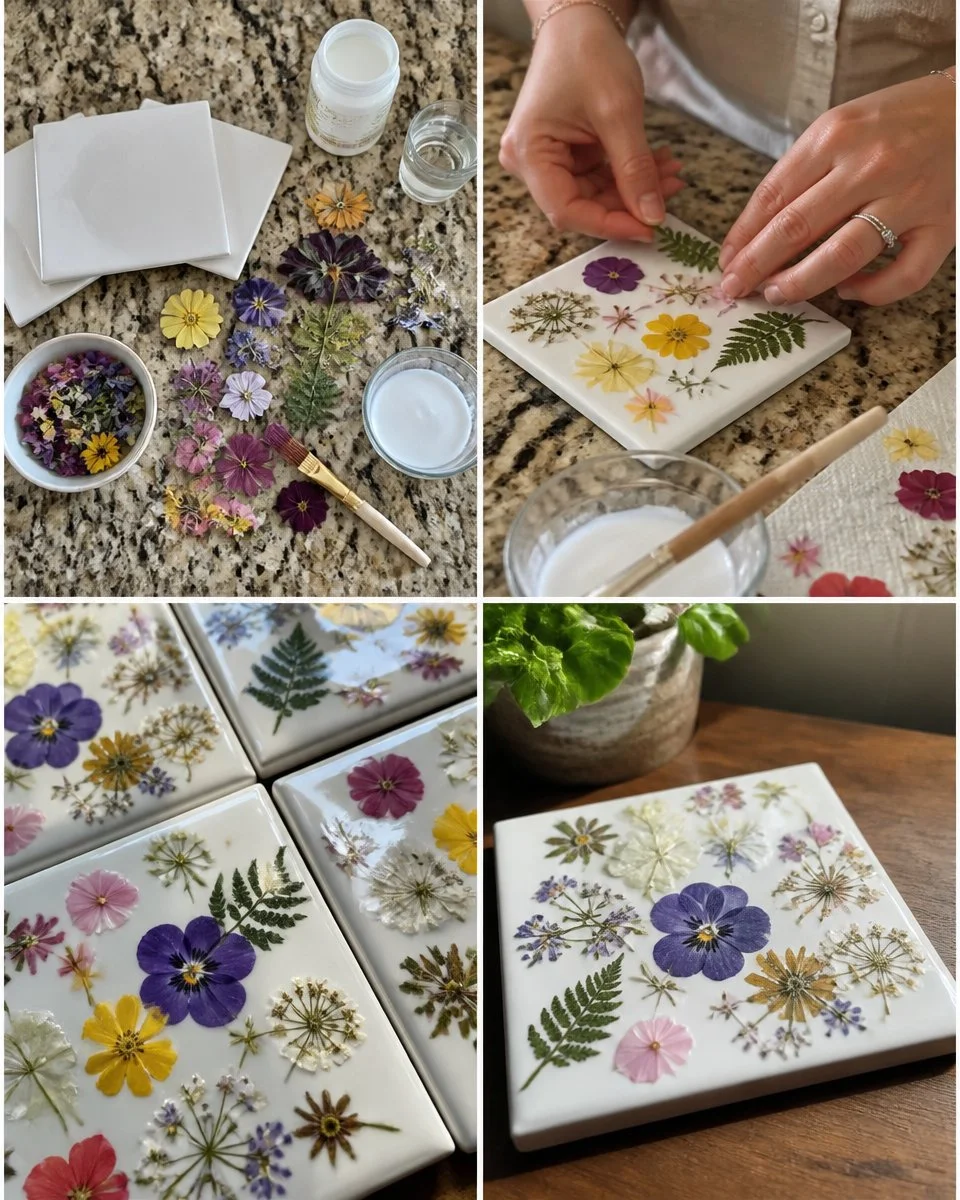
Creating Pressed Flower Coasters is an activity that is both low-prep and approachable, making it a perfect choice for families or anyone looking to unwind with a creative project. The beauty of this DIY project lies in its reliability; you don’t need fancy equipment or extensive planning. With just a few simple materials, you can create something beautiful that adds a personal touch to your home. Moreover, working with pressed flowers allows you to connect with nature, even if you’re indoors, turning a simple day into a memorable crafting experience. You may also find Cornstarch Bioplastic Pressed Flowers useful.
A Quick Look Before You Begin
Making your own Pressed Flower Coasters can be both fun and relaxing, and it requires minimal setup. You can gather your materials and begin the process whenever you find a bit of free time in your day. Cleanup is straightforward, and the level of mess is manageable, making this project suitable for kids and adults alike. Depending on how elaborate your designs are, you could complete this in just a couple of hours, leaving ample time for other tasks or activities afterwards. You may also find Beautiful Bioplastic Suncatchers Flowers useful.
Materials You’ll Need
To get started on your Pressed Flower Coasters, you will need the following materials: You may also find Bioplastic Suncatchers Natural Flowers useful.
- Ceramic tiles: You can find these at local hardware stores; they are budget-friendly and a great base for your coasters.
- Pressed flowers: These can be made by drying out flowers you already have, or you can purchase them if you’re short on time.
- Mod Podge: This versatile adhesive will seal your flowers and protect your creation, serving as a common household item that many already have.
Having these materials readily available simplifies the process, enabling you to dive into your project with ease.
Step-by-Step Directions
Start by arranging your pressed flowers on the ceramic tile. Take your time and let your creative spirit guide you. Experiment with different placements until you’re satisfied with how they look. Have fun with the colors and shapes, and don’t worry about making it perfect.
Once you’re happy with the arrangement, apply a layer of Mod Podge over the flowers and tile. Be sure to cover the entire surface, as this will protect your lovely work. Forming a smooth coat is key to ensuring the flowers stay in place.
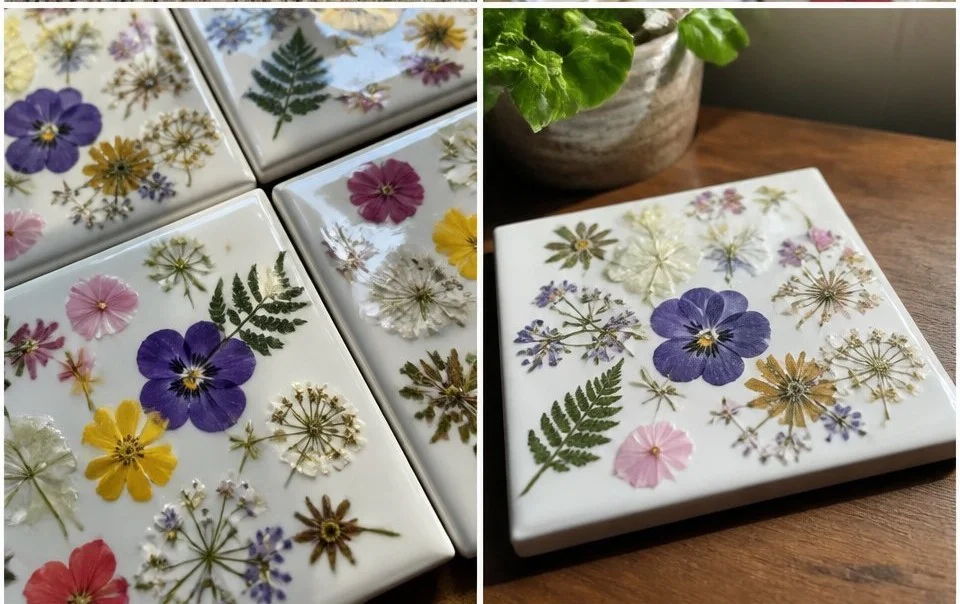
Allow your coasters to dry completely. This may take a few hours, so feel free to set them aside and tackle another fun project or enjoy a relaxing moment while you wait. The anticipation is part of the joy!
The Learning Behind This DIY

Creating Pressed Flower Coasters is more than just a crafty endeavor; it also offers valuable learning experiences. Engaging in this activity helps enhance fine motor skills as you carefully arrange the flowers and apply the Mod Podge. It also encourages creative expression, allowing individuals to explore color combinations and design layouts that resonate with their personality. Understanding how the flowers are preserved teaches concepts of nature and biology, blending creativity with educational elements effortlessly.
Troubleshooting Common Issues
It’s common for things not to go as planned during any DIY project, including making coasters. If the flowers don’t stay in place or start to lift, a thin additional layer of Mod Podge can help secure them. Sometimes, bubbles may form under the Mod Podge during application. If this happens, gently pressing them out with a flat tool or your fingers can help. Remember, these minor bumps in the process are normal, and they add character to your final product.
Easy Variations to Try
Not ready to stop at just coasters? You can explore various creative twists with your pressed flowers. Here are a few sparkling suggestions:
- Make a matching set of keychains using smaller tiles and your pressed flowers.
- Create beautiful bioplastic suncatchers, showcasing the vibrant colors of the flowers in your windows to catch the sunlight.
- Use your pressed flowers in cards or gift tags, turning them into personalized gifts for friends and family.
Storing or Reusing This Project
After making your coasters, you might wonder how to clean up or store your supplies. Keep your extra pressed flowers in a cool, dry place to preserve them for future projects. If you have leftover Mod Podge or tiles, store them in airtight containers. This way, you can reduce waste and be ready for your next creative endeavor without needing to shop for more supplies.
FAQs About Pressed Flower Coasters
1. How messy is this project?
This activity is relatively mess-free. You may get some Mod Podge on your hands, but it’s easy to clean up with soap and water. Lay down a newspaper or plastic sheet to catch any spillages, and you’ll be all set.
2. What age is appropriate for this project?
This DIY is suitable for various ages. Younger children may need help with arranging flowers and applying Mod Podge, but older kids and adults can manage the entire process with ease.
3. Can I use fresh flowers instead of pressed flowers?
While it’s possible to use fresh flowers, they may wilt, and the results wouldn’t be as lasting. It’s best to use dried or pressed flowers for a more durable and visually appealing outcome.
4. How do I store my coasters so they don’t get damaged?
After they have dried completely, store your coasters away from direct sunlight. You can stack them with a piece of cardboard between each one to prevent scratches.
5. How do I clean my coasters?
Use a damp cloth to wipe the surface of your coasters. Avoid soaking them in water or using abrasive cleaners, as this might damage the Mod Podge finish.
A Final Helpful Note
Remember, the goal of this crafting experience is to enjoy yourself and tap into your creativity. Don’t feel pressured to achieve perfection. Embrace the flexibility of the project and allow it to evolve into something uniquely yours. Enjoy the process and have fun experimenting!
Conclusion
Making Pressed Flower Coasters is not only a rewarding creative outlet but also an opportunity to learn and practice various skills. As you embrace the crafting process, you can find more inspiration in projects like DIY Pressed Flower Coasters or explore other ideas for pressed flower creations, such as the ones mentioned in this pressed flower coasters article. Happy crafting!
PrintPressed Flower Coasters
Create beautiful, personalized coasters using pressed flowers and ceramic tiles. This fun and easy DIY project is perfect for families and crafting enthusiasts.
- Prep Time: 10 minutes
- Cook Time: 120 minutes
- Total Time: 130 minutes
- Yield: 4 coasters
- Category: Craft
- Method: Crafting
- Cuisine: N/A
- Diet: N/A
Ingredients
- Ceramic tiles
- Pressed flowers
- Mod Podge
Instructions
- Start by arranging your pressed flowers on the ceramic tile.
- Once you’re happy with the arrangement, apply a layer of Mod Podge over the flowers and tile.
- Allow your coasters to dry completely.
Notes
This project is great for enhancing fine motor skills and encourages creative expression. Store extra supplies for future projects.
Nutrition
- Serving Size: 1 coaster
- Calories: 0
- Sugar: 0g
- Sodium: 0mg
- Fat: 0g
- Saturated Fat: 0g
- Unsaturated Fat: 0g
- Trans Fat: 0g
- Carbohydrates: 0g
- Fiber: 0g
- Protein: 0g
- Cholesterol: 0mg