

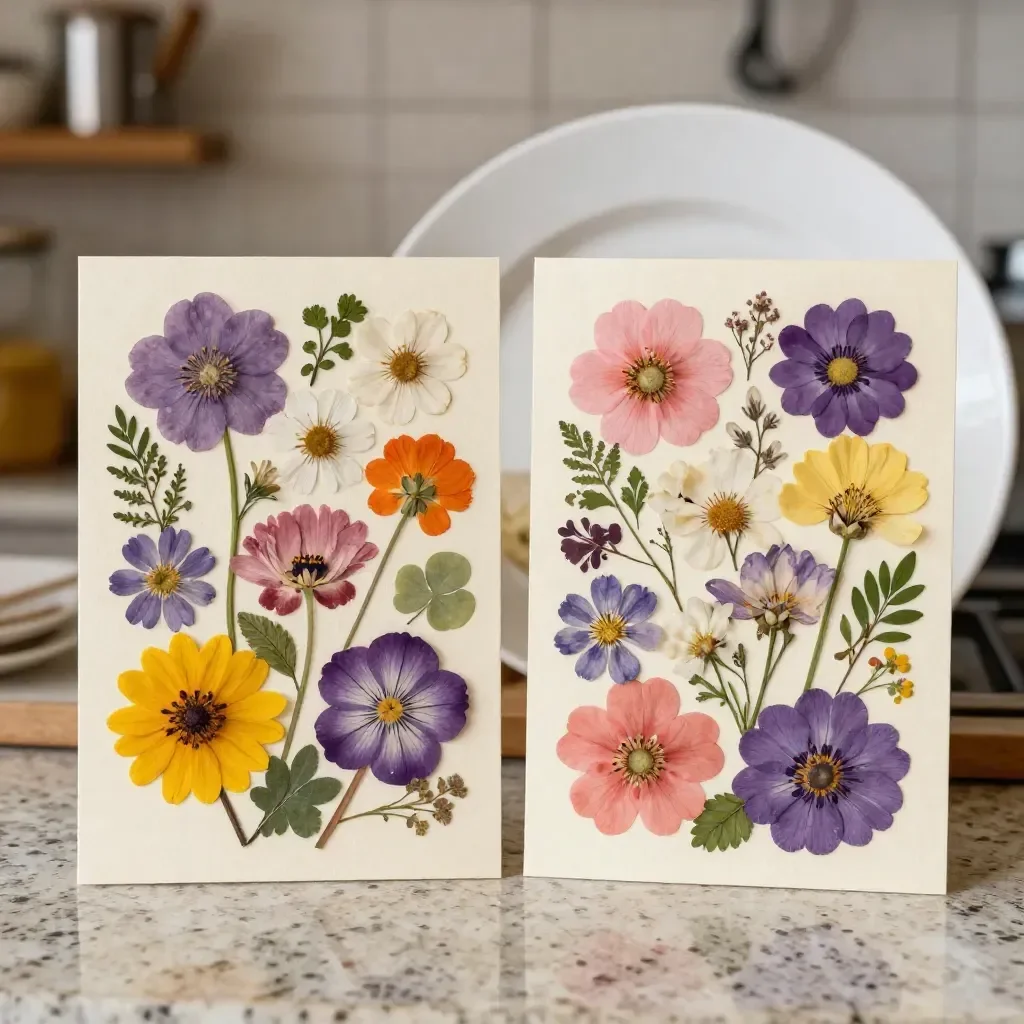
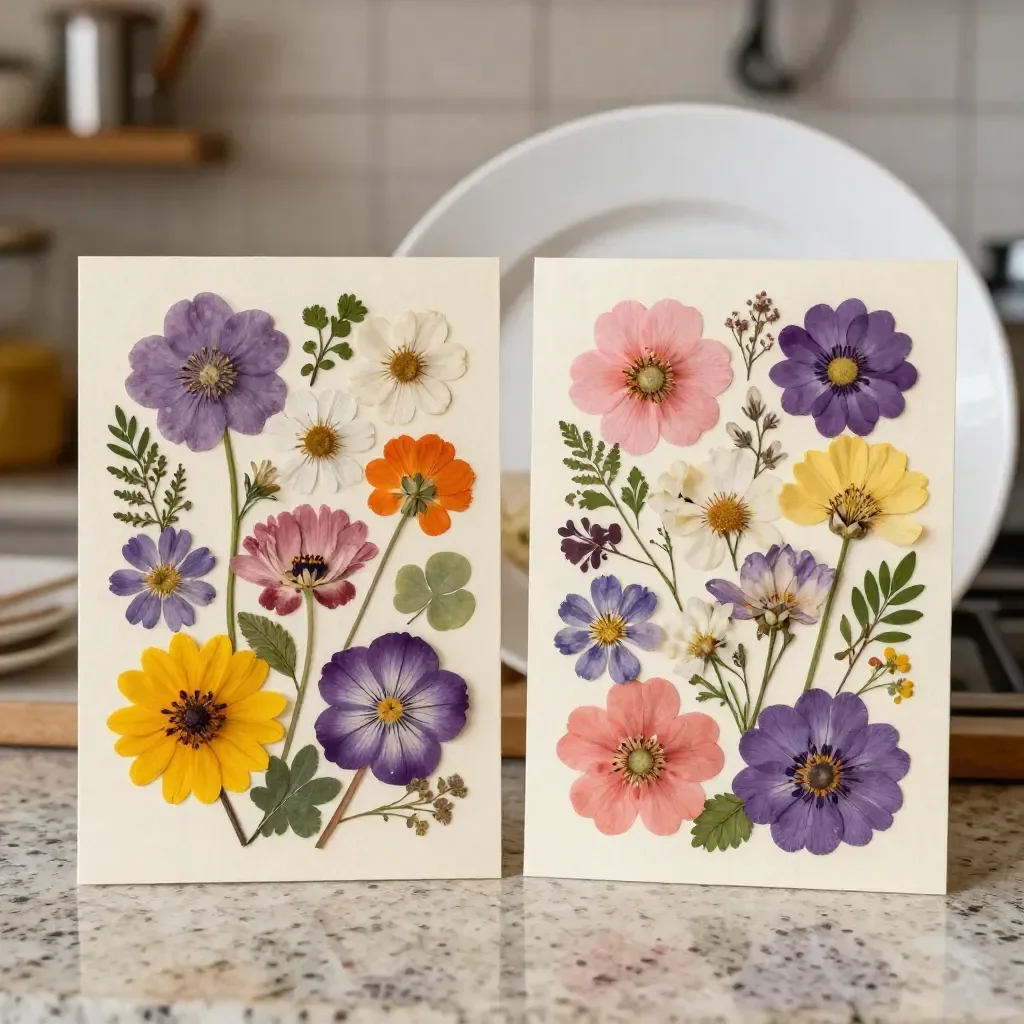
Creating a Pressed Flower Bookmark Keepsake is a wonderful way to capture the beauty of nature while engaging in a delightful, hands-on project. Imagine a busy afternoon where the kids are eager to create something special for themselves or as a gift. This project not only brings the beauty of fresh flowers into everyday life but also offers a creative outlet for all ages. With just a few simple materials, you can produce a colorful and personalized bookmark that will brighten up any reading experience. You may also find Cornstarch Bioplastic Pressed Flowers Recipe useful.
Why You’ll Love Making Pressed Flower Bookmark Keepsake
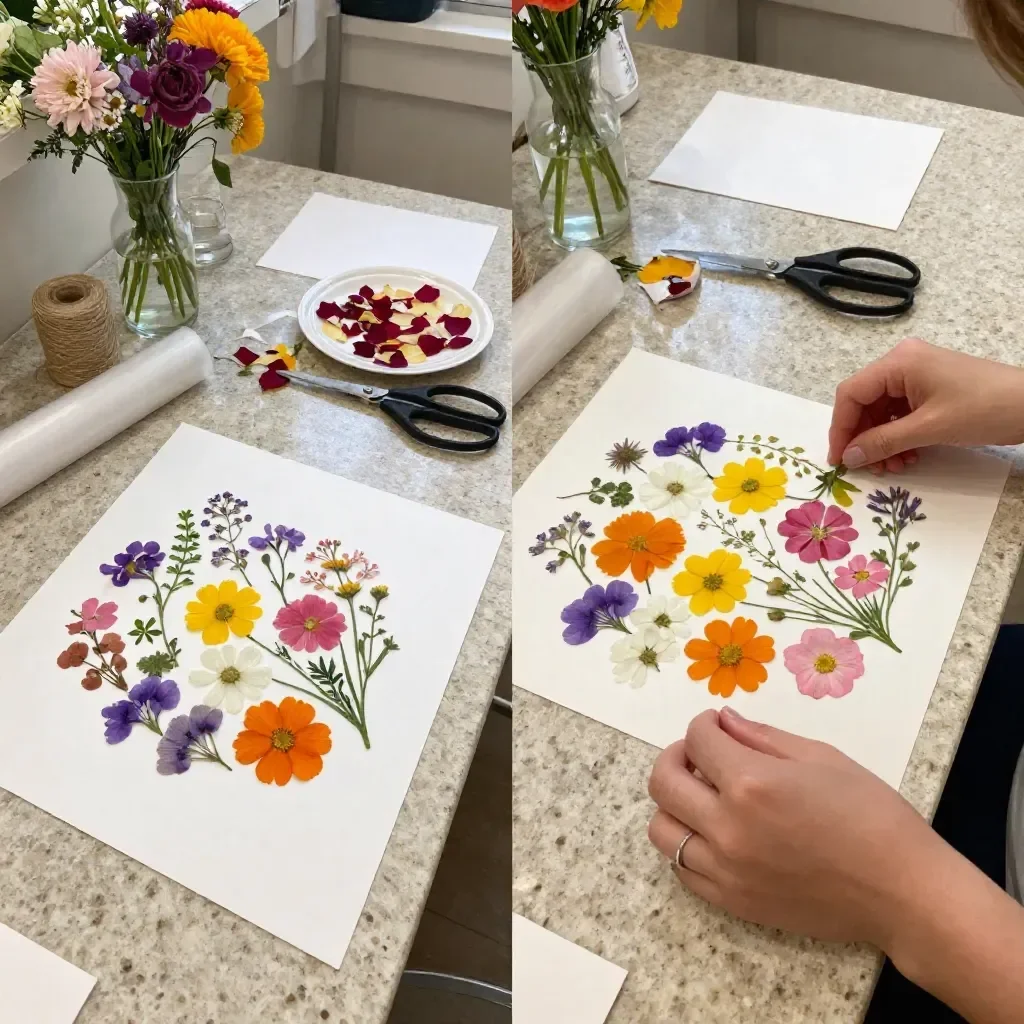
This Pressed Flower Bookmark Keepsake is not only an enjoyable activity but also relatively low-prep. You only need fresh petals, clear contact paper, cardstock, and ribbon to get started. The steps are straightforward, making it approachable for both kids and adults. The delight of creating something beautiful helps foster a sense of accomplishment, making this a reliable project for real-life schedules. Plus, it’s an excellent way to utilize flowers from your garden or local park, connecting you further with nature. You may also find Cornstarch Bioplastic Pressed Flowers useful.
A Quick Look Before You Begin
Before diving into this creative endeavor, let’s take a moment to overview what to expect. You’ll need about two days for the flowers to press properly. Setting up the materials is straightforward, and the mess level is minimal, especially since you’re primarily working with flat flowers and paper. Adult involvement may be beneficial while sealing the petals and cutting the edges, but kids can handle arranging and decorating, making it a fun shared experience. You may also find Beautiful Bioplastic Suncatchers Flowers useful.
Materials You’ll Need
- Fresh petals
- Clear contact paper
- Cardstock
- Ribbon
These materials are mostly common household items, making this project budget-friendly and easy to gather. You may already have cardstock and ribbon lying around, while fresh petals can be sourced from your garden or local florist. The clear contact paper is an easy substitute for more elaborate resin options. You may also find Bioplastic Suncatchers Natural Flowers useful.
Step-by-Step Directions
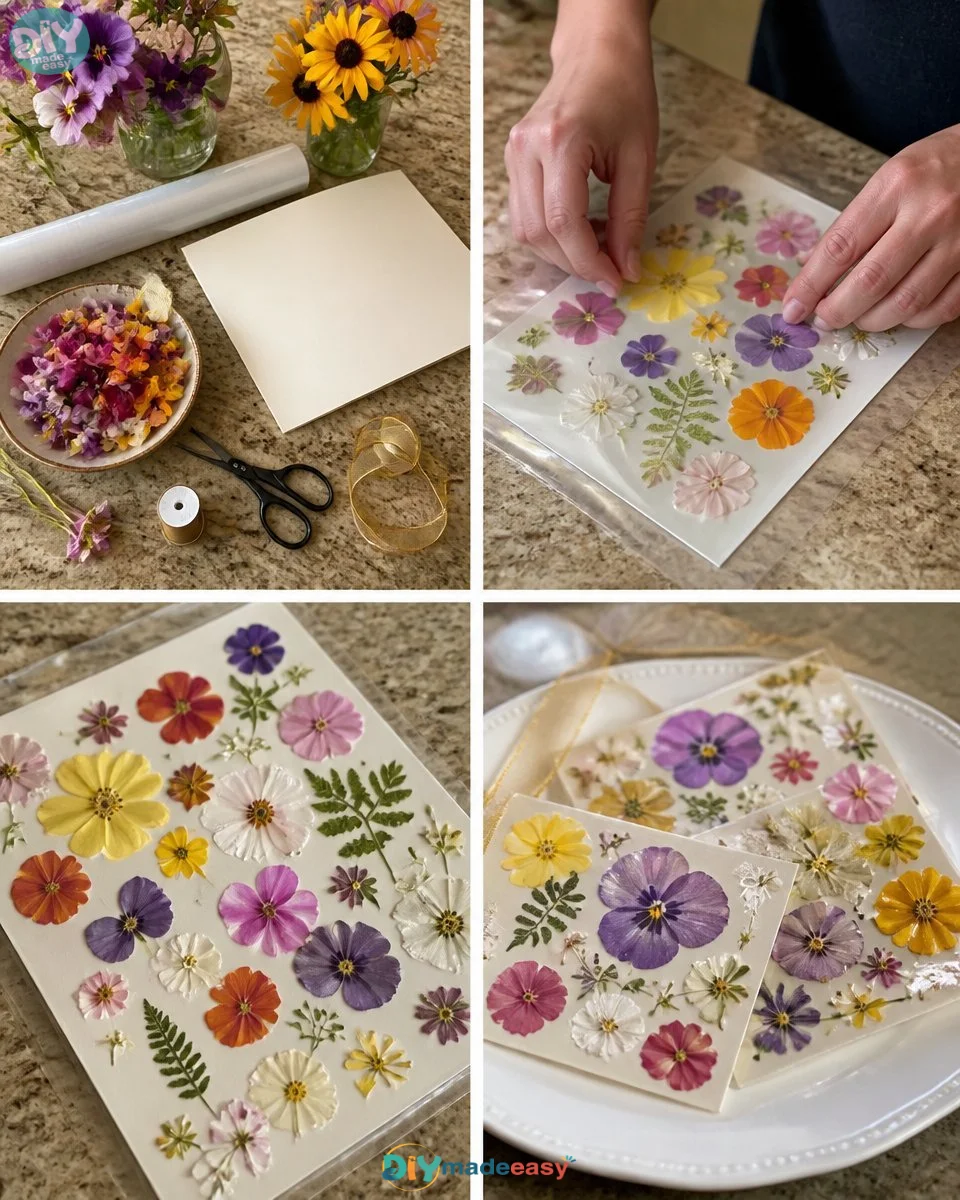
Gather your fresh petals and press them flat between the pages of a heavy book for two days. This will help them keep their charm. Make sure to choose flowers that are vibrant and not overly wet, as moisture can spoil the pressing process.
Once your petals are dry and flat, arrange them on a piece of cardstock however you like! You can create a lovely pattern or simply cluster them together for a unique design.
Carefully seal the petals under a sheet of clear contact paper, pressing firmly to keep everything smooth. Make sure there are no air bubbles trapped underneath, as this can affect the durability of your bookmark.
Trim the edges into a bookmark shape, punch a hole at the top, and tie on a lovely ribbon. This final touch adds a personal flair and makes your bookmark feel complete.
The Learning Behind This DIY
While creating this Pressed Flower Bookmark Keepsake, children practice various skills. They enhance their fine motor skills as they carefully handle delicate petals and manage scissors. This activity also supports creativity and coordination, as they learn to design and assemble their beautiful bookmarks. Additionally, there’s a nice sense of cause and effect; they see how their choices in arranging the petals lead to different outcomes in their finished product.
Troubleshooting Common Issues
If something doesn’t go as planned, don’t worry; it’s all part of the learning process. Common problems include petals fading in color during the pressing phase or getting air bubbles sealed within the contact paper. If your petals aren’t as vibrant as expected, try using flowers that are fresher or checking that they are pressed evenly. To avoid bubbles, slowly and carefully smooth the contact paper as you apply it.
Easy Variations to Try
There are so many creative twists you can add to your bookmarks:
- Experiment with different types of flowers for varied colors and textures.
- Add glitter or stickers around the edges for an extra sparkle.
- Use different shapes for your bookmarks, like hearts or stars, for themed gifts.
Storing or Reusing This Project
If you want to keep your bookmarks in great shape, store them in a cool, dry place, preferably away from direct sunlight, which can cause the colors to fade. You can also reuse materials by creating new bookmarks or incorporating your pressed flowers into cards or scrapbook pages. This project is a great way to reduce waste and make the most of natural beauty.
FAQs About Pressed Flower Bookmark Keepsake
Is this a messy project?
While the project is relatively clean, pressing flowers can sometimes lead to small bits of petals around. However, with just a few paper towels and a little care, cleanup is simple.
Are the flowers safe for young children?
Yes, most flowers are safe, but it’s always good to supervise any child under the age of three if they are handling smaller parts like the ribbon or using scissors.
Can I substitute dried flowers for fresh ones?
Yes, dried flowers can work, but they may not offer the vibrant colors that freshly picked petals provide. It’s best to experiment and see which you prefer.
How long do the bookmarks last?
When made according to the steps, pressed flower bookmarks can last a long time, especially if stored properly. They may fade over time, but the beauty of their design continues to shine through.
Can I create these with flowers from my garden?
Absolutely! Collecting flowers from your garden is a perfect way to personalize your bookmarks and brings a special touch to this wonderful craft.
Conclusion
Making your Pressed Flower Bookmark Keepsake is an enjoyable and creative way to engage with the beauty of nature. Whether you are making a few for yourself or a batch to gift, each bookmark tells its own story. If you’re looking for more inspiration, check out this guide on DIY pressed flower bookmarks or explore how to create your own pressed flower bookmarks effectively. Enjoy the process and happy crafting!
PrintPressed Flower Bookmark Keepsake
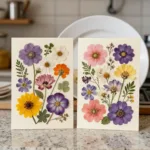
Create beautiful, personalized bookmarks using fresh flowers, perfect for gifts or personal use.
- Prep Time: 2880 minutes
- Cook Time: 0 minutes
- Total Time: 2880 minutes
- Yield: 4 bookmarks
- Category: Craft
- Method: Crafting
- Cuisine: N/A
- Diet: N/A
Ingredients
- Fresh petals
- Clear contact paper
- Cardstock
- Ribbon
Instructions
- Gather your fresh petals and press them flat between the pages of a heavy book for two days.
- Once your petals are dry and flat, arrange them on a piece of cardstock however you like.
- Carefully seal the petals under a sheet of clear contact paper, pressing firmly to keep everything smooth.
- Trim the edges into a bookmark shape, punch a hole at the top, and tie on a lovely ribbon.
Notes
Store bookmarks in a cool, dry place away from direct sunlight to maintain vibrancy.
Nutrition
- Serving Size: 1 bookmark
- Calories: 0
- Sugar: 0g
- Sodium: 0mg
- Fat: 0g
- Saturated Fat: 0g
- Unsaturated Fat: 0g
- Trans Fat: 0g
- Carbohydrates: 0g
- Fiber: 0g
- Protein: 0g
- Cholesterol: 0mg