

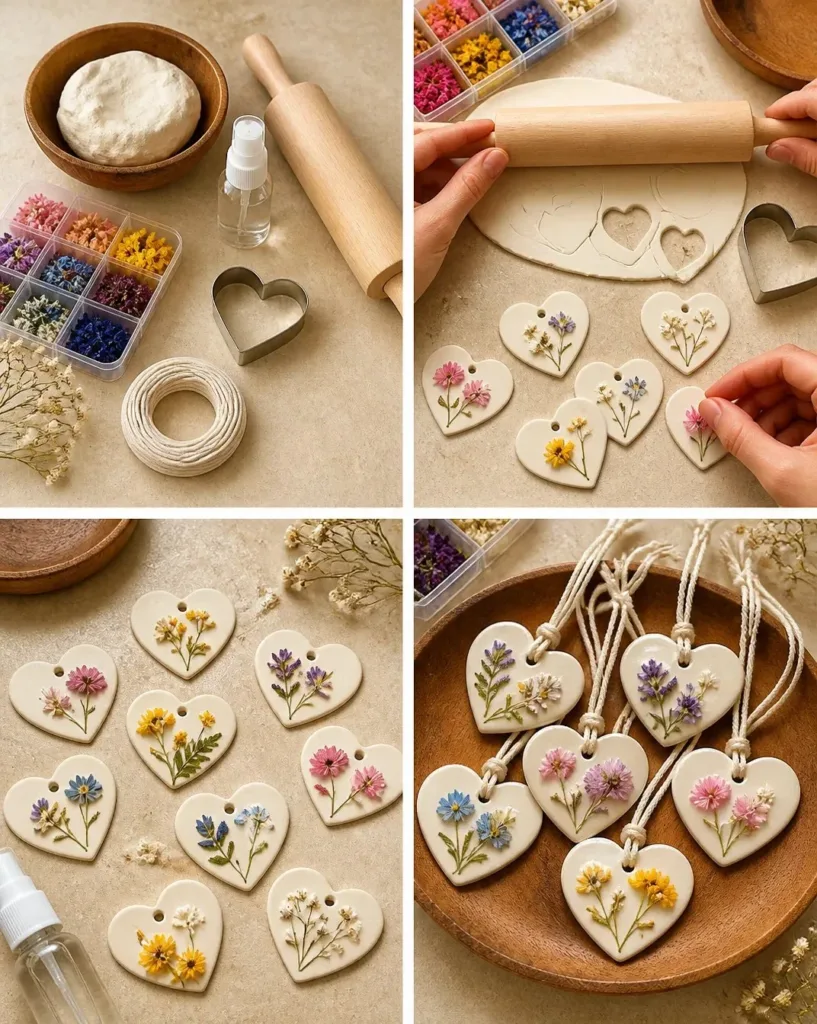
Handmade Clay Heart Charms with Dried Flowers offer a perfect solution for a busy afternoon when kids want to engage in a fun and creative activity. Whether you’re looking for a last-minute craft project or simply want to enrich your quality time with your little ones, making these charming decorations is an excellent choice. You’ll find that using air-dry clay and tiny pressed flowers can spark creativity, and watching your kids connect with nature adds an extra layer of joy. Plus, this project is accessible enough for quick setup, letting you dive straight into creating something beautiful together. You may also find Create Colorful Rainbow Hearts With Pressed Flowers useful.
Why You’ll Love Making Handmade Clay Heart Charms with Dried Flowers
You may also find Diy Polymer Clay Keychains With Uv Resin useful.
Creating Handmade Clay Heart Charms with Dried Flowers is particularly appealing because it involves minimal preparation. With just a few everyday materials, you can craft lovely charms that your family will cherish. Unlike some projects that require extensive planning and specialized items, these charms can fit seamlessly into real-life schedules. The straightforward nature of this activity makes it approachable, whether you have experience with DIY projects or are a complete beginner. You may also find How To Create Transparent Cornstarch Heart Charms Diy Tutorial useful.
Moreover, the skills developed while creating these charms like fine motor control, creativity, and an appreciation for the beauty of nature provide long-lasting benefits. It’s not just about making a craft; it’s about shared moments and the satisfaction of creating something special together. You may also find How To Make Flower Hearts With Clear Glue useful.
A Quick Look Before You Begin
You don’t need to invest hours prepping for this craft. In fact, setting up the work area will only take a few minutes. Gather your materials, and you can have your kids involved right from the start. Wandering through nature to find the perfect tiny pressed flowers may add extra time, but it’s an enjoyable way to explore outdoor beauty. Expect the mess level to be low; air-dry clay is easy to handle, and cleanup is simple.
Parents may want to lend a hand during the drying process, especially for younger kids, but with some guidance, older kids can manage the steps independently. This project is flexible it can be completed in about an hour, making it perfect for an afternoon of crafting.
Materials You’ll Need
1 cup air-dry clay
tiny pressed flowers
heart cutter
rolling pin
clear sealer
cotton cord
When gathering materials, notice that air-dry clay is a common household item; you might already have some on hand. Tiny pressed flowers can be collected from walks or purchases, making them an accessible option as well. If you’re short on time, store-bought flowers are also a budget-friendly way to get started.
Step-by-Step Directions
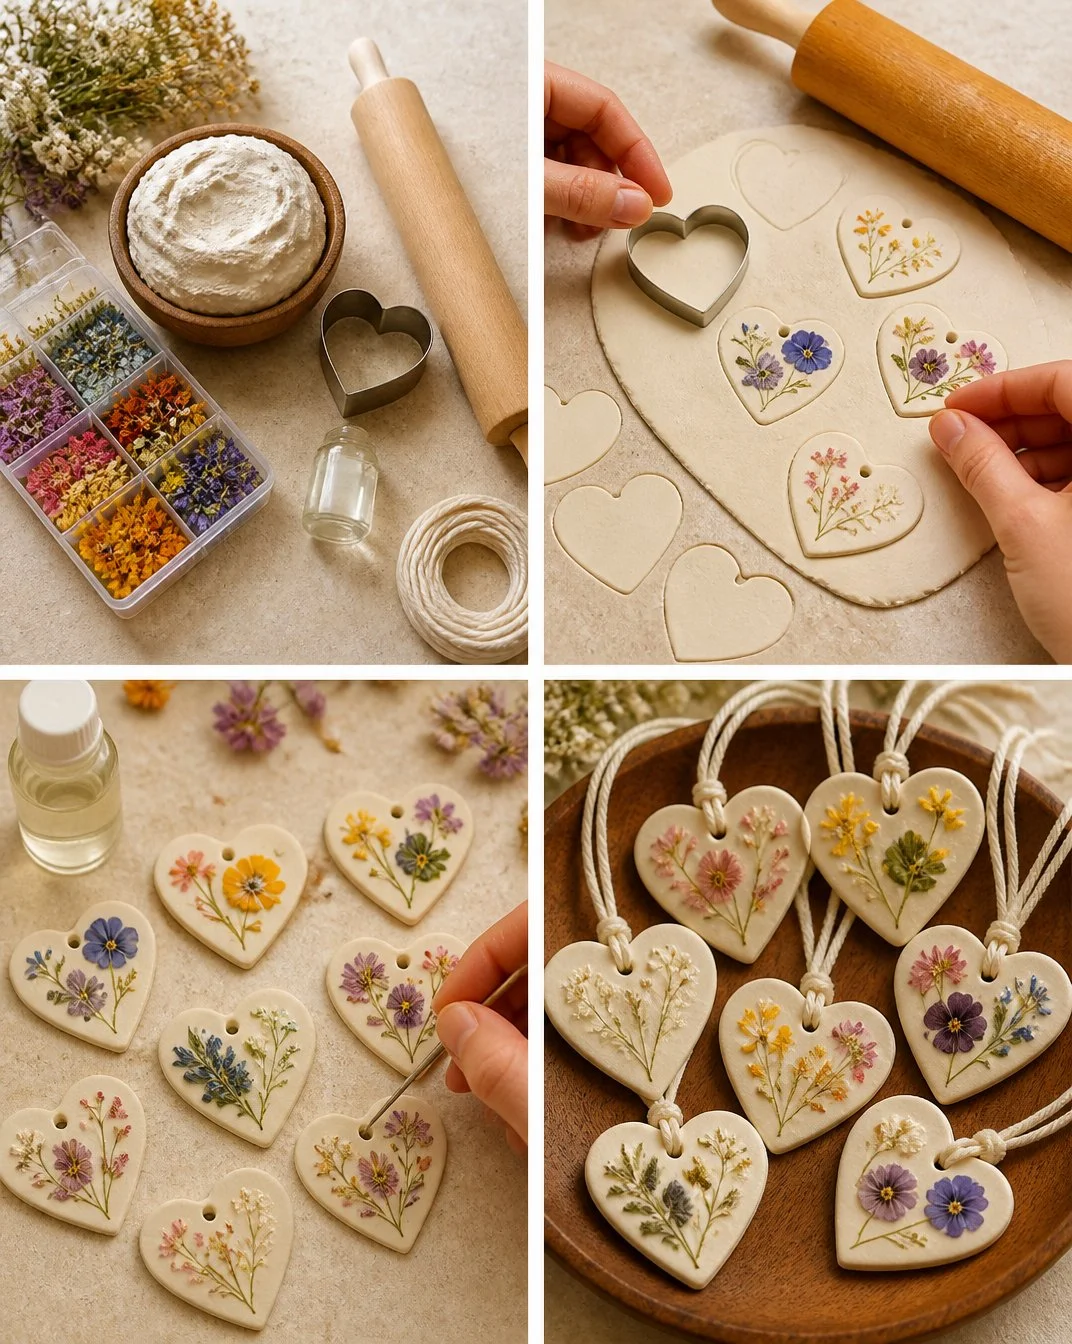
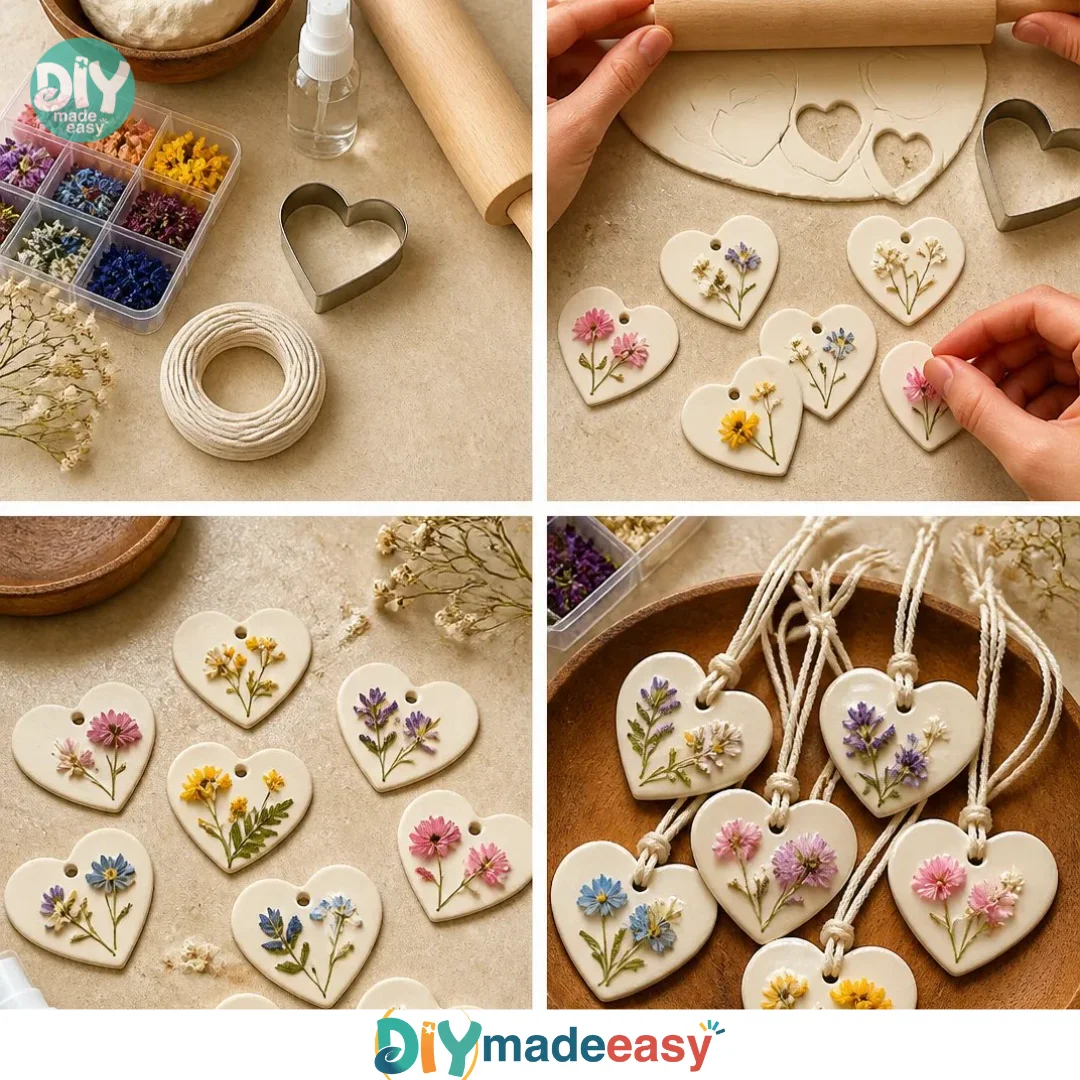
- Knead the clay: Start by softening 1 cup of air-dry clay by kneading it with your hands for a few minutes until it’s pliable and warm to the touch. The texture should be smooth with no cracks.
- Roll out the clay: Using a rolling pin, flatten the clay into an even sheet, about 1/4 inch thick. Aim for a consistent thickness to ensure even drying.
- Cut the shapes: Now, take your heart cutter and press it into the clay to create small heart shapes. Make sure to get clean edges for a neat finish.
- Press in the flowers: Carefully press tiny dried flowers into the surface of each heart. Gently push down to secure them, but be cautious not to press all the way through.
- Create hanging holes: Using a small tool or a pencil, make a small hole near the top of each heart. This is where you’ll thread the cotton cord later.
- Dry the hearts: Follow the clay instructions for drying times. Place the hearts in a well-ventilated area and turn them occasionally for even drying to prevent warping.
- Seal the charms: Once fully dry, apply a clear sealer to each heart to protect it and enhance its durability. Allow the sealer to dry according to the manufacturer’s instructions.
- Thread the cord: Finally, take a piece of cotton cord and thread it through the hanging hole in each charm. You’re ready to display or gift your lovely handcrafted creations!
The Learning Behind This DIY
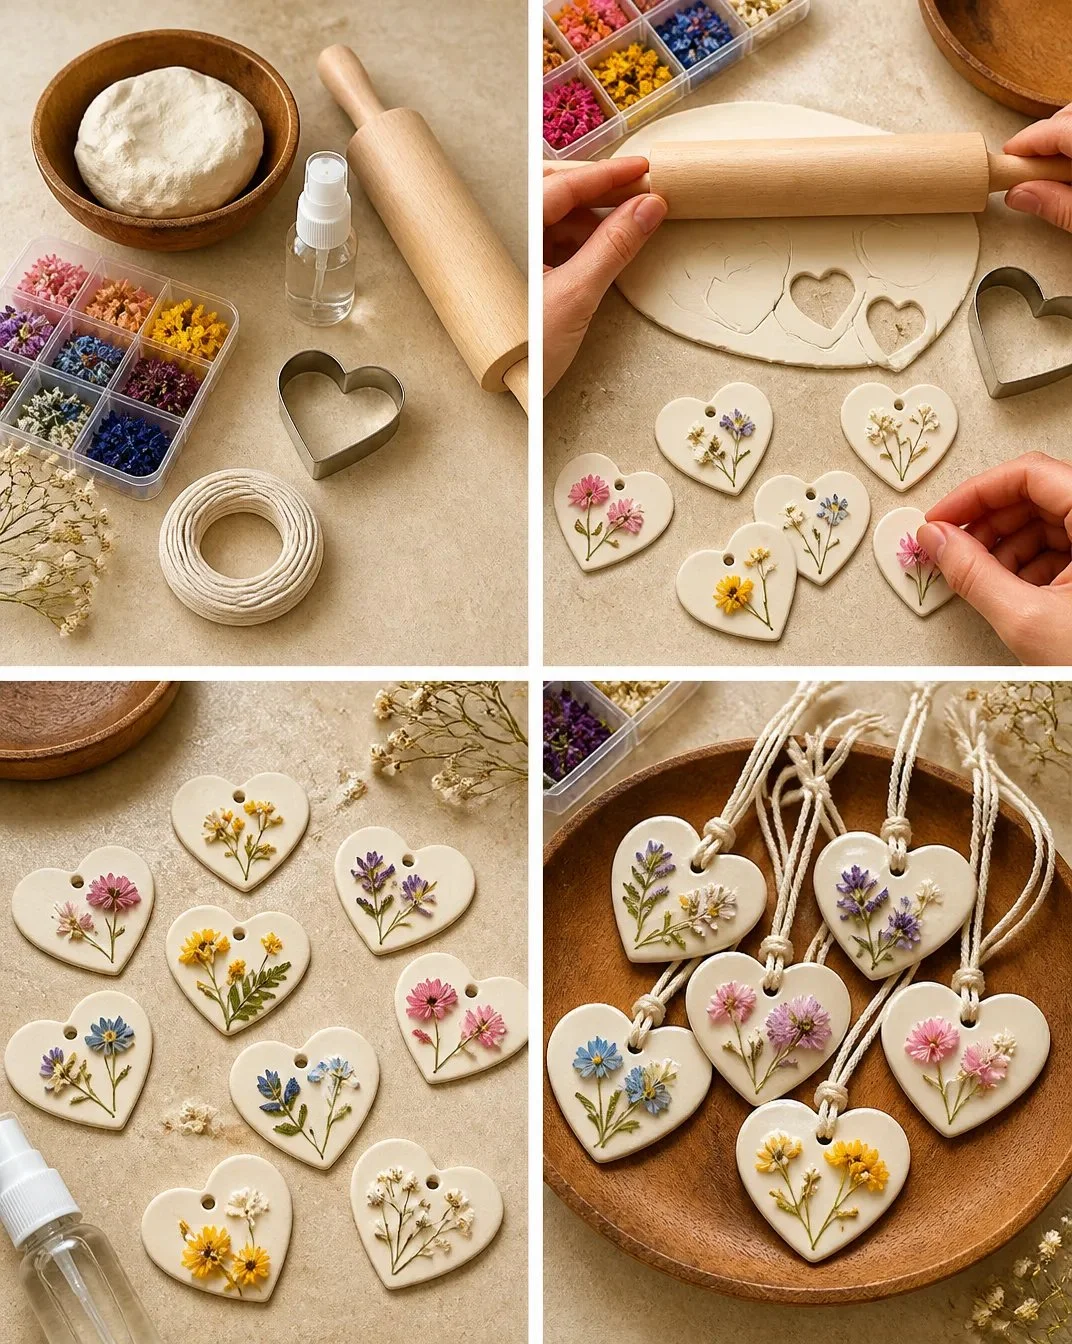
While crafting, kids engage not only in a fun activity but also in developing essential skills. The process of kneading, rolling, and shaping the clay involves fine motor skills, crucial for their physical development. Each action they take like pressing the delicate flowers into the hearts teaches them coordination and reinforces their understanding of cause and effect. They see how their hands mold the clay and how the flowers add beauty, reinforcing creativity and inventiveness.
As they navigate through the steps, children gain a sense of accomplishment. This DIY project encourages them to express themselves. Plus, it fosters an appreciation for materials and the beauty of nature in a hands-on way.
Troubleshooting Common Issues
If something doesn’t go as planned during your crafting session, don’t worry! One common issue is the clay drying too quickly, potentially leading to cracking. To avoid this, ensure your workspace isn’t too hot or drafty. If your charms end up being too fragile, a gentle touch with the clear sealer can help reinforce them.
Another challenge could arise with the pressed flowers. If they don’t stick well, you can try gently pressing them further into the clay before sealing. Sometimes, frustrating moments lead to the best learning opportunities.
Easy Variations to Try
Feel free to adapt this project based on the seasons or what you have available. Here are a few ideas to get you started:
- Seasonal Flowers: Use flowers that reflect the current season think colorful autumn leaves, or spring blossoms and turn the charms into seasonal decorations.
- Different Shapes: Instead of hearts, experiment with other shapes like stars or circles using different cutters.
- Textured Backgrounds: Before cutting the shapes, use tools or stamps to create designs or textures on the clay surface for added visual interest.
- Personalized Messages: Incorporate small sayings or kids’ names into the hearts before they dry, by lightly impressing letters in the clay.
- Mixed Media: For an artistic twist, glue glitter or small jewels onto your charms after applying the sealer.
Storing or Reusing This Project
Once your Handmade Clay Heart Charms are complete, they can serve as lovely decorations or gifts. To clean up or store your materials, consider placing any leftover clay in an airtight container. This will keep it fresh for future crafting sessions. Sealed charms can also be stored safely, ensuring they last well for many seasons.
If you discover your charms could use a fresh look after some time, a simple touch-up with additional sealer can rejuvenate their appearance. Embracing reuse reduces waste and encourages responsible crafting for everyone involved.
FAQs About Handmade Clay Heart Charms with Dried Flowers
Are these crafts too messy for my home?
Not at all! The air-dry clay is quite easy to manage, and cleanup generally involves just cleaning your work surface and any leftover materials.
What is the right age for kids to participate in this project?
Generally, this project is suitable for children around age 5 and up, with adult supervision for younger ones especially during the sealer application.
Can I use different materials instead of the ones listed?
Absolutely! If you don’t have tiny pressed flowers, feel free to use paints or beads from your craft supplies for unique variations.I’m concerned about my child’s safety; are there any risks with this activity? As long as you supervise closely, the materials used in this project, like air-dry clay and sealer, are generally safe for children. Always check for the manufacturer’s safety guidelines just in case.
What should I do if the charms don’t come out as expected?
If you notice cracks or mishaps, it’s okay. Remember, crafting is all about the process. Embrace the imperfections; sometimes they tell the best stories!
Conclusion
Creating Handmade Clay Heart Charms with Dried Flowers is not just a fun and engaging activity; it’s a delightful way to spend quality time with your loved ones while nurturing creativity. Whether you are giving these charms as gifts or adorning your home with them, they are sure to bring a smile. For those interested in expanding their crafting skills, a great resource is Dried Flower Clay Beads – Etsy, which can inspire new ideas for your next project. Furthermore, you might explore How to Make Beautiful Air Dry Clay Flower Frogs for another engaging DIY project featuring clay and creativity.
PrintHandmade Clay Heart Charms with Dried Flowers
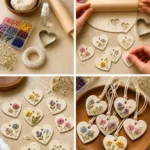
A fun and creative DIY project for kids to create beautiful charms using air-dry clay and tiny pressed flowers.
- Prep Time: 5 minutes
- Cook Time: 60 minutes
- Total Time: 65 minutes
- Yield: 4–6 charms 1x
- Category: Craft
- Method: Crafting
- Cuisine: N/A
- Diet: N/A
Ingredients
- 1 cup air-dry clay
- tiny pressed flowers
- heart cutter
- rolling pin
- clear sealer
- cotton cord
Instructions
- Knead the clay: Start by softening 1 cup of air-dry clay by kneading it with your hands for a few minutes until it’s pliable and warm to the touch.
- Roll out the clay: Using a rolling pin, flatten the clay into an even sheet, about 1/4 inch thick.
- Cut the shapes: Take your heart cutter and press it into the clay to create small heart shapes.
- Press in the flowers: Carefully press tiny dried flowers into the surface of each heart.
- Create hanging holes: Using a small tool or a pencil, make a small hole near the top of each heart.
- Dry the hearts: Follow the clay instructions for drying times and place the hearts in a well-ventilated area.
- Seal the charms: Once fully dry, apply a clear sealer to each heart to protect it.
- Thread the cord: Finally, take a piece of cotton cord and thread it through the hanging hole in each charm.
Notes
This project is suitable for kids ages 5 and up with adult supervision for younger ones.
Nutrition
- Serving Size: 1 charm
- Calories: N/A
- Sugar: N/A
- Sodium: N/A
- Fat: N/A
- Saturated Fat: N/A
- Unsaturated Fat: N/A
- Trans Fat: N/A
- Carbohydrates: N/A
- Fiber: N/A
- Protein: N/A
- Cholesterol: N/A