

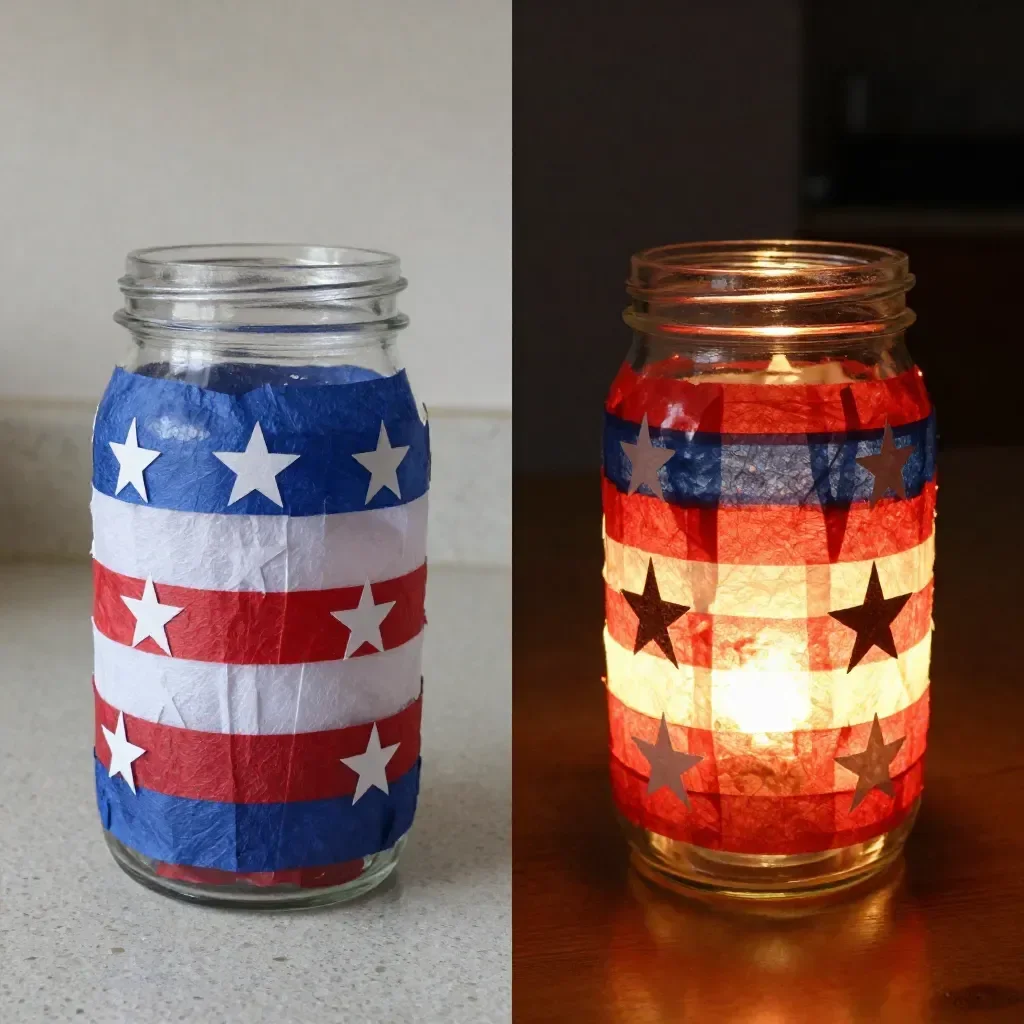
Creating a Glowing Star Lantern can be a perfect afternoon activity when your kids need something fun to do. Imagine a busy day where everyone is looking for a creative outlet that requires minimal setup. This craft is not only enjoyable but also allows for a beautiful end product that your children can proudly display at home. With just a few simple materials, you can turn a regular glass jar into a glowing masterpiece that brightens your evening. You may also find Cornstarch Bioplastic Pressed Flowers Recipe useful.
Why You’ll Love Making Glowing Star Lantern
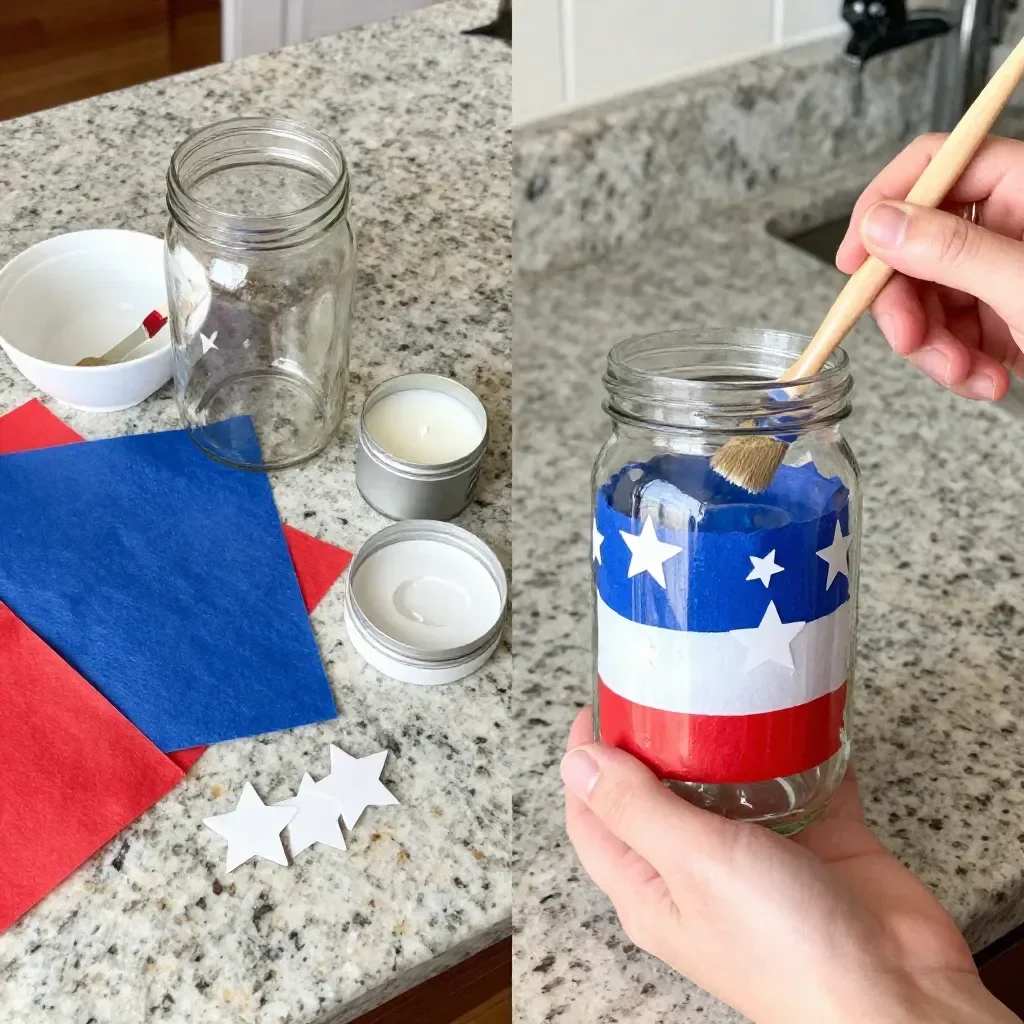
This Glowing Star Lantern project stands out because it’s low-prep and approachable. You don’t need an extensive set of supplies, just common household items. This means you can easily jump into the activity without a lot of prior planning. It’s also reliable; you can count on achieving a visually appealing result. Plus, it fits easily into a typical schedule, so even on the busiest of days, creating this lantern is manageable. You may also find Cornstarch Bioplastic Pressed Flowers useful.
A Quick Look Before You Begin
Making this lantern is a straightforward and calming process. You can expect the setup to take just a few minutes, and while there will be some mess—especially with the tissue paper—it’s all a part of the fun. Children can help in various stages, making it a fantastic family project that fosters creativity and teamwork. Knowing what to expect can ease any apprehensions, making the crafting time enjoyable for everyone involved. You may also find Cornstarch Dish Soap Bubble Dough useful.
Materials You’ll Need
- Glass jar (good for reusing items you already have)
- Red and blue tissue paper (easy to find and budget-friendly)
- Mod Podge (a common craft item)
- Star cutouts (these can be homemade or store-bought)
- LED tea light (safe to use around kids)
By preparing these materials ahead of time, you set the stage for a successful crafting session that kids will love. You may also find Cornstarch Flower Charms useful.
Step-by-Step Directions
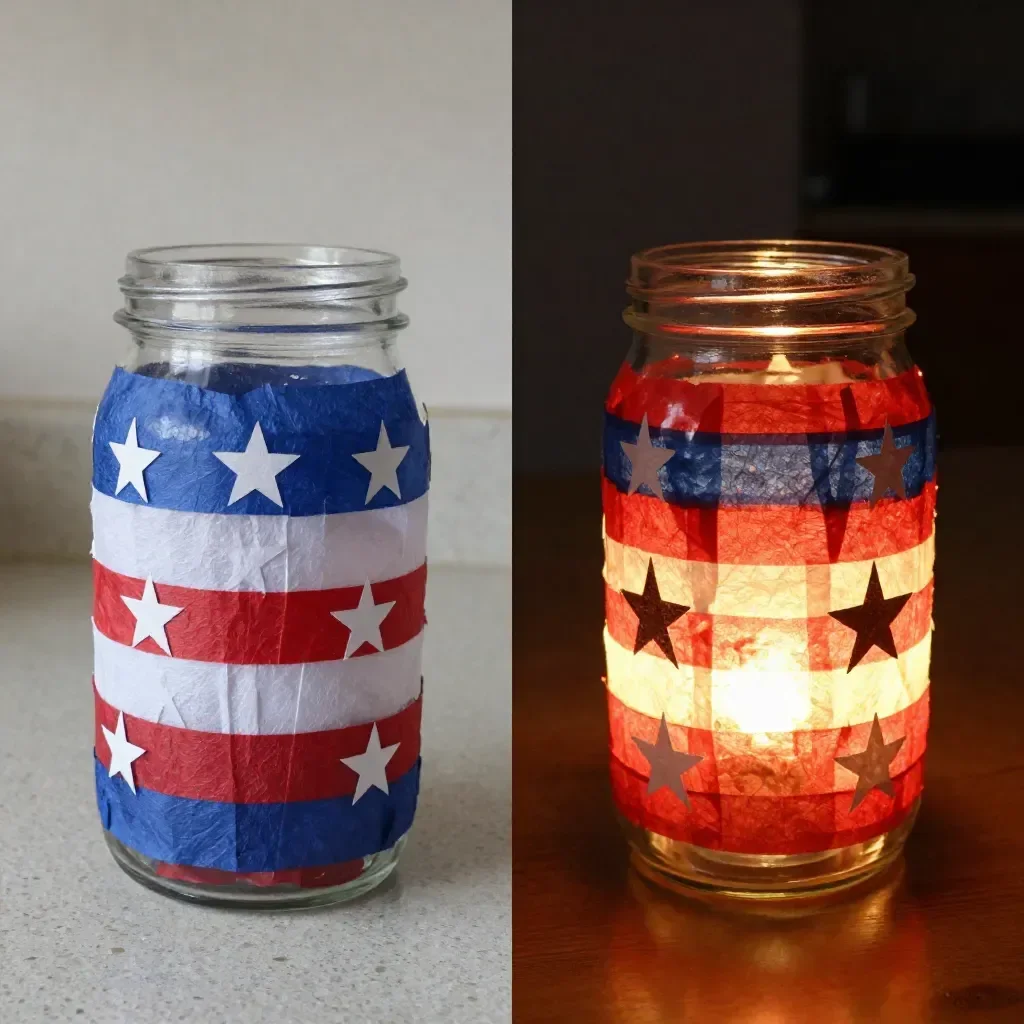
- Start by brushing a layer of Mod Podge on the outside of the glass jar. This will help the colors stick.
- Let your little ones press the red and blue tissue paper onto the jar wherever they like. It’s okay if it gets a bit messy!
- Once covered, add the white star cutouts. You can create them or use pre-made shapes, whatever’s fun!
- Finish by sealing everything with another layer of Mod Podge to protect your beautiful work.
- Drop in the LED tea light, turn off the lights, and watch your glowing stars shine!
Each step allows for personal expression. Kids can choose where to place the tissue paper and stars, giving them a sense of ownership over their creation.
What Kids Practice While Making This
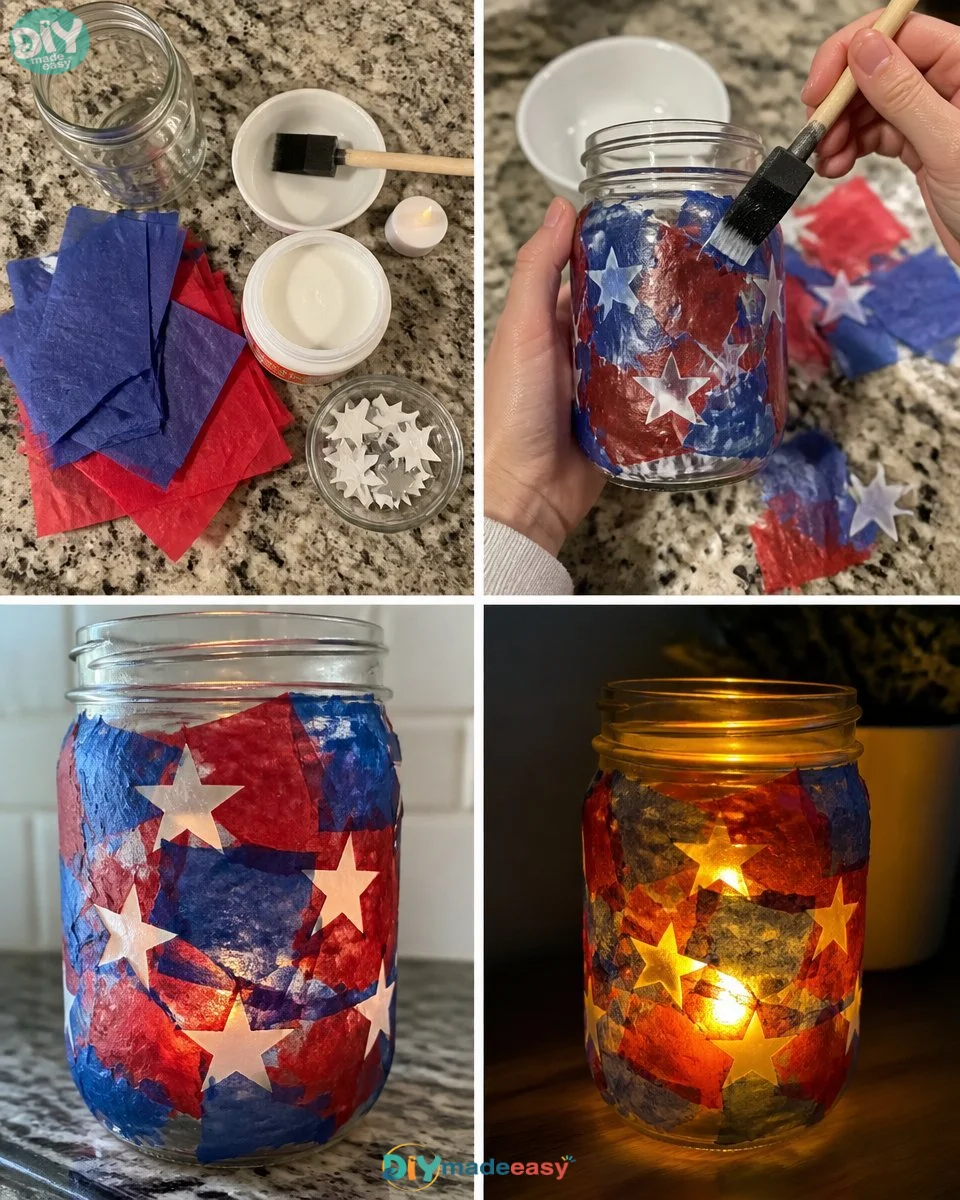
Besides being a fun craft, creating the Glowing Star Lantern helps kids develop various skills. While cutting and gluing, they enhance their fine motor skills and dexterity. Working with different materials encourages sensory exploration, as they feel the textures of tissue paper and Mod Podge. Additionally, this activity also introduces basic concepts of light and color, as the combination of the LED tea light and colored paper produces different effects once the lantern is completed.
Troubleshooting Common Issues
Sometimes things may not go as planned while making your lantern. For example, if the tissue paper begins to peel off, ensure the Mod Podge is adequately applied or try adding more as a protective seal. If the colors appear too muted, you may want to ensure the LED tea light shines brightly through the tissue paper, perhaps by experimenting with lighter colors. Most issues are easily solvable, and with a little patience, you can achieve the desired look.
Easy Variations to Try
You can switch things up for different occasions or try new ideas with your lantern project. For instance, consider using different colors of tissue paper for seasonal decor—orange and black for Halloween, or pastels for Easter. Additionally, you could create themed cutouts, like hearts for Valentine’s Day or leaves in the fall. Another fun variation would be to incorporate scented elements, such as essential oils, in the Mod Podge to add a pleasant aroma when the lantern lights up.
Storing or Reusing This Project
After crafting, decide how and where you want to store your lantern. If your kids want to keep it for display, find a special spot where it can shine. If cleanup is a priority, gently wash the jar and store the materials appropriately. Consider reusing the lantern for different holidays by changing the decorations. This way, you maintain the spirit of creativity while being environmentally conscious.
FAQs About Glowing Star Lantern
What if my kids make a mess with the Mod Podge?
It’s easy to clean Mod Podge with soap and water while it’s still wet. Encourage your kids to be careful, but if spills happen, they can help clean up with you.
Is this project safe for younger children?
Yes, as long as an adult supervises, especially during steps like cutting star shapes. The materials are non-toxic and safe for kids.
Can I substitute the LED tea light with something else?
It’s best to use an LED light for safety. Regular candles could be a fire hazard, so it’s not advisable.
How long does it take to make the lantern?
Typically, about 30-45 minutes, depending on the kids’ involvement and how intricate they want their designs to be.
Can we save the lantern for later use?
Absolutely! Just store it where it won’t get damaged, and you can enjoy your glowing star lantern for many nights to come.
Conclusion
Conclusion
The Glowing Star Lantern is an excellent craft that brings delight and creativity into your home. If you’re looking for inspiration or additional decorations, consider browsing options like the Paper Star Lantern Decoration or explore various styles available at IKEA’s collection of paper star lanterns. These ideas can complement your DIY project and keep the creativity flowing in your home. Enjoy making memories while you craft!
PrintGlowing Star Lantern
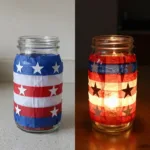
A fun and creative afternoon project for kids, transforming a glass jar into a glowing masterpiece.
- Prep Time: 5 minutes
- Cook Time: 30 minutes
- Total Time: 35 minutes
- Yield: 1 lantern
- Category: Craft
- Method: Crafting
- Cuisine: N/A
- Diet: N/A
Ingredients
- Glass jar
- Red tissue paper
- Blue tissue paper
- Mod Podge
- Star cutouts
- LED tea light
Instructions
- Start by brushing a layer of Mod Podge on the outside of the glass jar.
- Let your little ones press the red and blue tissue paper onto the jar wherever they like.
- Once covered, add the white star cutouts.
- Finish by sealing everything with another layer of Mod Podge.
- Drop in the LED tea light, turn off the lights, and watch your glowing stars shine!
Notes
Encourage creativity by allowing kids to choose where to place the tissue paper and stars.
Nutrition
- Serving Size: 1 lantern
- Calories: 0
- Sugar: 0g
- Sodium: 0mg
- Fat: 0g
- Saturated Fat: 0g
- Unsaturated Fat: 0g
- Trans Fat: 0g
- Carbohydrates: 0g
- Fiber: 0g
- Protein: 0g
- Cholesterol: 0mg