

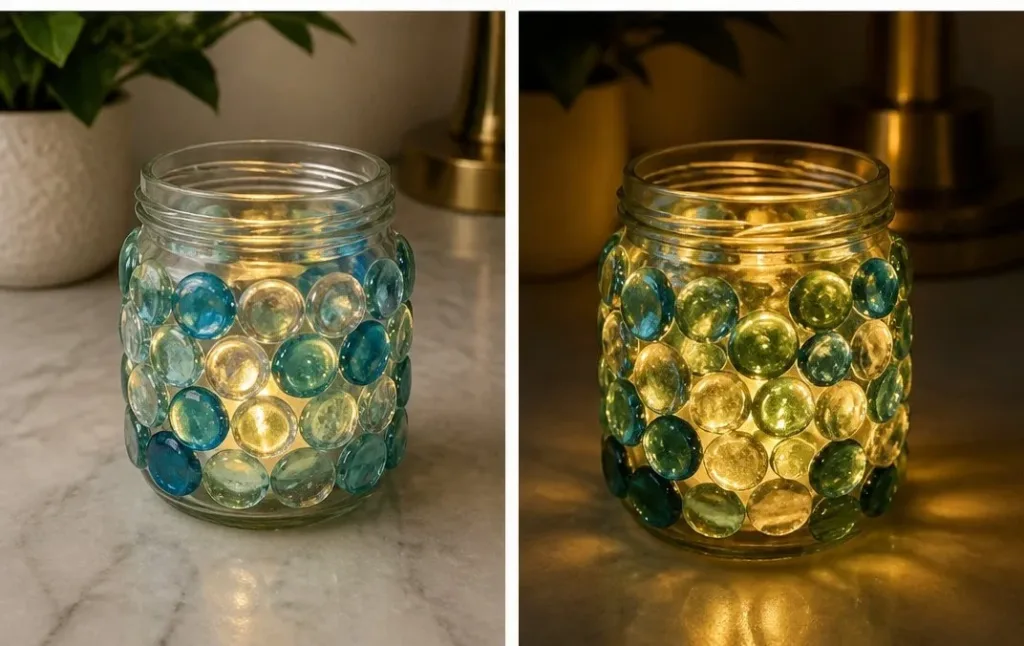
Creating a fun DIY project that’s both beautiful and simple can often be a lifesaver on a busy afternoon, especially when kids are eager to make something special. One such project is the Glass Pebble Lantern, which serves as a fantastic way to use everyday materials while also providing a creative outlet. With just a jar, some glue, glass pebbles, and an LED light, you can transform an ordinary item into a stunning piece of decor. This project is not only enjoyable but also suitable for various age groups, making it a great family activity. You may also find Diy Glass Bead Heart Suncatcher useful.
Why You’ll Love Making Glass Pebble Lantern
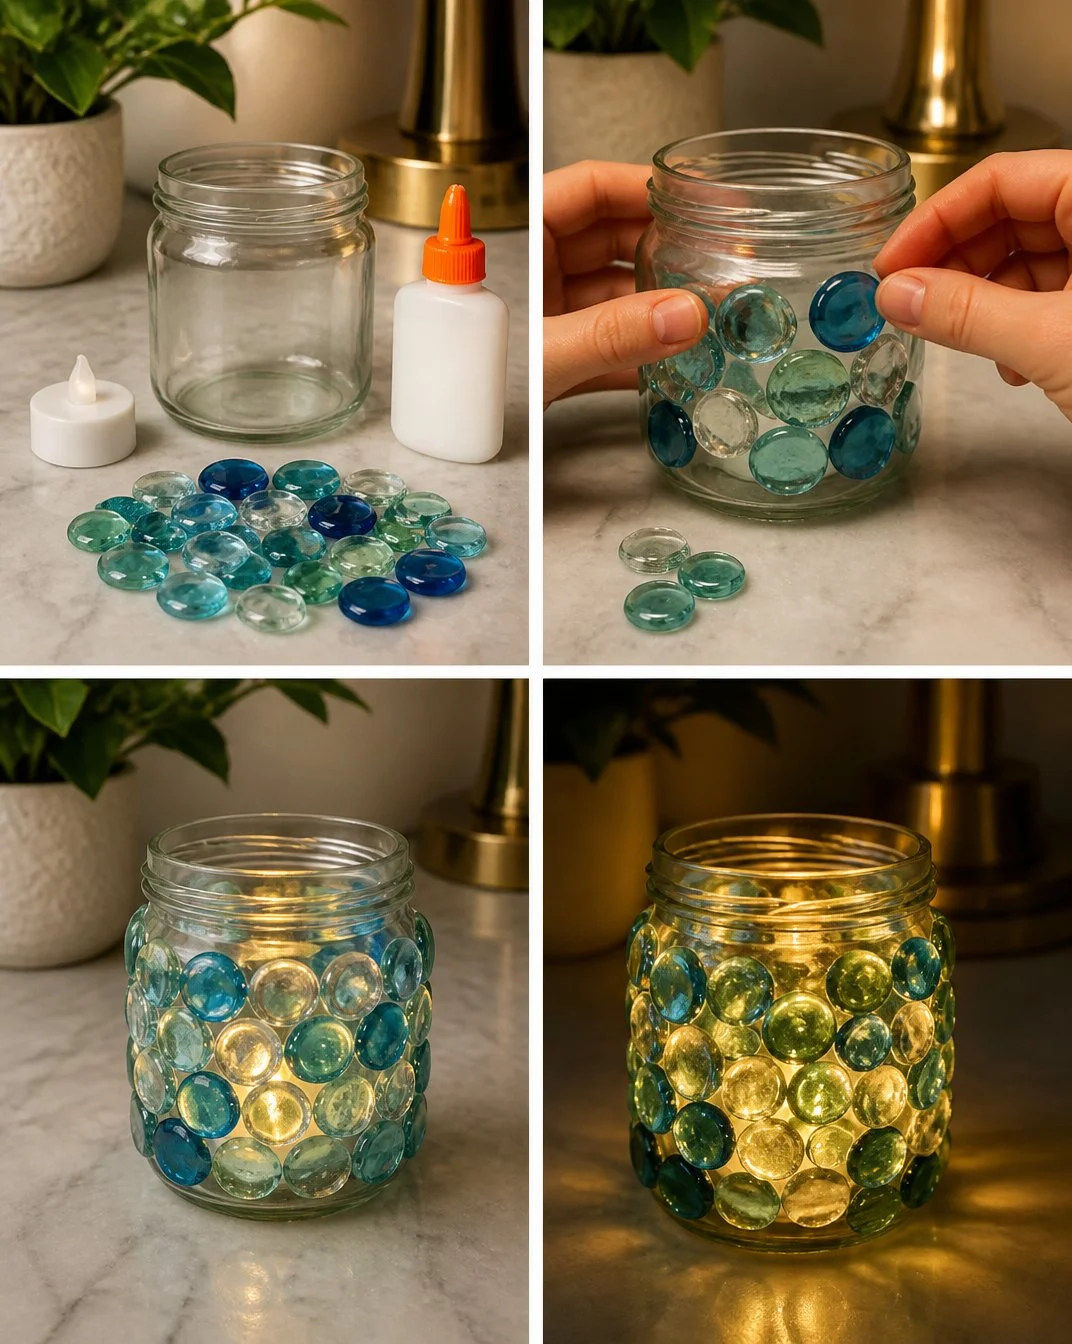
The Glass Pebble Lantern is a perfect blend of creativity and practicality. It’s low-prep, meaning you can start without extensive setup or advanced planning. Plus, the materials needed are often found right at home. This project allows everyone to express their individuality through color choices and designs, while also resulting in a beautiful lantern that can be used for decoration. It’s a reliable activity that can fit into any schedule, providing a sense of accomplishment without overwhelming you or your kids. You may also find Diy Glass Bead Suncatcher useful.
A Quick Look Before You Begin
Throughout this project, expect to spend about 30 to 60 minutes from start to finish. Set up your space with a newspaper or a tablecloth to catch any spills from the glue. The mess level is minimal, mainly consisting of glue residue that can be easily cleaned up with some warm soapy water if needed. While children can lead this project, having an adult present can greatly enhance the experience by providing encouragement and assistance.
Materials You’ll Need
To get started with your Glass Pebble Lantern, gather these materials:
- Glass pebbles: Colorful and reflective; a common household item.
- Jar: Any clean jar will do, like a mason jar or an old pasta jar.
- Glue: Clear-drying craft glue works best for this project.
- LED light: A battery-operated version is ideal for safety and convenience.
These materials are budget-friendly and easy to assemble, making this a great project to encourage creativity without significant investment.
Step-by-Step Directions
Take your jar and apply glue to the surface. Start by choosing a portion of the jar to cover with glue. You can use a paintbrush if you want a smooth spread or simply squeeze the glue directly from the bottle.
Press glass pebbles onto the jar in a pattern you love. Let your creativity flow! You can create a random design or a specific pattern. As you place each pebble, press down gently to ensure it adheres well to the glue.
Once you’re satisfied, let the glue dry completely. This can take a few hours, so it’s a great time to clean up your workspace. When the glue has dried, it’s safe to touch, and the pebbles should hold firm.
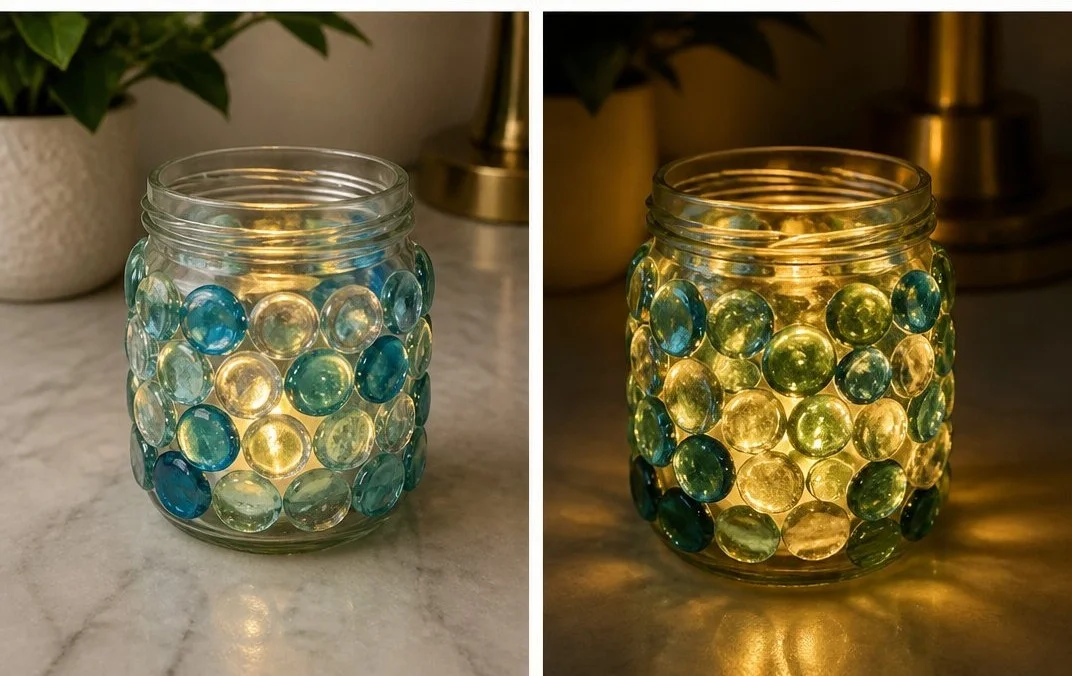
After it’s dry, insert the LED light to shine through your creation. Choose a light that fits snugly in the jar. Switch it on, and watch how the light refracts through the glass pebbles, creating a mesmerizing glow.
This simple process yields beautiful results and can be a source of pride for kids and adults alike. If you like the idea of suncatchers, you can explore creative variations by checking out projects like how to make a suncatcher with glass beads or glass bead suncatchers.
The Learning Behind This DIY

While making the Glass Pebble Lantern, kids can practice several important skills. They’ll refine their fine motor skills as they carefully place glass pebbles onto the jar. This project also introduces basic concepts of light and reflection, as they see how light shines through the pebbles. It fosters creativity, coordination, and patience, making it a well-rounded educational experience.
Troubleshooting Common Issues
Not every project goes exactly as planned, and that’s completely normal. If the pebbles start sliding before the glue sets, it may be helpful to hold them in place for a few seconds longer. Also, if the design ends up looking uneven, encourage kids to embrace the imperfections as part of their unique style. If the glue doesn’t dry clear, don’t worry too much; often, the final look can still be quite appealing.
Easy Variations to Try
If you want to add a twist to your Glass Pebble Lantern, here are a few easy variations:
- Add a little paint. Before applying the pebbles, try painting the jar with water-resistant paint for a colorful base.
- Mix in other items. Incorporate shells, beads, or other small decorations alongside or instead of the pebbles.
- Seasonal themes. Create lanterns for different seasons or holidays by using themed colors or shapes of pebbles.
These variations can keep the project fresh and exciting for returning makers.
Storing or Reusing This Project
Once you’ve completed your Glass Pebble Lantern, be sure to find a nice spot for display. It can also be a lovely gift for friends or family. When it’s time to clean up, gently remove any remaining glue from your workspace with warm water and a cloth. If you choose to disassemble the lantern later, the glass pebbles can be reused for different crafts or projects.
FAQs About Glass Pebble Lantern
"What types of glue should I avoid for this project?" It’s best to steer clear of superglue since it can dry too fast and may not be safe for children. Craft glues that dry clear are optimal.
"Is it safe for younger kids to make this?" Yes! As long as an adult supervises, younger children can enjoy this project. Just be cautious with the glass pebbles to prevent any accidents.
"Can I use different types of jars?" Absolutely! Any glass or clear plastic jar will work well as long as it can hold the LED light.
"When can I expect the glue to dry?" Generally, giving it about two to four hours will allow the glue to set properly.
"How do I clean up after this project?" Cleanup is easy with warm soapy water; just make sure to wipe down surfaces to avoid glue residue.
Conclusion
Creating your own Glass Pebble Lantern is an enjoyable and fulfilling experience that invites creativity and practical skill building. If you’re interested in exploring other lighting designs, you might find inspiration from handcrafted options like the Pebble Hill Lantern or the Domed Cylindrical Lantern with Frosted Pebble Glass. Enjoy your crafting, and let the glow of your lantern brighten your home!
PrintGlass Pebble Lantern
A fun and simple DIY project for creating a beautiful glass pebble lantern using everyday materials.
- Prep Time: 15 minutes
- Cook Time: 0 minutes
- Total Time: 60 minutes
- Yield: 1 lantern 1x
- Category: Craft
- Method: DIY
- Cuisine: N/A
- Diet: N/A
Ingredients
- Glass pebbles
- 1 clean jar (e.g., mason jar or old pasta jar)
- Clear-drying craft glue
- 1 battery-operated LED light
Instructions
- Take your jar and apply glue to the surface.
- Press glass pebbles onto the jar in a pattern you love.
- Once you’re satisfied, let the glue dry completely.
- After it’s dry, insert the LED light to shine through your creation.
Notes
Encourage creativity with different designs and color choices. Supervision is recommended for younger children.
Nutrition
- Serving Size: 1 lantern
- Calories: N/A
- Sugar: N/A
- Sodium: N/A
- Fat: N/A
- Saturated Fat: N/A
- Unsaturated Fat: N/A
- Trans Fat: N/A
- Carbohydrates: N/A
- Fiber: N/A
- Protein: N/A
- Cholesterol: N/A