

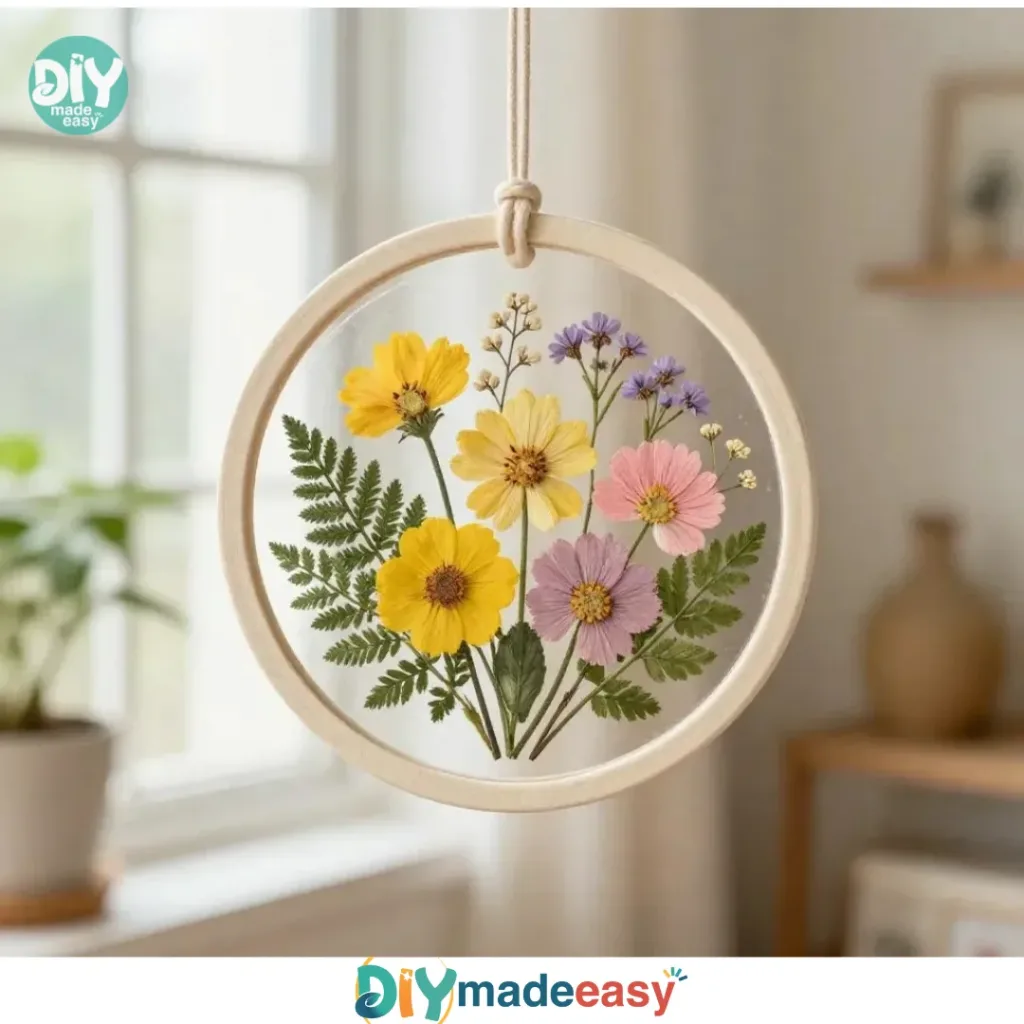
It’s a busy afternoon and the kids are clamoring for something fun and creative to do. You might find yourself thinking of a last-minute craft that can channel their energy and creativity without taking too much time or effort. The Flower Window Craft fits the bill perfectly. With just a few simple supplies, the kids can make beautiful decorations that brighten up any window and let the light dance through the colors of fresh or dried flowers. This project is not only engaging but also easy to do, making it a go-to choice for families looking for a low-prep activity. You may also find Beautiful Bioplastic Suncatchers Flowers useful.
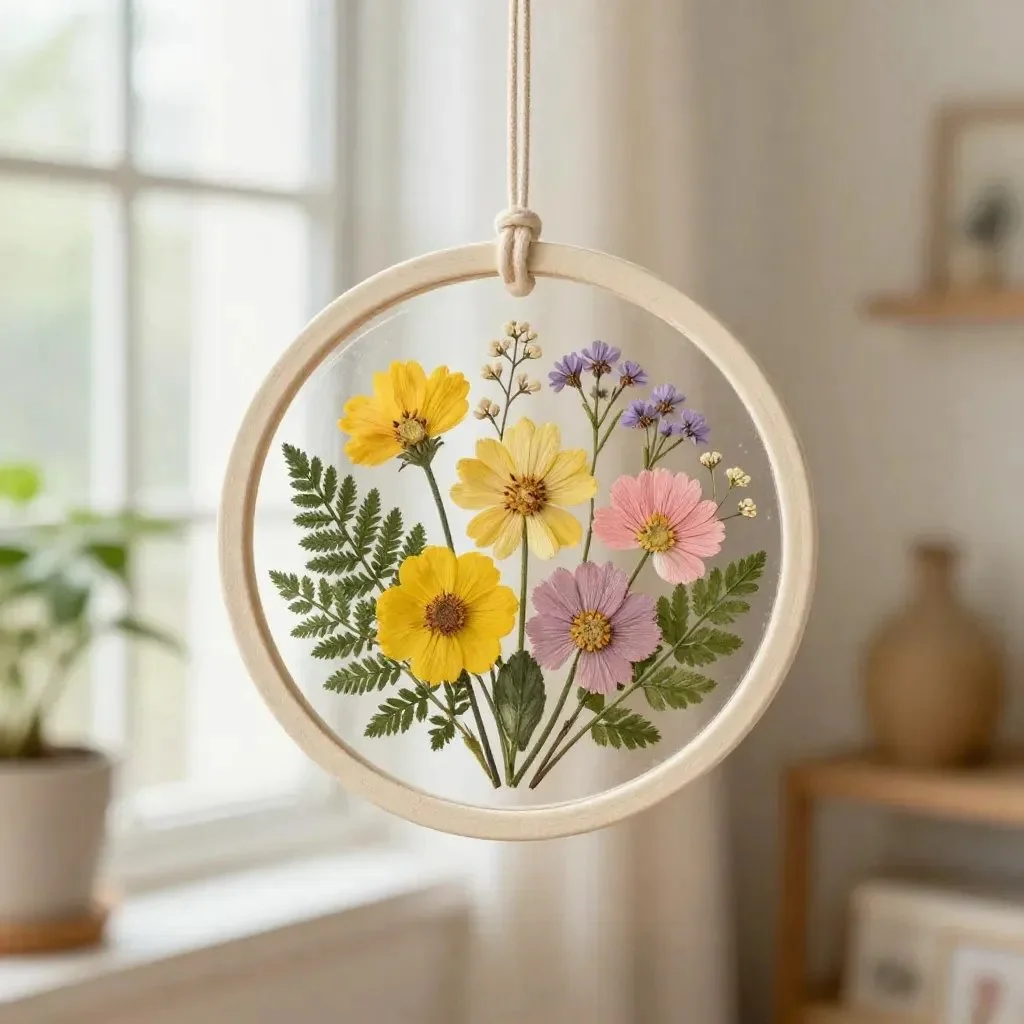
Why This Flower Window Craft Works So Well
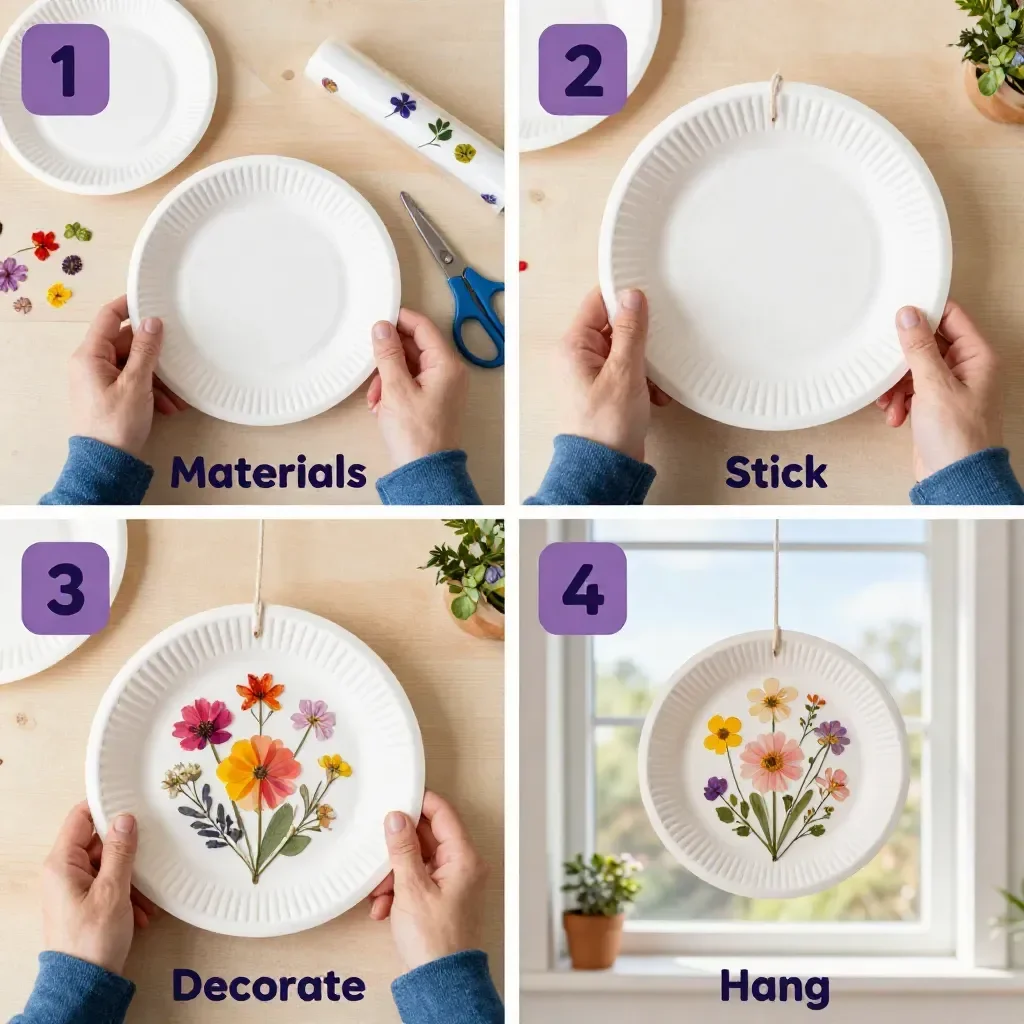
You may also find Bioplastic Suncatchers Natural Flowers useful.
The Flower Window Craft is a fantastic option for families because it combines simplicity with creativity. The kids can explore their artistic side while using materials that are often found around the house. This project is low-prep and doesn’t require special skills, making it approachable for all age groups. Plus, it’s a reliable way to keep little hands busy and can be completed in about an hour, depending on their level of creativity! The results are visually stunning and provide a sense of accomplishment that they can show off to friends and family. You may also find Broken Crayons Glowing Rainbow Flowers 2 useful.
A Quick Look Before You Begin
Making the Flower Window Craft is a breeze when you know what to expect. The setup is straightforward, and you will need about 30 minutes to gather your materials and let the kids get crafting. The mess level is quite manageable; a few flower petals here and there are nothing compared to some more complex crafts. You might want to do a quick cleanup of the workspace when they finish, but overall, this project should be a smooth, enjoyable experience with your kids. You may also find Broken Crayons Glowing Rainbow Flowers useful.
Materials You’ll Need
- Fresh or dried flowers
- Bioplastic film or a suitable craft sheet
- Scissors
- Adhesive (like craft glue or double-sided tape)
- Decorative items (optional: beads, glitter, or additional elements for personalization)
Those flowers you picked from your garden or the dried ones from last month’s crafts can become the stars of this project. Bioplastic film is ideal for creating a sturdy foundation that protects and showcases their work, while scissors and glue bring everything together. Feel free to add optional decorative items to make the crafts even more personalized and fun!
Step-by-Step Directions
Prepare the Flowers: Start by gently trimming the stems of your fresh or dried flowers to your desired length. Focus on their unique forms and colors; this will be the foundation of your craft.
Lay Out the Design: On your bioplastic film, arrange the flowers in a pleasing way. This is where creativity shines! Encourage the kids to experiment with different layouts until they find something they love.
Secure the Flowers: Use adhesive to fix the flowers in place on the bioplastic film. Ensure everything is secured well, so it holds up when displayed.
Seal Your Craft: To protect the flowers, place another layer of bioplastic film over them. This sealing step helps preserve the colors and shapes.
Cut Your Piece: Trim the edges of the bioplastic to create a shape that suits your window space. Be mindful of how it’ll look once strung up by the window.
Display Your Art: Finally, hang the finished piece in a window where the light can dance through your creation. The beauty of the flowers will come alive, making your home feel cheerful and vibrant.
The Learning Behind This DIY
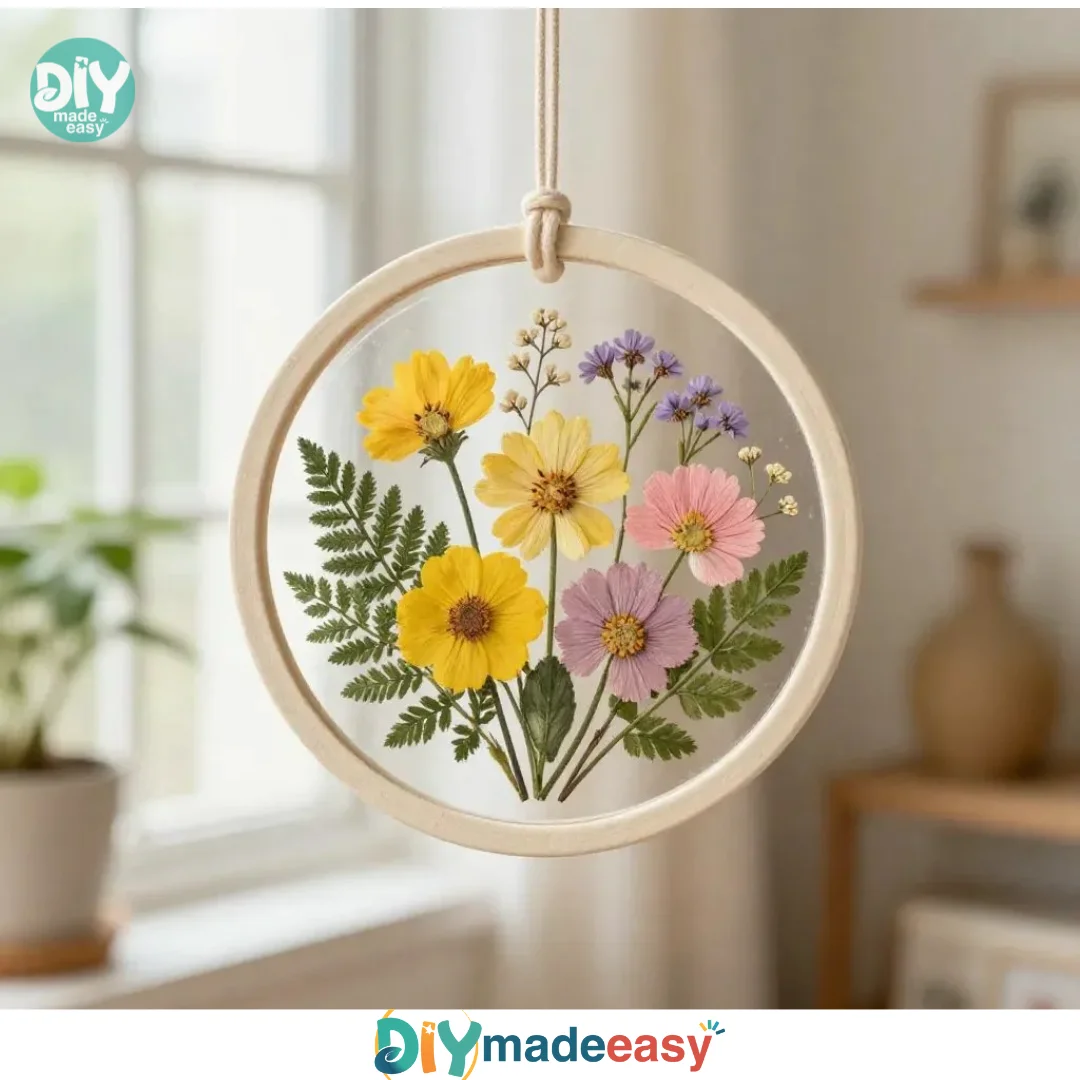
While crafting, children engage with several important skills. They practice fine motor skills when handling small pieces and manipulating the flowers and adhesive. This project also encourages creativity as they explore different arrangements and combinations. Additionally, kids learn about nature by using flowers, which can spark discussions about gardening, seasons, and the environment. This is more than just a craft; it’s a fantastic learning experience wrapped in a fun activity.
Troubleshooting Common Issues
If something doesn’t go as planned, like the flowers not sticking properly, it might be due to not enough adhesive or moisture affecting the glue’s effectiveness. To fix this, simply apply a bit more glue and press firmly. If flowers start wilting before you finish, consider using small spritzer bottles to lightly mist them, keeping them fresh while you work. After all, the goal is to enjoy the process and create beautiful pieces without stress.
Easy Variations to Try
If you want to put a unique spin on your Flower Window Craft, consider trying these fun variations:
- Use different types of materials to create colorful layers, like colored tissue paper or thin fabrics alongside the flowers.
- Experiment with various shapes when cutting the film; hearts or stars can make lovely decorations.
- Introduce seasonal elements; think of using autumn leaves for fall or dried lavender for a spring feel.
- Create themed pieces such as holiday decorations; flowers with red and green for the winter holidays can brighten up your festivities.
Storing or Reusing This Project
After enjoying the Flower Window Craft, think about how to store or reuse your materials. For future crafting sessions, you can keep leftover flowers in a dark, dry place to extend their life for additional projects. The bioplastic film can often be repurposed for other crafts, reducing waste and maximizing your supplies.
FAQs About Flower Window Craft
Is this project messy?
A little bit of flower petals or glue spills is a natural part of crafting, but the cleanup is usually straightforward with just a quick wipe down after you’re finished.
What age is this craft suitable for?
This project is great for kids aged 4 and up, though younger children might need help with cutting and handling the adhesive.
Can we use other flowers or items?
Absolutely! Feel free to experiment with different types of flowers and even leaves; just keep an eye on moisture levels if you are using fresh materials.
What should I do if the flowers wilt?
If you notice the flowers wilting, a small spritzer bottle with water can help keep them hydrated while you work.
Conclusion
Conclusion
The Flower Window Craft not only serves as a delightful way to brighten up your living space but also offers a fantastic opportunity for creativity and learning. If you’re looking for great supplies, consider checking out this suncatchers craft kit that can inspire even more creativity. For those interested in expanding their gardening skills, these window flower boxes can add another lovely touch to your home. Happy crafting!
PrintFlower Window Craft
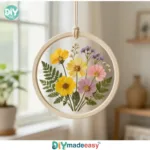
A fun and creative craft project for kids using flowers to make beautiful window decorations.
- Prep Time: 30 minutes
- Cook Time: 30 minutes
- Total Time: 60 minutes
- Yield: 1 window decoration
- Category: Craft
- Method: Crafting
- Cuisine: N/A
- Diet: N/A
Ingredients
- Fresh or dried flowers
- Bioplastic film or a suitable craft sheet
- Scissors
- Adhesive (craft glue or double-sided tape)
- Decorative items (optional: beads, glitter, etc.)
Instructions
- Prepare the flowers by trimming their stems to your desired length.
- Lay out the design on the bioplastic film, arranging flowers creatively.
- Secure the flowers in place using adhesive.
- Seal your craft with another layer of bioplastic film over the flowers.
- Cut the edges of the bioplastic to fit your window space.
- Display your art in a window to let the light shine through.
Notes
Ensure flowers are fresh, and use a small spritzer if they start to wilt.
Nutrition
- Serving Size: 1 decoration
- Calories: 0
- Sugar: 0g
- Sodium: 0mg
- Fat: 0g
- Saturated Fat: 0g
- Unsaturated Fat: 0g
- Trans Fat: 0g
- Carbohydrates: 0g
- Fiber: 0g
- Protein: 0g
- Cholesterol: 0mg