

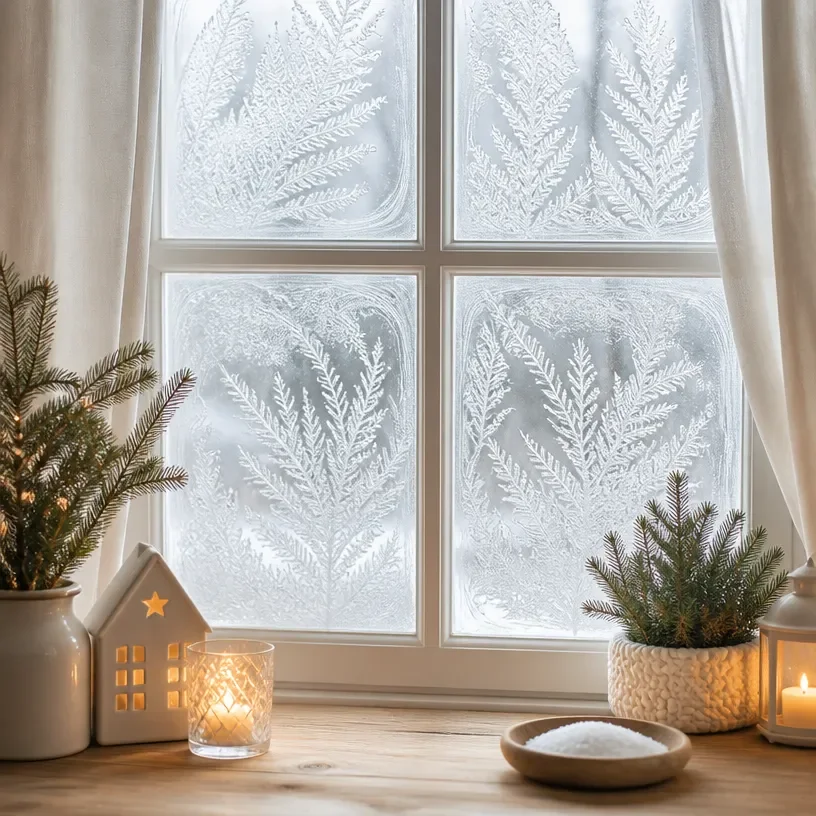
As the afternoon sun streams through the kitchen window, kids gather around looking for something fun to do. With a quick glance at the clutter of art supplies, I realize that today would be perfect for a creative project. This is where the idea of making Epsom salt window frost art comes in. It’s a simple, enjoyable, and engaging activity that can brighten up your home while providing a hands-on artistic experience. Plus, it’s so easy that kids can help every step of the way. You may also find How To Create Salt Textured Watercolor Galaxy Art useful.
Why This How to Make Epsom Salt Window Frost Art Works So Well
You may also find How To Make Flower Hearts With Clear Glue useful.
Creating Epsom salt window frost art is remarkably low-prep yet produces impressive results. The materials needed are common household items that you likely have on hand, making it accessible for a spontaneous craft session. This project is perfect for busy schedules, as it doesn’t require extensive setup or cleanup. As the crystals form on the glass, you see real changes happening, which keeps everyone engaged and excited. The best part is, the process feels magical, making it a favorite for both parents and kids alike. You may also find How To Make Rainbow Salt Painting Jellyfish useful.
A Quick Look Before You Begin
Getting started with this DIY project is straightforward. Gather your materials, and you can expect the whole experience to take around an hour. The actual hands-on time is much shorter, and kids can jump in after just a few simple instructions. The mess level is minimal, typically involving just some splashes that can be wiped away easily. Adults might need to assist with mixing solutions, but the kids can take the reins for the actual application, letting their creativity shine through. You may also find Colorful Rainbow Jellyfish Salt Art Tutorial useful.
Materials You’ll Need
To make Epsom salt window frost art, you’ll need the following supplies:
- Epsom salt – a common household item that can often be found in your bathroom or kitchen.
- Water – easily sourced from your tap.
- A small bowl – for mixing the salt and water.
- A paintbrush – for applying the mixture to the window.
- Optional: Food coloring – for a splash of color in your art.
These materials are not only easy to find but budget-friendly as well, making this project a great option for families looking to get creative without spending a lot.
Step-by-Step Directions
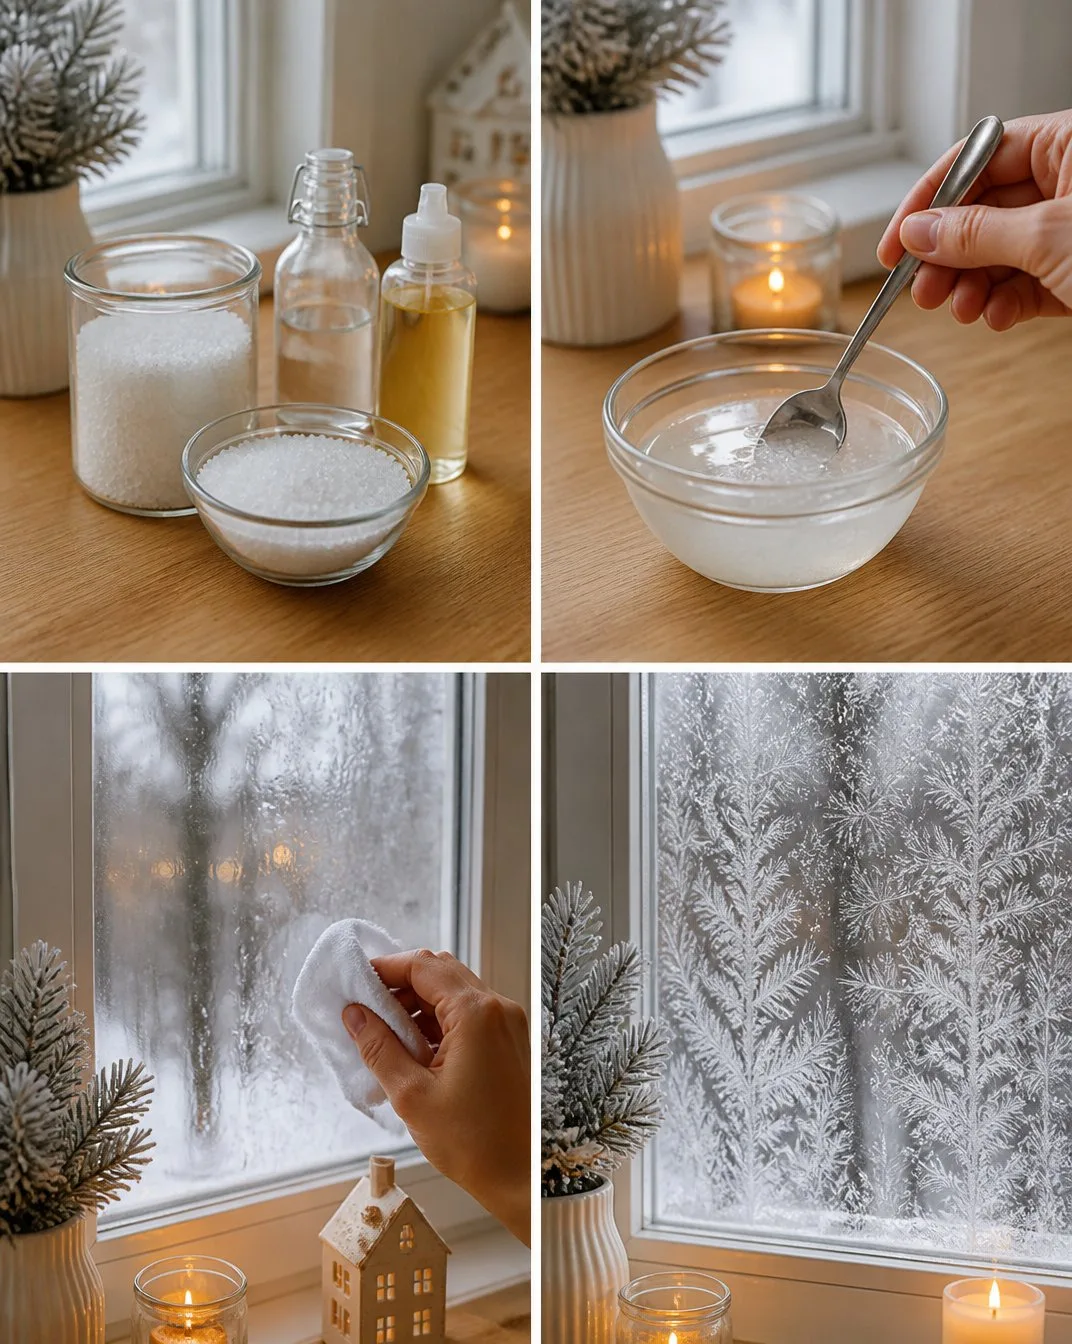
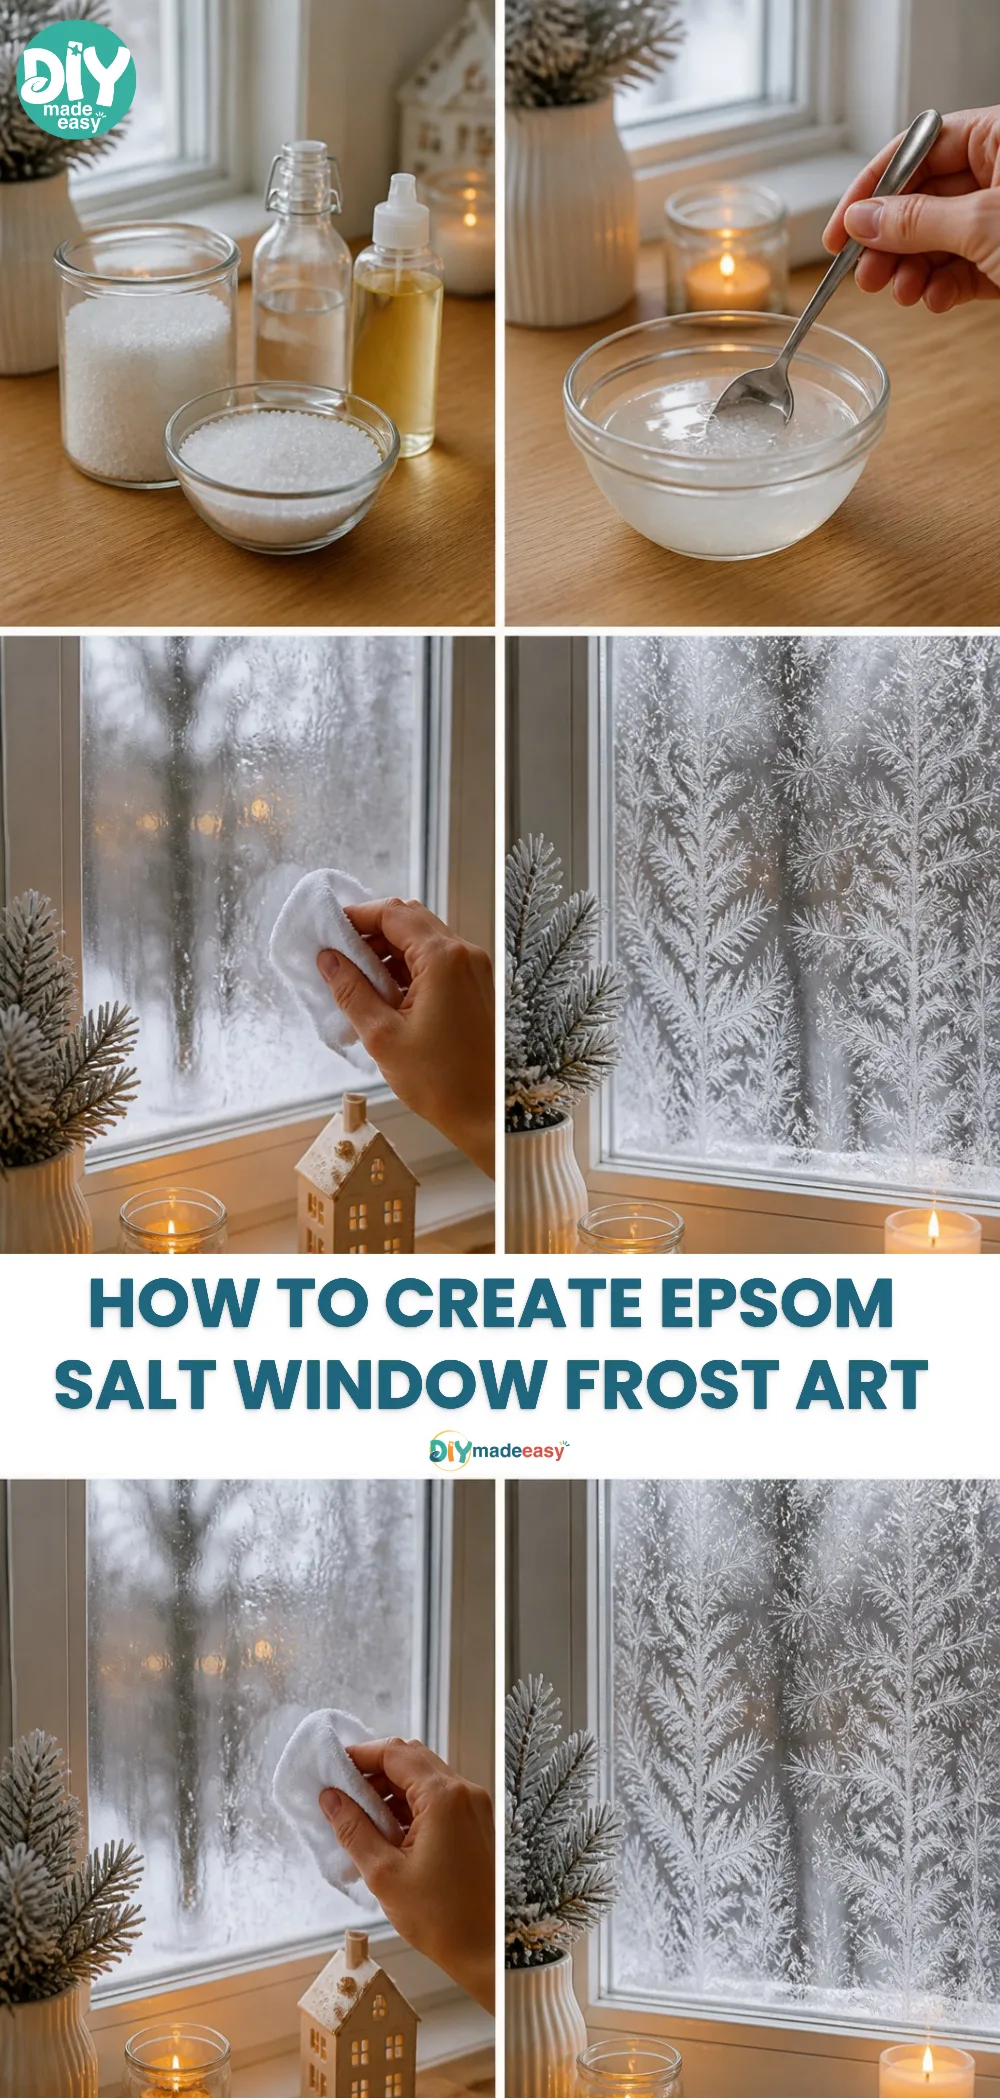
Prepare your workspace. Lay down some old newspapers or a plastic sheet on your table. This will help catch any drips or spills during your project.
Mix the Epsom salt solution. In a small bowl, combine 1 cup of Epsom salt with 1 cup of warm water. Stir the mixture until the salt completely dissolves.
Add color if desired. If you want to add some color to your frost art, you can mix in a few drops of food coloring at this point, adjusting to your preferred shade.
Get your paintbrush ready. Dip your paintbrush into the Epsom salt solution and make sure it’s well-coated.
Application time. Choose a window that you want to frost and start painting the mixture onto the glass. You can create patterns, shapes, or even write letters.
Allow it to dry. Once you’ve applied your design, let it dry for about 30 minutes. The Epsom salt will crystallize as it dries, creating a beautiful frosted effect.
Enjoy your frosted window. After the designs are dry, take a step back and admire your handiwork. You’ve turned a simple window into a piece of art!
The Learning Behind This DIY
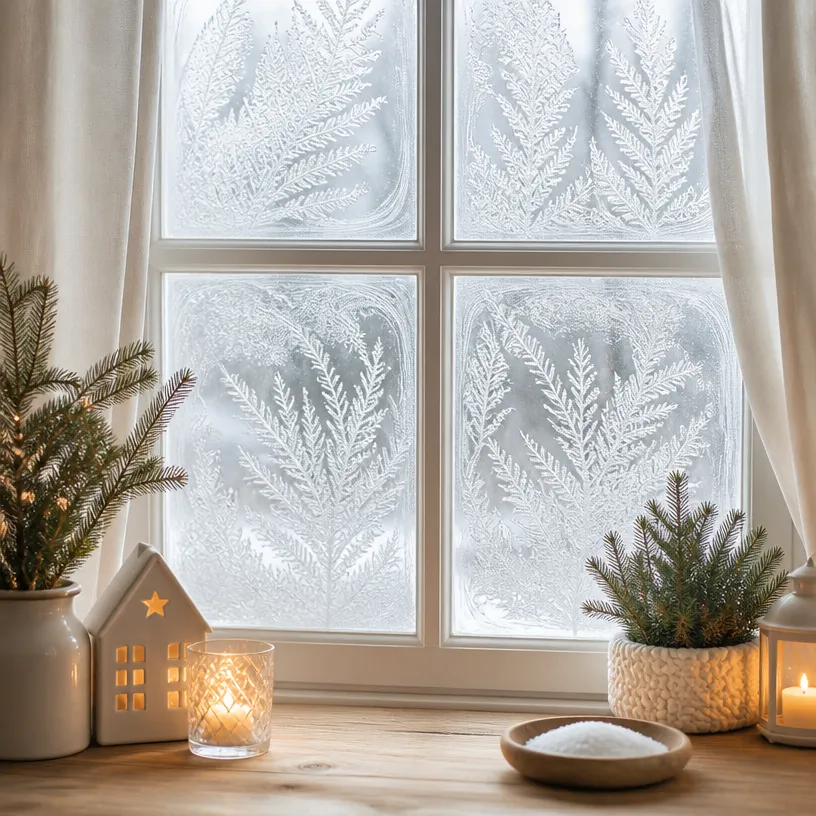
While creating Epsom salt window frost art, kids practice several skills. They enhance their fine motor skills as they paint intricate designs and their hand-eye coordination comes into play with careful brush strokes. This project also introduces basic science concepts, such as solubility and crystallization. As the Epsom salt dries, they can observe the transformation from liquid to solid, making it a fun and educational experience as well.
Troubleshooting Common Issues
If something doesn’t go as planned, don’t worry! Here are a few common issues you may encounter and some easy fixes.
If the Epsom salt doesn’t seem to crystallize, make sure the mixture is not too diluted. You can add more salt to your solution. If your designs aren’t showing up clearly, try using a thicker application of the mixture. Sometimes, different windows may have different effects due to the type of glass, so using a different window could yield varied results.
Easy Variations to Try
If you’re looking to mix things up a bit, consider these variations:
- Add sparkles: Incorporate some biodegradable glitter to your salt mixture for an added twinkle.
- Seasonal shapes: Create holiday-themed designs using cookie cutters as stencils.
- Layered colors: Make designs using different colors layered on top of one another for a more complex look.
These options allow you to adapt the project for different ages or occasions, keeping creativity flowing.
Storing or Reusing This Project
Once your artwork has dried, it’s completely safe to keep it on display. If you want to clean the window later, simply wipe it down with a damp cloth to remove the art. Alternatively, you can spray your frosted window with a little water to help it come off easier. If you have leftover Epsom salt solution, it can be stored in an airtight container for a later crafting session, reducing waste and making cleanup easier.
FAQs About How to Make Epsom Salt Window Frost Art
Will this project make a big mess?
The mess level is quite low! With a bit of preparation, most spills can be cleaned up quickly. Just lay down something to catch drips.
Is this safe for younger children?
Yes, Epsom salt is generally safe, but it’s always wise to supervise young children and ensure they don’t ingest any materials.
Can I substitute ingredients if I don’t have Epsom salt?
You could attempt using regular table salt, but the results won’t be as impressive. Epsom salt crystallizes nicely, providing that frosted look.
How long can I expect my window art to last?
It should last for several days, depending on the humidity and temperature. You can refresh the design whenever you’d like.
What’s the best way to remove the art after I’m done?
A damp cloth works well to clean the window after you’re ready to remove the art.
Conclusion
Making Epsom salt window frost art is a delightful and straightforward project that offers both creative expression and science lessons. You can find more ideas for similar activities by visiting Homemade Window Frosting – The Reaganskopp Homestead or learn about frost paint options at Crystal Frost Window Paint – ThoughtCo. So gather your materials and get ready to create some beautiful art together!
PrintEpsom Salt Window Frost Art
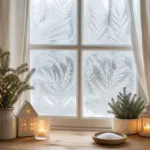
A simple and engaging DIY project for kids to create beautiful frosted window art using Epsom salt.
- Prep Time: 10 minutes
- Cook Time: 30 minutes
- Total Time: 40 minutes
- Yield: 1 window art project
- Category: Arts and Crafts
- Method: Crafting
- Cuisine: N/A
- Diet: N/A
Ingredients
- Epsom salt (1 cup)
- Water (1 cup)
- Small bowl
- Paintbrush
- Optional: Food coloring (as desired)
Instructions
- Prepare your workspace by laying down old newspapers or a plastic sheet.
- Mix the Epsom salt solution in a small bowl, combining 1 cup of Epsom salt with 1 cup of warm water until dissolved.
- Add food coloring if desired, adjusting to your preferred shade.
- Get your paintbrush ready by dipping it into the Epsom salt solution.
- Application time! Choose a window and start painting the mixture onto the glass.
- Allow the design to dry for about 30 minutes and watch the Epsom salt crystallize.
- Enjoy your frosted window art and admire your handiwork!
Notes
Minimal mess involved; use old newspapers to catch drips.
Nutrition
- Serving Size: 1 project
- Calories: 0
- Sugar: 0g
- Sodium: 0mg
- Fat: 0g
- Saturated Fat: 0g
- Unsaturated Fat: 0g
- Trans Fat: 0g
- Carbohydrates: 0g
- Fiber: 0g
- Protein: 0g
- Cholesterol: 0mg