

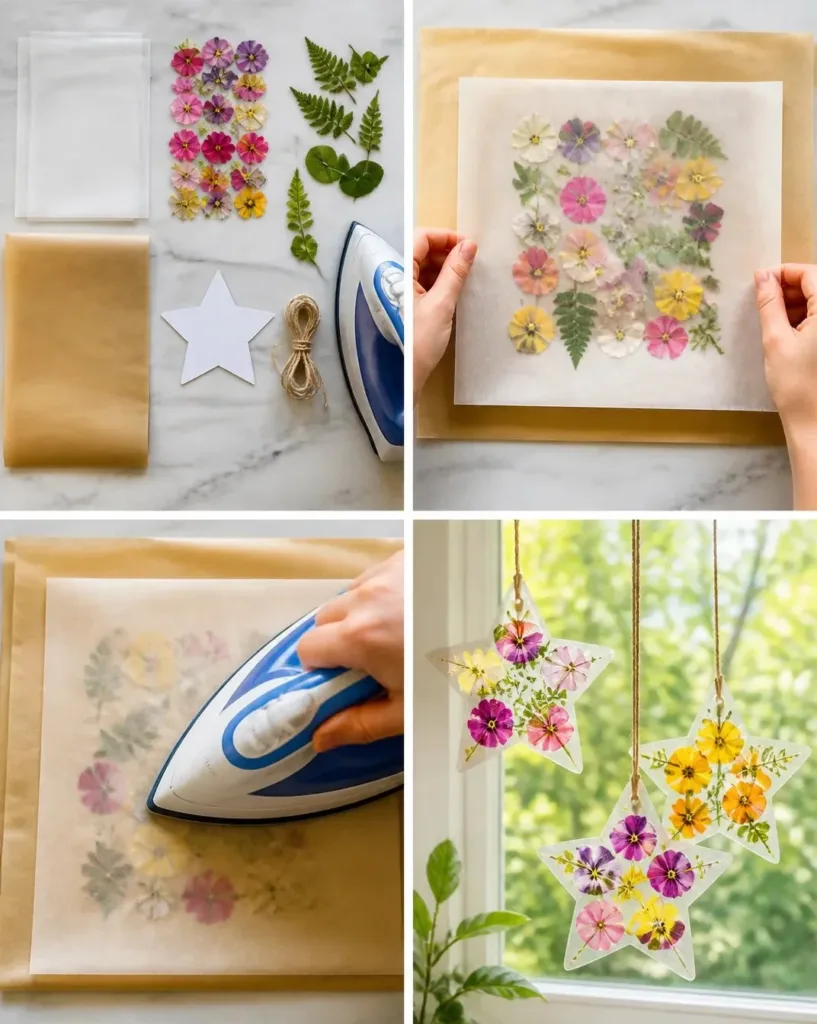
Creating a fun and engaging DIY project can often feel overwhelming, especially when you’re juggling a busy afternoon with kids who are eager to create something. If you’re looking for a simple yet delightful craft idea, consider making DIY Wax Paper Window Stars Featuring Wildflowers. This project is perfect for those moments when you want to whip up an enjoyable activity that doesn’t require extensive preparation. The beauty of these stars lies in their colorful designs and the vibrant pressed flowers that can bring a sense of nature right into your home. Not only do these window stars look beautiful, but they also serve as a great way to bond with your children while being creative. You may also find Delicate Glassine Window Stars Holiday Decor useful.
Why This DIY Wax Paper Window Stars Featuring Wildflowers Works So Well
You may also find Diy Fidget Paper Clip Craft For Kids Fidget Craft useful.
One of the best things about making DIY Wax Paper Window Stars Featuring Wildflowers is that it’s a low-prep activity. All you need are a few materials that you likely already have at home. This approachable project is great for both kids and adults, providing a fun opportunity for everyone to get involved. The craftsmanship of creating these window decorations is rewarding without being overly complex. With results that can be bright and cheerful, these stars add a unique decorative touch to any window, making it an ideal project for busy schedules.
A Quick Look Before You Begin
Before diving into the craft, let’s take a look at what to expect. This project can be completed in about an hour, making it suitable for an afternoon or a weekend. You won’t need a lot of space either – just a clean, flat work area. The mess level is very manageable, and with a little adult oversight, it’s safe for children to join the fun. Moreover, if you’re looking for additional creative DIY projects, consider checking out these colorful glass suncatchers to brighten your living space further.
Materials You’ll Need
- 2 sheets wax paper
- Pressed flower petals
- Dried leaves
- Parchment paper
- Iron
- Star template
- Cotton string
You probably have some of these materials lying around your home, making this a budget-friendly project. If you need pressed flowers, you can easily find some in your garden or local parks. The wax paper is a common household item, and you may have the other materials already available, making this craft an easy and rewarding initiative without significant cost.
Step-by-Step Directions
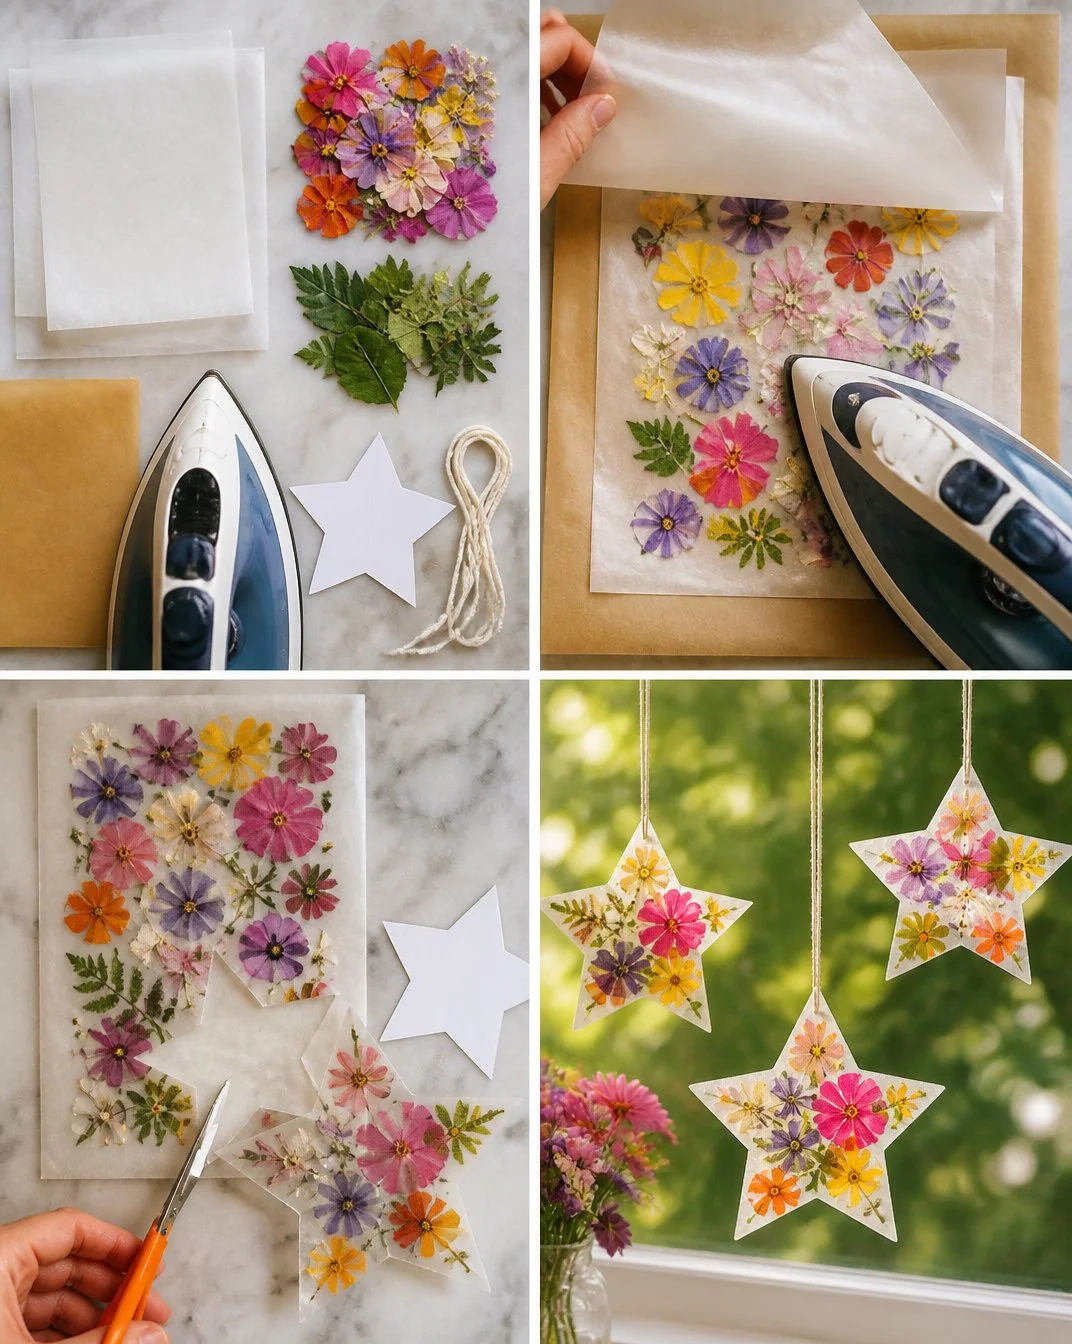
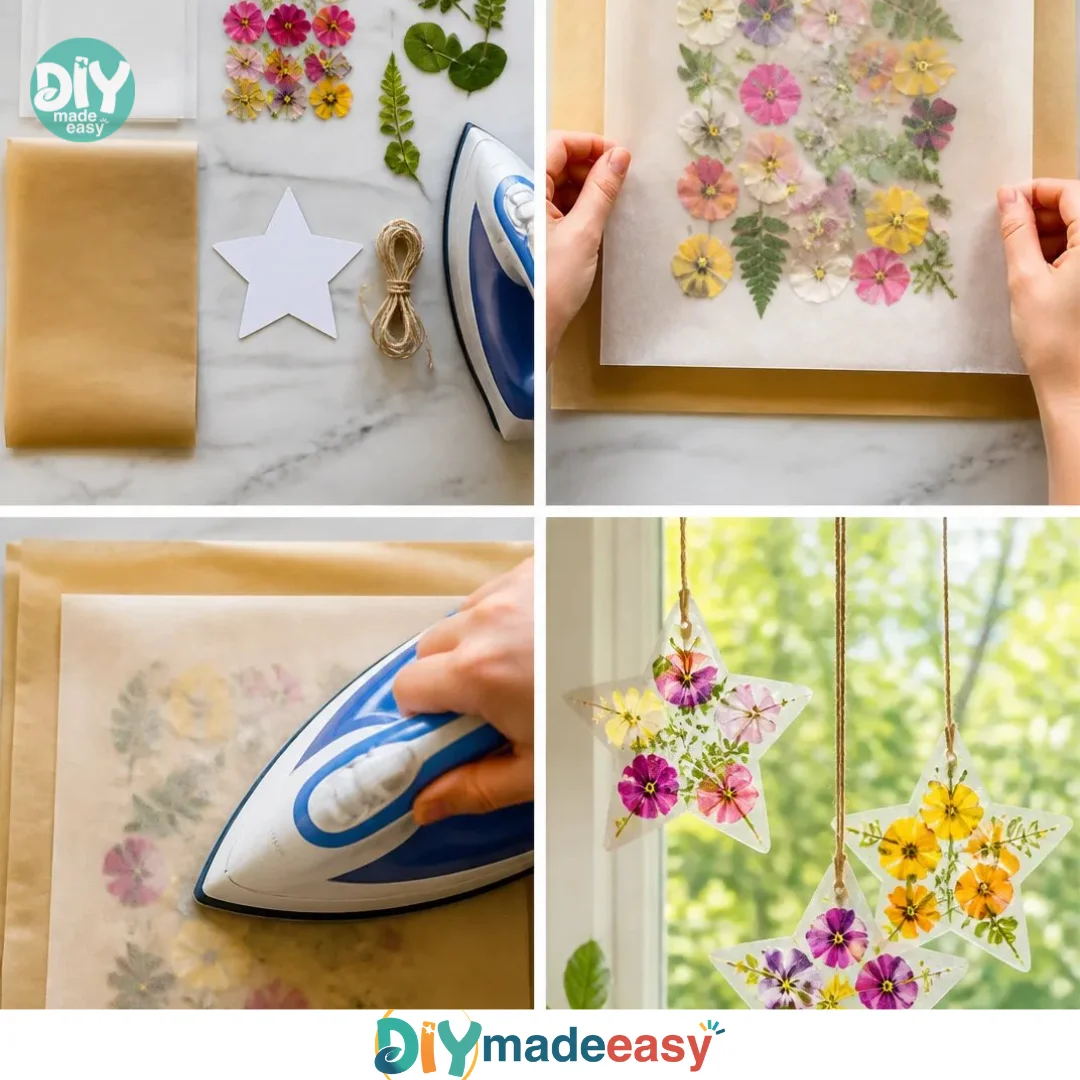
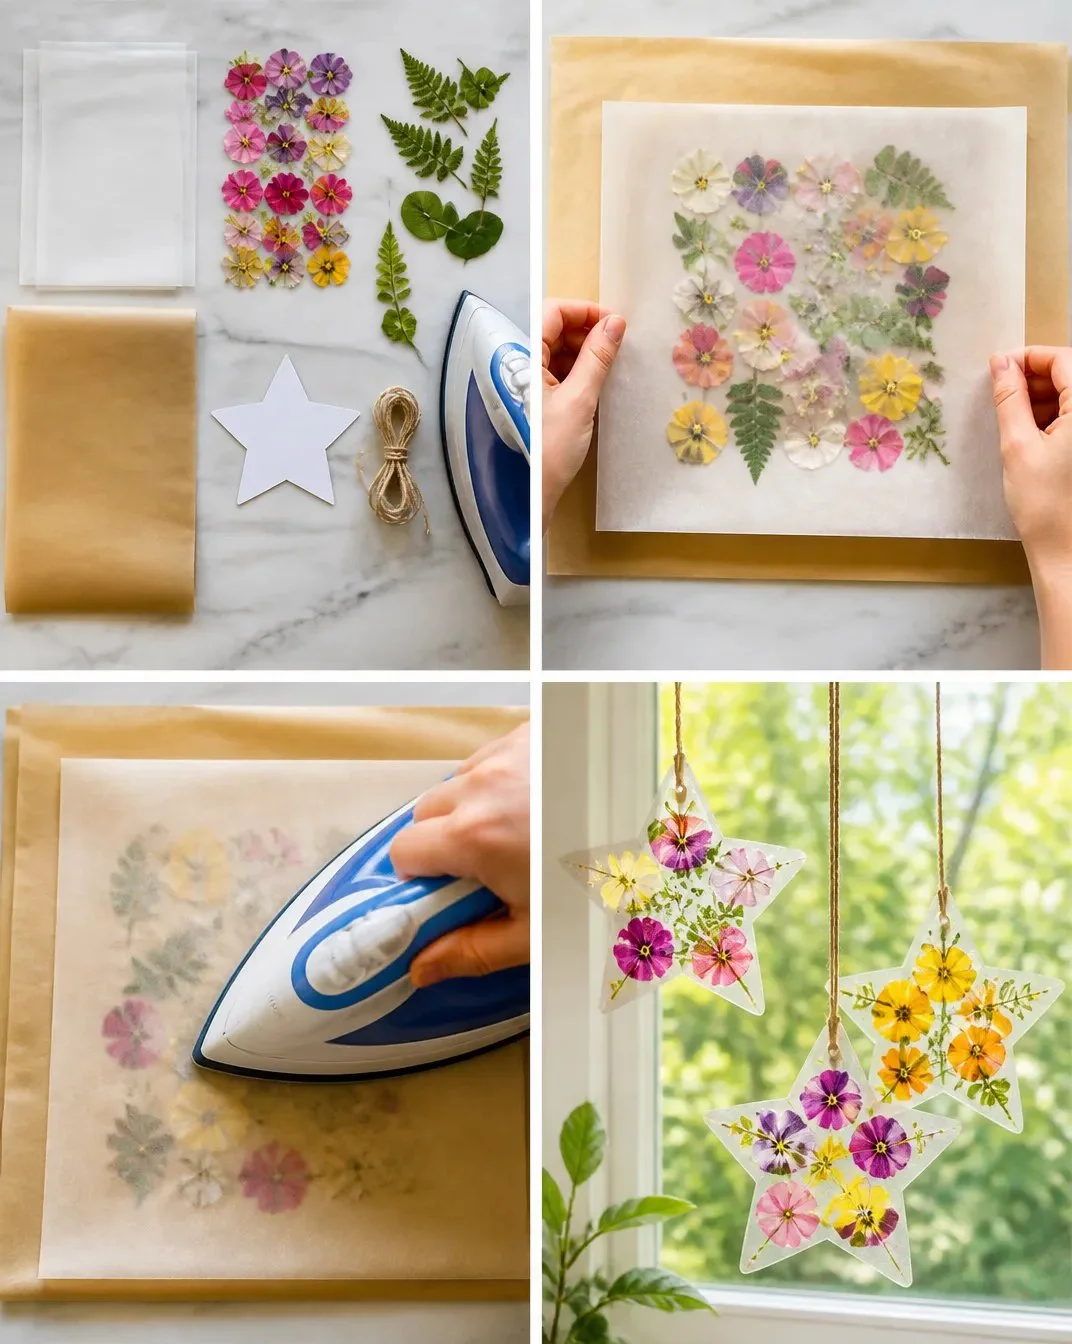
- Start by placing one sheet of wax paper on a protected ironing surface. Scatter your pressed flower petals and dried leaves on top. Their colors and shapes will create a stunning design.
- Cover the arrangement with the second sheet of wax paper. To ensure everything sticks together nicely, protect it further by placing parchment paper on top.
- With adult supervision, gently press with a warm iron, moving it around carefully to bond the layers. This step requires a little patience, as you want to ensure that everything adheres properly.
- Once everything is cool, use your star template to trace and cut out star shapes. This is when the real magic happens, as each star design begins to take form.
- Make a small hole for hanging in each star, then add your cotton string. Your beautiful window stars are now ready to brighten any window!
The Learning Behind This DIY
This simple yet engaging activity provides an opportunity to introduce kids to various science concepts, such as the properties of heat and how materials can bond together. As children participate, they can practice fine motor skills and coordination, whether it’s cutting with scissors or arranging flower petals. The tactile nature of working with the materials enhances their learning experience, all while they enjoy creating something beautiful.
Troubleshooting Common Issues
Throughout the crafting process, some common problems may arise, but don’t worry! If your layers don’t seem to stick, it could be that the iron wasn’t warm enough or that you didn’t apply enough pressure. Simply give it another pass with the warm iron, ensuring to check the bond visually. If you find your stars curling up once they cool, using a heavier weight for the pressing – like a slightly damp cloth – can help keep things flat while it cools.
Easy Variations to Try
Add a personal touch to your stars by varying the materials you use. You could try using different shapes like hearts or circles instead of stars for special occasions. Incorporating seasonal leaves or petals can change the aesthetic and allow for such projects year-round. Kids can even help with selecting what to include, whether it’s using brightly colored petals in spring or vibrant autumn leaves. Additionally, consider incorporating colorful tissue paper lanterns for a brilliant contrast alongside your wax paper stars.
Storing or Reusing This Project
Once you’ve completed your beautiful window stars, you might be wondering how to store or reuse them. These stars can be hung in various places around the house or even gifted to friends as lovely handmade decorations. If you want to reduce waste, store them in a cool, dry place away from direct sunlight to maintain their vibrant colors. If they become dusty after a period, a gentle wipe with a damp cloth should do the trick.
FAQs About DIY Wax Paper Window Stars Featuring Wildflowers
What if the stars aren’t sticking together?
If you’re having trouble with the stars sticking, it may help to reapply the iron with a little more heat and pressure.
How old do kids need to be to help with this craft?
This project is suitable for various age ranges. Kids around ages 5 and above can participate under adult supervision, especially during the ironing step.
Can I use other materials if I don’t have flowers?
Absolutely! If you don’t have pressed flowers, you can use colored paper or other thin materials that will work with the wax paper.
A Final Helpful Note
Take a moment to enjoy this crafting experience. It’s okay if things don’t go perfectly. The goal is to have fun and encourage creativity, so if there’s a spill or a flower petal goes astray, simply laugh it off and keep going! Embrace the process and let each star come to life in its own unique way.
Conclusion
Engaging in DIY crafts is a wonderful way to bond and foster creativity with your kids. As you explore the world of crafting, consider looking into a tutorial for making window stars or discover more about plantable seed paper favors for another delightful project. Enjoy every moment that crafting brings!
PrintDIY Wax Paper Window Stars Featuring Wildflowers
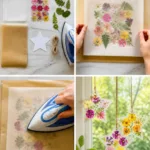
Create beautiful and colorful window stars using wax paper and pressed flowers in a fun DIY project perfect for kids and adults.
- Prep Time: 15 minutes
- Cook Time: 30 minutes
- Total Time: 45 minutes
- Yield: 8 stars 1x
- Category: Craft
- Method: Crafting
- Cuisine: N/A
- Diet: N/A
Ingredients
- 2 sheets wax paper
- Pressed flower petals
- Dried leaves
- Parchment paper
- Iron
- Star template
- Cotton string
Instructions
- Start by placing one sheet of wax paper on a protected ironing surface. Scatter your pressed flower petals and dried leaves on top.
- Cover the arrangement with the second sheet of wax paper and protect it with parchment paper.
- Gently press with a warm iron, moving it around to bond the layers.
- Once everything is cool, use your star template to trace and cut out star shapes.
- Make a small hole for hanging in each star, then add your cotton string.
Notes
These stars can be hung as decorations or given as gifts. Store them in a cool, dry place to maintain colors.
Nutrition
- Serving Size: 1 star
- Calories: 0
- Sugar: 0g
- Sodium: 0mg
- Fat: 0g
- Saturated Fat: 0g
- Unsaturated Fat: 0g
- Trans Fat: 0g
- Carbohydrates: 0g
- Fiber: 0g
- Protein: 0g
- Cholesterol: 0mg