

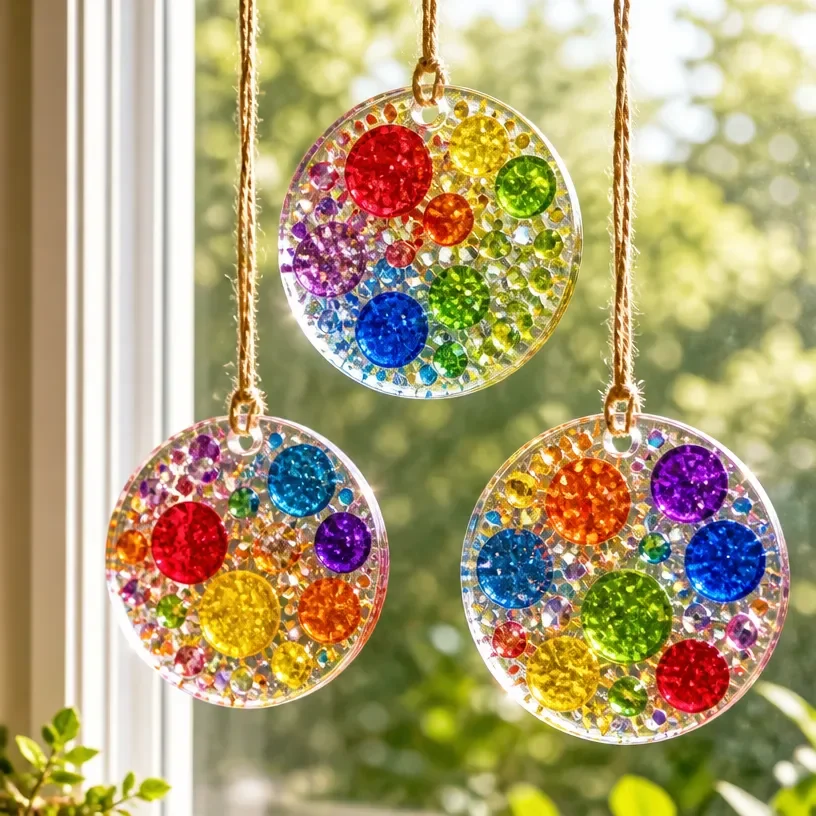
Colorful Window Suncatchers: DIY Glass Ornaments can turn any afternoon into a delightful, creative adventure, especially when kids are eager to craft something vibrant. Imagine a busy Saturday where the little ones are restless, and you find yourself searching for a quick project. This is the perfect time to dive into making colorful suncatchers that will brighten up your windows and excite young artists. With just a few materials and a bit of creativity, it’s easy to create beautiful glass ornaments that reflect light in dazzling ways. You may also find Colorful Glass Suncatchers Diy Ornaments useful.
Why This Colorful Window Suncatchers: DIY Glass Ornaments Works So Well
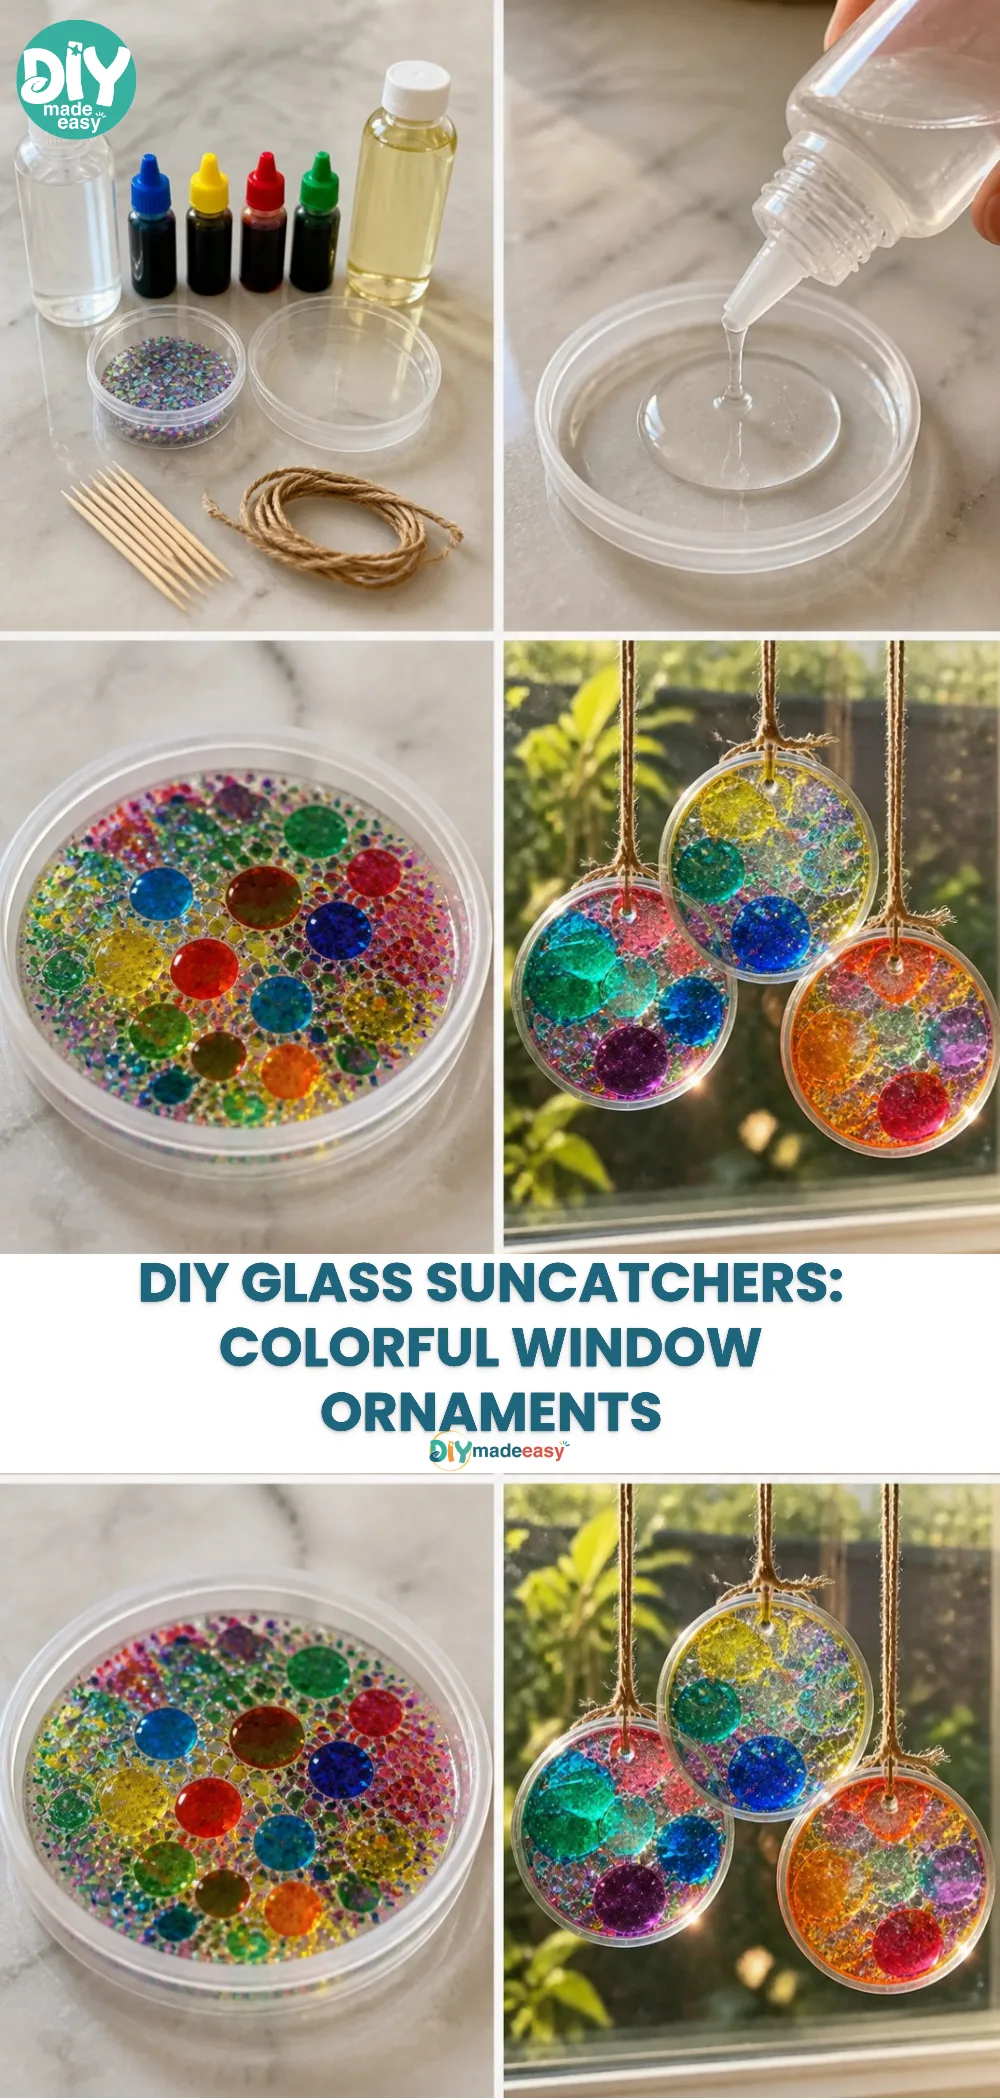
This project stands out because it’s low-prep, making it ideal for those hectic days. The supplies needed are often already in your home, which means there’s no need for last-minute trips to the store. As you work on these colorful window suncatchers, you’ll find that they’re not just simple to make but also incredibly satisfying. The reliable results ensure that even beginners can feel accomplished, while the vibrant outcomes keep the kids engaged. This project fits seamlessly into real-life schedules, making it a fantastic choice for families. You may also find Turn Glass Lids Into Window Art Diy Tutorial useful.
A Quick Look Before You Begin
When planning your DIY session, it’s helpful to have a clear overview of what to expect. The entire process can take about an hour from start to finish, including drying time. Set up your workspace with newspapers or an old tablecloth for easy cleanup. As a parent, having everything organized ahead of time can ease any anxiety the kids might feel. While adult supervision is recommended, this project allows kids to unleash their creativity without requiring intense guidance.
Materials You’ll Need
- Clear plastic sheets: These are essential for the base of your suncatchers; they can often be found around the house.
- Colored tissue paper: Use whatever colors inspire you; this adds the vibrant character to your ornaments.
- Scissors: A common household tool that will help in shaping your designs.
- Glue: Regular white school glue works well; it’s easy to clean up and safe for kids to use.
- Black marker: This can enhance your designs and outline shapes clearly.
- Tape: A versatile addition for securing your creations to the window without damage.
Once you have these materials gathered, you’ll be ready to start working on your masterpiece. For more ideas on creating beautiful designs, consider checking out glue-based stained glass crafts for additional inspiration.
Step-By-Step Directions
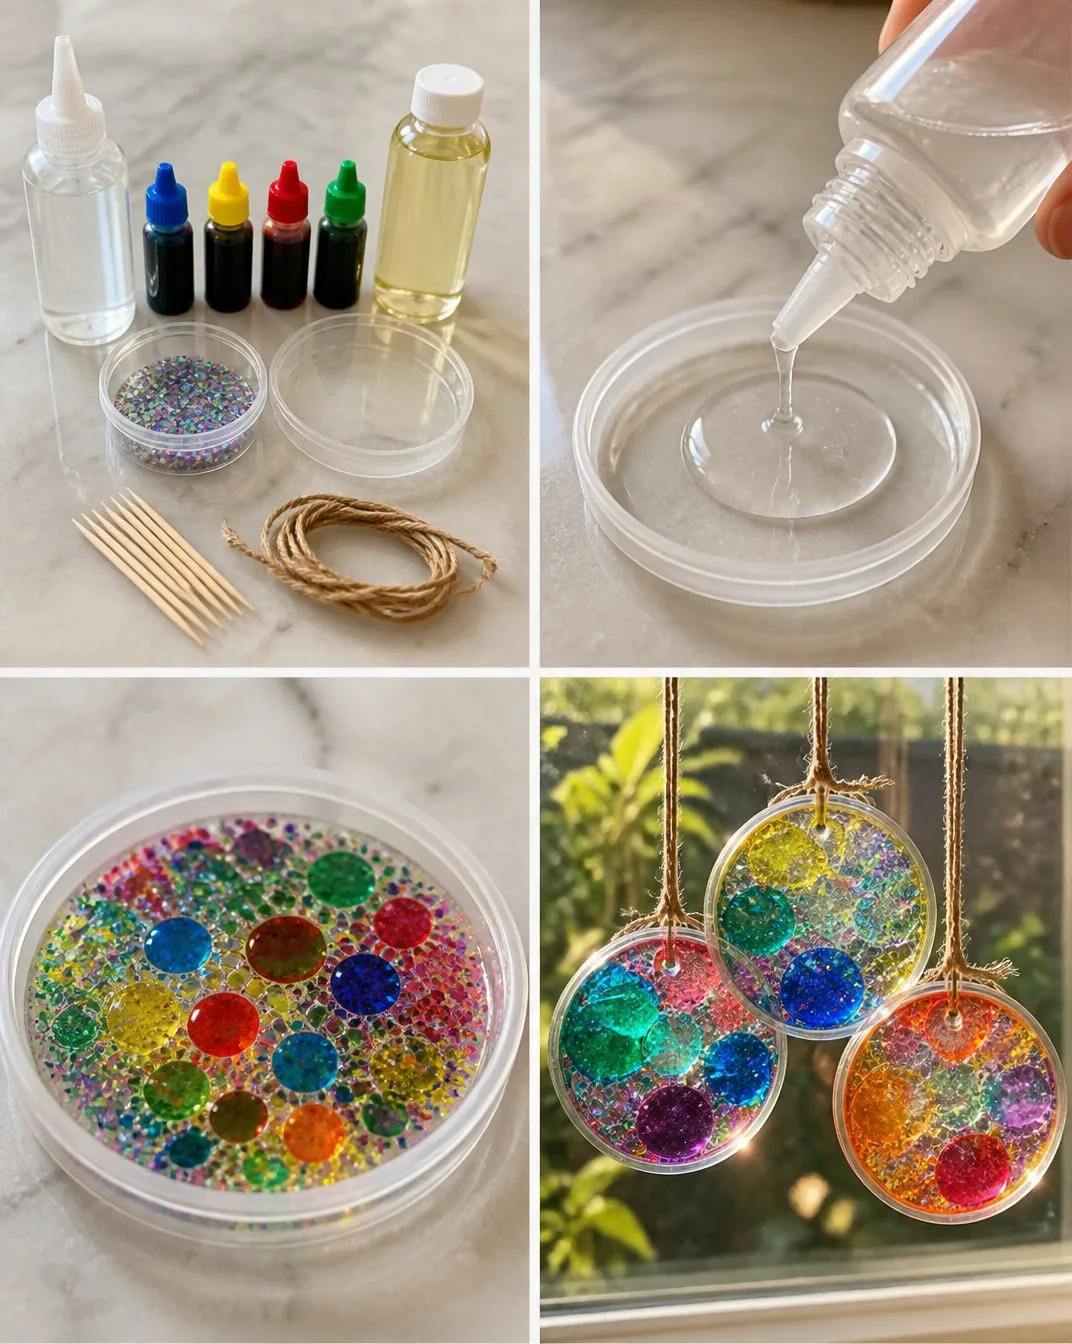
- Prepare your workspace: Start by laying down a protective layer on the table. This will make any cleanup much easier.
- Cut the plastic sheets: Use scissors to cut the plastic into your desired shapes. Think of hearts, stars, or even abstract designs.
- Apply glue: Carefully apply a layer of glue on the plastic where you want to stick the tissue paper.
- Add tissue paper: Tear or cut the tissue paper into small pieces and place them on the glue. Overlap colors for a beautiful effect.
- Outline your shapes: Once the glue is dry, use a black marker to outline your design. This will make the colors pop.
- Secure with tape: Use tape to attach your suncatcher to the window. Make sure it is positioned where sunlight can hit it for the best visual effect.
As you create, enjoy the sensory experience of the colors and textures. Feel free to discuss colors with your kids and how they mix or change with the light. For a twist, you might also try making rainbow ghost suncatchers for festive occasions.
The Learning Behind This DIY
This creative endeavor does more than just beautify your space. While making suncatchers, kids practice fine motor skills as they cut and glue. They learn about colors and light, observing how sunlight interacts with their creations. The activity supports coordination and inspires creativity, allowing children to express themselves visually. Even as they craft, they explore cause and effect when they see how their choices change the appearance of the final product.
Troubleshooting Common Issues
Sometimes, projects don’t go as planned, and that’s completely normal. If the tissue paper rips while being glued, reassure your child that they can try again with another piece. If the glue doesn’t hold well, ensure they’ve applied enough or try using a stronger adhesive. Kids might also get too much glue on a section, turning it too watery; encourage them to dab excess glue with a paper towel. These little moments provide valuable lessons in patience and problem-solving.
Easy Variations to Try
To keep things fresh and exciting, consider exploring variations on the basic suncatcher design:
- Seasonal themes: Create designs that reflect the current season like snowflakes for winter or flowers for spring.
- Transparency: Use clear contact paper instead of plastic sheets to create a different look.
- Mixed media: Incorporate things like dried flowers or glitter for added texture.
- Size variations: Experiment with suncatcher sizes, making large ones for the living room and smaller ones for bedroom windows.
Each of these variations can spark new interest and creativity, making the project feel new each time.
Storing or Reusing This Project
After delighting in your suncatchers, consider ways to care for them. To clean, gently wipe with a damp cloth, avoiding harsh cleaners that could damage the materials. If you want to change your window art seasonally, store your suncatchers carefully in a box lined with paper to prevent scratches. Who knows, after some time, it might be fun to repurpose them and make new designs using your old materials.
FAQs About Colorful Window Suncatchers: DIY Glass Ornaments
What if we make a mess?
Mess is part of the creativity! Use old newspapers or a tablecloth for easy cleanup, and remind the kids that it’s okay to get a little messy while being creative.What ages is this activity suitable for? This project is great for kids of various ages, but younger children will need help with cutting and using scissors. Tailor the tasks to each child’s skill level to keep it fun for everyone.
Can I use different types of glue?
Yes! While regular school glue is perfect, you can experiment with craft glue for a stronger hold. Just ensure it’s non-toxic and safe for use with children.
Will our results always look perfect?
Each creation will differ, and that’s part of the charm! Emphasize to your kids that what matters is the fun they had while creating.
Can we reuse the materials?
Definitely! Suncatchers can be stored and reused for different projects, or you can cut the tissue paper up for new designs later.
Conclusion
Conclusion
Making colorful window suncatchers is a wonderful activity that blends creativity with practicality, allowing children to explore their artistic side without complicated steps. Encourage the spirit of crafting in your home by investing in fun supplies, such as the
Cinrobiye Suncatcher Craft Kit, or browse through
Amazon’s Best Sellers for garden suncatchersfor even more inspiration. With guidance and support, you can create bright, beautiful spaces together!