

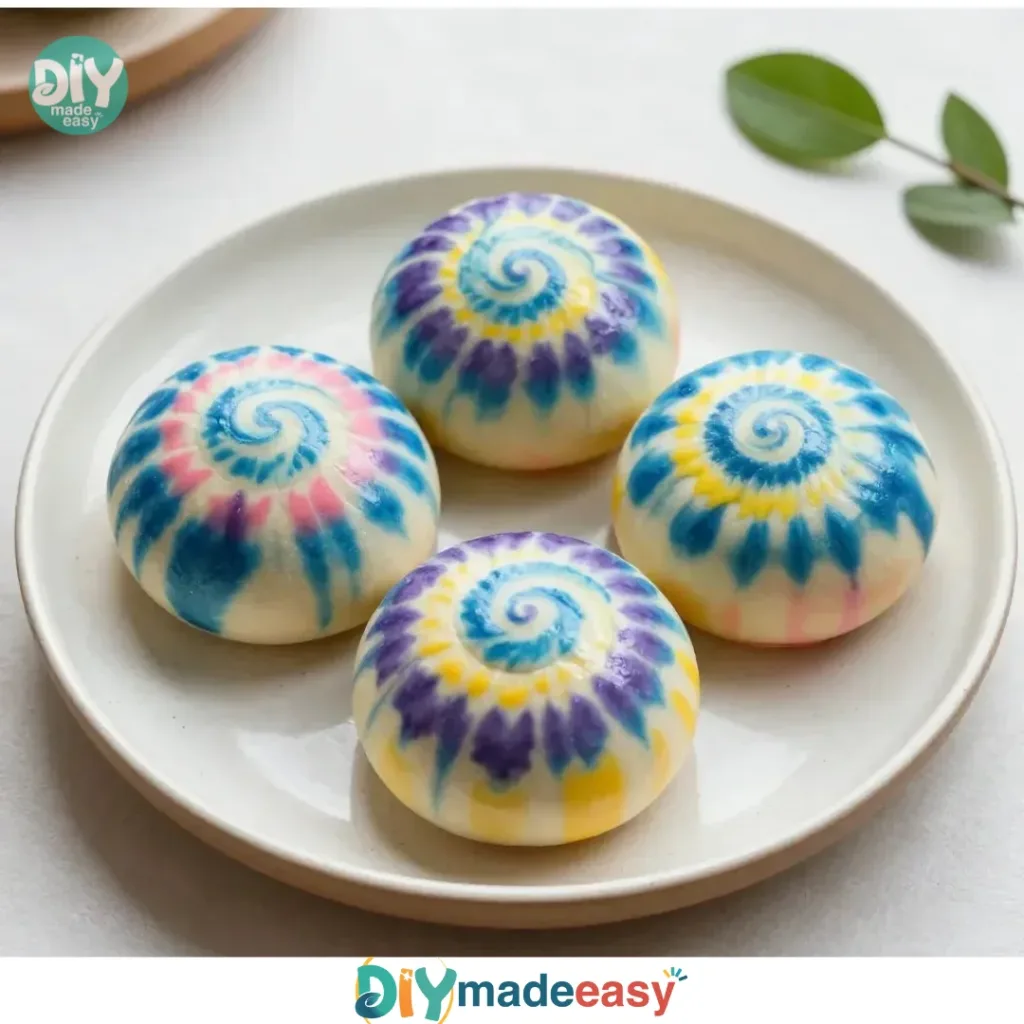
Creating art can be a joyful activity, especially when kids are eager to make something fun. Picture a busy afternoon where the sun is shining, and your children are bouncing with energy, asking for a project that doesn’t require hours of preparation. This is the perfect moment to dive into making DIY Swirl Painted Rocks. It’s an enjoyable and straightforward way to unleash creativity without a mountain of materials or complex steps. Plus, it’s a project that, once completed, can double as garden decorations or unique paperweights, giving the kids a sense of pride in what they created. You may also find Diy Bioplastic Suncatchers Colorful Swirls useful.
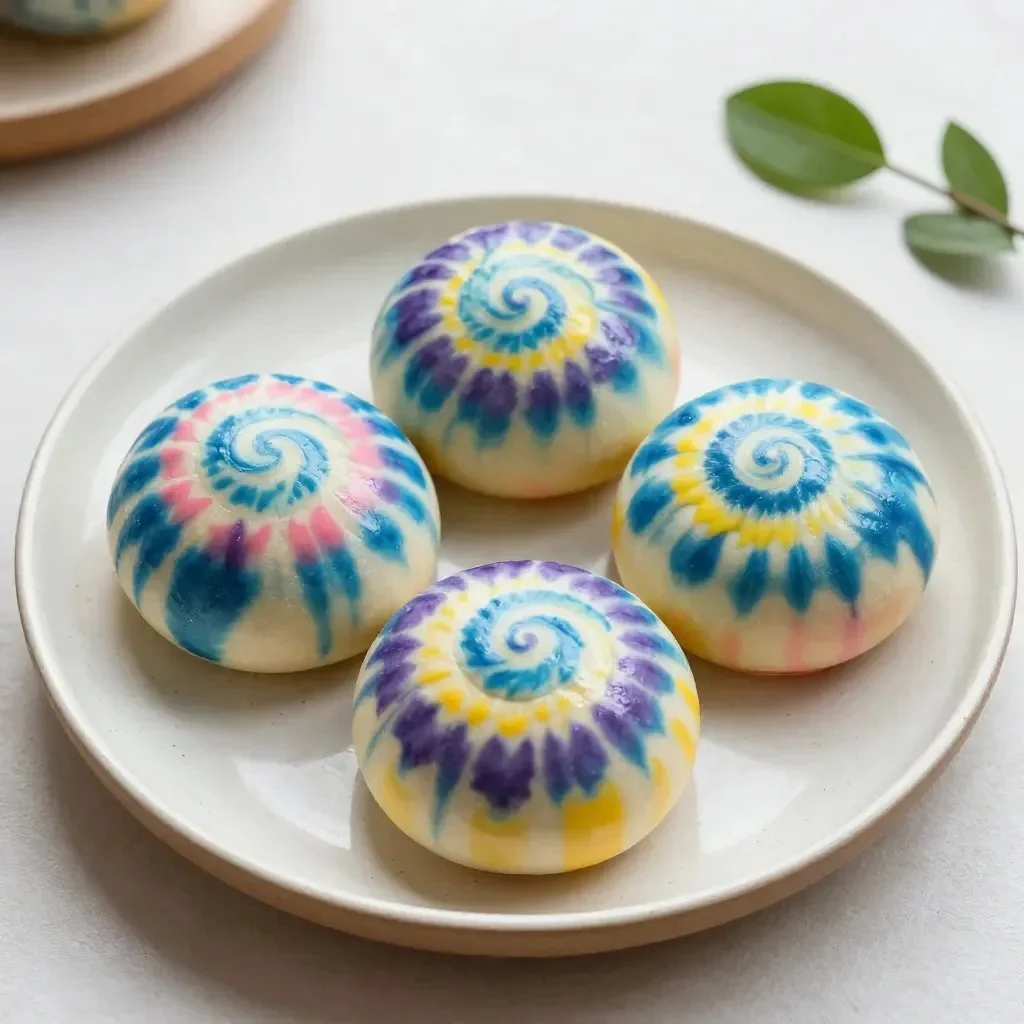
Why This DIY Swirl Painted Rocks Works So Well
You may also find Diy Moon Rocks That Glow And Bounce useful.
One of the best things about making DIY Swirl Painted Rocks is its simplicity. With minimal preparation, you can gather the materials and be ready to start in no time. This project is excellent for busy schedules, as you don’t need to spend hours in advance gathering supplies or setting up. A trip to the backyard or a nearby park to collect smooth rocks can quickly kick off the creativity. Plus, since there are no rigid rules for design, kids can let their imaginations run wild. This freedom often leads to delightful surprises in their artistic expressions, making it a low-stress activity for everyone involved. You may also find Diy Moon Rocks useful.
A Quick Look Before You Begin
Before jumping into any craft project, taking some time to prepare can make the experience smoother. For DIY Swirl Painted Rocks, you’ll find that it requires only around an hour from start to finish, allowing for mixing and drying time. Setting up is easy: gather your materials, lay down some old newspaper or a plastic tablecloth to catch any drips, and you’ll be ready to go! Since acrylic paint can sometimes be a little messy for little hands, it’s helpful to have a bowl of water nearby for rinsing brushes. Older children can take on more of the process, but younger kids will certainly appreciate an adult’s help with paint handling or sealant application. While this project involves some paint, the mess level remains quite manageable, especially with a bit of preparation. You may also find Baking Soda Painted Easter Eggs useful.
Materials You’ll Need
Here’s a straightforward list of what you’ll use for this DIY:
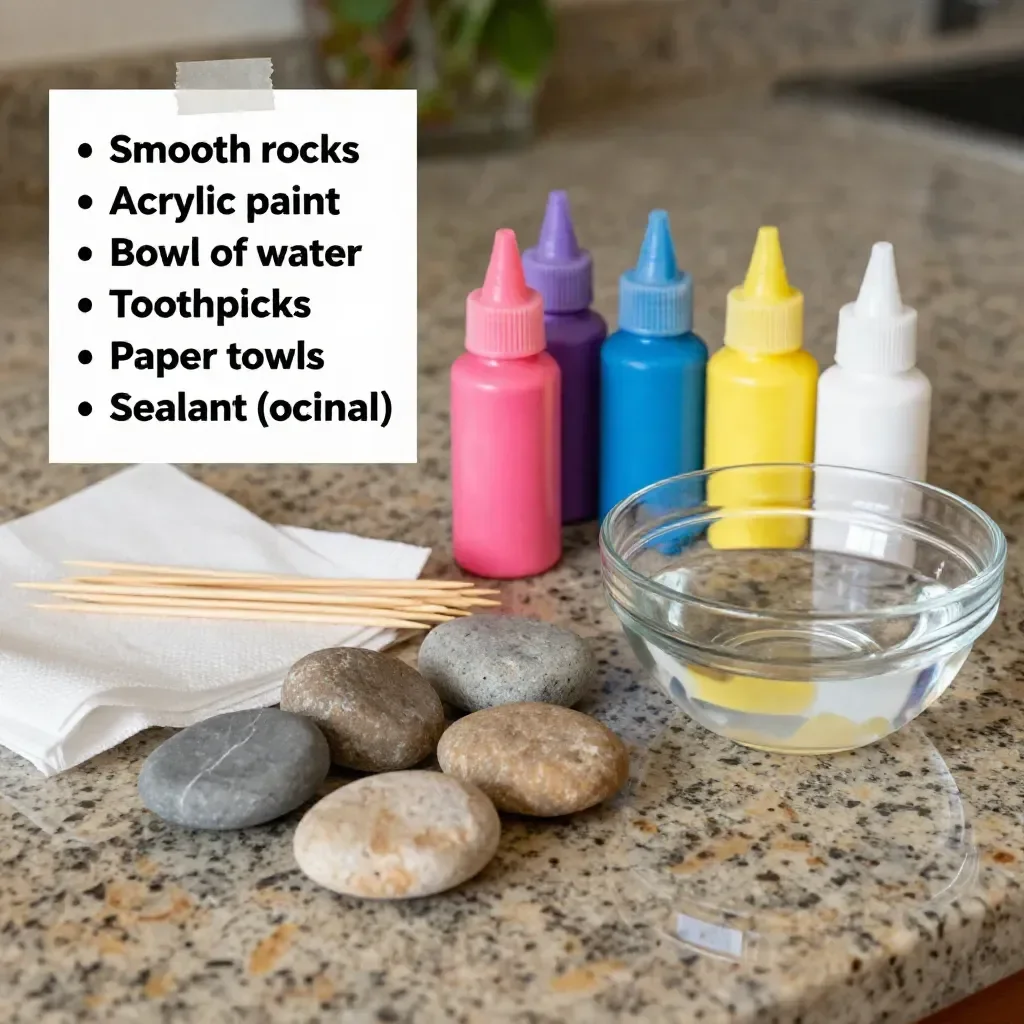
- Smooth, clean rocks
- Acrylic paints in various colors
- Paintbrushes of various sizes
- Water for rinsing brushes
- Mixing palette (an old plate or a piece of cardboard)
- Clear sealant (optional)
These materials are commonly found at home or can be easily obtained from craft stores. The smooth rocks can often be collected during a family outing, making them practically free, while the other supplies might already be sitting in your art drawer.
Step-by-Step Directions
Select your smooth rocks: Take a moment to choose smooth, clean rocks from your collection. Make sure they are dry and feel their cool surface in your hands. This tactile experience adds to the joy of the project.
Pour out your acrylic paints: On your mixing palette, dispense various colors of acrylic paint. Choose colors that evoke a sense of harmony or spark excitement, as this will set the stage for your designs.
Dip your brush: Start by dipping your brush into the chosen paint. With gentle swirls, begin applying the paint onto the rock, allowing the colors to blend naturally.
Experiment with techniques: Use different brush methods to create unique effects. A soft brush can produce lovely gradients, so encourage the children to explore the thickness of their strokes and how they interact.
Layer colors gradually: Take your time layering colors, allowing some drying time in between if necessary. This step is where kids can embrace the beauty of unexpected color combinations.
Set aside to dry: Once a rock reaches a design level you love, set it aside to dry completely. This could take about 30 to 60 minutes, depending on the paint thickness.
Seal your masterpiece (optional): After the rock has dried thoroughly, apply a clear sealant if desired. This step protects the artwork and enhances the brightness of colors.
The Learning Behind This DIY
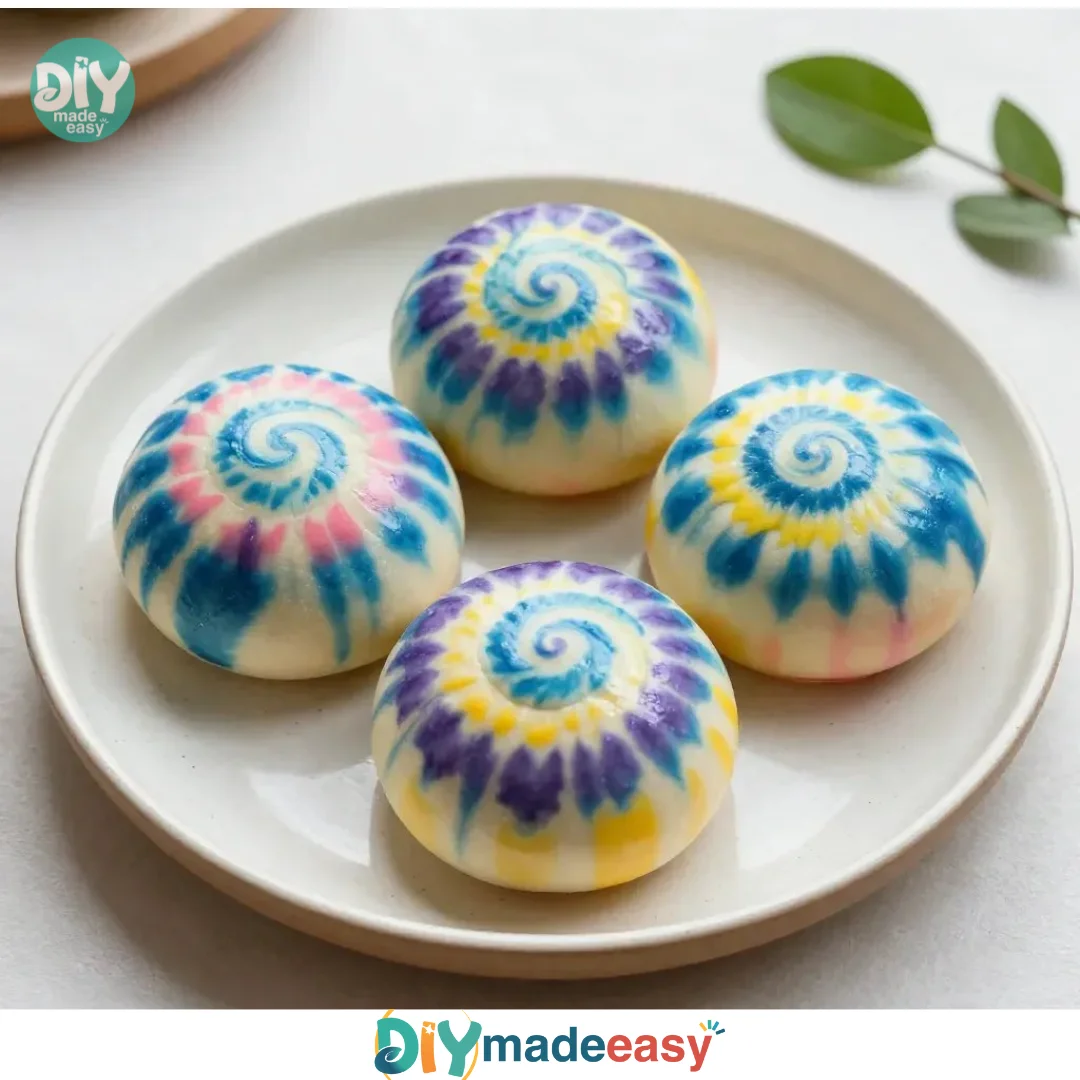
While painting, kids engage in various learning moments without even realizing it. For one, they practice fine motor skills as they carefully hold their brushes and maneuver them across the curves of the rocks. This activity also enhances their hand-eye coordination—learning to aim the brush where they want the paint to go! Additionally, exploring colors helps them grasp color theory in a fun and tangible way. The cause-and-effect principle comes into play, too; they see how mixing paints can create new hues, fostering an appreciation for the beauty of art.
Troubleshooting Common Issues
As with any creative project, challenges may arise. If the paint is bubbling or not adhering properly, it might be a sign that the rocks weren’t cleaned thoroughly enough. If you notice that the colors are muddled, encourage your kids to try starting with a base color and then layering others on top once it dries to achieve clearer designs. Drying time can also impact the final look—if too many layers are applied at once without drying, the colors may blend together too much. Encourage patience and remind them that sometimes, the unexpected results can enhance the beauty of their creations.
Easy Variations to Try
If the kids want to get a little more adventurous, here are some fun variations to try:
- Seasonal designs: Incorporate themes like pumpkins for autumn or flowers for spring by using color choices that match the seasons.
- Glow-in-the-dark paint: Use glow-in-the-dark acrylic paint for a night-time surprise on outdoor rocks.
- Texture experiments: Introduce sponges or other materials to create textured effects on the rocks.
- Themed collections: Create sets of rocks that tell a story or represent a favorite book, allowing for a deeper narrative behind the colors.
- Group projects: Work on larger stones collaboratively to create murals or scenes, enhancing teamwork skills among friends or siblings.
Storing or Reusing This Project
After the excitement of creating DIY Swirl Painted Rocks, consider how to keep or reuse them. If the rocks are left outdoors, they can become beautiful garden decorations, adding color to any outdoor space. Alternatively, if you want to keep the creative spirit alive, you can clean the rocks and repaint them for another art-making session—perfect for seasonal projects or just a change of scenery. Encourage kids to find creative places to display their artwork indoors, ensuring that the pride in their creation lasts.
FAQs About DIY Swirl Painted Rocks
Q: Is this project too messy for young children?
A: While there is some potential for mess with acrylic paint, a bit of preparation can help manage it. Set the workspace with protective coverings and make sure children wear old clothes. Using washable paints can also reduce cleanup anxiety.
Q: What if my rocks don’t look as good as I hoped?
A: Remember, art is subjective! Encourage the children to embrace their designs, reminding them that the fun is in the process. Every creation is unique, and it adds to their artistic journey.
Q: Can I use substitutes for the materials if I don’t have acrylic paint?
A: Yes! You can try using watercolors, albeit they won’t hold up as well outdoors. You might also use markers for the design, allowing the kids to use what they have on hand.
Q: How do I store the painted rocks?
A: Once the rocks are completely dry, store them in a box lined with soft cloth to prevent scratches. If they are outdoors, regularly inspect for wear and tear, as a fresh paint layer may liven them up again!
Q: How old should my children be to participate in this activity?
A: Younger kids can participate with adult supervision, especially when dealing with paint. Older children can enjoy more independence throughout the process.
Conclusion
In conclusion, creating DIY Swirl Painted Rocks is a delightful activity that can foster creativity and provide a fun, hands-on experience for kids. It’s an art project that encourages exploration and imagination, making it easy to engage with in various settings. For more ideas on creative rock painting techniques, you can check out this insightful guide on Earth Painted Rocks: DIY Nail Polish Marbling Craft – Fine Art Mom. Additionally, if you’re looking for tips on achieving a marbled finish, visit How to Paint Rocks with a Marbleized Finish – Creative Green Living. Enjoy your crafting time!
PrintDIY Swirl Painted Rocks

A fun and simple project for kids to create colorful swirl painted rocks for decorations or paperweights.
- Prep Time: 10 minutes
- Cook Time: 30 minutes
- Total Time: 40 minutes
- Yield: A collection of colorful painted rocks
- Category: Arts and Crafts
- Method: Crafting
- Cuisine: N/A
- Diet: N/A
Ingredients
- Smooth, clean rocks
- Acrylic paints in various colors
- Paintbrushes of various sizes
- Water for rinsing brushes
- Mixing palette (an old plate or a piece of cardboard)
- Clear sealant (optional)
Instructions
- Select your smooth rocks: Choose smooth, clean rocks from your collection, ensuring they are dry.
- Pour out your acrylic paints: Dispense various colors of acrylic paint on your mixing palette.
- Dip your brush: Dip your brush into the chosen paint and apply it onto the rock.
- Experiment with techniques: Use different brush methods to create unique effects.
- Layer colors gradually: Take your time layering colors, allowing for drying time in between.
- Set aside to dry: Once the desired design is achieved, set it aside to dry completely.
- Seal your masterpiece (optional): After drying, apply a clear sealant if desired.
Notes
Ensure a protective covering on the workspace to manage any mess from acrylic paint.
Nutrition
- Serving Size: 1 rock
- Calories: 0
- Sugar: 0g
- Sodium: 0mg
- Fat: 0g
- Saturated Fat: 0g
- Unsaturated Fat: 0g
- Trans Fat: 0g
- Carbohydrates: 0g
- Fiber: 0g
- Protein: 0g
- Cholesterol: 0mg