

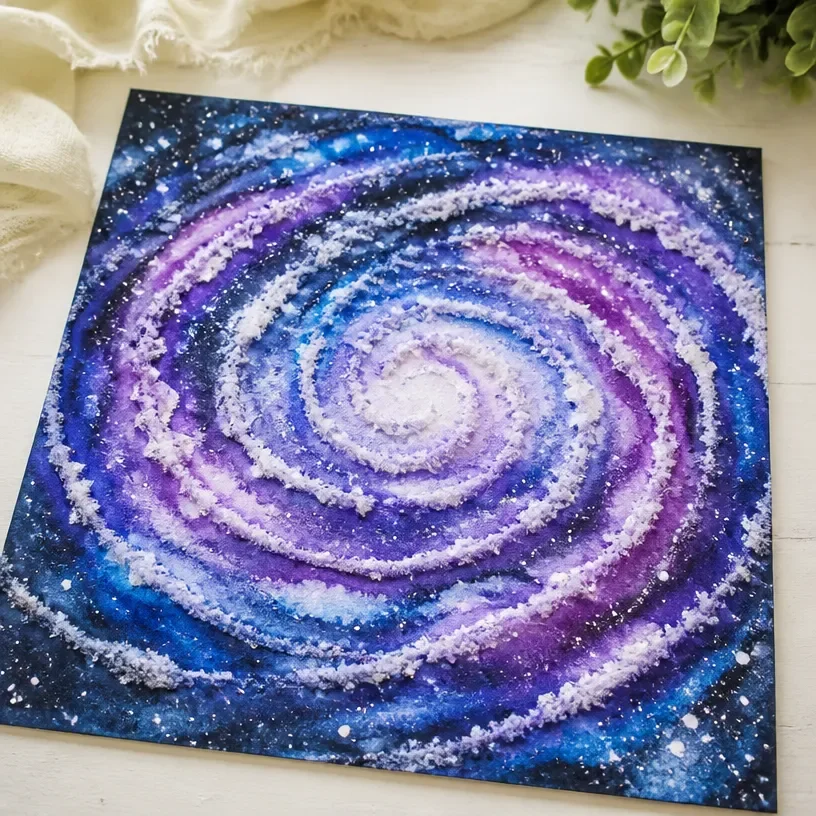
Creating art with kids can sometimes feel like an arduous task, especially on busy afternoons when you need a quick and engaging activity to occupy them. However, one magical project you can try is learning how to create a raised salt watercolor galaxy. This creative endeavor is not only fun but also a wonderful way to introduce kids to artistic concepts while exploring the wonders of colors and textures. Gather your materials, and let’s dive into this easy and enjoyable DIY activity that provides a sensory experience and a striking result. You may also find How To Make Rainbow Salt Painting Jellyfish useful.
Why This How to Create a Raised Salt Watercolor Galaxy Works So Well
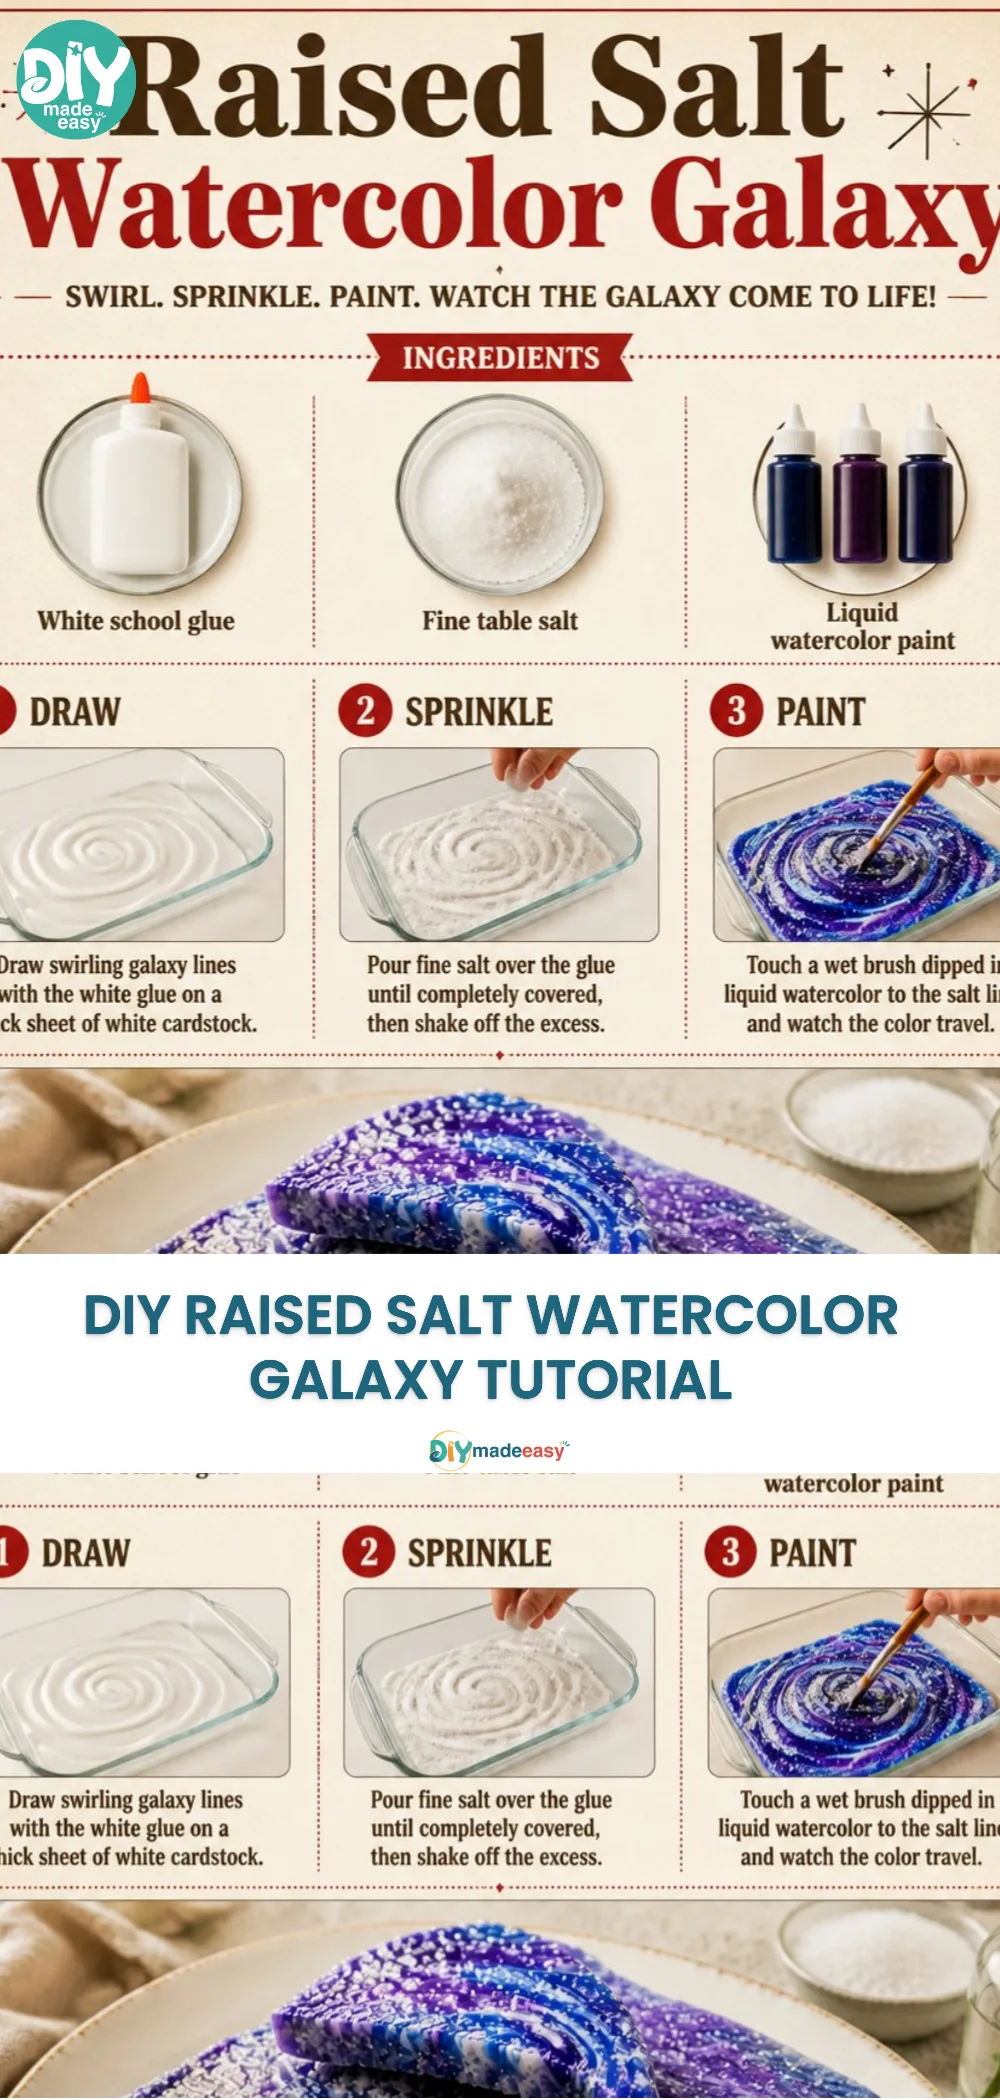
What makes this project so appealing is its low-prep nature. There’s no need for complex tools or extensive clean-up afterward, making it perfect for real-life schedules. You’ll discover that with just a few simple materials from home, you can engage children’s creativity without the hassles that often accompany more elaborate craft projects. Additionally, the process allows for personal expression, which is rewarding for both kids and parents alike. You may also find How To Create A Crystal Star At Home Diy Guide useful.
A Quick Look Before You Begin
Before diving into creating a raised salt watercolor galaxy, it’s helpful to consider a few key points. This activity typically takes about 30 to 45 minutes, depending on how much detail the children want to include. Setting up is straightforward and requires minimal adult supervision, which means kids can enjoy the activity independently after a brief introduction. However, anticipate a little mess keeping a few paper towels handy for spills will enhance the experience and ease any cleanup stress. You may also find How To Create A Rainbow Baking Soda Crystal Forest useful.
Materials You’ll Need
To create a dazzling raised salt watercolor galaxy, gather the following materials: You may also find Colorful Rainbow Jellyfish Salt Art Tutorial useful.
- Waterproof cardstock or thick cardboard – a sturdy base for your artwork.
- Table salt – forms the raised texture on your galaxy.
- Liquid watercolors or food coloring – for vibrant hues.
- Water – to mix with the colors.
- Glue – to secure the salt to the base.
- Brushes – to apply the watercolor.
- Small cups or dishes – for mixing and holding colors.
Most of these materials are common household items, making this project even more accessible.
Step-by-Step Directions
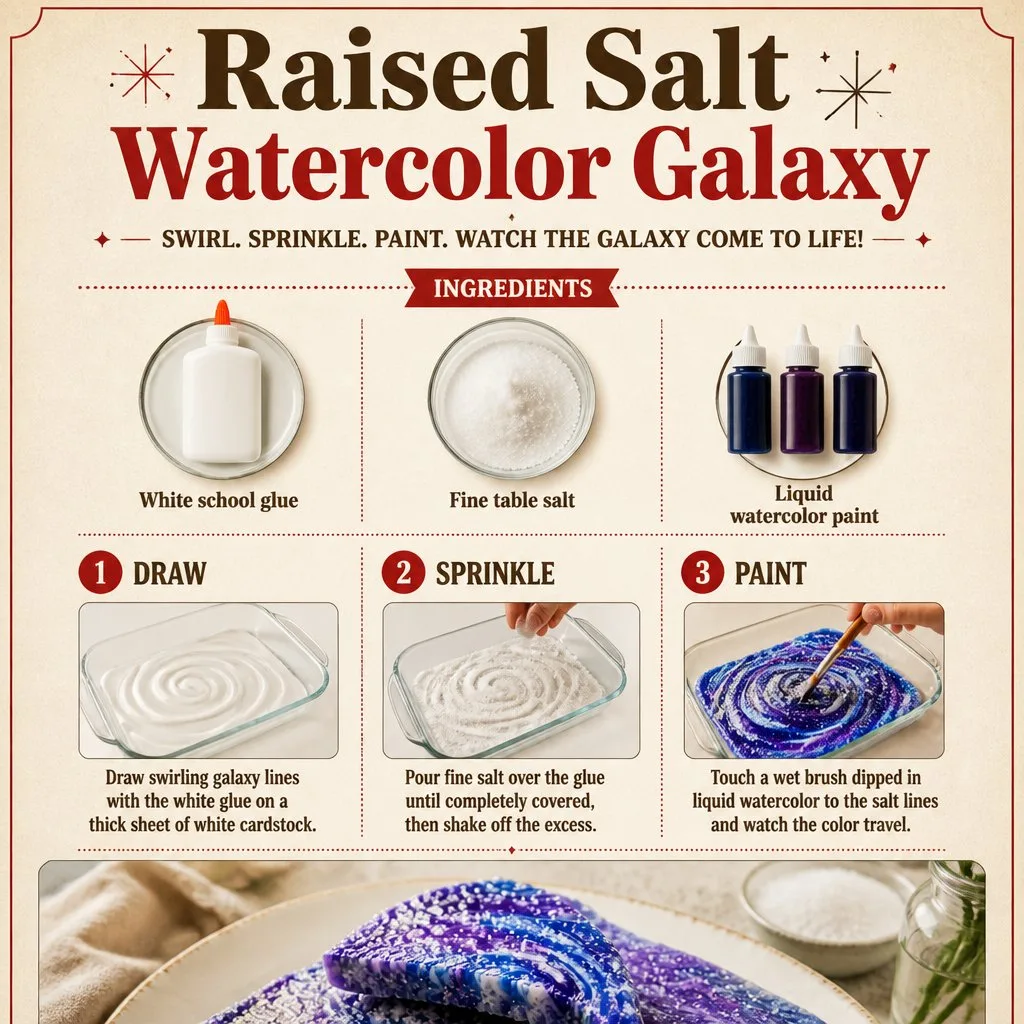
Prepare the Base: Start by laying out your waterproof cardstock or cardboard on a flat surface. This will be your canvas for the galaxy.
Draw the Design: Using a pencil, lightly sketch your galaxy design. Kids can create swirling shapes, stars, or abstract patterns.
Apply Glue: Carefully apply glue along your drawn lines. Make sure to cover the entire line where you want the salt to stick.
Sprinkle Salt: Generously sprinkle salt over the glue while it’s still wet. Make sure to cover all glued areas, and shake off the excess salt.
Let It Dry: Allow the glued salt to dry completely. This usually takes about 15 to 30 minutes.
Prepare Watercolors: In small cups, combine water with the liquid watercolors or food coloring. Mix until you achieve the desired intensity.
Start Painting: Using a brush, start painting over the salt. The colors will spread and blend beautifully, creating a galaxy effect.
Add Effects: For added detail, kids can use a clean, wet brush to blend colors further or create stars by flicking white paint onto the galaxy.
Final Touches: After the painting is complete, leave the artwork to dry fully, ensuring all the colors are set and vivid.
Display Your Creation: Once dry, hang or display your children’s masterpieces for everyone to admire.
The Learning Behind This DIY
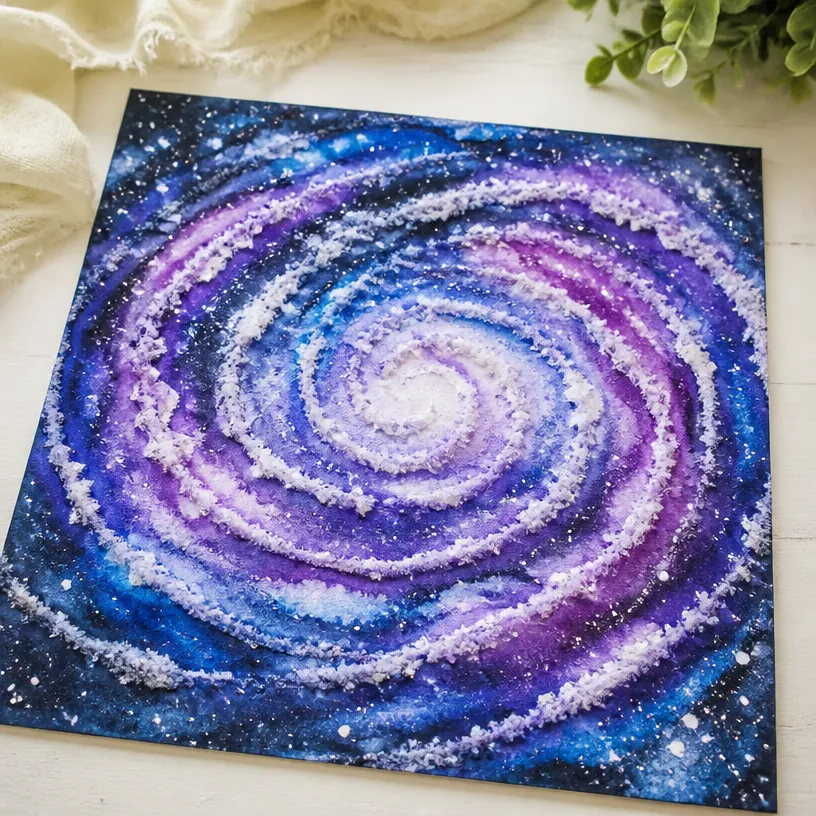
While creating a raised salt watercolor galaxy, kids practice multiple skills. They develop fine motor skills as they manipulate brushes and manage small materials. This project also teaches them about colors and mixing seeing how different shades blend together is a valuable lesson in art. Furthermore, children can explore scientific concepts like absorption and the texture of materials. The tactile variety of the salt adding dimension to the artwork engages their senses, which deepens their learning experience.
Troubleshooting Common Issues
Sometimes, things might not go as planned. If the paint doesn’t blend as expected, it might be due to the salt not being dry enough or too much water on the brush. Remind kids to start with less water and gradually add more if needed. If colors become muddy, they can take a break, let it dry, and then add more layers. These small challenges are all part of the learning process, and they also encourage resilience and problem-solving skills.
Easy Variations to Try
To keep the creative juices flowing, here are a few variations you can try:
- Galaxy Constellations: Instead of random designs, create specific constellations for a fun twist.
- Layering Techniques: Try layering different colors to create depth.
- Seasonal and Holiday Themes: Incorporate holiday colors or specific themes, such as Halloween or Christmas, for a seasonal take on the project.
- Combine with Other Arts: Pair this project with a storytelling session about galaxies and stars for an educational spin.
Storing or Reusing This Project
After finishing the project, consider how to manage the artwork. If they want to hold onto their creations, ensure they’re carefully dried completely to prevent any smearing. Consider displaying their masterpieces in a gallery at home. If keeping the materials for future use, store the excess salt in a sealed bag. Reducing waste and reusing materials fosters an eco-friendly mindset while allowing the arts to continue.
FAQs About How to Create a Raised Salt Watercolor Galaxy
What if we make a mess?
It’s perfectly okay! A bit of mess is expected with any creative project. Just keep some paper towels handy for quick clean-ups.
Is this suitable for younger kids?
Absolutely! This project can be modified. Younger kids might need more help with glue and the painting part, but they can still partake in the fun.
Can we use other types of paper?
Yes, any thick paper can work. Just ensure it can hold up to moisture without getting damaged.
What if the salt doesn’t stick?
If the salt doesn’t adhere well, ensure that the glue is thick enough and wet. It might also help to sprinkle the salt more generously.
Can we paint over dried salt later?
Yes, if you want to add or enhance the design, painting over dried salt is possible. Just remember that it might take longer to dry again.
Conclusion
Creating a raised salt watercolor galaxy not only sparks imagination but also delivers a unique learning experience. This enjoyable DIY activity is perfect for family time or even a fun classroom project. If you’re looking for more crafty ideas, consider exploring an Easy Watercolor Galaxy Painting For Kids or try making a delicious pink galaxy birthday cake for a themed celebration. Embrace the mess, learn together, and enjoy the creativity that this project fosters!
PrintRaised Salt Watercolor Galaxy
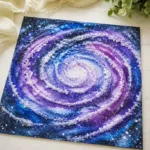
A fun DIY activity for kids to create a stunning raised salt watercolor galaxy, fostering creativity and learning.
- Prep Time: 15 minutes
- Cook Time: 30 minutes
- Total Time: 45 minutes
- Yield: 1 artwork
- Category: Craft
- Method: Art Project
- Cuisine: N/A
- Diet: N/A
Ingredients
- Waterproof cardstock or thick cardboard
- Table salt
- Liquid watercolors or food coloring
- Water
- Glue
- Brushes
- Small cups or dishes
Instructions
- Prepare the Base: Start by laying out your waterproof cardstock or cardboard on a flat surface. This will be your canvas for the galaxy.
- Draw the Design: Using a pencil, lightly sketch your galaxy design. Kids can create swirling shapes, stars, or abstract patterns.
- Apply Glue: Carefully apply glue along your drawn lines. Make sure to cover the entire line where you want the salt to stick.
- Sprinkle Salt: Generously sprinkle salt over the glue while it’s still wet. Make sure to cover all glued areas, and shake off the excess salt.
- Let It Dry: Allow the glued salt to dry completely. This usually takes about 15 to 30 minutes.
- Prepare Watercolors: In small cups, combine water with the liquid watercolors or food coloring. Mix until you achieve the desired intensity.
- Start Painting: Using a brush, start painting over the salt. The colors will spread and blend beautifully, creating a galaxy effect.
- Add Effects: For added detail, kids can use a clean, wet brush to blend colors further or create stars by flicking white paint onto the galaxy.
- Final Touches: After the painting is complete, leave the artwork to dry fully, ensuring all the colors are set and vivid.
- Display Your Creation: Once dry, hang or display your children’s masterpieces for everyone to admire.
Notes
Keep some paper towels handy for any spills and allow for flexibility in the level of assistance children might need.
Nutrition
- Serving Size: 1 artwork
- Calories: 200
- Sugar: 0g
- Sodium: 2000mg
- Fat: 0g
- Saturated Fat: 0g
- Unsaturated Fat: 0g
- Trans Fat: 0g
- Carbohydrates: 50g
- Fiber: 0g
- Protein: 0g
- Cholesterol: 0mg