

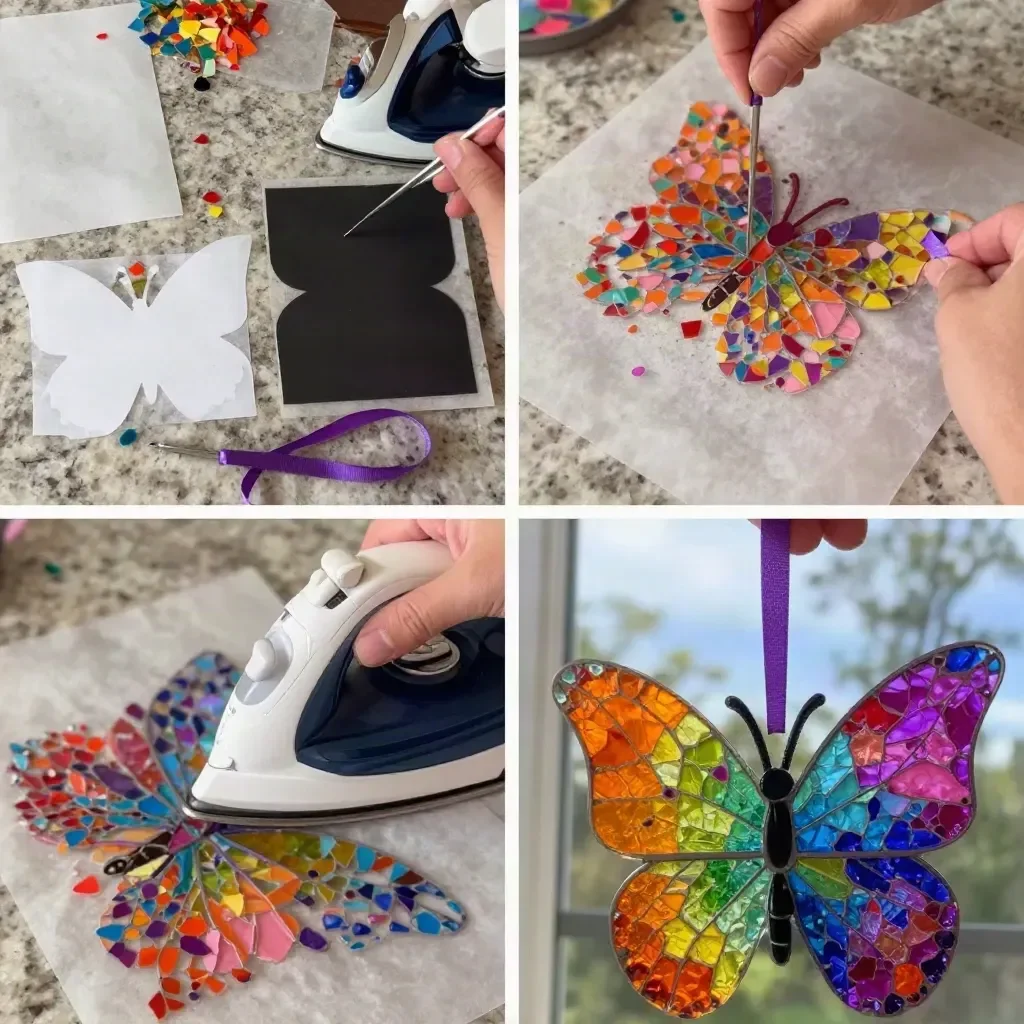
When a busy afternoon rolls around, and kids are eager to create something colorful and beautiful, the Melted Crayon Rainbow Butterfly Suncatcher makes for an ideal project. This crafty endeavor not only keeps little hands busy but also results in a stunning decoration for your windows. The vibrant colors of the melted crayon shavings shine through the sun, creating a magical effect that brightens up any space. Plus, the process involves simple materials and provides a wonderful opportunity for family bonding and creativity. You may also find Diy Melted Crayon Rainbow Heart Suncatcher Tutorial useful.
Why This Melted Crayon Rainbow Butterfly Suncatcher Works So Well
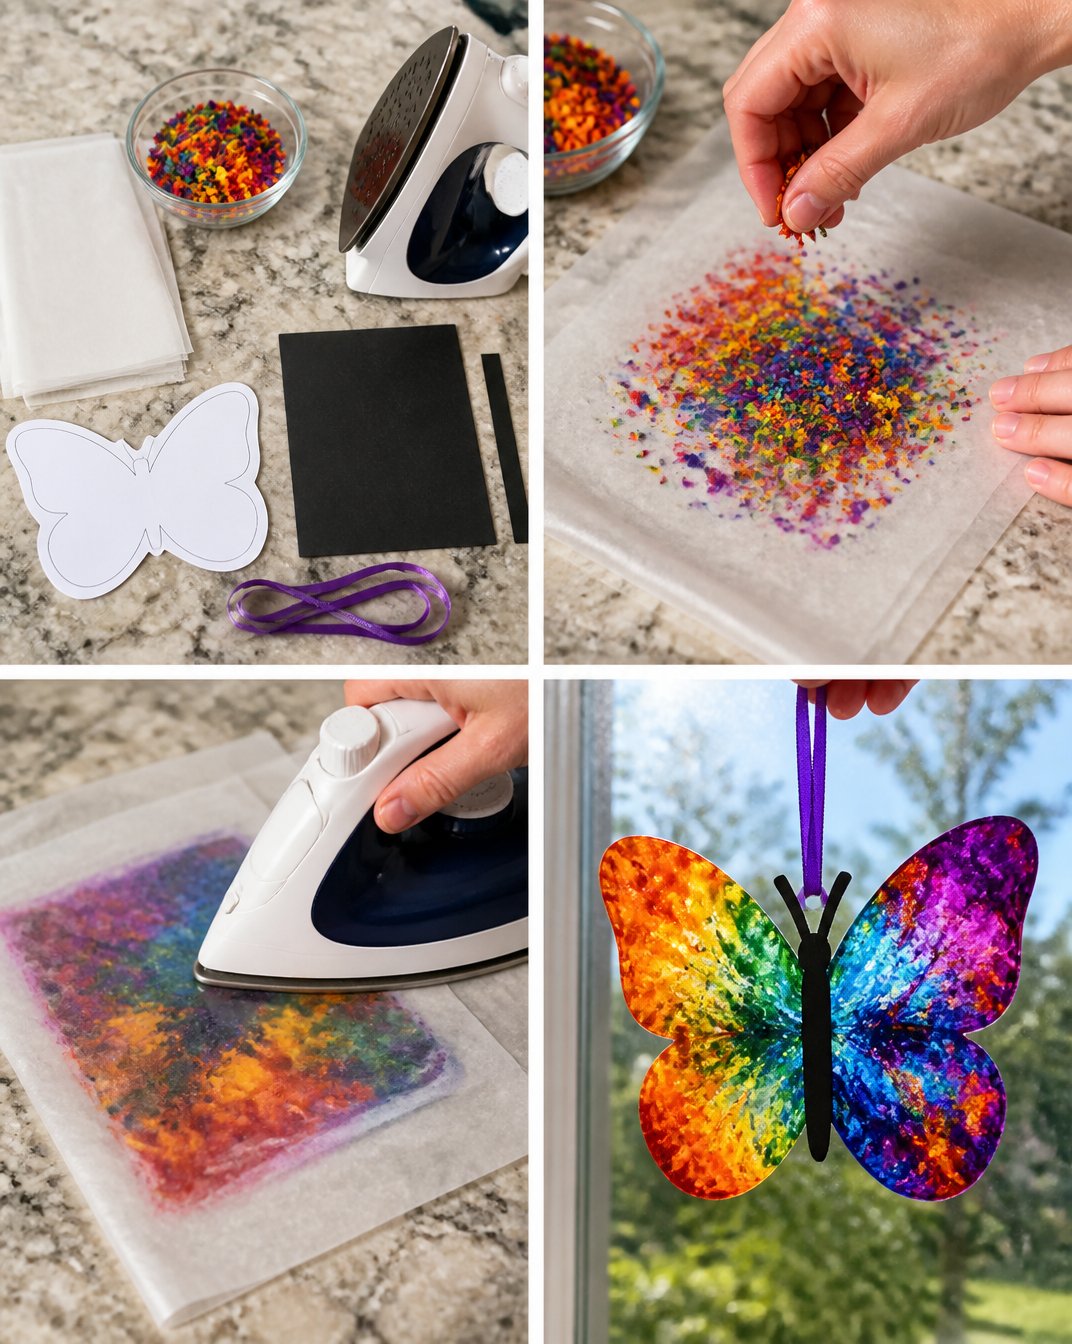
This project is low-prep and approachable, making it the perfect activity for families. The instructions are straightforward, and the materials are likely already in your home. You won’t need a lot of time either; the entire process can be completed in under an hour, making it easy to fit into a busy schedule. It’s reliable too; you can trust that children will enjoy the experience and be pleased with their colorful results. You may also find Diy Rainbow Crayon Butterfly Suncatcher useful.
A Quick Look Before You Begin
Crafting the Melted Crayon Rainbow Butterfly Suncatcher offers a delightful way to combine creativity and learning. The setup is minimal, with just a few supplies needed, and the mess level is manageable. Adult involvement is beneficial, particularly during the melting phase with the iron, ensuring safety and providing guidance as needed. You may also find Butterfly Rainbow Suncatcher Layered Glue Craft useful.
Materials You’ll Need
- Wax paper
- Rainbow crayon shavings
- Butterfly template
- Parchment paper
- Iron (with adult help)
- Black cardstock
- Ribbon
Many of these supplies will be common household items, but if you don’t have a butterfly template, creating your own design is an enjoyable option. You may also find Colorful Rainbow Crystal Butterfly Suncatcher useful.
Step-by-Step Directions
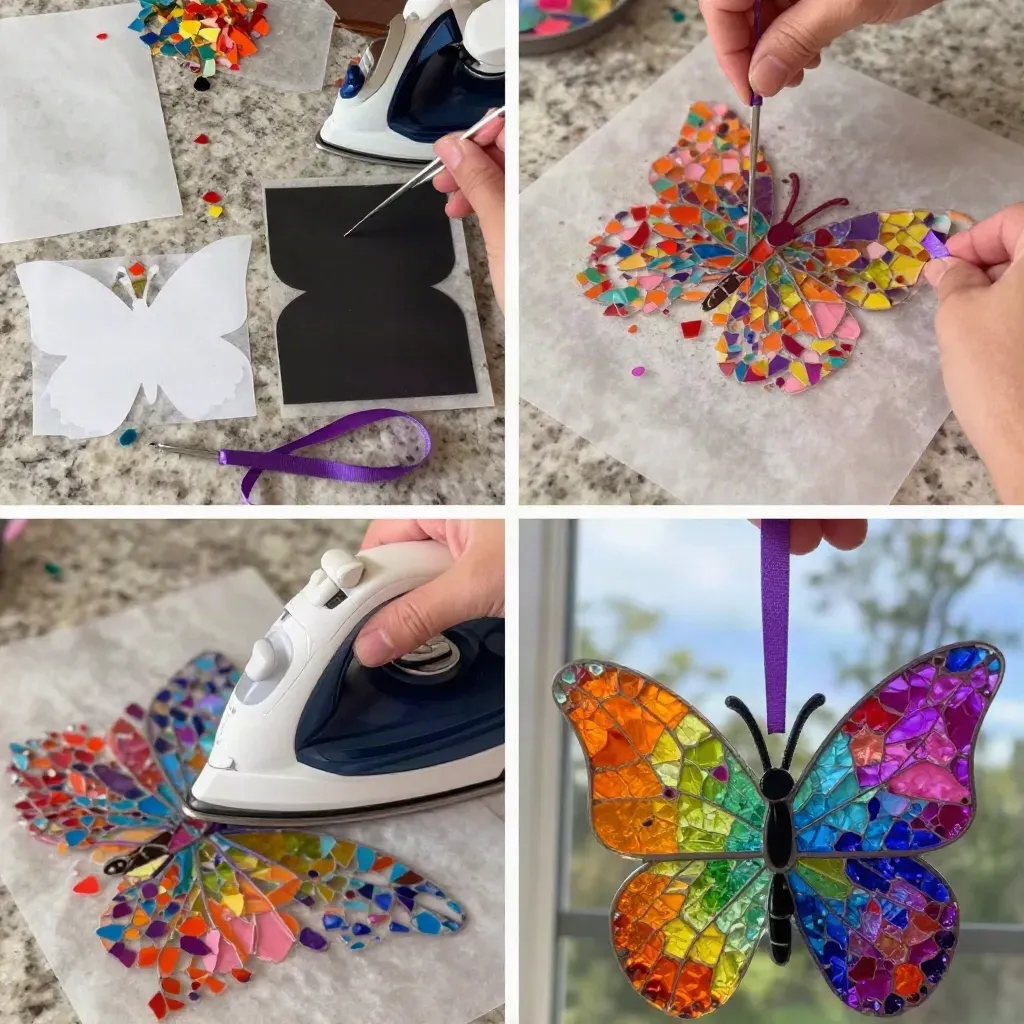
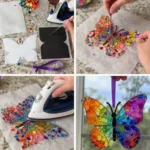
Start by peeling the wrappers off your crayons and create shavings using a sharpener or cheese grater. This process can be satisfying for kids as they help to create colorful bits of crayon.
Once you have enough shavings, place one sheet of wax paper on a flat surface and sprinkle the crayon shavings evenly on it. Look for vibrant color combinations as you layer the shavings.
Add a second sheet of wax paper on top, forming a sandwich, and then cover with parchment paper. This will protect your iron from direct contact with the wax paper.
With adult supervision, iron on a low setting for a few seconds to melt the shavings, checking regularly. The crayon shavings will begin to blend into beautiful colors, creating a lovely marbled effect.
Once slightly cooled, remove the top wax paper and let it cool completely. You’ll feel the excitement as the colors solidify into your unique masterpiece.
Use the butterfly template to trace and cut out shapes. If desired, use bright colors for the butterflies to make them stand out even more.
Cut out small bodies from black cardstock, glue to the center, and tie a ribbon for hanging. The ribbon can add a touch of personality and can be color-coordinated with your butterfly to enhance the overall look.
The Learning Behind This DIY
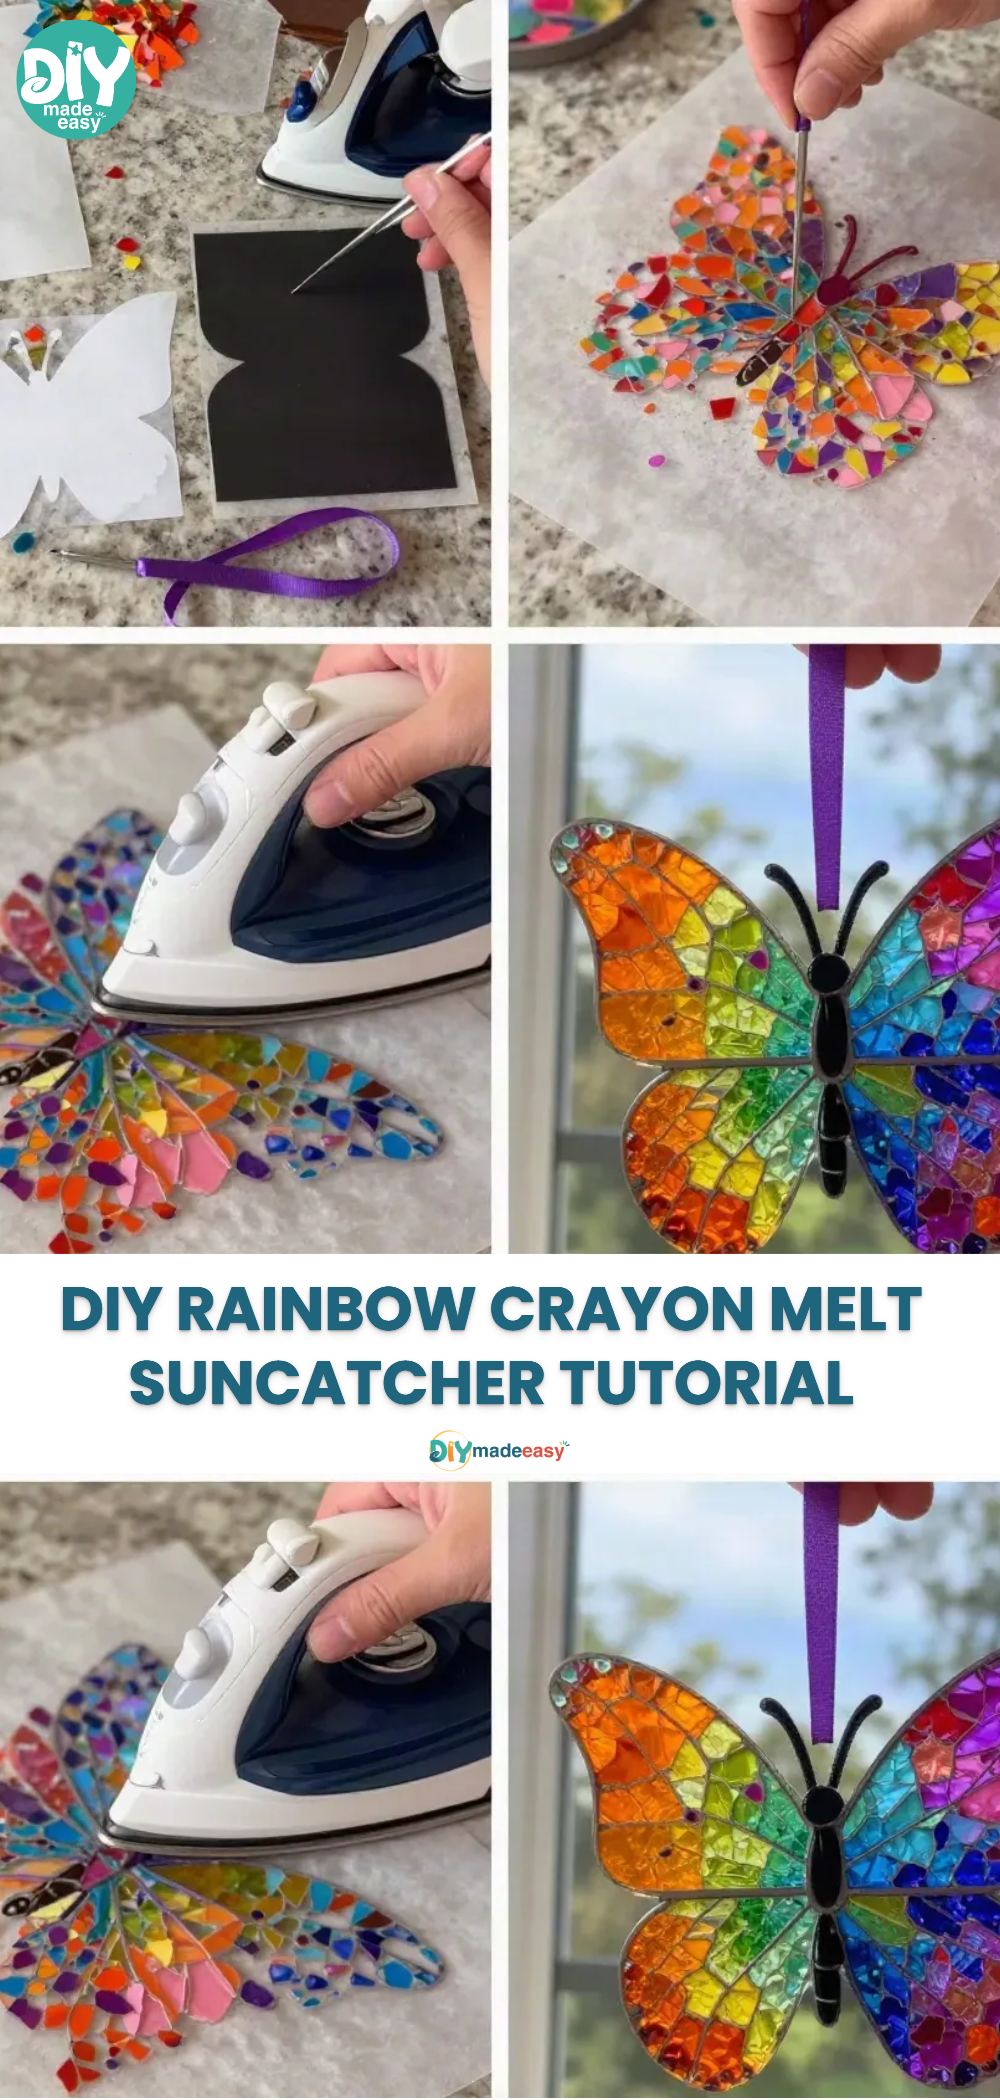
Crafting the Melted Crayon Rainbow Butterfly Suncatcher encourages a variety of skills in children. They practice fine motor skills while handling small tools like the sharpener and scissors. As they sprinkle and layer the crayon shavings, kids learn about cause and effect when they see how heat transforms the wax. This activity also introduces the concept of colors blending together, fostering a basic appreciation for color theory.
Troubleshooting Common Issues
If something doesn’t go as planned, do not worry. One common issue is if the crayon shavings don’t melt evenly. This might happen if the iron is too hot or not moved around enough. Keeping the iron on a low setting and regularly checking the progress will prevent over-melting. Another potential pitfall is the crayon shapes being too intricate to cut out neatly; in this case, simple shapes work just as well and are easier to manage.
Easy Variations to Try
To keep things fresh, here are some fun variations you can try:
- Instead of butterflies, create other shapes, like hearts or stars, to celebrate different occasions.
- Experiment with layering different shades of the same color for a gradient effect.
- Add a sprinkle of glitter into the crayon shavings before melting for an extra sparkle.
Storing or Reusing This Project
After making your beautiful suncatchers, consider how to display or store them. They may look stunning as window decorations, so displaying them is a fantastic option. If you need to clean up, simply store any leftover materials in a sealed bag for future projects, ensuring you minimize waste.
FAQs About Melted Crayon Rainbow Butterfly Suncatcher
What if my kids are worried about the mess this project might create? You can reassure them that using wax paper keeps most of the mess contained and that the cleanup is quite simple—just a quick wipe down of the workspace afterward.
How do I ensure this activity is safe for younger kids? Always supervise the melting process with the iron, and involve kids only in the parts that require less intensive adult oversight. They can handle the crayon shavings and help cut out shapes once the melting phase is complete.
Can I use different types of paper or materials for this project? While wax paper works best, you can also experiment with other materials, but results may vary. It’s best to stick with wax paper for the melting process to ensure optimal results.
A Final Helpful Note
Taking on the Melted Crayon Rainbow Butterfly Suncatcher project should feel enjoyable and liberating. Remember, it’s all about creativity and expression, so don’t stress over achieving perfection. This DIY should offer a sense of accomplishment, fill your home with brightness, and provide a cherished memory for you and your children.
Conclusion
This creative project is not only fun but also educational. If you’re looking for additional inspiration, check out 10 cool craft projects for kids for more easy and exciting activities to do at home. You can also explore detailed instructions on making a melted crayon sun catcher, which is a beautiful complement to your butterfly suncatcher. Enjoy creating with your kids!
PrintMelted Crayon Rainbow Butterfly Suncatcher
A fun and colorful project that uses melted crayon shavings to create beautiful butterfly suncatchers. Perfect for kids and family bonding.
- Prep Time: 10 minutes
- Cook Time: 20 minutes
- Total Time: 30 minutes
- Yield: 2 suncatchers
- Category: Craft
- Method: Crafting
- Cuisine: N/A
- Diet: N/A
Ingredients
- Wax paper
- Rainbow crayon shavings
- Butterfly template
- Parchment paper
- Iron (with adult help)
- Black cardstock
- Ribbon
Instructions
- Start by peeling the wrappers off your crayons and creating shavings using a sharpener or cheese grater.
- Once you have sufficient shavings, place one sheet of wax paper on a flat surface and sprinkle the crayon shavings evenly on it.
- Add a second sheet of wax paper on top to form a sandwich, and cover with parchment paper.
- With adult supervision, iron on a low setting for a few seconds to melt the shavings, checking regularly.
- Once slightly cooled, remove the top wax paper and let it cool completely.
- Use the butterfly template to trace and cut out shapes.
- Cut out small bodies from black cardstock, glue to the center, and tie a ribbon for hanging.
Notes
Supervise young children during the melting phase. Experiment with different shapes for suncatchers.
Nutrition
- Serving Size: 1 suncatcher
- Calories: 0
- Sugar: 0g
- Sodium: 0mg
- Fat: 0g
- Saturated Fat: 0g
- Unsaturated Fat: 0g
- Trans Fat: 0g
- Carbohydrates: 0g
- Fiber: 0g
- Protein: 0g
- Cholesterol: 0mg