

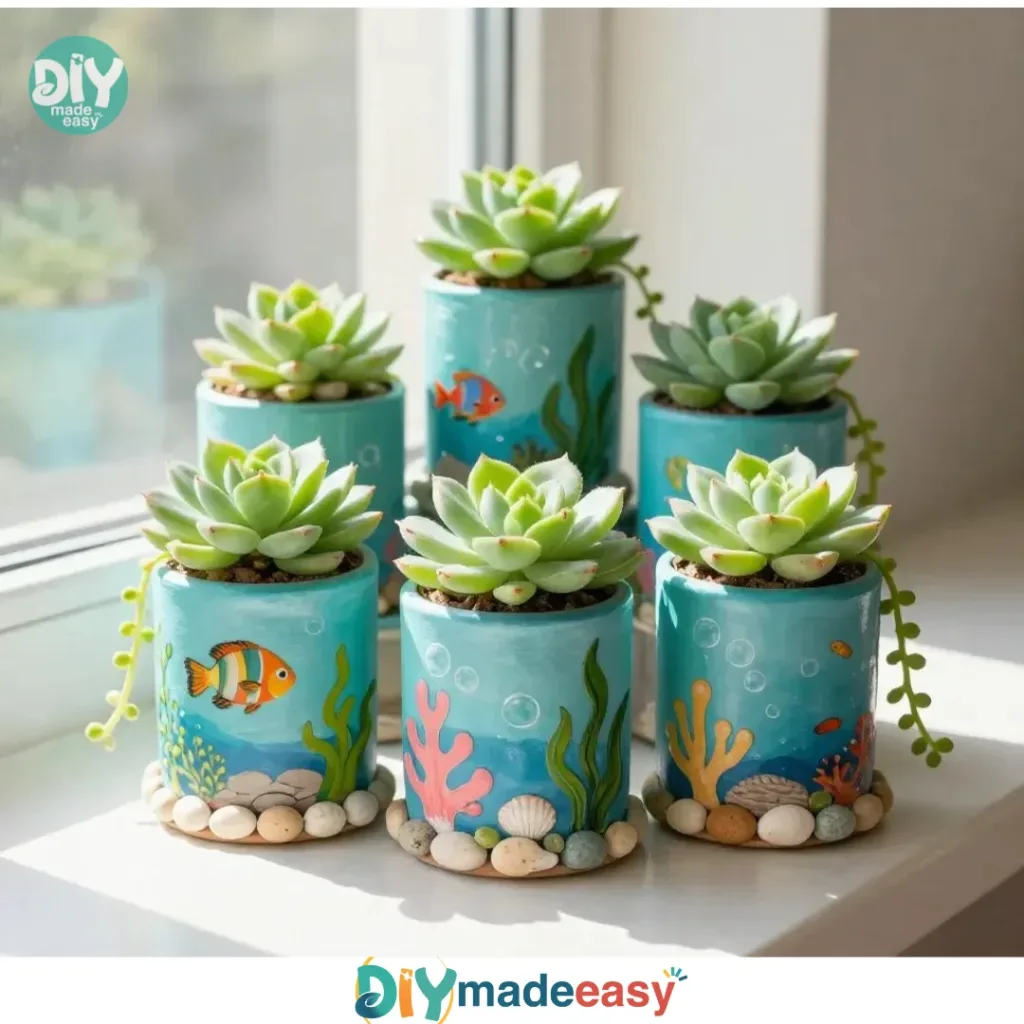
DIY Aquarium Tin Can Planters You may also find Diy Salt Volcano Science Experiment Fun useful.
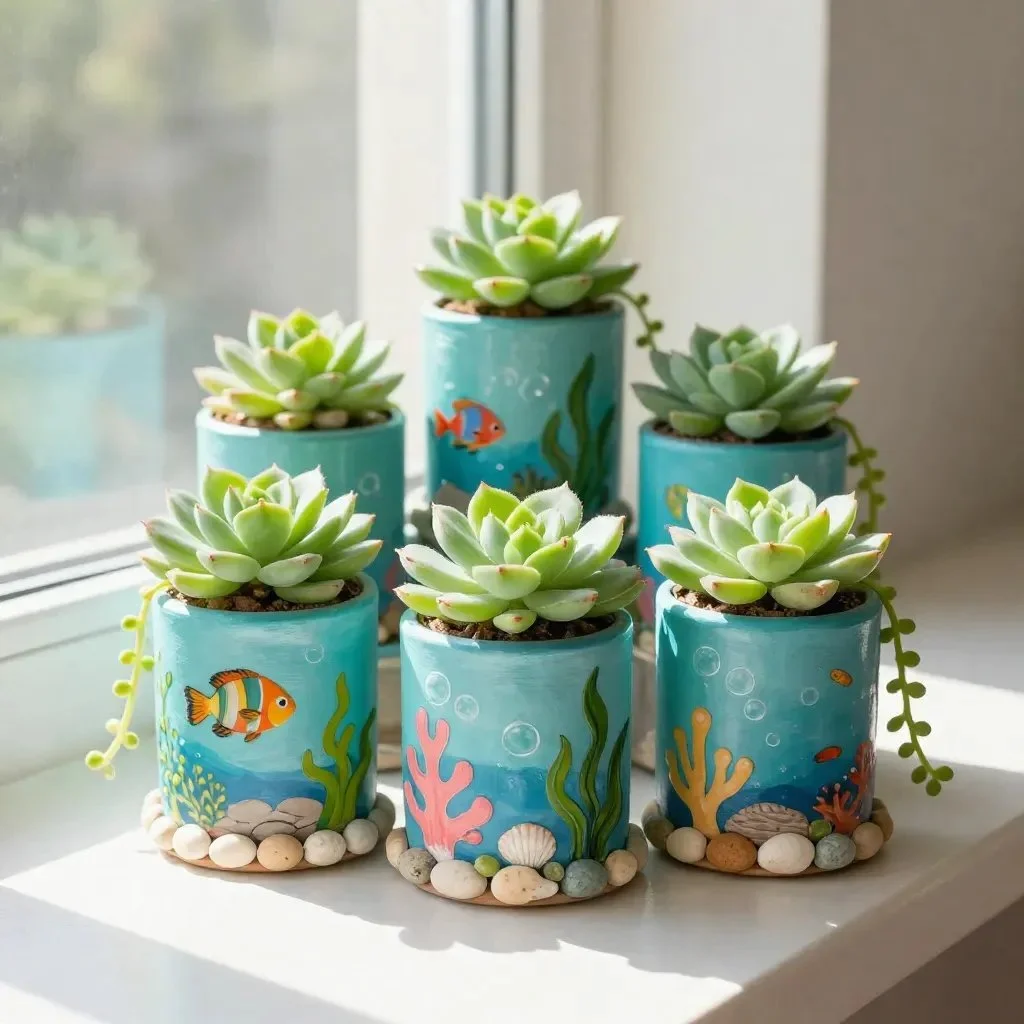
There’s something special about a busy afternoon when the kids are itching to create something impressive and fun. They might come running with ideas, eager to try their hands at crafting. That’s when a project like DIY Aquarium Tin Can Planters becomes the perfect go-to. Not only is it simple and engaging, but it also brings a splash of nature right into your home. Plus, you can use items you already have around the house, making it a cost-effective activity. You may also find Diy Salt Volcano Science Experiment useful.
Why This DIY Aquarium Tin Can Planters Works So Well
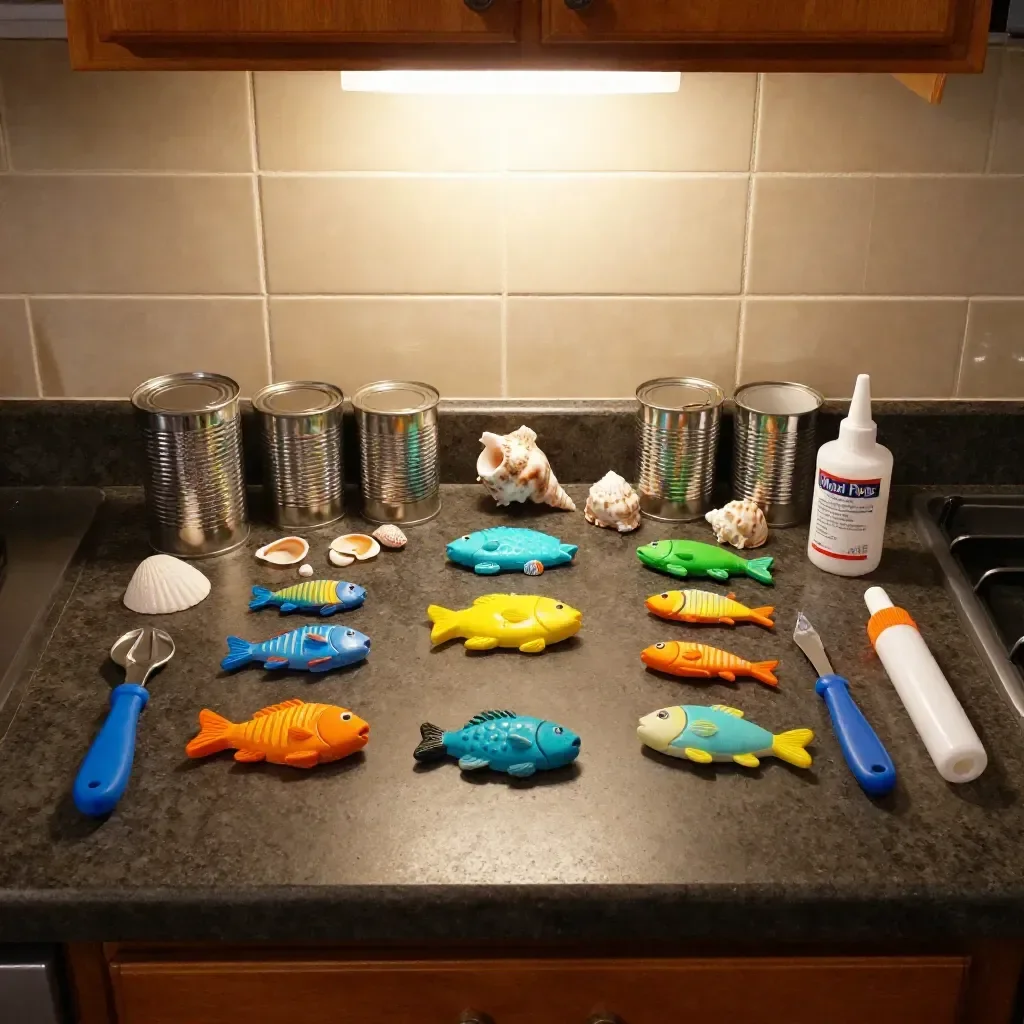
Creating DIY Aquarium Tin Can Planters is an excellent way to engage your little ones while keeping the preparations low-key. It offers a hands-on experience that combines crafting, gardening, and learning about nature. This project is approachable for various age groups and requires minimal adult assistance, which makes it ideal for busy schedules. Since the materials are easy to find and the steps are straightforward, you can make adjustments on the fly. This project not only nurtures creativity but also teaches responsibility, as kids learn how to care for their plants. If you want to explore more creative projects, consider trying out salt painting for a colorful artistic experience.
The Flow of Making DIY Aquarium Tin Can Planters
Engaging in this DIY project allows for a relaxed atmosphere at home. You can set it up quickly, requiring only a few minutes to gather the materials. The dirty work—like cutting and painting—can be done outside or in an area with easy cleanup, and the main crafting part typically lasts about an hour or less. The mess level is manageable, especially if you lay down newspaper or use washable paints. It’s a great opportunity for kids to explore their creativity independently, with just a bit of adult supervision for the cutting and smoothing parts.
Materials You’ll Need
- Empty tin cans (washed and dried)
- Sharp scissors or a can opener
- Paint (non-toxic and water-resistant)
- Brushes and sponges for applying paint
- Soil (potting soil works best)
- Seeds or small plants (herbs, succulents, etc.)
- Optional: decorative elements like beads, glitter, or stickers
All these materials might already be lying around your home, making this project budget-friendly. The optional decorative elements can add a personal touch, letting kids express their artistic flair even further.
Step-by-Step Directions
Prepare Your Cans: Begin by carefully removing the top of the tin can. Use a can opener for safety, and smooth any sharp edges with a cloth or piece of sandpaper to ensure they are safe to handle.
Clean and Decorate: Wash the can to remove any residue and dry it thoroughly. Then, let your kids paint the can with non-toxic paint in their favorite colors or patterns. This part is where they can get really creative!
Drill Drainage Holes: Once the paint is dry, use a sharp object to poke small holes in the bottom of the can for drainage. This is an essential step that helps prevent overwatering.
Add Soil: Fill the can about three-quarters full with potting soil. Press it down gently to minimize air pockets, which helps the roots establish better.
Plant Your Seeds or Plants: Make small holes in the soil and place your seeds or small plants in them. Cover lightly with soil and make sure to discuss with the kids how different plants grow.
Watering: Gently water the plants, keeping the soil moist but not soggy. This is an excellent opportunity to teach them about the importance of hydration for plants.
Find a Cozy Spot: Finally, display the planters in a bright spot where they can receive sunlight. Talk about the best conditions for their plants and observe how they grow over time.
The Simple Science or Skills at Work
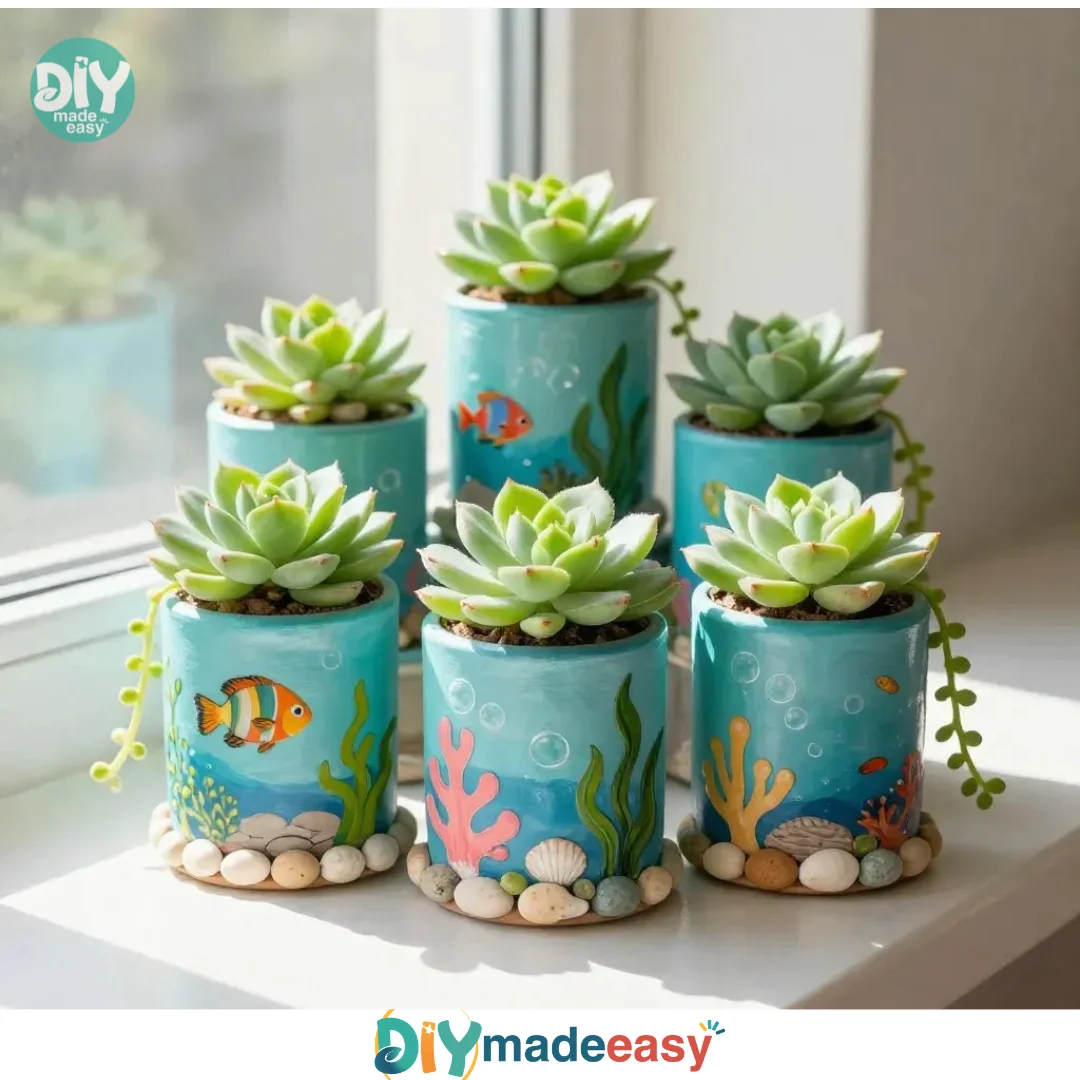
As your kids engage in making these DIY Aquarium Tin Can Planters, they are practicing fine motor skills through cutting, painting, and planting. They also learn about cause and effect, observing how sunlight and water directly impact plant growth. Additionally, they gain an understanding of environmental responsibilities and caring for living things, fostering a sense of accomplishment and pride.
Troubleshooting Common Issues
If something doesn’t go as planned, don’t worry! Sometimes, the paint might not adhere well to the tin, which can happen if the can wasn’t dried thoroughly. Just make sure to apply a thin layer of paint. If seedlings don’t sprout, check if they were planted at the right depth and ensure they receive adequate moisture and warmth. Remind the kids that nature sometimes takes time, and patience is key!
Easy Variations to Try
- Use larger cans for bigger plants or mixed herb gardens.
- Transform the planters into themed designs based on holidays or personal interests.
- Try different types of paint, including spray paint or chalkboard paint for a writeable surface.
- Add decorative elements that match the plants or personal stories, like stickers from a favorite cartoon.
Storing or Reusing This Project
After the initial excitement of making your DIY Aquarium Tin Can Planters, consider how they can be reused or stored. If the plants outgrow their cans, you can transfer them to bigger pots or even repurpose the cans for future craft projects. This activity teaches reusability and waste reduction, instilling a sense of environmental awareness in your children.
FAQs About DIY Aquarium Tin Can Planters
What if my kids make a big mess while painting?
It’s perfectly normal for things to get a bit messy. Cover the surface with newspaper or an old cloth to make cleanup easier. Use washable paints so that you can wipe any spills without trouble.
Are there any safety concerns for younger kids?
Using sharp scissors or can openers requires supervision. You might want to handle the cutting while your kids take charge of painting and planting.
What if I don’t have potting soil?
You can use garden soil in a pinch, but potting soil is recommended as it provides better drainage and nutrients. If you’re looking for a fantastic alternative project, consider creating a self-watering planter.
How can we store the planters during winter?
If you need to bring plants indoors, ensure you place them in a well-lit spot with a bit of moisture. You can also take cuttings of certain herbs and try propagating them.
Will the tin cans rust if left outside?
Tin cans can eventually rust, especially if they are exposed to moisture. It’s advisable to bring them indoors during rainy conditions or winter to prolong their life.
Conclusion
Conclusion
Engaging in DIY projects like Aquarium Tin Can Planters not only nurtures creativity but also invites families to bond over learning and exploring nature. If you’re looking for creative outdoor ideas for gardening, you might want to explore resources like a raised bed galvanized stock tank planter or discover the different options available for setting up stock tank raised beds. This way, you can expand your gardening experience even further. Happy planting!
PrintDIY Aquarium Tin Can Planters
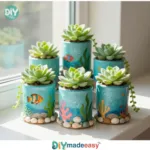
A fun and engaging DIY project for kids to create their own aquarium tin can planters, combining crafting and gardening.
- Prep Time: 10 minutes
- Cook Time: 60 minutes
- Total Time: 70 minutes
- Yield: 4 planters
- Category: Craft
- Method: Crafting
- Diet: Vegetarian
Ingredients
- Empty tin cans (washed and dried)
- Sharp scissors or a can opener
- Paint (non-toxic and water-resistant)
- Brushes and sponges for applying paint
- Soil (potting soil works best)
- Seeds or small plants (herbs, succulents, etc.)
- Optional: decorative elements like beads, glitter, or stickers
Instructions
- Prepare your cans: Begin by carefully removing the top of the tin can. Use a can opener for safety, and smooth any sharp edges.
- Clean and decorate: Wash the can to remove any residue and dry it thoroughly. Let your kids paint the can with non-toxic paint.
- Drill drainage holes: Once the paint is dry, poke small holes in the bottom for drainage.
- Add soil: Fill the can about three-quarters full with potting soil, pressing it down gently.
- Plant your seeds or plants: Make small holes, place your seeds or plants, and cover lightly.
- Water: Gently water the plants, keeping the soil moist.
- Find a cozy spot: Display the planters in a bright location for sunlight.
Notes
Ensure adult supervision is given when using sharp tools. Clean up spills with washable paints.
Nutrition
- Serving Size: 1 planter
- Calories: 0
- Sugar: 0g
- Sodium: 0mg
- Fat: 0g
- Saturated Fat: 0g
- Unsaturated Fat: 0g
- Trans Fat: 0g
- Carbohydrates: 0g
- Fiber: 0g
- Protein: 0g
- Cholesterol: 0mg