

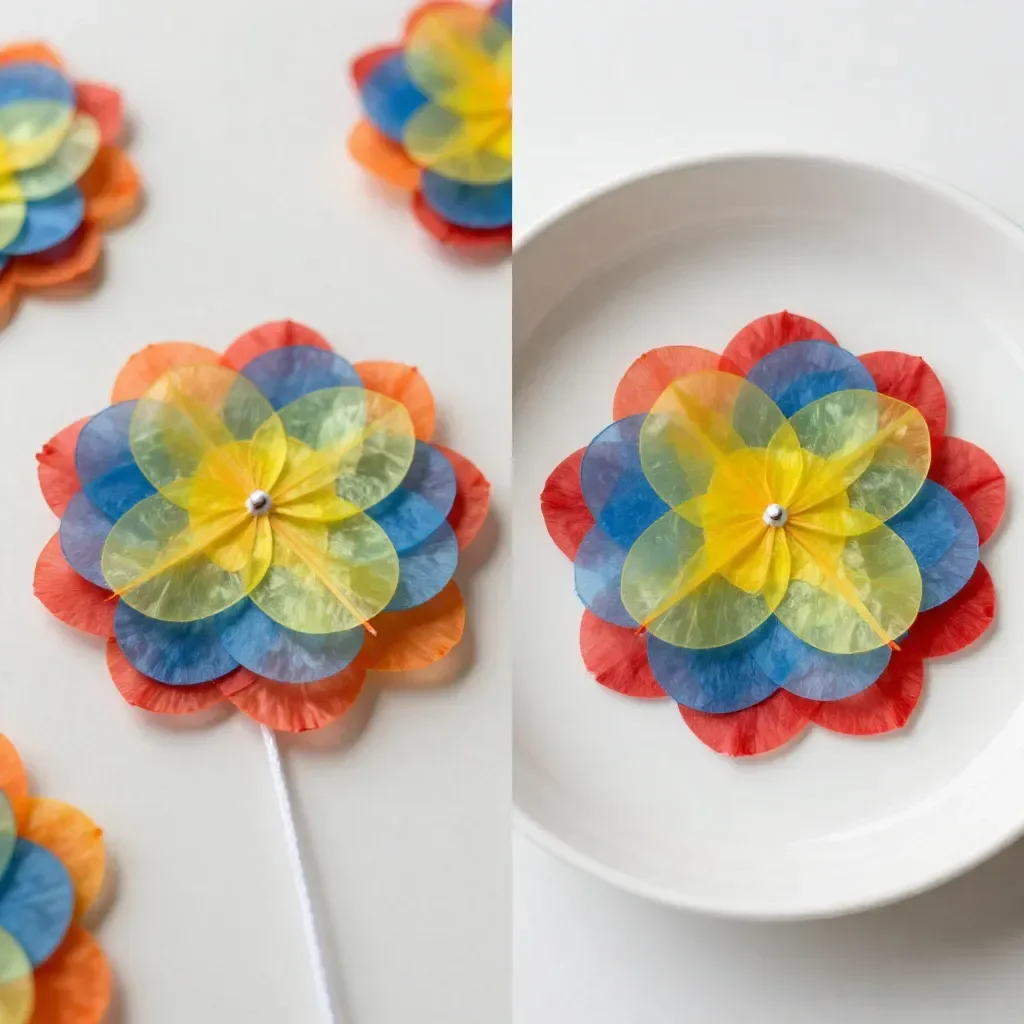
Making a fun and delightful DIY project can turn a busy afternoon into a memorable experience, especially when kids are eager to create something beautiful right away. One project that fits this vibe perfectly is the Tissue Paper Flower Suncatcher. Not only is it simple and engaging, but it also allows for a splash of creativity with colors and designs. As your children watch their creations come to life in the sunlight, they’ll enjoy a sense of accomplishment that makes even a last-minute crafting idea worthwhile. You may also find Beautiful Bioplastic Suncatchers Flowers useful.
Why You’ll Love Making Tissue Paper Flower Suncatcher
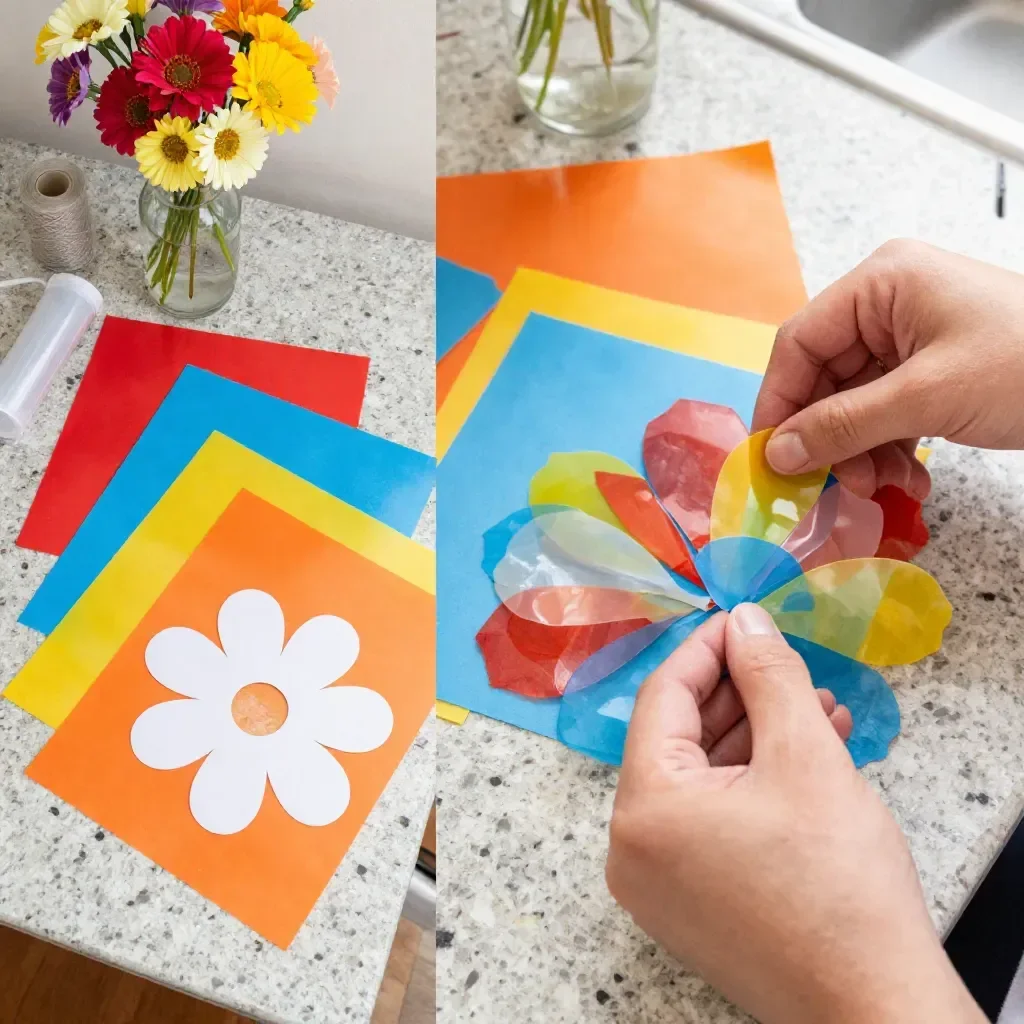
This Tissue Paper Flower Suncatcher project brings together creativity and practicality in a way that fits seamlessly into real life. It requires minimal preparation and uses easily accessible materials that you might already have at home. The activity is adaptable, so it works well whether you have a few minutes or a full afternoon ahead. Plus, younger children can assist with the process while older kids take the lead. This makes it a fantastic family project, fostering teamwork and interaction. You may also find Bioplastic Suncatchers Natural Flowers useful.
A Quick Look Before You Begin
Creating tissue paper flower suncatchers is an enjoyable endeavor that can be completed in about 30 minutes to an hour, depending on how elaborate the designs get. The setup is straightforward: gather your materials, and you can work on a clean surface like a dining table or kitchen counter. This project can be messy but is easily manageable with a quick cleanup afterward — perfect for busy parents. You may also find Bioplastic Suncatchers Easy Recipe useful.
Materials You’ll Need
To get started with this delightful DIY, you will need the following materials: You may also find Bold Color Bioplastic Suncatchers useful.
- Clear contact paper: This will serve as the base for your flowers. It’s a common household item and perfect for sticky projects.
- Colored tissue: Use a variety of colors to create vibrant flowers. This is also budget-friendly and can be found at most craft stores.
- Flower template: You can easily draw these or print them out. Having a template helps kids cut out shapes more neatly.
- String: This will be used for hanging your finished suncatchers. It’s optional, but it adds a nice touch when you show off the final product.
With these materials at hand, you’re set to start making your Tissue Paper Flower Suncatchers!
Step-by-Step Directions
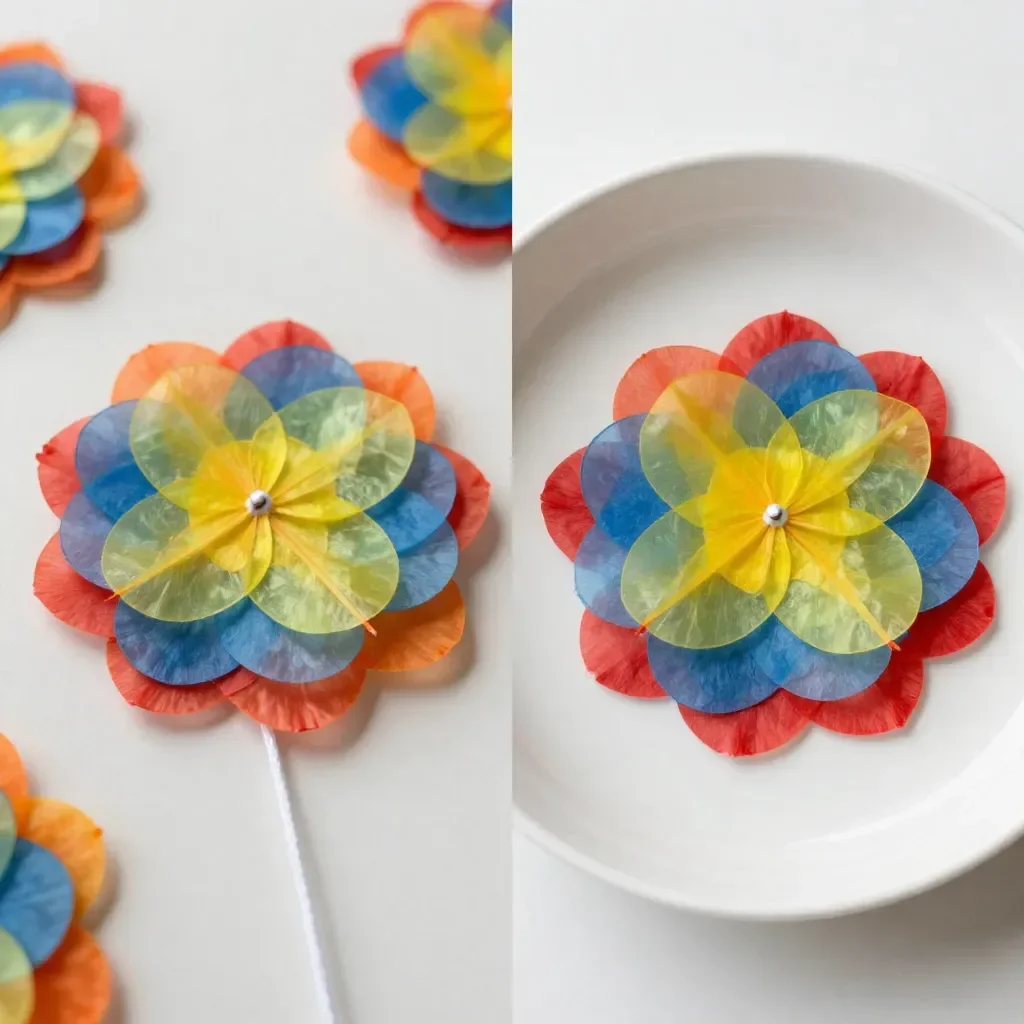
- Start by peeling back a piece of contact paper; this will be the base for your flowers. Make sure the sticky side is facing up.
- Gently press the colorful tissue flower shapes onto the sticky side. Mix and match your colors for more fun! Let your kids explore their creativity.
- Once you’ve arranged your flowers, seal them with another sheet of contact paper to keep everything in place securely.
- Carefully cut around the flower shapes, leaving a small border. This border enhances their look and makes them easier to handle.
- Finally, use string to hang your beautiful suncatchers in a bright window, where they can catch the light and showcase their colors.
The Learning Behind This DIY
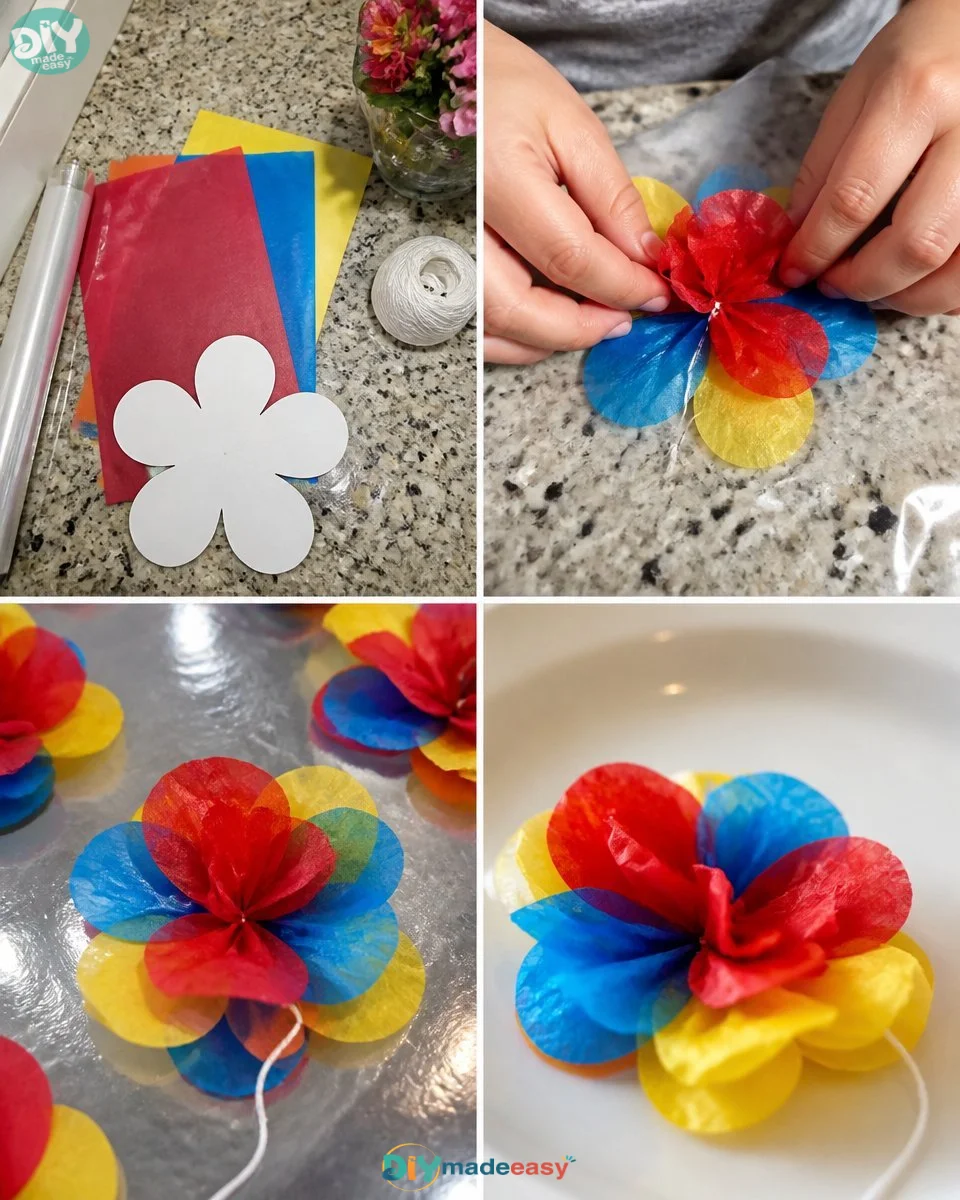
Making Tissue Paper Flower Suncatchers allows children to practice significant skills while having fun. Beyond the creative expression, they develop fine motor skills through cutting and arranging the paper. Additionally, they learn about cause and effect—seeing how light interacts with color and shape—and coordination as they create their designs. It’s a fantastic opportunity for kids to learn in a relaxed environment without the pressure of perfection.
Troubleshooting Common Issues
Sometimes things don’t go as planned. If the tissue paper tears while cutting, it may be helpful to layer the paper slightly before cutting. If the contact paper isn’t sticky enough, ensure it’s applied correctly. And remember, the end result doesn’t have to be perfect—creativity thrives in imperfection! If you notice some uneven edges, a bit of trimming can disguise these easily.
Easy Variations to Try
If you want to switch things up with your suncatchers, consider these options:
- Introduce seasonal themes like autumn leaves or holiday shapes.
- Replace the tissue paper with materials like dried flowers or leaves for a natural look.
- Add glitter to parts of the design for a sparkling effect.
- Experiment with different shapes beyond flowers, like stars or hearts to diversify the suncatcher designs.
Storing or Reusing This Project
Cleaning up is as easy as stacking your materials to use again later. If you want to reuse your supplies, keep the unused tissue paper stored flat to prevent it from wrinkling. The suncatchers can be displayed in various locations around the home or tucked away with other craft projects until it’s time to bring them out again.
FAQs About Tissue Paper Flower Suncatcher
Will this project be too messy for young children?
Many parents worry about messes, but the project is quite manageable. Simply cover the table with paper or a cloth for easy cleanup.Is it safe for younger children to use scissors?
Safety first! Ensure younger children are supervised while using scissors, and consider using safety scissors for added safety.Can we substitute the colored tissue if we don’t have any?
Absolutely! You can use other colored papers, like wrapping paper or construction paper, as an alternative.What if I want to store the suncatchers?
They can be gently stored flat between sheets of paper to avoid damage.Will the colors fade over time?
Yes, sunlight can fade colors, but it’s a natural part of the process. Rotate the suncatchers to different windows every few months to even out the fading.
Conclusion
Making Tissue Paper Flower Suncatchers is a fulfilling project that brings color and light into your home while allowing children to explore their creative sides. If you’re looking for more flower-related crafting ideas, check out this guide to making a beautiful flower suncatcher for kids. Additionally, you can find more creative concepts in these easy DIY tissue paper flower suncatchers. Enjoy creating!
PrintTissue Paper Flower Suncatcher
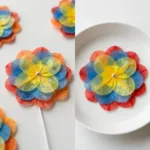
A fun and engaging DIY project where kids create beautiful tissue paper flower suncatchers to brighten up any window.
- Prep Time: 15 minutes
- Cook Time: 30 minutes
- Total Time: 45 minutes
- Yield: Variable, depending on design
- Category: Craft
- Method: DIY Crafting
- Cuisine: N/A
- Diet: N/A
Ingredients
- Clear contact paper
- Colored tissue paper
- Flower template
- String (optional)
Instructions
- Peel back a piece of contact paper; make sure the sticky side is facing up.
- Press the colorful tissue flower shapes onto the sticky side.
- Seal the arrangement with another sheet of contact paper.
- Cut around the flower shapes, leaving a small border.
- Hang your suncatchers in a bright window using string.
Notes
Encourage kids to explore their creativity with colors and designs. The end result doesn’t have to be perfect – creativity thrives in imperfection.
Nutrition
- Serving Size: 1 project
- Calories: 0
- Sugar: 0g
- Sodium: 0mg
- Fat: 0g
- Saturated Fat: 0g
- Unsaturated Fat: 0g
- Trans Fat: 0g
- Carbohydrates: 0g
- Fiber: 0g
- Protein: 0g
- Cholesterol: 0mg