

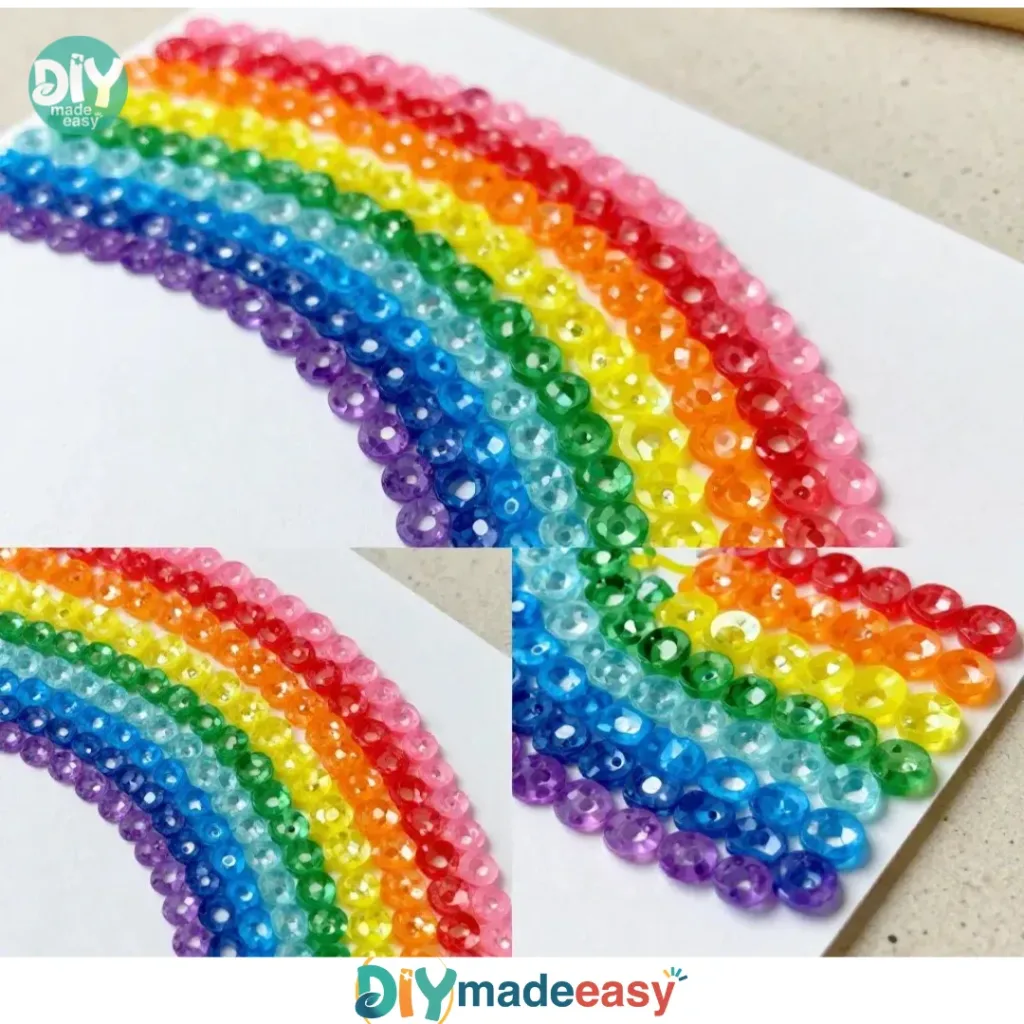
Sugar Water Art Magic is a delightful project perfect for a busy afternoon when you and your kids want to create something beautiful with minimal fuss. Picture this: the kids running in, eager to get their hands colorful, and you have both granulated sugar and water. With just a few extra supplies, you can transform these simple ingredients into a magical artistic experience. This project is the ideal blend of creativity and low-prep setup, specifically designed to help you stress less and enjoy more. You may also find Colored Sugar Water Treats useful.
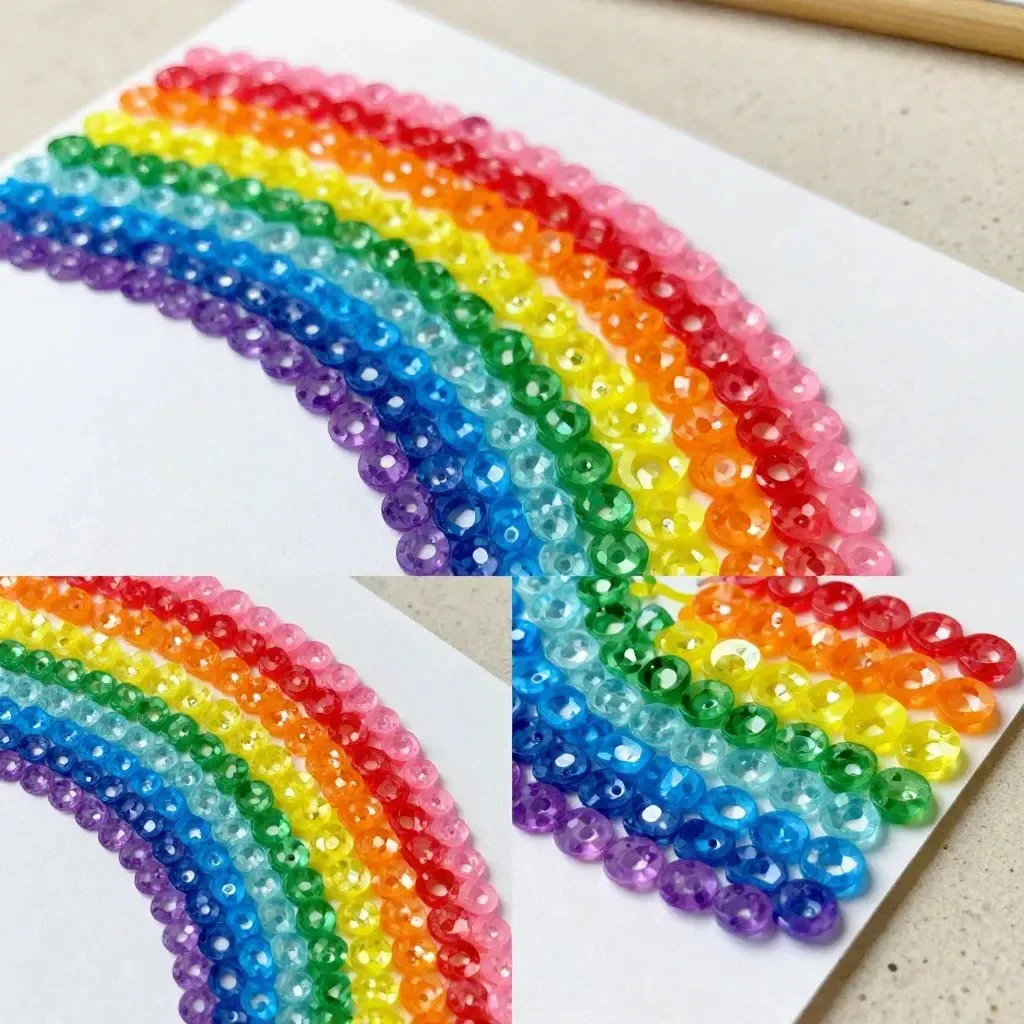
Why You’ll Love Making Sugar Water Art Magic
You may also find Build Heart Stem Challenge Affordable useful.
This DIY project is truly appealing for several reasons. It requires minimal preparation, making it perfect for spontaneous creative moments. With just granulated sugar, water, and food coloring, you set the stage for limitless artistic expression. Also, you don’t need to worry about complex procedures or rare materials. The simplicity of mixing, applying, and letting the colors dance will engage even the youngest of artists. You may also find Cotton Ball Water Bead Squishies useful.
You’ll find this project to be reliable, as the sugar-water mixture dries beautifully, leaving behind vibrant colors that children will be excited to display. Plus, it fits seamlessly into real-life schedules. Whether it’s a quick weekend activity or a way to keep them occupied after school, Sugar Water Art Magic makes it all manageable. You may also find Creating Eco Friendly Plant Art useful.
A Quick Look Before You Begin
Setting up for Sugar Water Art Magic is as easy as it gets. In around 30 minutes, you can have gorgeous artwork ready to dry. First, gather your supplies and make sure you have a tidy workspace. The cleanup is minimal, which is extra appealing. You might want to cover surfaces with newspaper or a plastic sheet, especially if you’re working with young children who sometimes spill. This assurance allows everyone to focus on creating without worrying about the mess.
You’ll only need a supervising adult for safety with the food coloring and to ensure children are using materials correctly. This hands-on activity encourages cooperation and creativity without requiring much time or effort.
Materials You’ll Need
- Granulated sugar
- Water
- Food coloring or liquid watercolors
- Shallow trays or large sheets of watercolor paper
- Brushes or droppers
These common household items are not only budget-friendly but help you craft beauty from simplicity. The food coloring can also be swapped for liquid watercolors that you may already have at home, keeping the process versatile.
Step-by-Step Directions
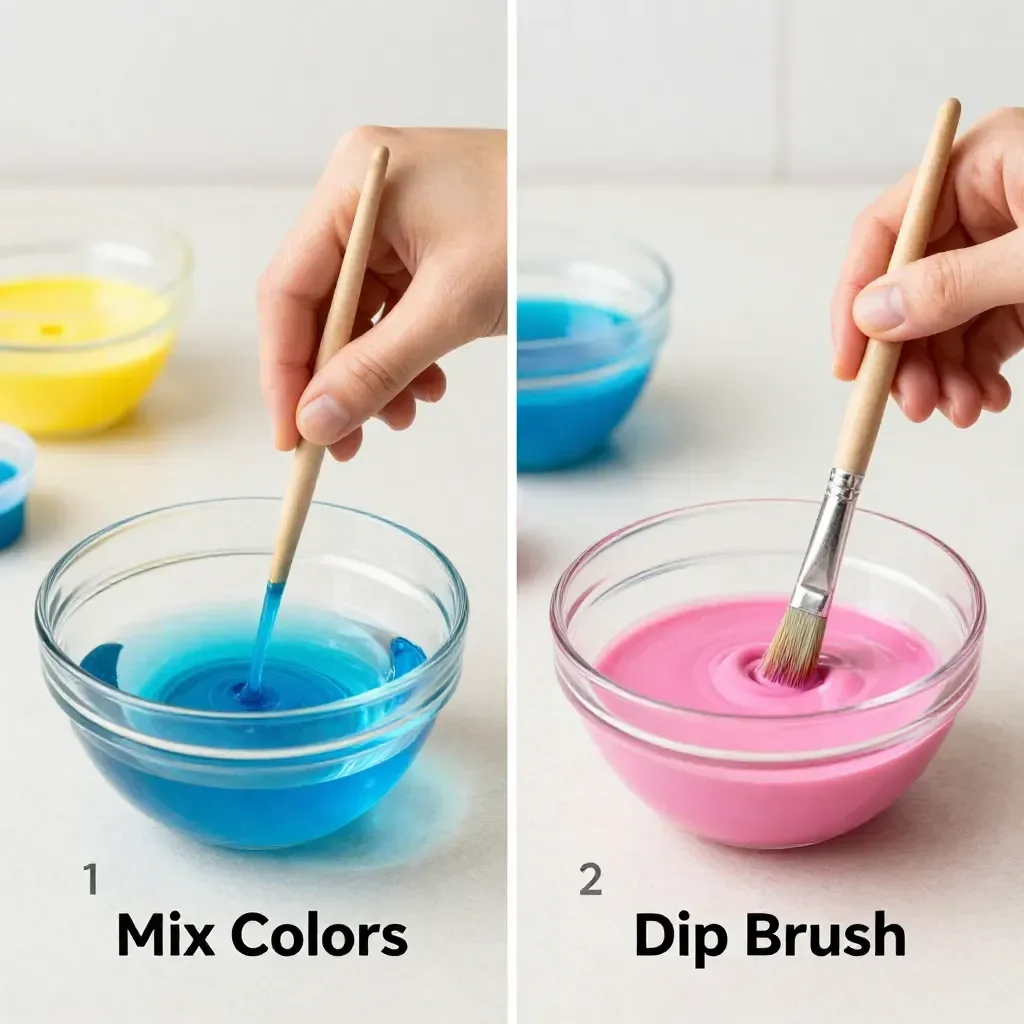
In a mixing bowl, combine sugar and water at a 1:1 ratio. Stir until completely dissolved. The solution should feel silky as it mixes.
If you want to use multiple colors, divide the sugar-water mixture into smaller containers. This allows for a variety of colors to be created.
Add a few drops of food coloring or liquid watercolor to each container. Take a moment to observe how the colors transform the mixture from plain to vibrant.
Using a brush or dropper, apply the colored solution onto your chosen surface. As you paint, allow yourself to marvel at how the colors interact with the paper.
Experiment by overlapping colors or letting them run into each other. Observe how beautiful patterns emerge in a lovely dance on your paper.
Once you are satisfied with your design, set it aside to dry completely. The transformation from liquid to art is part of the experience.
When dry, you can gently frame your artwork or simply display it as is, allowing this unique creation to brighten up your home.
The Learning Behind This DIY
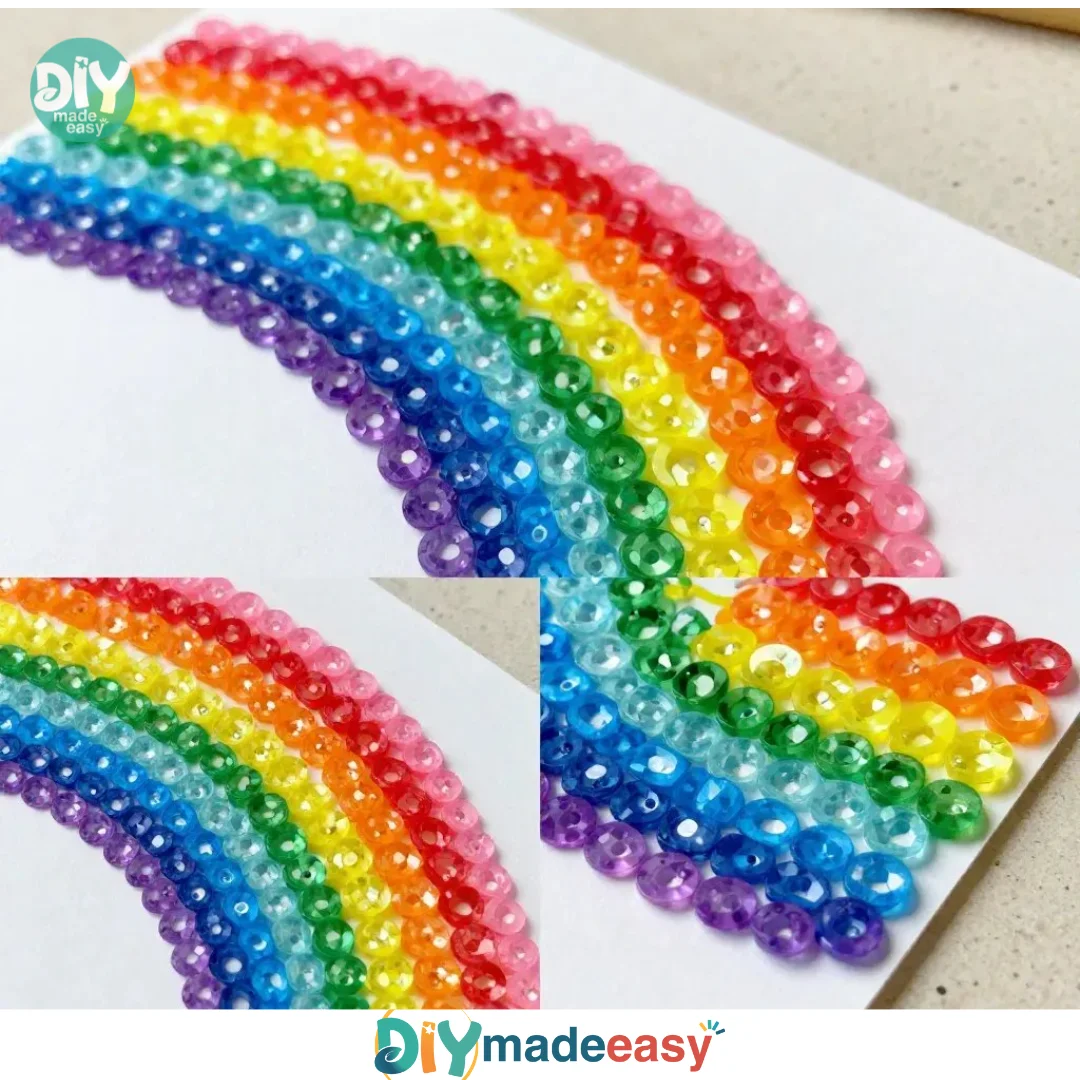
Sugar Water Art Magic isn’t just a fun art project; it also teaches valuable lessons. Kids learn basic science concepts through their observation of how colors mix and how liquids turn into solid forms upon drying. The creative process promotes fine motor skills and coordination as they manipulate brushes and droppers, helping them develop important hand-eye coordination.
Additionally, this activity highlights the cause-and-effect relationships inherent in art-making. Kids see firsthand how the addition of a single drop of color can change an entire mixture, allowing them to reflect on creativity’s power.
Troubleshooting Common Issues
Sometimes, the DIY process doesn’t go as planned. If the colors seem dull or not as vibrant as expected, consider the food coloring’s concentration. More drops can intensify the hues. If spills happen, don’t stress; this adds to the learning process. A quick wipe-up with a damp cloth can make for easy cleanup.
If the sugar water mixture doesn’t dissolve completely, make sure you’re stirring adequately. A little patience goes a long way!
Easy Variations to Try
Explore the art of sugar water even further with these simple variations:
- Try using different types of paper for contrasting results.
- Add salt to the mix for an interesting textural effect.
- Instead of standard colors, use themed palettes for seasonal or special events like Halloween or birthdays.
- For older kids, introduce glitter to their creations for a sparkly twist.
These variations invite more exploration and creativity, ensuring every project feels unique.
Storing or Reusing This Project
Once the kids have completed their artwork, you might wonder what to do next. If you choose to frame the final design, you create a lasting memory. Alternatively, the shallow trays and excess sugar-water mixture can easily be cleaned and reused for future projects.
Make sure to store any leftover mixtures in airtight containers to keep ingredients fresh for the next art session. Remember to clean up any spills promptly to prevent staining.
FAQs About Sugar Water Art Magic
What should I do if my child makes a mess?
Mess is part of creativity! Have a damp cloth handy for quick clean-ups, and lay down newspapers or a plastic sheet to protect surfaces.
Is this safe for younger kids?
Yes, with supervision, this project is safe for kids of all ages. Just monitor their use of dropper and brushes for safety.
What if I don’t have food coloring?
You can use liquid watercolors instead, which may yield similarly vibrant results.
Can we store the completed art pieces?
Absolutely! Once the art is dry, you can frame it or simply let it be a decorative piece in your home.
How long does the artwork take to dry?
It usually takes a few hours to dry completely, depending on the thickness of the paint.
Conclusion
In the end, Sugar Water Art Magic is not only a delightful way for children to express themselves but also a chance for you, as the adult, to engage in the joy of creating alongside them. This project can inspire creativity and curiosity in an easy, manageable way. To further explore creative ideas, check out the magical experience of water kefir in this piece about The magic of water kefir. You may also enjoy reading about a recent reunion of talented individuals like Rebecca Sugar and SVA alumni. Happy crafting!
PrintSugar Water Art Magic
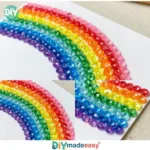
A delightful DIY art project using granulated sugar, water, and food coloring to create beautiful artwork with kids.
- Prep Time: 10 minutes
- Cook Time: 30 minutes
- Total Time: 40 minutes
- Yield: Varies based on project size
- Category: Craft
- Method: DIY Art Project
- Cuisine: N/A
- Diet: N/A
Ingredients
- Granulated sugar
- Water
- Food coloring or liquid watercolors
- Shallow trays or large sheets of watercolor paper
- Brushes or droppers
Instructions
- Combine sugar and water in a mixing bowl at a 1:1 ratio and stir until completely dissolved.
- Divide the mixture into smaller containers if using multiple colors.
- Add drops of food coloring to each container and observe the transformation.
- Apply the colored solution onto your chosen surface using a brush or dropper.
- Experiment by overlapping colors and letting them run into each other.
- Set the artwork aside to dry completely.
- Frame or display your dried artwork.
Notes
Mess is part of creativity! Lay down newspapers or plastic sheets for protection and have a damp cloth handy for quick clean-ups.
Nutrition
- Serving Size: 1 project
- Calories: N/A
- Sugar: N/A
- Sodium: N/A
- Fat: N/A
- Saturated Fat: N/A
- Unsaturated Fat: N/A
- Trans Fat: N/A
- Carbohydrates: N/A
- Fiber: N/A
- Protein: N/A
- Cholesterol: N/A