

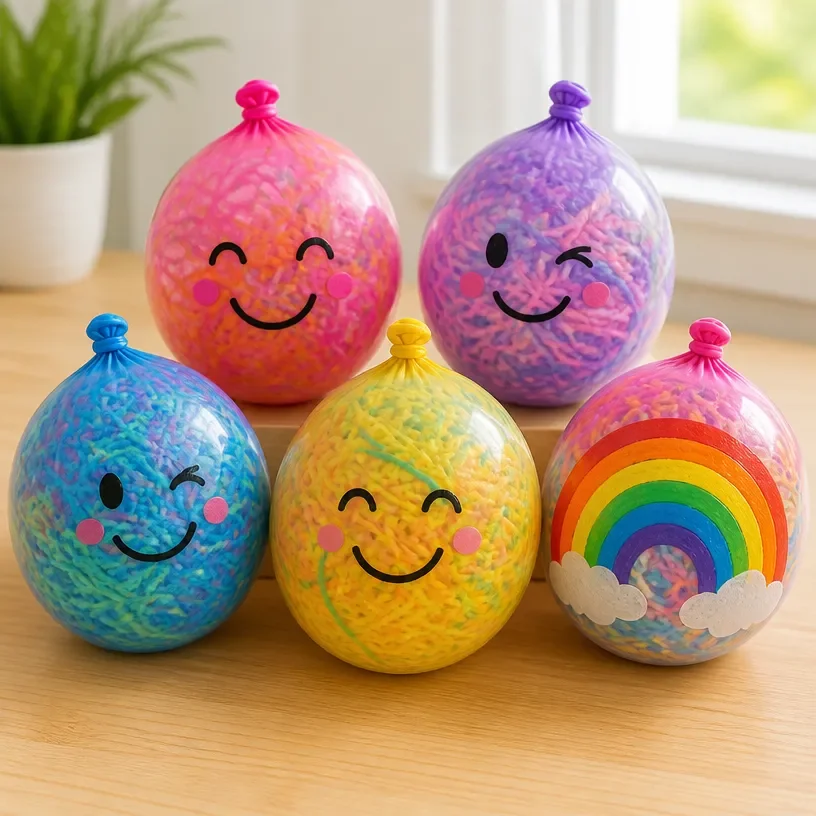
The sun shines brightly through the window, coaxing your kids into thinking about fun activities for the afternoon. You glance around and find a stash of crafting materials lying about, and you know you need something engaging yet simple to keep them busy. This is where the DIY Rainbow Yarn Squishy Balloons: Craft Tutorial steps in as the perfect solution. Not only is this project easy to set up, but it also offers a delightful way for your children to create something colorful while practicing their fine motor skills. You may also find Diy Rainbow Pom Pom Caterpillar Garden Craft Tutorial useful.
Why This DIY Rainbow Yarn Squishy Balloons: Craft Tutorial Works So Well
You may also find Diy Butterfly Craft Rainbow Magic useful.
The beauty of the DIY Rainbow Yarn Squishy Balloons lies in its simplicity and accessibility. You won’t need to scramble for complex materials or tools, which makes it a low-prep activity to fit seamlessly into your busy schedule. This craft does not rely heavily on adult supervision, allowing the kids freedom while ensuring their creativity flourishes. It’s designed to be straightforward and engaging, providing a reliable outcome that even young creators can feel proud of. You may also find Diy Handprint Paper Lilies Craft Tutorial useful.
A Quick Look Before You Begin
Before you dive in, here’s a quick overview of what to expect from this project. You can complete the DIY Rainbow Yarn Squishy Balloons in roughly 30 to 45 minutes, which is perfect for a quick afternoon session. The setup is minimal, and the mess level is quite manageable, making cleanup a breeze. With a little adult involvement to help supervise the cutting and glue aspects, kids can largely take the lead. You may also find Diy Melted Crayon Rainbow Heart Suncatcher Tutorial useful.
Materials You’ll Need
For this DIY project, gather the following materials:
- Balloons (common household item)
- Yarn in various colors (budget-friendly)
- Scissors (for adults only)
- Craft glue (easy to find)
- Small bowls (for holding small amounts of glue)
This collection provides everything you need to make your squishy balloons and fosters creativity. The fun comes not only from crafting but also from choosing which colors to use.
Step-by-Step Directions
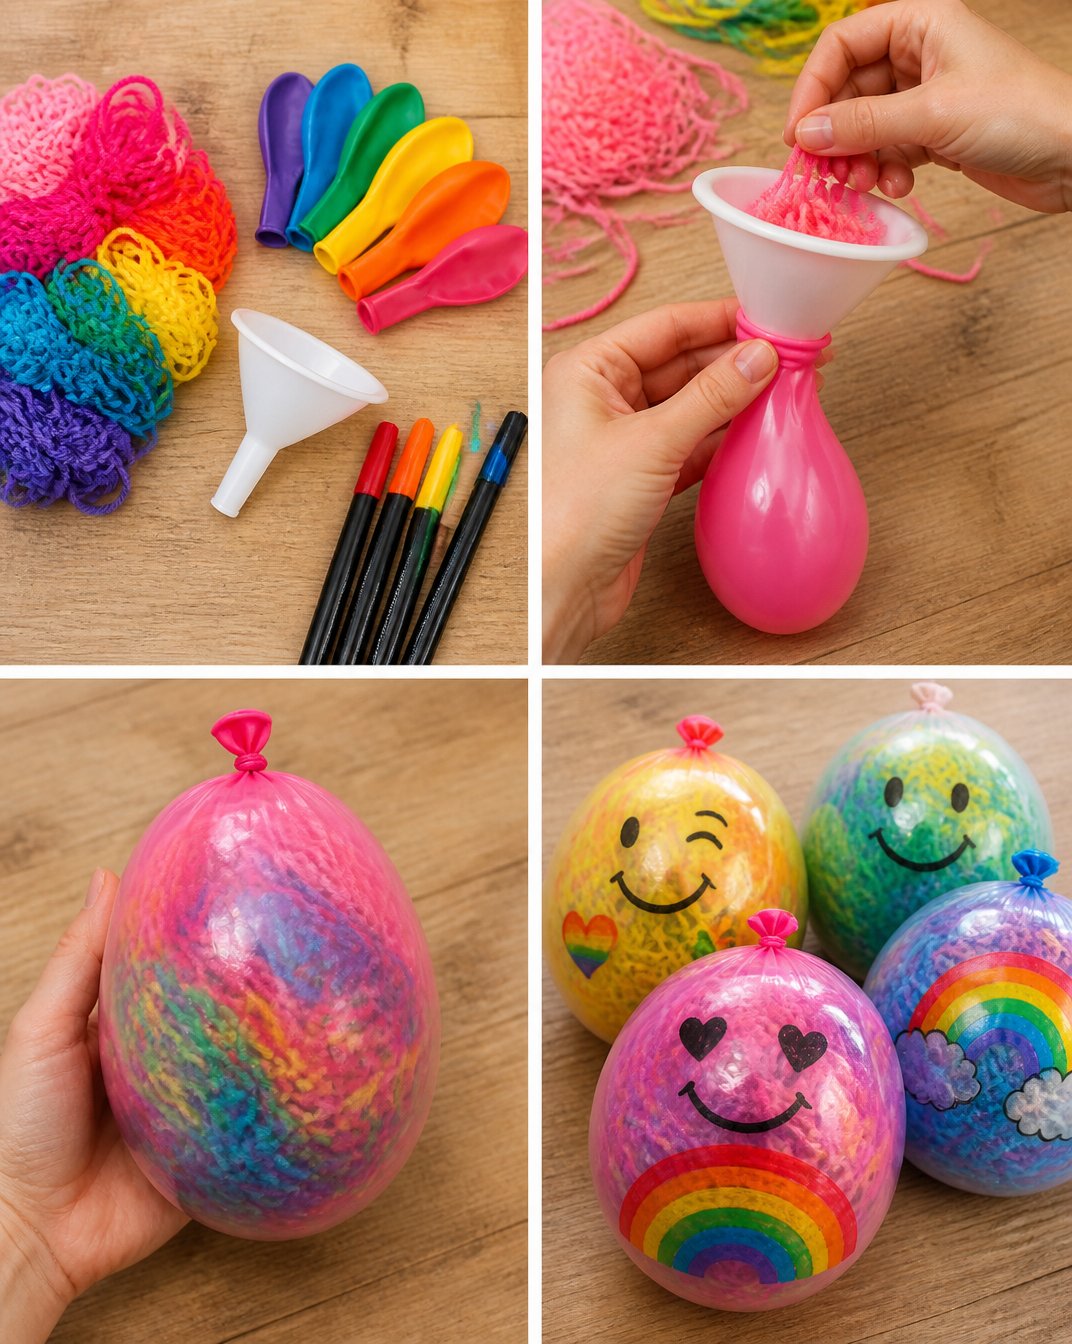
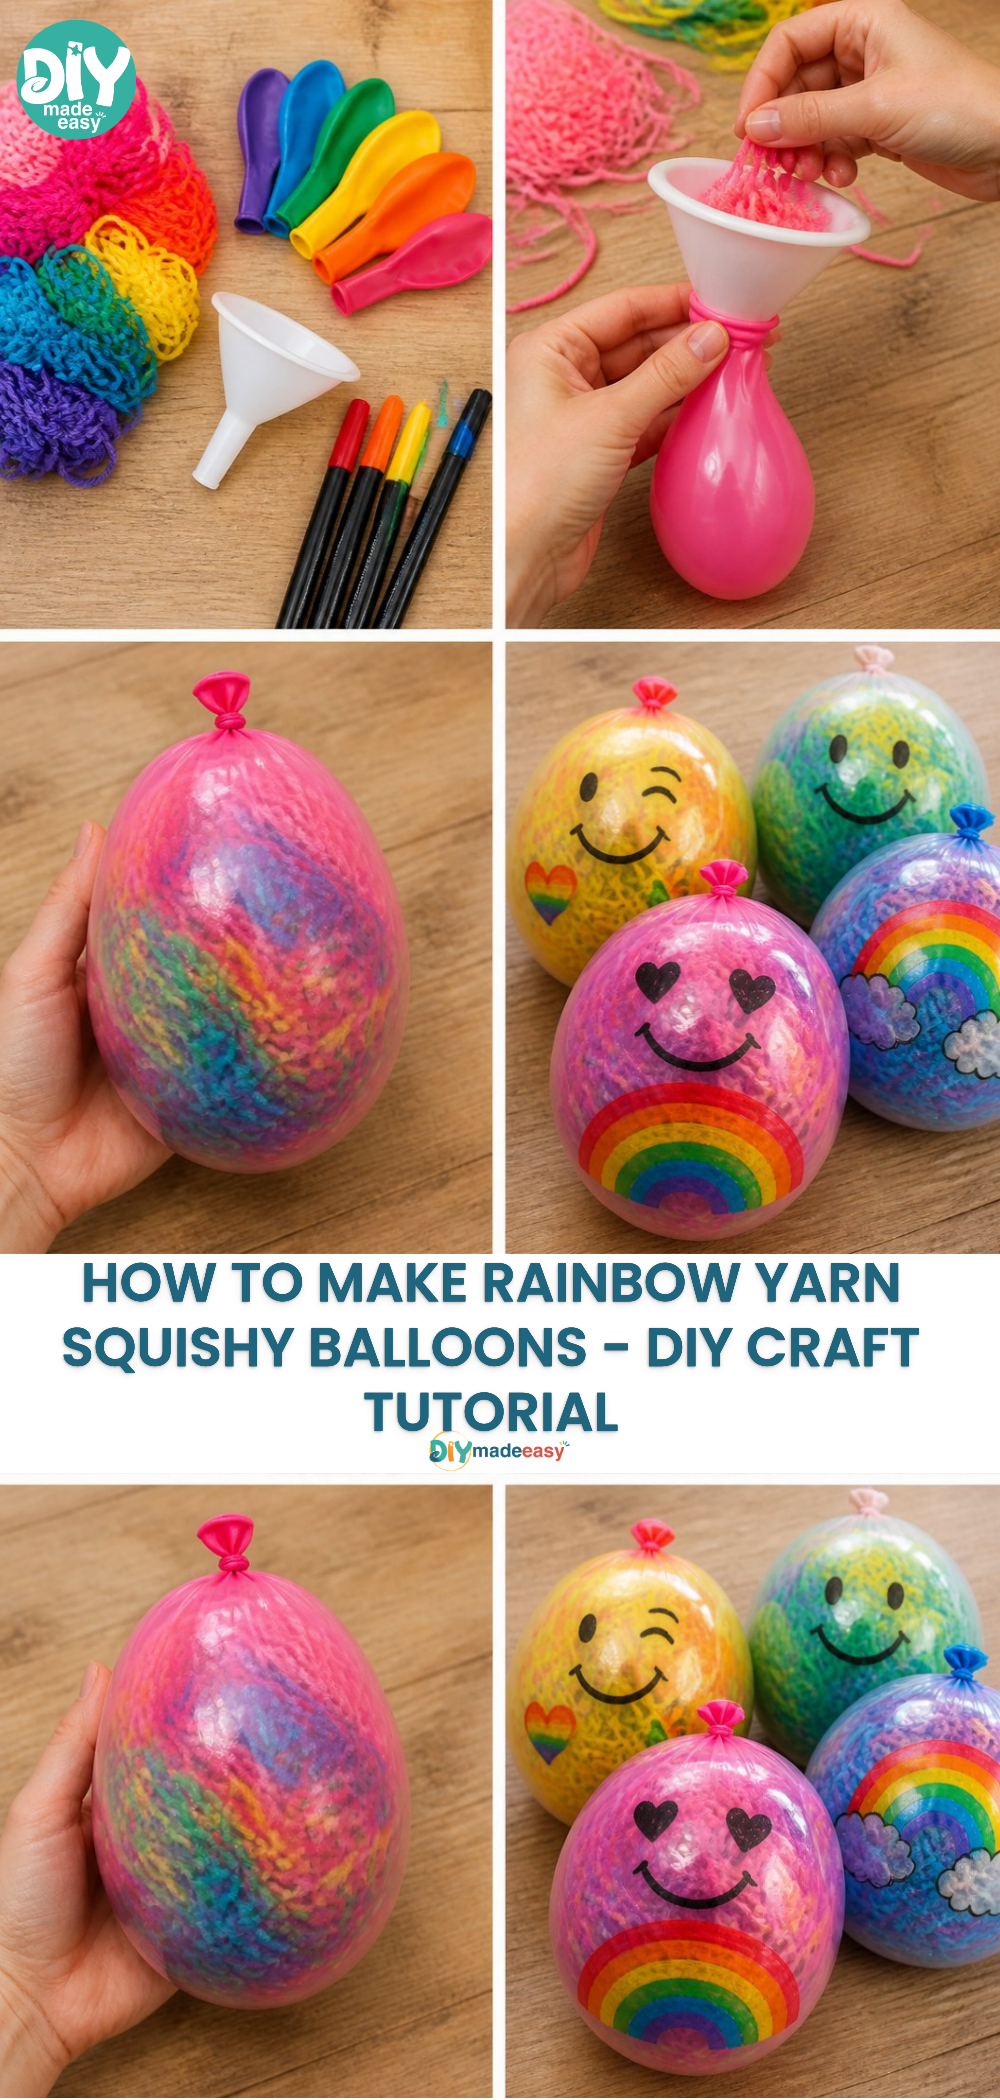
Follow these simple steps to create your DIY Rainbow Yarn Squishy Balloons.
Prepare Balloons: Start by inflating the balloons to your desired size. You can even let your children decide how big or small they want their squishy balls to be.
Cut Yarn: Measure and cut pieces of yarn in various colors. Each piece should be around 12-15 inches long, but kids can choose their lengths based on their preferences.
Apply Glue: Use a small bowl to pour a bit of craft glue. Help your children coat a section of the balloon with the glue using their fingers. This step may get a bit slimy, but that’s all part of the fun!
Wrap Yarn: Show your kids how to select a piece of yarn and wrap it around the glued section of the balloon. Encourage them to overlap the yarn pieces for a colorful effect.
Add More Colors: Repeat the gluing and wrapping process with additional yarn pieces in different colors. This ensures a vibrant, rainbow effect.
Allow to Dry: Once the balloon is completely covered with yarn, allow it to dry for a few hours or overnight. You’ll see how the yarn stiffens as it dries.
Pop the Balloon: Once dry, gently pop the balloon, revealing a squishy, colorful orb that’s also a great stress-reliever.
Playtime: Encourage the kids to squish and play with their creations. They can use them for tossing games, sensory play, or simply as a colorful addition to their toy collection.
The Learning Behind This DIY
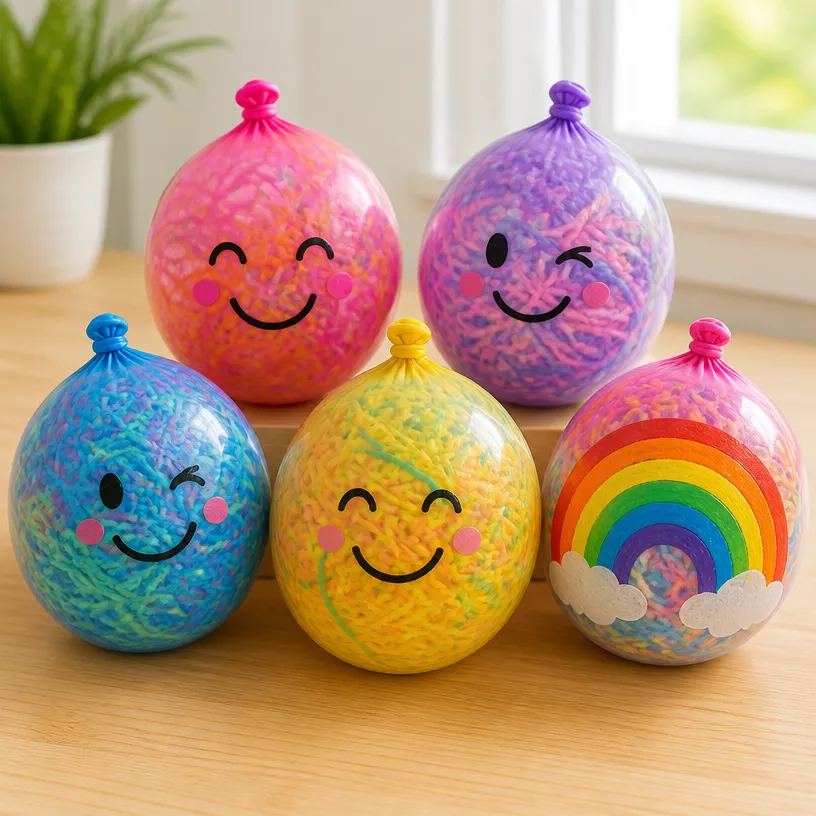
Not only is crafting a fun activity, but it also offers valuable lessons. While kids wrap the yarn, they develop fine motor skills and hand-eye coordination. They learn cause and effect as they see how the glue works to hold the yarn in place. Additionally, they gain an understanding of colors and patterns, fostering creativity and spatial awareness as they strategically design their squishy balloons.
Troubleshooting Common Issues
If something doesn’t go as planned during this project, don’t fret! Here are a few common issues and quick fixes:
- Messy Glue: If your kids get glue all over, allow it to dry, and it will peel off easily from tables and hands.
- Yarn Slipping: If yarn isn’t sticking well, add a bit more glue and hold it in place until it grips.
- Balloon Not Deflating: Some balloons may pop instead of deflate. This is normal, but if this occurs, encourage the kids to make another balloon with a different design!
Easy Variations to Try
You can make this project your own with some simple variations:
- Seasonal Themes: Use colors that represent the seasons, like pastels for spring or deep reds and golds for autumn.
- Shape Instead of Balloons: Experiment with other balloon shapes, perhaps creating animal or heart shapes.
- Use Twine: Instead of yarn, try using twine for a different texture that may be easier to work with for older kids.
Storing or Reusing This Project
After celebrating your creative session, consider how to store or reuse your squishy balloons. They can be kept on display as colorful decorations, or your children can reuse them in play. If they’re looking a bit worse for wear, they can also be rewrapped with more yarn, which renews their appearance and fun.
FAQs About DIY Rainbow Yarn Squishy Balloons: Craft Tutorial
What if I don’t have the right colors of yarn at home?
No worries! Feel free to use whatever colors you have on hand. This is a great way for kids to mix colors in truly creative ways.
How messy is this project?
While there may be some glue spillage, it typically cleans up easily with a damp cloth. Just cover your work area with newspaper to catch any drips.
Is this project safe for younger kids?
Supervision is advised when using scissors or applying glue. However, older toddlers can participate with guidance on safe handling.
How long does it take to dry?
Depending on humidity, it usually takes a few hours to overnight for the glue to fully harden. Plan for some drying time after the wrapping is complete.
A Final Helpful Note
Crafting provides a great opportunity for kids to explore their creativity with confidence. Remember, flexibility is key; if something doesn’t turn out as expected or if you want to try a different color scheme, embrace the process! The important part is to enjoy the making moment together.
Conclusion
Making DIY Rainbow Yarn Squishy Balloons can be a delightful addition to your crafty afternoon. These projects not only cater to creativity but also yield sturdy, fun toys that stimulate playtime. If you enjoyed this project and are looking for more fun crafting ideas, check out Rainbow Yarn Balloon Squishies Easy DIY Craft for yet another engaging activity. Additionally, exploring how to make an Emoji Paper Squishy might inspire further creativity for your kids. Enjoy your crafting journey!
PrintDIY Rainbow Yarn Squishy Balloons
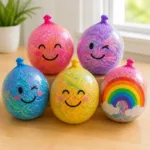
An engaging and simple craft tutorial for kids to create colorful squishy balloons using yarn and glue.
- Prep Time: 15 minutes
- Cook Time: 30 minutes
- Total Time: 45 minutes
- Yield: 2-4 squishy balloons
- Category: Craft
- Method: Crafting
- Cuisine: N/A
- Diet: N/A
Ingredients
- Balloons (common household item)
- Yarn in various colors (budget-friendly)
- Scissors (for adults only)
- Craft glue (easy to find)
- Small bowls (for holding small amounts of glue)
Instructions
- Prepare Balloons: Start by inflating the balloons to your desired size.
- Cut Yarn: Measure and cut pieces of yarn in various colors, around 12-15 inches long.
- Apply Glue: Use a small bowl to pour a bit of craft glue, and help your children coat a section of the balloon with it.
- Wrap Yarn: Show your kids how to wrap a piece of yarn around the glued section of the balloon.
- Add More Colors: Repeat the process with additional yarn pieces for a rainbow effect.
- Allow to Dry: Let the balloon dry for a few hours or overnight.
- Pop the Balloon: Gently pop the balloon to reveal the squishy orb.
- Playtime: Encourage kids to squish and play with their creations.
Notes
This craft helps improve fine motor skills and creativity in children. Adult supervision is recommended during cutting and gluing.
Nutrition
- Serving Size: 1 balloon
- Calories: 0
- Sugar: 0g
- Sodium: 0mg
- Fat: 0g
- Saturated Fat: 0g
- Unsaturated Fat: 0g
- Trans Fat: 0g
- Carbohydrates: 0g
- Fiber: 0g
- Protein: 0g
- Cholesterol: 0mg