

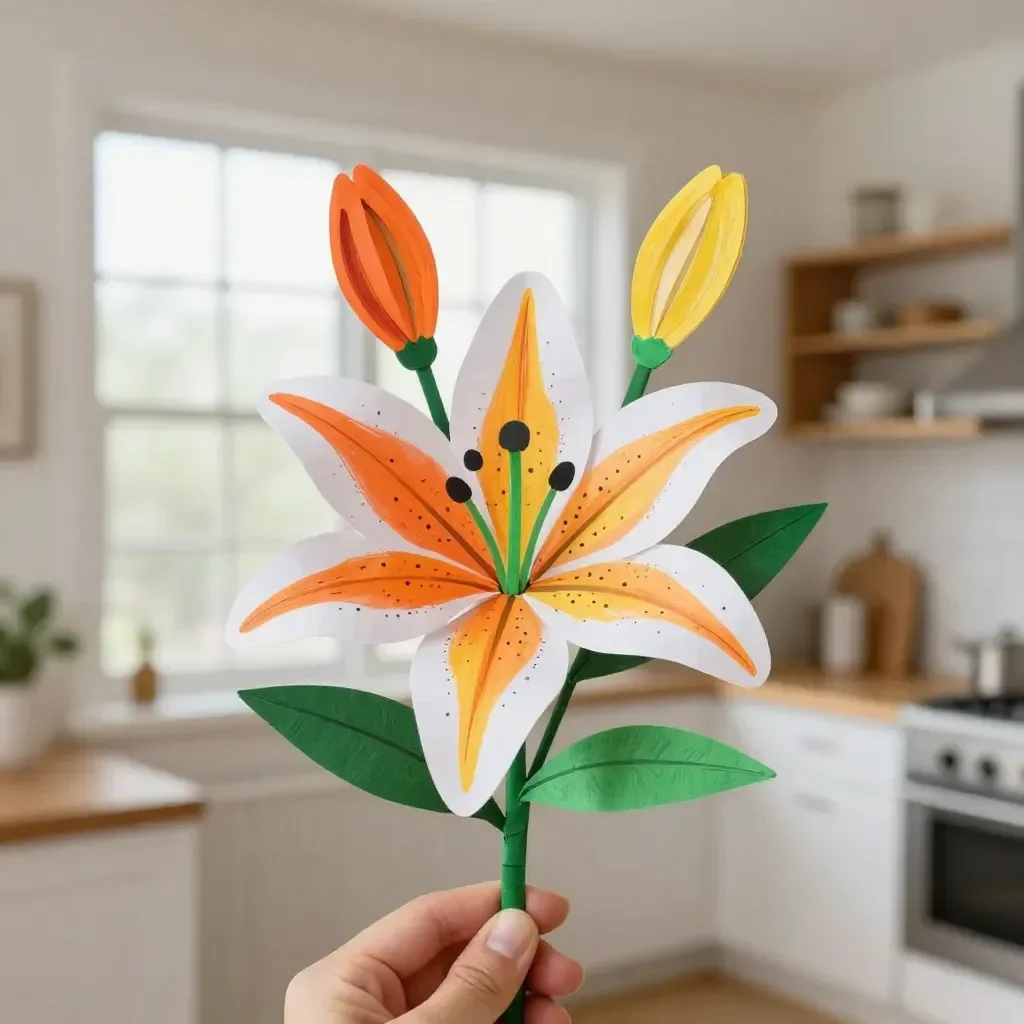
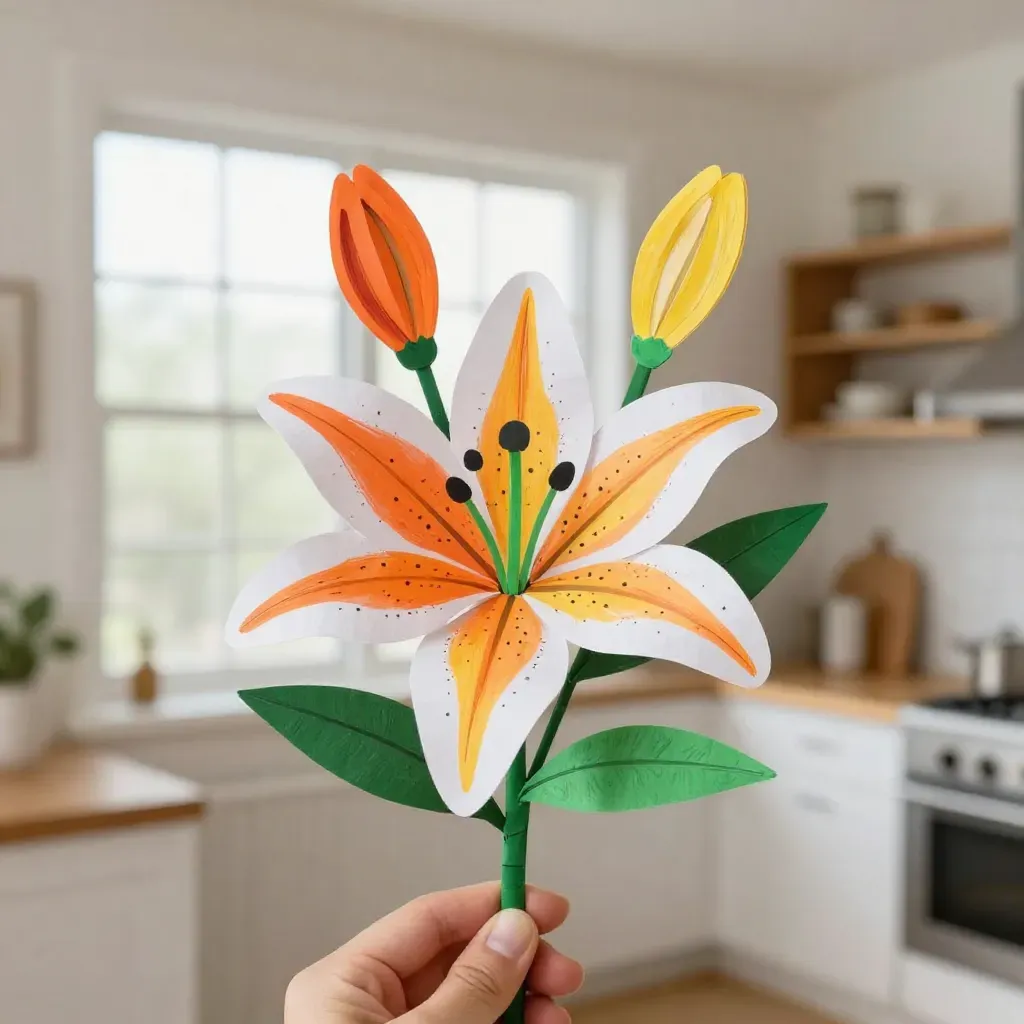
Making Handprint Paper Lilies can turn a busy afternoon into a joyful creative experience. When the kids are brimming with energy and a last-minute activity is in order, this project fits perfectly. With easy-to-manage supplies and steps, Handprint Paper Lilies provides a satisfying way to express creativity while making cherished keepsakes. It’s a fun, hands-on activity that allows everyone to engage and enjoy the process together.
Why This Handprint Paper Lilies Works So Well
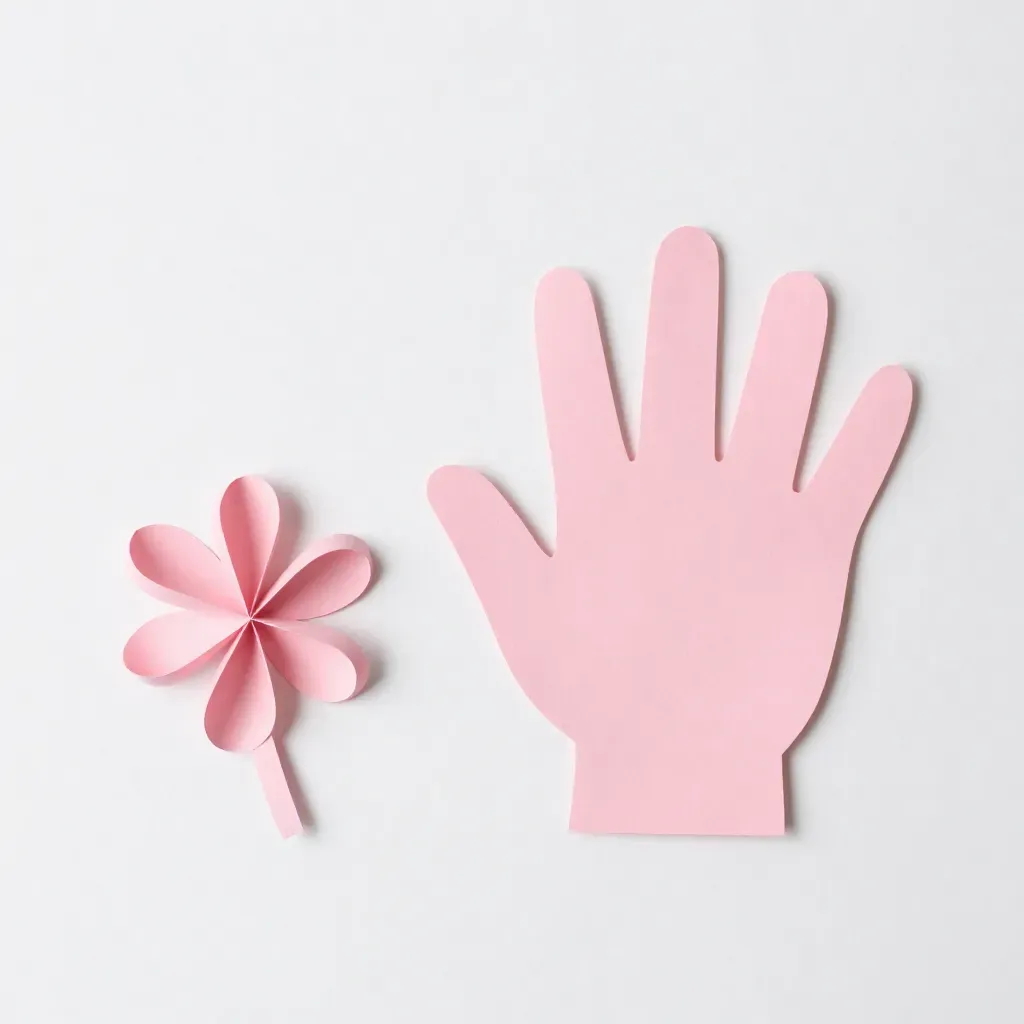
The beauty of making Handprint Paper Lilies lies in its simplicity. This project requires minimal prep work and can be done in less than an hour, making it perfect for real-life schedules. Parents can dive right in without the worry of gathering complex materials. Instead, you’ll find this project utilizes readily available items, making it budget-friendly as well. It’s reliable too; with a bit of guidance, little ones can replicate the process, leading to results that are both delightful and heartwarming. For those who enjoy easy crafts, similar art activities like making pretty wax paper sun catchers can provide even more fun.
A Quick Look Before You Begin
Crafting Handprint Paper Lilies not only engages children’s imaginations but also comes together smoothly. Expect to spend about 30–45 minutes on this project, depending on the number of lilies you want to make. Set up the crafting area with ample space, and consider laying down a protective covering for easy cleanup. The mess level is quite manageable; just some paint and paper, and adult involvement ensures everything goes as planned without feeling overwhelming.
Materials You’ll Need
- Construction paper (various colors)
- Non-toxic paint ( washable is ideal)
- Scissors (adult supervision recommended)
- Glue (a glue stick works well)
- Markers or crayons for decoration
- A small plate for paint
- An old newspaper or tablecloth for protection from spills
Each of these supplies can usually be found at home or a local store, making it easy to gather everything you need in no time.
Step-by-Step Directions
- Prepare the workspace: Lay down an old newspaper or cloth to catch any paint spills. Have all materials within reach.
- Paint the hand: Choose a bright color of non-toxic paint and use a small plate to spread it evenly. Dip the palm of one hand into the paint, ensuring an even coat.
- Press hand onto paper: Firmly press your painted hand onto a piece of construction paper, fingers facing outwards. This will create the flower shape. Repeat with the other hand, if desired, to add more blooms.
- Let it dry: Allow the painted handprints to dry completely before proceeding. This may take about 10-15 minutes. Use this time to clean up the workspace a bit.
- Cut out the flowers: Once dry, carefully cut around the handprint(s), leaving a little space at the bottom to form the flower’s stem.
- Make the stems: Use green construction paper to cut out long, thin strips to serve as stems. Adhere them to the bottom of your handprint flowers using glue.
- Add decoration: Finally, use markers or crayons to embellish your flowers with details like petals, leaves, or even fun patterns.
- Display your art: Once everything is dry, find the perfect spot to showcase your handmade lilies, whether hung on the fridge or adorning a table space.
The Learning Behind This DIY

Making Handprint Paper Lilies is not just about creating something beautiful; it’s an opportunity for children to practice a variety of skills. This activity encourages fine motor development through the cutting and gluing stages. Additionally, the process of painting helps with sensory exploration, letting kids feel the paint’s texture while engaging them creatively. Understanding cause and effect is also a natural part of the crafting process; they get to see how paint creates color and transforms ordinary paper into vibrant floral artwork.
Troubleshooting Common Issues
If at any point something seems off, don’t worry. A common issue arises when paint doesn’t stick well; this could be due to using too much or too little. If you find the paint isn’t covering the hand adequately, a second coat can help. Ensure handprints are made with adequate pressure for better results. For those who find the lilies are turning out too messy, consider letting the children experiment with aspects like finger painting within the flower’s boundaries. It adds a fun twist!
Easy Variations to Try
- Seasonal themes: Use different colors to create lilies for each season (pastel colors for spring, warm tones for fall).
- Layered flowers: Try making multiple handprints in varying colors and stacking them to create a layered look.
- Lily accessories: Add a butterfly or ladybug cutouts on the flowers for an extra cute touch.
- Gift ideas: Turn the flowers into cards for family members by adding a note on the back.
Storing or Reusing This Project
After your creative session, think about how to store or reuse your materials. You can keep leftover paint in a sealed container for future projects. Make sure to neatly fold the construction paper and store it in a dedicated craft drawer. If your handprint masterpieces are still intact, consider framing them for display, which also serves as a lovely memento of the activity.
FAQs About Handprint Paper Lilies
How messy is this project?
While there is some paint involved, it’s relatively easy to manage. Lay down newspapers to help minimize cleanup. Washable paints further reduce stress for clean surfaces.What age is this project best for?
Handprint Paper Lilies are perfect for preschoolers and older kids. Adult supervision is ideal for younger children, especially during scissor use.Can I substitute any materials?
Certainly! If you don’t have construction paper, regular paper can work too, though it may not hold shapes as well. You could also use fabric scraps for a tactile twist.What if my child wants to make several at once?
That’s great! Just prepare more paint and paper beforehand. This collaborative push fosters social skills and teamwork while having fun with creative expression.Can we keep the art after it’s made?
Absolutely! These creations can be displayed beautifully around the house as they hold sentimental value.
A Final Helpful Note
Think of making Handprint Paper Lilies as not just a craft, but a cherished memory in the making. Enjoy the process, be flexible with the journey, and remember that the outcome is secondary to the joy of creating together. Let your creativity blossom, and celebrate each handprint as a stamp of love.
Conclusion
Creating Handprint Paper Lilies can nestle sweetly into your family’s array of DIY fun. For more ideas on engaging crafting projects, see how to make a beautiful paper lily on One Little Project, or check out the lovely Handprint Easter Lily Tutorial from Crafts by Amanda for some delightful variations. Enjoy crafting and making memories together!
PrintHandprint Paper Lilies
A joyful and simple craft project for kids to create beautiful handprint paper lilies using minimal supplies.
- Prep Time: 15 minutes
- Cook Time: 30 minutes
- Total Time: 45 minutes
- Yield: Multiple flowers as desired
- Category: Craft
- Method: Crafting
- Cuisine: N/A
- Diet: N/A
Ingredients
- Construction paper (various colors)
- Non-toxic paint (washable is ideal)
- Scissors (adult supervision recommended)
- Glue (a glue stick works well)
- Markers or crayons for decoration
- A small plate for paint
- An old newspaper or tablecloth for protection from spills
Instructions
- Prepare the workspace: Lay down an old newspaper or cloth to catch any paint spills. Have all materials within reach.
- Paint the hand: Choose a bright color of non-toxic paint and use a small plate to spread it evenly. Dip the palm of one hand into the paint, ensuring an even coat.
- Press hand onto paper: Firmly press your painted hand onto a piece of construction paper, fingers facing outwards. This will create the flower shape. Repeat with the other hand if desired to add more blooms.
- Let it dry: Allow the painted handprints to dry completely before proceeding. This may take about 10-15 minutes. Use this time to clean up the workspace a bit.
- Cut out the flowers: Once dry, carefully cut around the handprint(s), leaving a little space at the bottom to form the flower’s stem.
- Make the stems: Use green construction paper to cut out long, thin strips to serve as stems. Adhere them to the bottom of your handprint flowers using glue.
- Add decoration: Finally, use markers or crayons to embellish your flowers with details like petals, leaves, or even fun patterns.
- Display your art: Once everything is dry, find the perfect spot to showcase your handmade lilies, whether hung on the fridge or adorning a table space.
Notes
Adult supervision is recommended, especially during cutting. Expect some mess, but it’s manageable with proper preparation.
Nutrition
- Serving Size: 1 flower
- Calories: 0
- Sugar: 0g
- Sodium: 0mg
- Fat: 0g
- Saturated Fat: 0g
- Unsaturated Fat: 0g
- Trans Fat: 0g
- Carbohydrates: 0g
- Fiber: 0g
- Protein: 0g
- Cholesterol: 0mg