

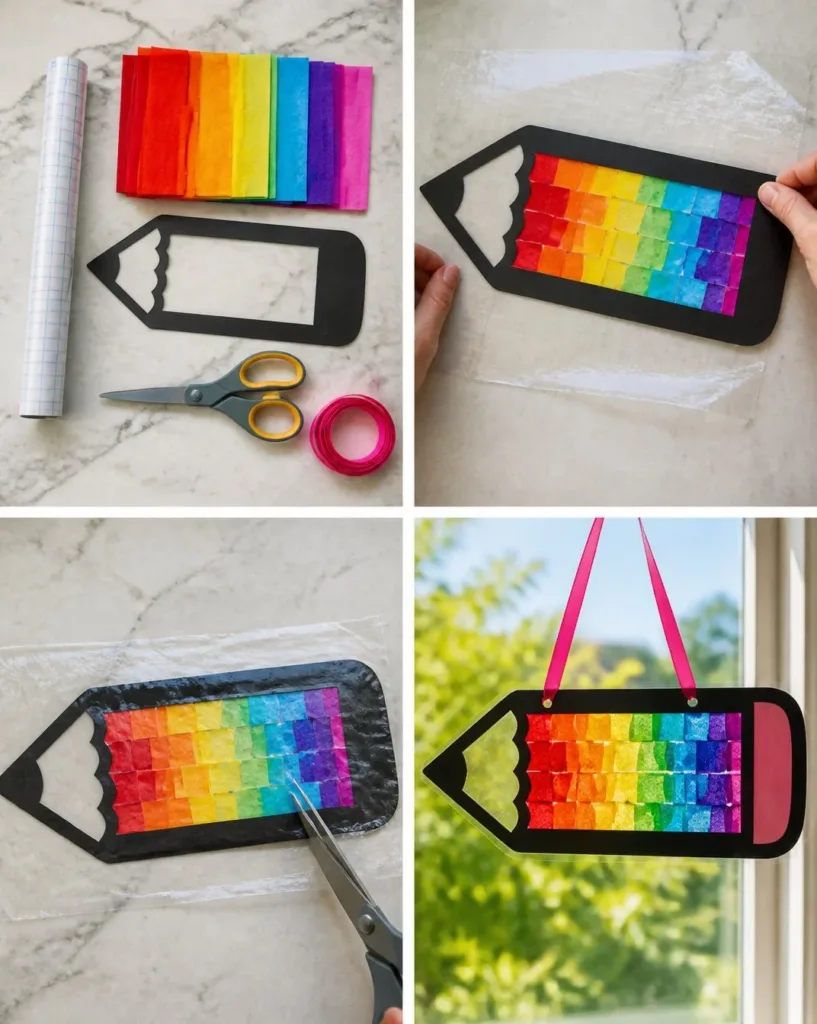
Creating a Rainbow Pencil Suncatcher is a delightful way to spend a busy afternoon with your kids. Picture this: the sun is shining outside, and your little ones are eager to create something beautiful. A quick, easy project like this one can keep them engaged while bringing a splash of color into your home. You can create lovely scenes and vibrant patterns using just a few supplies and some imagination. This project is not just fun but also a wonderful opportunity to learn about colors and light as your creations brighten up any window. You may also find Cornstarch Rainbow Suncatchers useful.
Why You’ll Love Making Rainbow Pencil Suncatcher
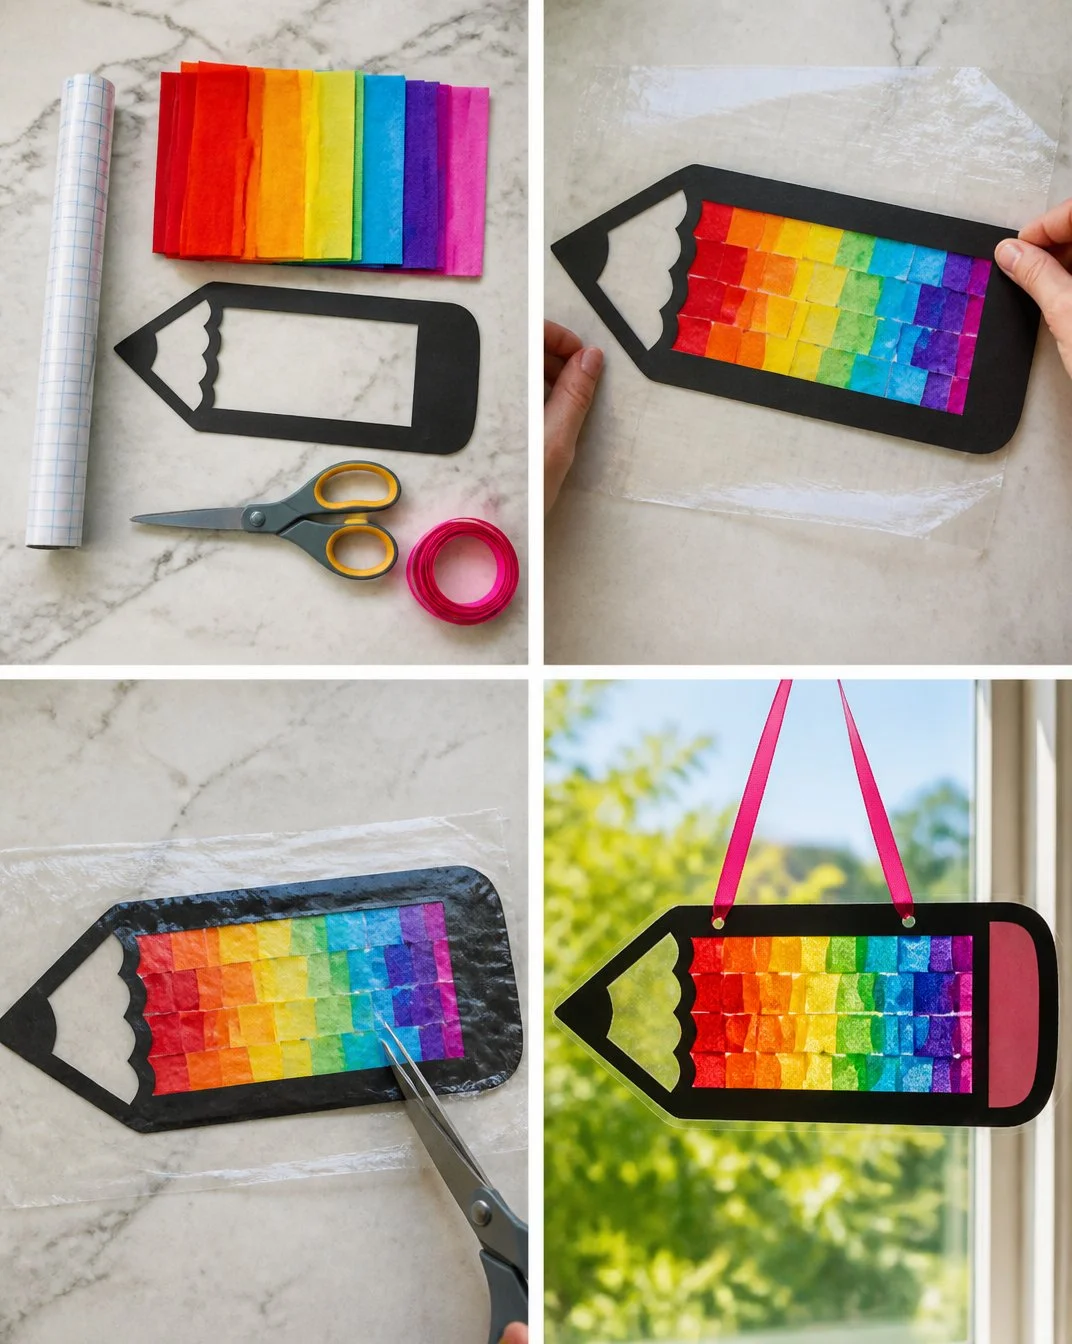
One of the best things about creating a Rainbow Pencil Suncatcher is how low-prep it is. You don’t need a lengthy list of complicated materials, and it fits perfectly into a busy schedule. All you need are basic household items, which makes it approachable for everyone. Also, the activity allows kids to exercise their creativity without overwhelming them with complex steps. You’ll find that it reliably produces beautiful results, making it a great choice for family fun. You may also find Prismatic Rainbow Balloon Suncatcher Colorful Light Display useful.
A Quick Look Before You Begin
Making a Rainbow Pencil Suncatcher is a straightforward process that can be completed in a couple of hours. You may want to set aside about 30-60 minutes for the actual crafting, depending on how elaborate your designs are. The setup is minimal, so you can start without extensive preparation. Mess levels are quite manageable, only requiring a quick wipe of your workspace afterward! Feel free to join your kids in this fun activity, as their excitement will only increase with adult involvement. You may also find Rainbow Bead Spiral Suncatcher Delicate useful.
Materials You’ll Need
- Clear plastic sheet or laminating pouches
- Colored pencils (various shades)
- Scissors
- Hole puncher (optional)
- String or fishing line (for hanging)
- Markers (optional for decoration)
Each of these items is common in many households. The clear plastic sheets can be an old folder or any leftover laminating pouches you might have. Colored pencils are budget-friendly and a favorite for kids. It’s important to note that the hole punch is optional, so don’t worry if you don’t have one on hand. You may also find Rainbow Glue Butterfly Suncatcher Craft Kids useful.
Step-by-Step Directions
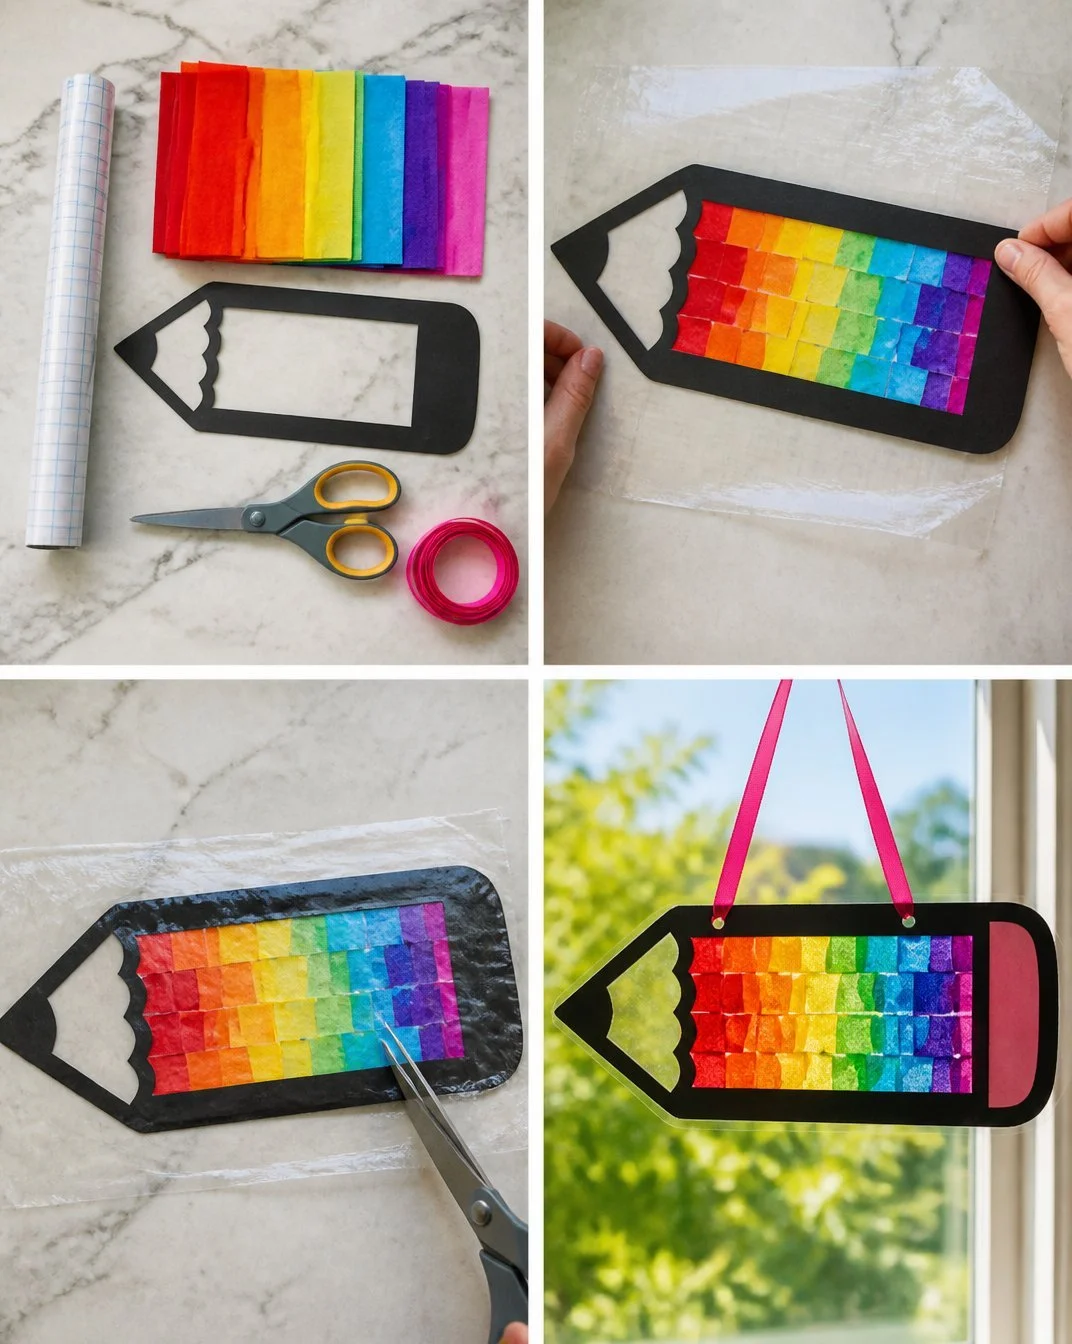
Decide on the shape of your suncatcher (e.g., rainbow, heart). Take some time to think about what your kids might prefer. Sketch out simple designs if needed; this can inspire creativity.
Use scissors to cut the clear plastic sheet into the desired shape, ensuring clean edges. This step can be a great opportunity for your kids to practice their scissor skills!
Color your design on the plastic with colored pencils, layering and blending colors for depth. Encourage your children to experiment with blending different shades. This is where their creativity truly shines.
Let the design dry, ensuring markers haven’t smudged if used. Be patient here; this is an excellent moment to chat about colors and light while waiting.
If desired, punch a hole at the top for hanging. If you skip this step, you can simply use tape or find other creative ways to hang your suncatcher.
Cut a piece of string or fishing line and thread it through the hole. This is where they can really get involved, tying knots and choosing how long they want it to hang.
Hang the suncatcher in a sunny window to enjoy the colors. This final step brings all the hard work together and allows you to appreciate the rainbow of colors casting into your home.
The Simple Science or Skills at Work
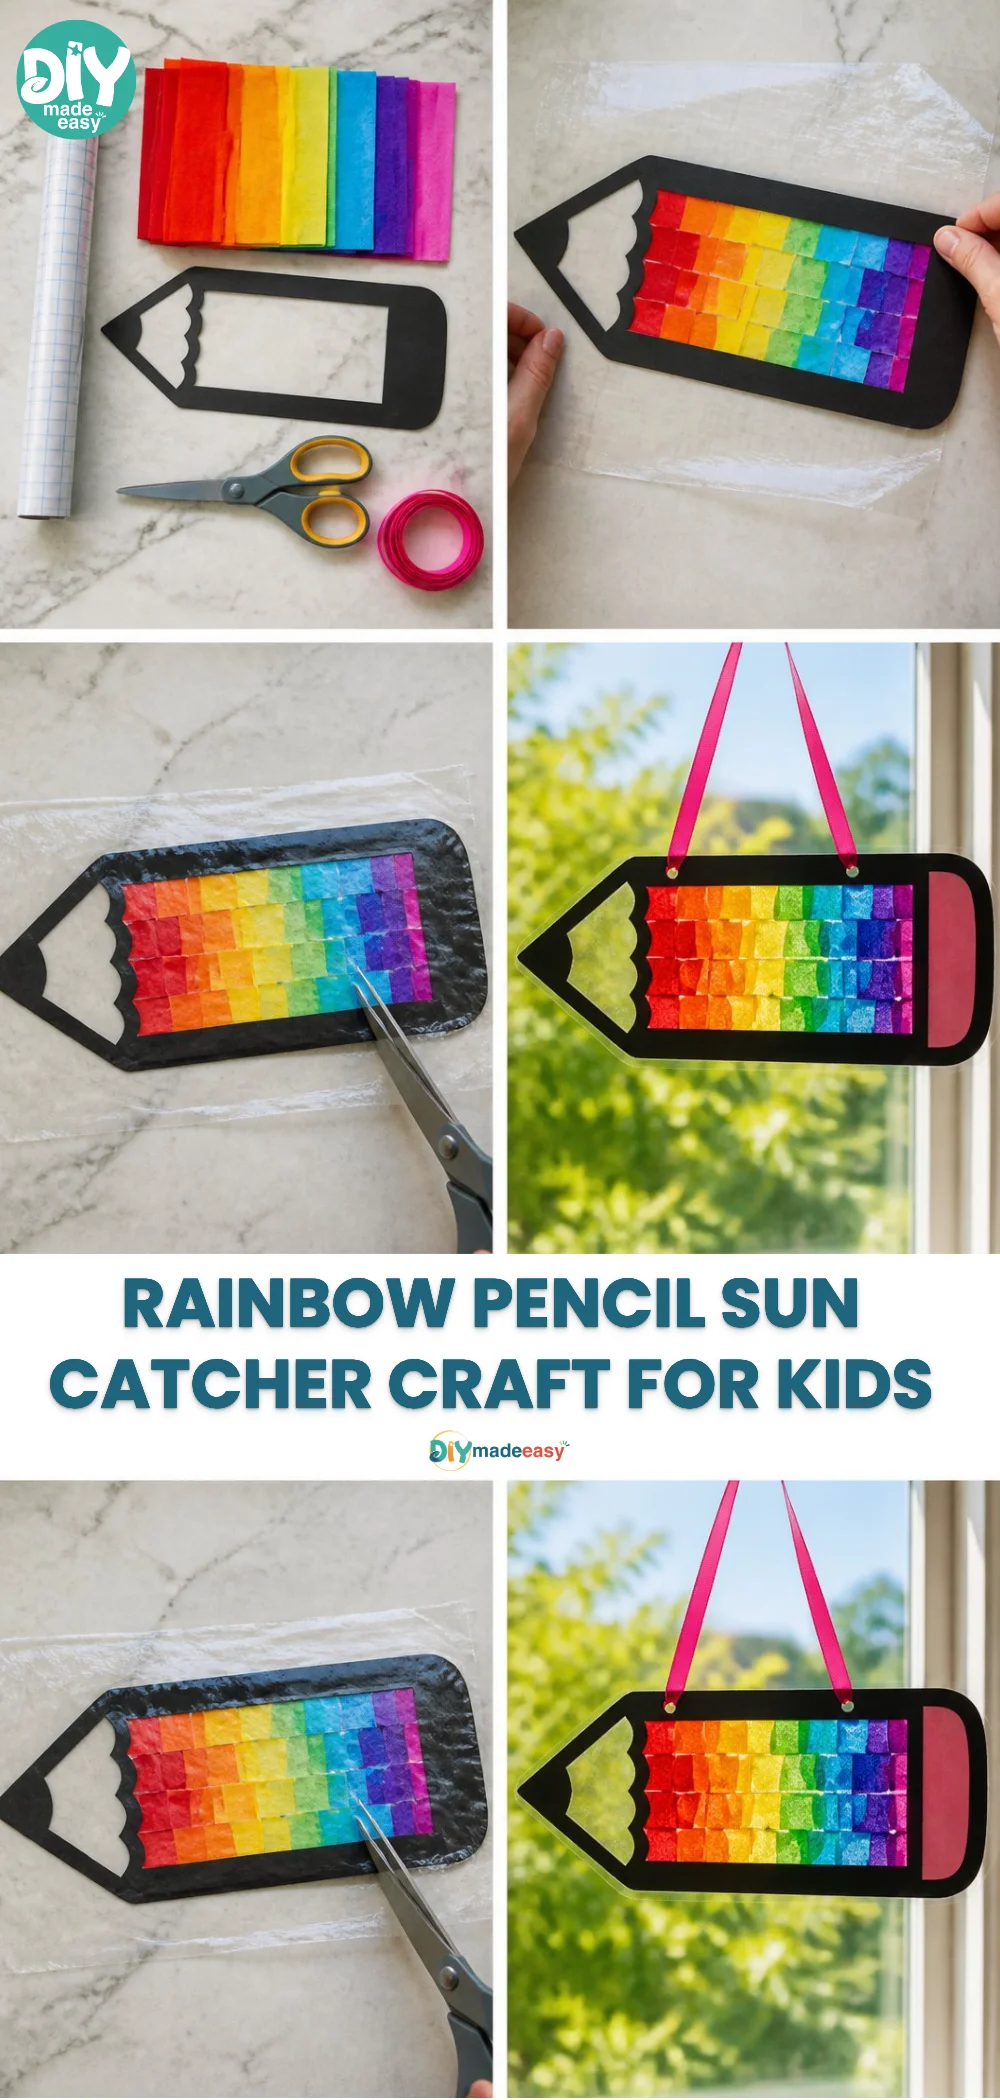
While making your Rainbow Pencil Suncatcher, kids unknowingly practice several skills. The project supports fine motor skills as they cut, color, and manipulate the string. They’ll learn about colors and light as they observe how the sunlight interacts with their creations, casting colorful shadows and reflections. These experiences lay the groundwork for deeper scientific understanding while keeping kids engaged and entertained.
Troubleshooting Common Issues
Sometimes projects do not go as planned, and that’s perfectly normal. One common issue is smudging when using markers before the design has dried. To prevent this, advise your kids to be gentler or to wait a little longer for the markers to dry. If the colors appear too dull, try layering more. It often helps to check in with them about their expectations—sometimes, simplifying their vision can lead to more satisfying results.
Easy Variations to Try
Encourage your children to experiment with different themes or ideas for the Rainbow Pencil Suncatcher. They might enjoy:
- Creating suncatchers in the shapes of seasonal icons like leaves for fall or flowers for spring.
- Using watercolor paints instead of pencils for a different texture.
- Making matching sets for different rooms, based on personal themes or colors they like.
Storing or Reusing This Project
After hanging your suncatcher, you might wonder how to store or reuse it later. These suncatchers can be taken down and reused year after year. You could even establish a tradition of making new ones for different seasons or holidays. When it comes to cleaning up, simply put the colored pencils away and dispose of any scraps before storing the suncatchers carefully in a flat box to keep them safe.
FAQs About Rainbow Pencil Suncatcher
Q: How messy will this project be?
A: Generally, this project is not very messy. The most you’ll have to manage is some shavings from the colored pencils and perhaps some marker marks. With a quick cleanup, everything should be back in order in no time!
Q: What age range is this project appropriate for?
A: This DIY is great for various ages; younger kids may need more hands-on help, while older children can dive in with independence. Just supervise scissor use for safety!
Q: Can we use other materials if we don’t have colored pencils?
A: Absolutely! You can use crayons or markers as substitutes, just note that they may have different effects when coloring on plastic.
Q: How should I store these suncatchers once made?
A: To store them, keep them flat in a box or a safe place. Make sure not to stack them to avoid scratches or bending.
Q: What if the colors don’t look vibrant enough?
A: Encourage your kids to layer the colors more, and try to be patient, letting it sit in a sunny spot to see the full effect.
Conclusion
Making a Rainbow Pencil Suncatcher is a joyful and creative bonding experience for families. Your kids will love creating their own unique art pieces while learning about color and light. If you’re looking for more inspiration, check out the Stained Glass Rainbow Suncatcher: Color Activity – Mombrite for another fun project, or explore the Read It, Make It: Fish Suncatcher – WPPL Blogs for a themed twist!
PrintRainbow Pencil Suncatcher
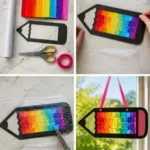
A fun and easy craft project to create colorful suncatchers using colored pencils and plastic sheets, perfect for kids!
- Prep Time: 15 minutes
- Cook Time: 30 minutes
- Total Time: 45 minutes
- Yield: 1 suncatcher
- Category: Crafts
- Method: Crafting
- Cuisine: N/A
- Diet: N/A
Ingredients
- Clear plastic sheet or laminating pouches
- Colored pencils (various shades)
- Scissors
- Hole puncher (optional)
- String or fishing line (for hanging)
- Markers (optional for decoration)
Instructions
- Decide on the shape of your suncatcher (e.g., rainbow, heart).
- Use scissors to cut the clear plastic sheet into the desired shape.
- Color your design on the plastic with colored pencils, layering colors for depth.
- Let the design dry, ensuring markers haven’t smudged if used.
- If desired, punch a hole at the top for hanging.
- Cut a piece of string or fishing line and thread it through the hole.
- Hang the suncatcher in a sunny window to enjoy the colors.
Notes
This project promotes creativity and fine motor skills in children. Encourage experimentation with colors and shapes!
Nutrition
- Serving Size: 1 suncatcher
- Calories: N/A
- Sugar: N/A
- Sodium: N/A
- Fat: N/A
- Saturated Fat: N/A
- Unsaturated Fat: N/A
- Trans Fat: N/A
- Carbohydrates: N/A
- Fiber: N/A
- Protein: N/A
- Cholesterol: N/A