

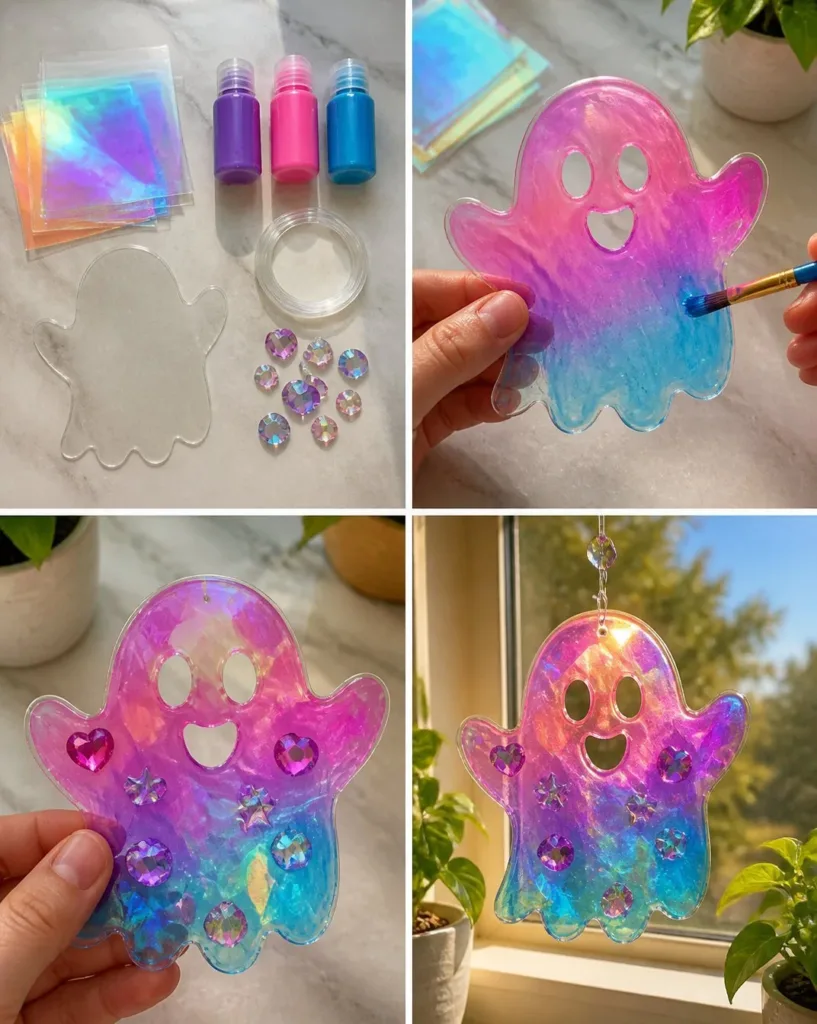
Making a fun craft can sometimes be the perfect solution to a busy afternoon, especially when the kids are eager to create something vibrant and engaging. One delightful option to consider is a Holographic Rainbow Ghost Suncatcher. This project not only brightens up your windows but also provides a hands-on, creative outlet for children to explore colors and light in an easy, manageable way. You may also find Prismatic Rainbow Balloon Suncatcher Colorful Light Display useful.
Why You’ll Love Making Holographic Rainbow Ghost Suncatcher
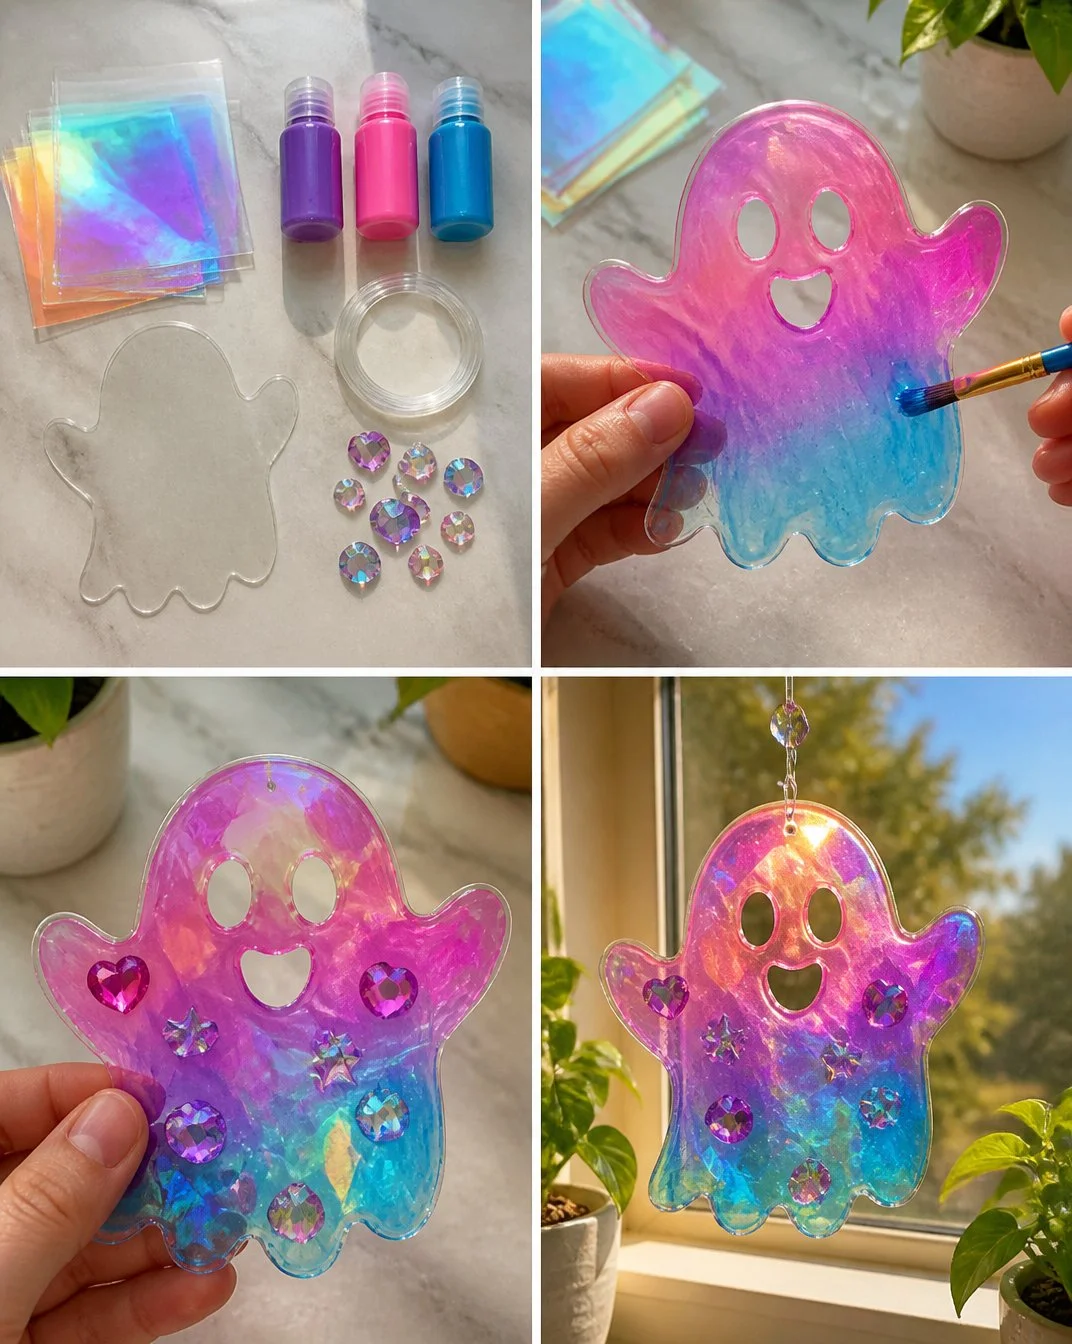
This project stands out for its low-prep nature and the simple materials required. It’s approachable, making it ideal for even the youngest crafters to engage with. The reliance on clear plastic sheets and holographic film makes it not only budget-friendly, but it also allows for modifications based on what you have at home. You and your kids can use everyday materials while still achieving beautiful, eye-catching results, giving you confidence that you can tackle this project without feeling overwhelmed. You may also find Rainbow Bead Spiral Suncatcher Delicate useful.
A Quick Look Before You Begin
Crafting this suncatcher can be done in about an hour, including drying time. Gather your materials in advance to streamline the process. The cleanup is minimal as the materials used are easy to handle and don’t create too much mess. It’s a project where adult involvement is useful for managing scissors and glue but allows kids to take the lead on design and creativity. Jumping into this craft can be a great way to bond while creating something lovely together.
Materials You’ll Need
- Clear plastic sheets: A common household item that acts as the base.
- Holographic film: Adds that essential touch of sparkle and color.
- Scissors: Necessary for cutting both the plastic sheets and the holographic film.
- Craft glue: Used to adhere the pieces properly.
- Colored markers or paint (optional): For personalizing your suncatcher further.
Using common household items like clear plastic sheets keeps the costs down and makes the project feel more accessible. If you wish to incorporate color beyond the holographic style, adding markers or paint is an easy way to customize the experience.
Step-by-Step Directions
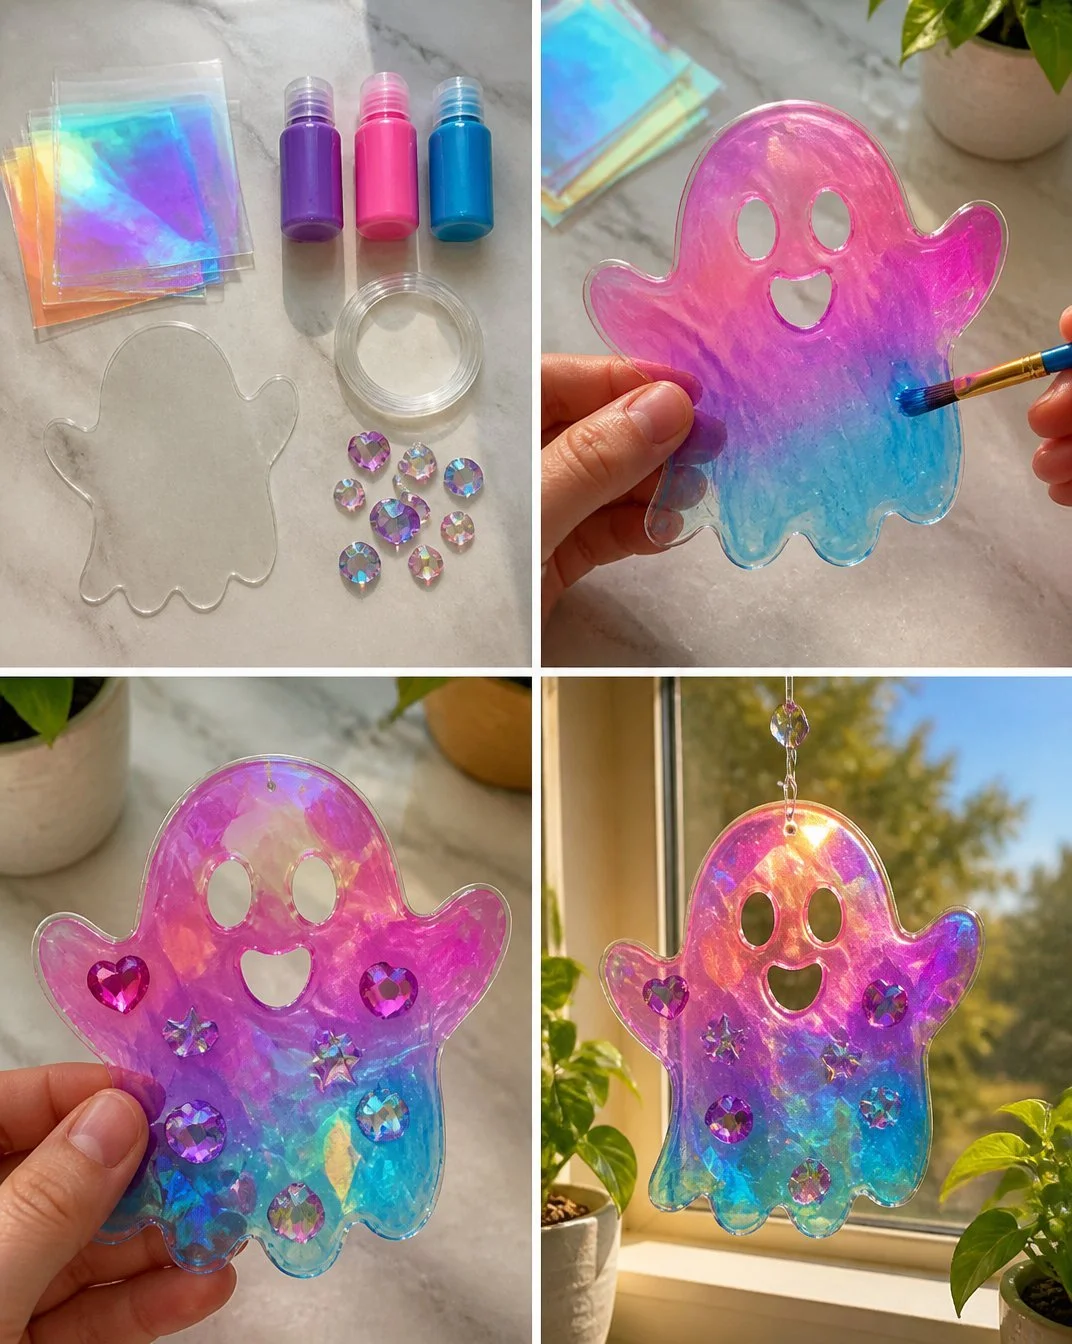
Cut the clear plastic sheets into your desired shape—this will be the base of your suncatcher. Depending on your child’s preference, you might want to shape it like a ghost, a sun, or any other fun design. Encourage your little ones to think about the colors that represent the shape they chose.
If you wish to add colors, use markers or paint to decorate the edges. This step is a great chance for kids to express themselves. If they go outside the lines, that’s perfectly fine! The unique touches will add character to the suncatcher.
Cut the holographic film into smaller pieces that can be layered onto your base. This part lets kids practice their fine motor skills. They may enjoy experimenting with different sizes and shapes of holographic pieces for a layered effect.
Apply a thin layer of craft glue to the base and carefully position the holographic pieces. Remind them to take their time; building layers can be a creative process. It can help to place each piece methodically, allowing space for a colorful explosion of light.
Allow everything to set for approximately 30 minutes, ensuring the glue dries completely. Patience is key here. You could use this waiting time to share other suncatcher ideas, such as creating rainbow glue butterflies or cornstarch rainbow suncatchers.
What Kids Practice While Making This
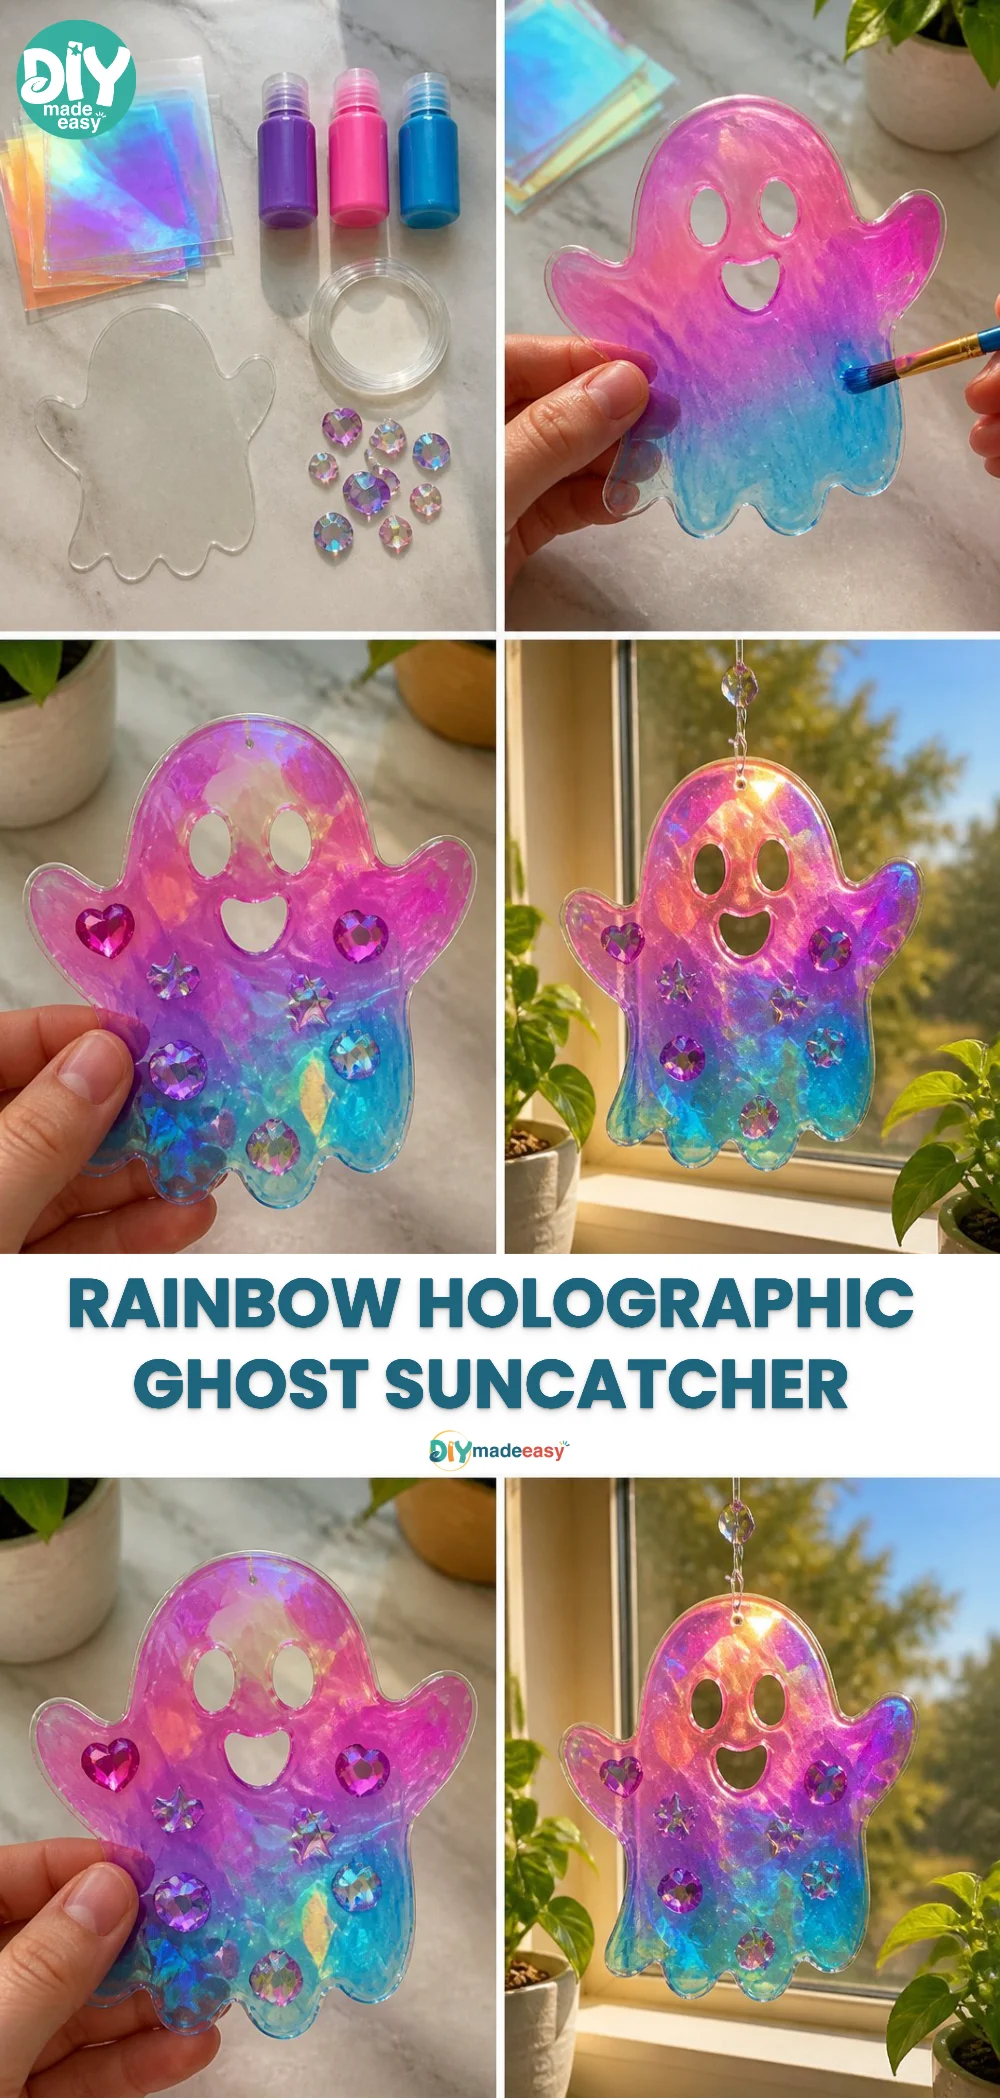
During the creation of the Holographic Rainbow Ghost Suncatcher, children engage in several developmental skills. They practice fine motor skills as they manipulate scissors and glue. Engaging with materials also promotes coordination when placing pieces accurately. Moreover, they learn about cause and effect when observing how the holographic film refracts light. This entire process allows kids not only to craft but to learn through hands-on experience.
Troubleshooting Common Issues
Considering the nature of crafting, there might be some hiccups along the way. For example, if the glue application is too thick, it might take longer to dry, or it may cause bubbles. Reassure your child that it’s alright if things don’t go perfectly. If holographic pieces lift, just apply a tiny bit more glue and press gently. If the colors bleed from markers, remind them to apply light layers. Reassuring them that crafts involve experimentation can build resilience and creativity.
Easy Variations to Try
You can switch things up with these fun ideas to reinvent the Holographic Rainbow Ghost Suncatcher:
- Use different shapes like hearts for Valentine’s Day or stars for holidays.
- Instead of holographic film, try using colored plastic wrap for a different effect.
- Involve seasonal themes by incorporating leaves in autumn or snowflakes in winter.
- Try glow-in-the-dark paint on the edges for a night-time twist.
Storing or Reusing This Project
Post-project, you might wonder what to do with the suncatcher. These creations can be displayed proudly in windows or kept for seasonal decorating. If you want to reduce waste, consider carefully removing the holographic pieces to reuse the base for another craft. Cleanup is simple; just gather scraps and store any remaining materials for future projects.
FAQs About Holographic Rainbow Ghost Suncatcher
What should I do if my kids make a mess while crafting?
It’s perfectly normal to have a little mess! Just lay down some newspaper or an old tablecloth, and cleanup will be easier when the project is done. Remember, the joy of creating often comes with a bit of chaos.
Is this suitable for younger children?
Yes! While supervision is advised when using scissors and glue, younger children can enjoy decorating the base with colors. Adjust adult involvement accordingly, allowing kids to express their creativity safely.
Can I use different colors of glue?
Absolutely! You can find colored glue or even mix some food coloring into white glue for a fun twist. This can also be a great way to enhance the colors of the final product without additional supplies.
How long will the suncatcher last?
With proper care, your suncatcher can last for many months, brightening your windows. Just avoid excessive moisture and direct sunlight for prolonged periods, as this can affect its durability.
Conclusion
Conclusion
Engaging with creative projects like the Holographic Rainbow Ghost Suncatcher can be a wonderful way to spend an afternoon with your kids. Not only do they enjoy the process, but they also learn and grow through hands-on experience. For those interested in seasonal options, check out the Hallow Glow Halloween Holographic Suncatchers for more inspiration or explore removable suncatchers on Etsy to see what other creative minds are making. Whether you stick to the classic design or experiment with new variations, you’ll create special memories and stunning decor together.
PrintHolographic Rainbow Ghost Suncatcher
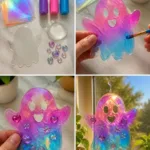
A fun and engaging craft project for kids to create their own colorful suncatcher using clear plastic sheets and holographic film.
- Prep Time: 10 minutes
- Cook Time: 30 minutes
- Total Time: 40 minutes
- Yield: 1 suncatcher
- Category: Craft
- Method: Crafting
- Cuisine: N/A
- Diet: N/A
Ingredients
- Clear plastic sheets
- Holographic film
- Scissors
- Craft glue
- Colored markers or paint (optional)
Instructions
- Cut the clear plastic sheets into your desired shape—this will be the base of your suncatcher.
- If you wish to add colors, use markers or paint to decorate the edges.
- Cut the holographic film into smaller pieces that can be layered onto your base.
- Apply a thin layer of craft glue to the base and carefully position the holographic pieces.
- Allow everything to set for approximately 30 minutes, ensuring the glue dries completely.
Notes
Encourage kids to express themselves creatively and remember that crafting is about exploration and fun.
Nutrition
- Serving Size: 1 project
- Calories: 0
- Sugar: 0g
- Sodium: 0mg
- Fat: 0g
- Saturated Fat: 0g
- Unsaturated Fat: 0g
- Trans Fat: 0g
- Carbohydrates: 0g
- Fiber: 0g
- Protein: 0g
- Cholesterol: 0mg