

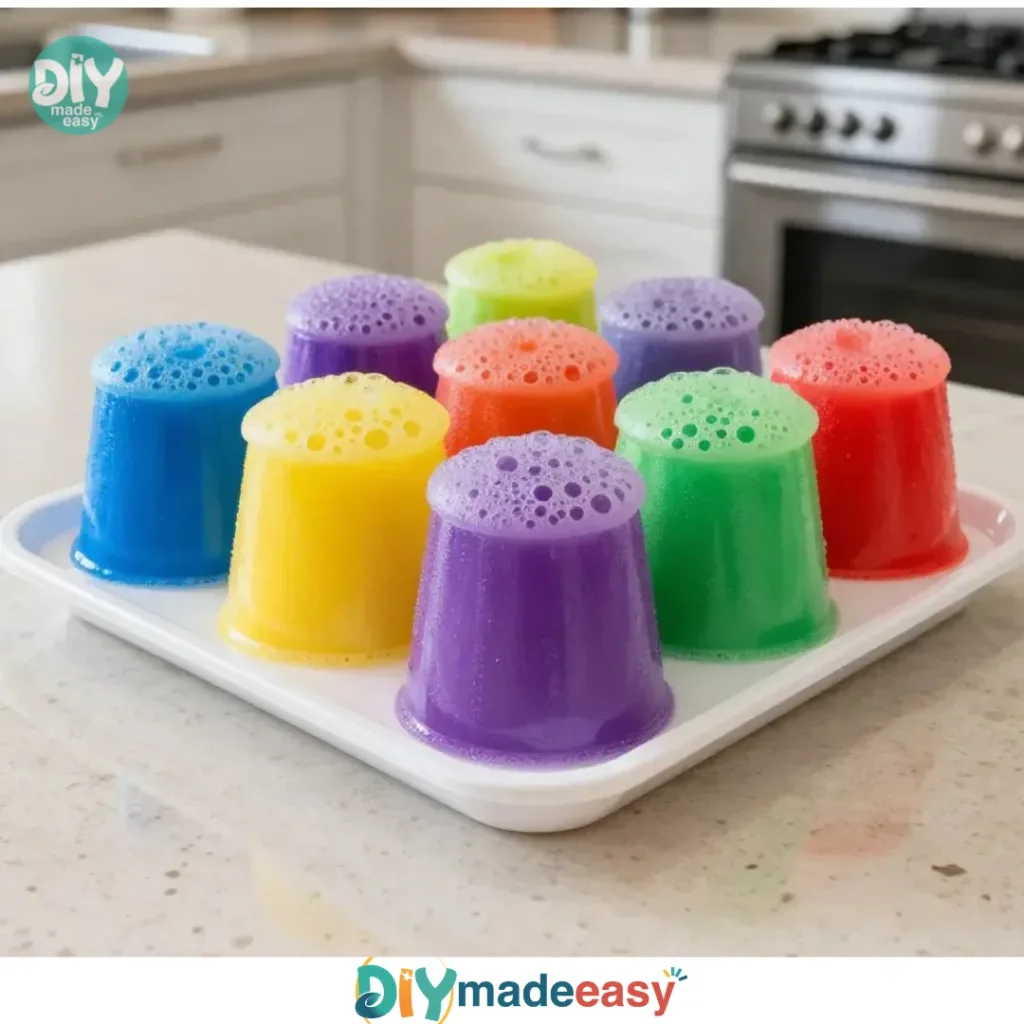
The busy afternoons often call for quick and engaging activities that can spark joy and creativity. On one such day, when the kids were especially eager to make something new, we stumbled upon the idea of creating Rainbow Foam. It’s a delightful project that combines simple household ingredients into a vibrant, sensory experience. Rainbow Foam is an enchanting way to play with colors and textures, offering not only entertainment but also educational value. You may also find Baking Soda Rainbow Crystal Forest useful.
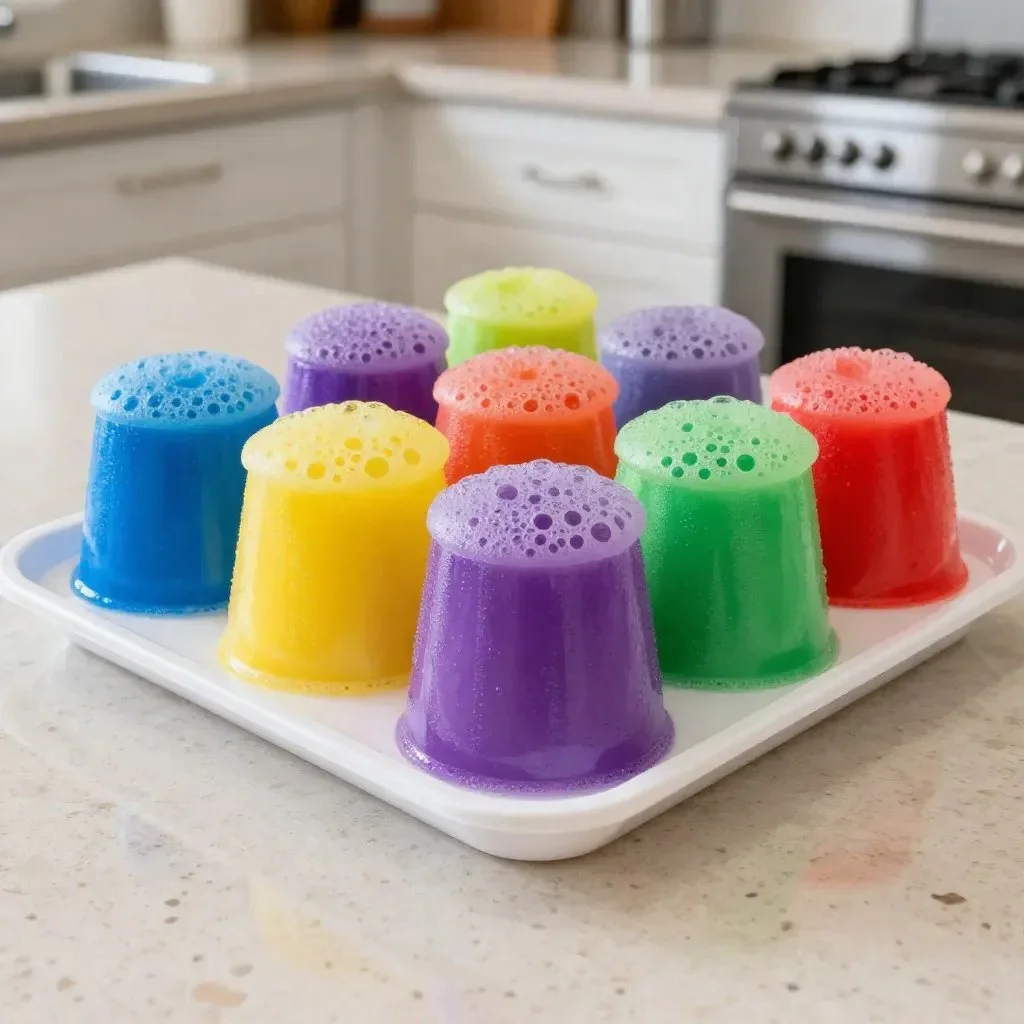
Why This Rainbow Foam Works So Well
You may also find Broken Crayons Glowing Rainbow Flowers 2 useful.
Creating Rainbow Foam is a low-prep activity that fits effortlessly into any day, regardless of how jam-packed your schedule might be. The simplicity of the ingredients—liquid soap, water, and food coloring—makes it approachable for any family. You don’t need a lot of time or elaborate setups; just grab the supplies and get going. It’s reliable too, meaning you can expect fun every time. Families looking for an easy kitchen science experiment can enjoy this project without the stress of complicated procedures. If your little ones love to see vibrant displays of colors coming together, this will surely excite them. You may also find Broken Crayons Glowing Rainbow Flowers useful.
A Quick Look Before You Begin
Creating Rainbow Foam is a straightforward process that helps both kids and adults dive into the act of making together. The entire setup should take less than 15 minutes, making it a compact project to fit in between lunch and playtime. You’ll want to have everything gathered and ready, but perhaps keep the dishes out of the way during the mixing phase. Expect a bit of mess when the foam starts flying, which is part of the joy. The adult involvement is minimal; just a quick supervision and guidance will ensure everything runs smoothly. You may also find Color Burst Foam Eruption Experiment useful.
Materials You’ll Need
- Liquid soap (like dish soap or hand soap)
- Water
- Food coloring (or liquid watercolors)
- A mixing bowl
- A whisk or electric mixer
- A shallow dish for display
All these materials can typically be found around your home. The liquid soap serves as a key ingredient, letting the bubbles form beautifully. While using food coloring provides the vibrant shades, you can easily swap this for liquid watercolors if you have those on hand. This project is budget-friendly and accessible, making it perfect for family fun.
Step-by-Step Directions
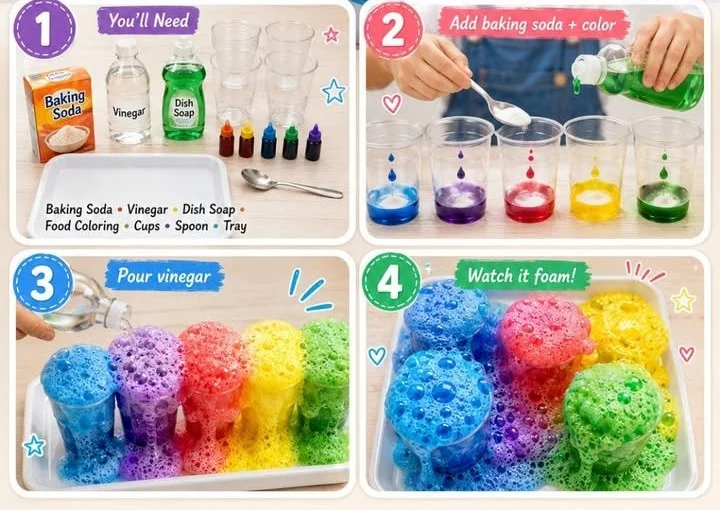
- Pour the desired amount of liquid soap into your mixing bowl. A cup works great as a starting point.
- Add an equal amount of water and gently mix them together, keeping the mixture calm before the excitement begins.
- Introduce a few drops of food coloring and watch the colors bloom; it’s a mesmerizing moment for kids to enjoy.
- Using a whisk or electric mixer, beat the mixture until bubbles form and the foam expands. The texture will feel airy and light, which kids find fascinating.
- Transfer the foam to a shallow dish for display, and let everyone marvel at the vibrant colors they’ve created.
After creating the foam, it’s also a good opportunity to discuss the science behind bubbles and colors with your kids, helping them engage in deeper learning while they play.
The Learning Behind This DIY
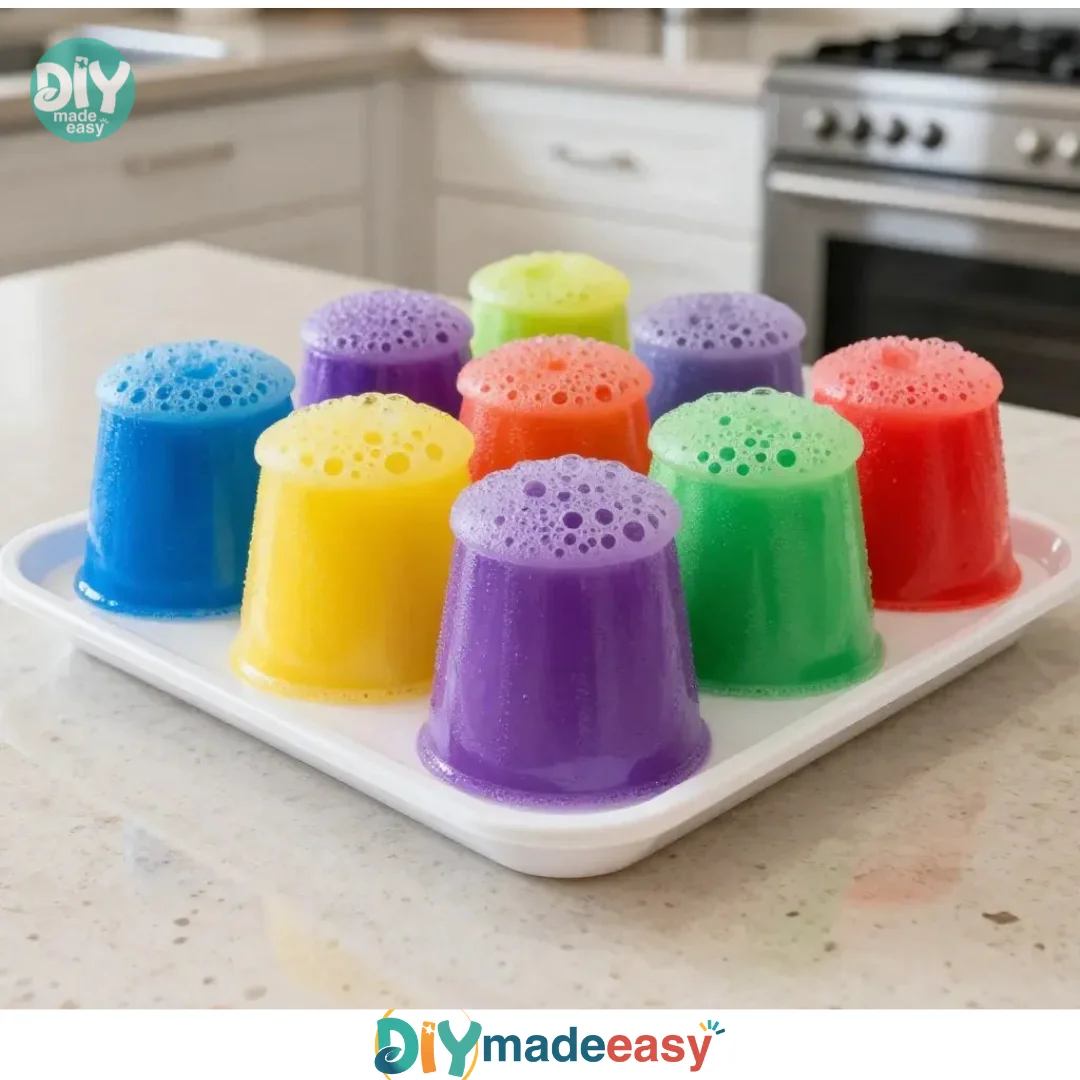
While making Rainbow Foam, children practice various skills that enhance their everyday experiences. The physical act of whisking develops fine motor skills and coordination as they handle tools. There’s also explicit cause and effect at play; they can see how their actions influence the size of the foam and the vividness of the colors. This DIY project serves as a perfect introduction to basic science concepts like mixing and chemical reactions in an enjoyable way. When they notice the colors mixing or the foam expanding, they’re engaging with science in a real and tactile manner.
Troubleshooting Common Issues
If something doesn’t go as planned, don’t worry; this happens to everyone. A common issue is if the foam doesn’t expand as expected. This could be due to not whisking hard enough or for long enough. Make sure they’re actively beating the mixture, as bubbles need vigorous action to form. Another problem can occur if the food coloring isn’t mixing well. Try using a bit more or gently stirring it to achieve even distribution of color.
Easy Variations to Try
Get creative with your Rainbow Foam by introducing some simple variations. You could add glitter for a sparkling effect, which alters the texture and visual appeal. If you want to keep it seasonal, think about using shades of pastels for spring or even darker, richer colors for autumn themes. For older kids, you can challenge them to create bubble sculptures or use different kitchen tools to whisk the mixture, changing the foam’s texture. Each variation brings a new dimension to the activity, ensuring it never gets old.
Storing or Reusing This Project
After making your Rainbow Foam, you might be curious about what to do with it next. While the foam is best enjoyed fresh, you can store any leftover mixture in an airtight container for a day or two, but keep in mind the foam will lose its fluffiness. Cleaning up is easy; simply rinse the mixing bowl and any tools used with warm soapy water. If you’re using a shallow dish, just pour it out and wipe down the surface. Encourage kids to help with cleanup to teach responsibility as well!
FAQs About Rainbow Foam
Is this activity messy?
Yes, there will likely be some mess involved, especially when the foam expands. To prepare, lay down an old towel or a plastic mat under your workspace.
What is the best age for this activity?
Rainbow Foam is suitable for children aged 3 and older. Younger kids should have adult supervision, primarily to avoid them putting anything in their mouths.
Can I use other colors instead of food coloring?
Absolutely! Liquid watercolors can be used as a substitute, and they provide vibrant colors as well.
Will Rainbow Foam last?
The foam is best used right away. If stored, it will deflate and lose its fun texture, so plan to enjoy it fresh!
Can I adjust the quantity of ingredients?
Definitely! You can scale up or down based on how much foam you want to create. Just keep the ratio of soap to water the same.
Conclusion
Conclusion
Creating Rainbow Foam is an exciting activity that brings together creativity, science, and a bit of messy fun. It offers a perfect balance of hands-on engagement, colorful outcomes, and skill development for kids. If you want more fun ideas, check out Rainbow Soap Foam Bubbles Sensory Play – Fun at Home with Kids for more sensory experiences. You can also explore the Pole Setting Foam – Rainbow Technology to see how foam and bubbles can be used in different practical applications. Enjoy your time making Rainbow Foam, where learning and play come beautifully together!
PrintRainbow Foam
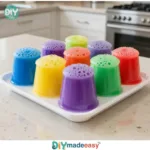
Create vibrant Rainbow Foam with simple household ingredients for a fun and educational activity.
- Prep Time: 10 minutes
- Cook Time: 0 minutes
- Total Time: 10 minutes
- Yield: 2 cups of foam 1x
- Category: Activity
- Method: Mixing
- Cuisine: N/A
- Diet: N/A
Ingredients
- 1 cup liquid soap (dish soap or hand soap)
- 1 cup water
- Food coloring or liquid watercolors
- A mixing bowl
- A whisk or electric mixer
- A shallow dish for display
Instructions
- Pour the desired amount of liquid soap into your mixing bowl.
- Add an equal amount of water and gently mix together.
- Introduce a few drops of food coloring.
- Using a whisk or electric mixer, beat the mixture until bubbles form.
- Transfer the foam to a shallow dish for display.
Notes
The foam is best enjoyed fresh and can be stored for a day or two in an airtight container. Cleanup is easy with warm soapy water.
Nutrition
- Serving Size: N/A
- Calories: 50
- Sugar: 0g
- Sodium: 10mg
- Fat: 0g
- Saturated Fat: 0g
- Unsaturated Fat: 0g
- Trans Fat: 0g
- Carbohydrates: 13g
- Fiber: 0g
- Protein: 0g
- Cholesterol: 0mg