

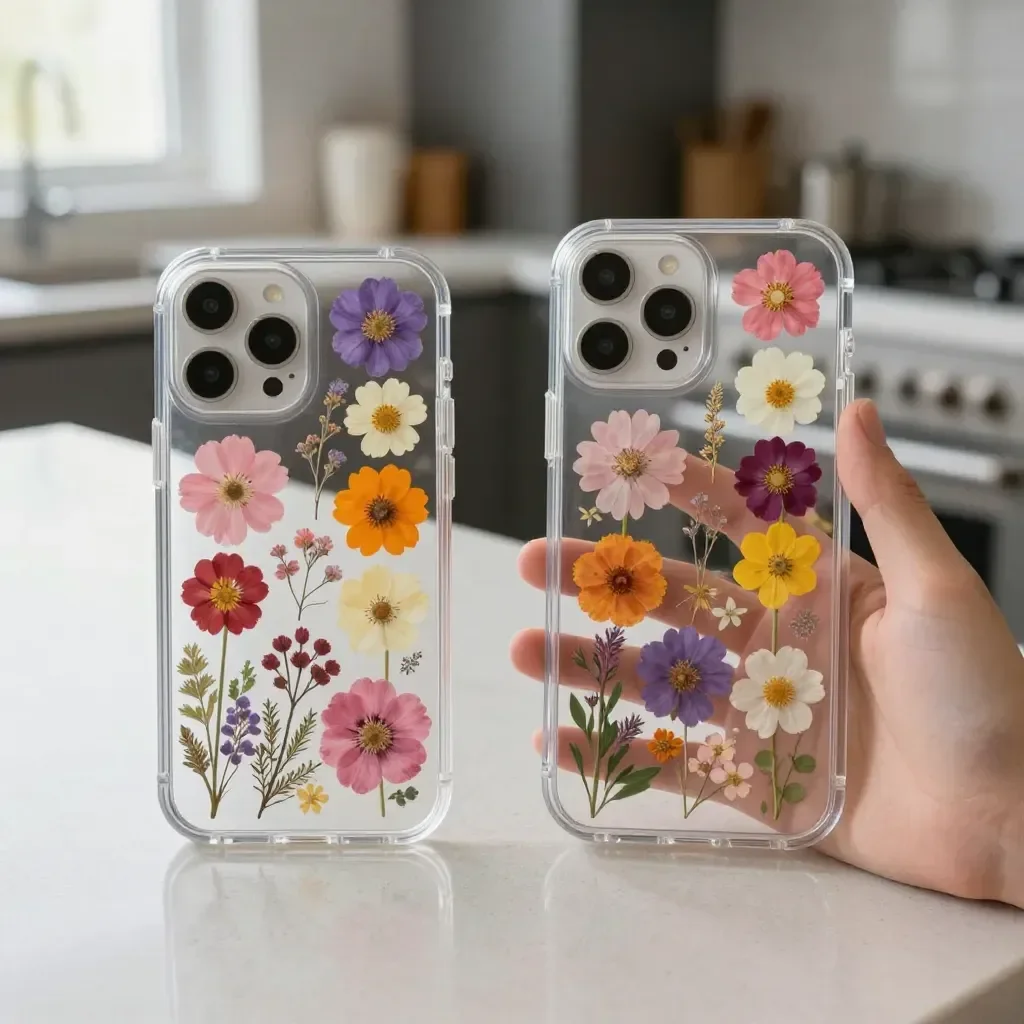
Creating a pressed petal phone case is a wonderful way to capture the beauty of nature while engaging in a fun crafting experience with family or friends. Imagine a busy afternoon where kids are buzzing with energy, eager to create something unique and special. This is the perfect moment to dive into a project like the pressed petal phone case. With just a few materials like a clear phone case, dried petals, clear glue, and some tweezers, you can create a beautiful personalized phone case that reflects everyone’s unique tastes. You may also find Cornstarch Bioplastic Pressed Flowers Recipe useful.
Why This Pressed Petal Phone Case Works So Well
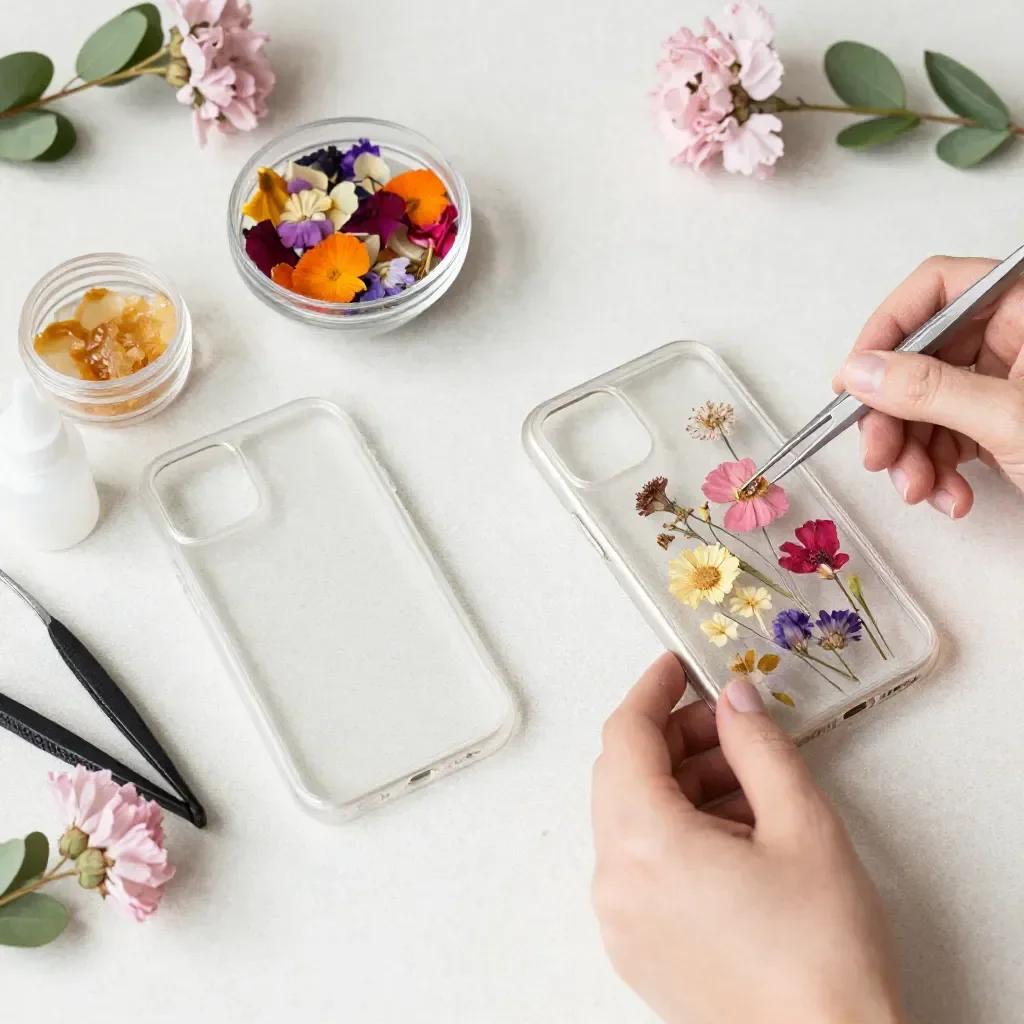
This project stands out as a fantastic blend of creativity and simplicity. The pressed petal phone case requires minimal preparation, making it easy to start even on short notice. Not only does it engage the artistic side of everyone involved, but it also teaches valuable skills along the way. What’s more, the reliability of this project means that you can expect beautiful results without the worry of complicated techniques or hard-to-find materials. You may also find Cornstarch Bioplastic Pressed Flowers useful.
With kids and adults alike, everyone can experience the joy of crafting something meaningful. You don’t need a crafting expert to make it work! This project is approachable, allowing anyone to jump in and have fun while being productive. Plus, the end result serves as a lovely reminder of the time spent together—what a wonderful way to strengthen family bonds!
A Quick Look Before You Begin
Understanding what to expect before you start will help make this experience smooth and enjoyable. The pressed petal phone case project typically takes about an hour from start to finish, making it perfect for a weekend activity. The setup is straightforward, ensuring you can gather your materials quickly and with little fuss.
As for mess levels, the only possible spills come from the glue, which is easy to clean up with soap and water. Both kids and adults can participate comfortably; just keep the tweezers handy for delicate petals. Planning for a bit of adult supervision can enhance safety, especially when working with glue. This project is as much about enjoying the process as it is about the finished product.
Materials You’ll Need
Here are the essential materials for creating your pressed petal phone case:
- Clear phone case: A blank canvas to showcase your flowers.
- Dried petals: Gathered from any flowers you love; dried ones work best for this project. Consider checking places that sell dried flowers for beautiful options.
- Clear glue: A straightforward household item that keeps everything in place.
- Tweezers: Helpful for placing delicate petals without damaging them.
These materials are commonly available, budget-friendly, and easy to substitute with things you may already have at home.
Step-by-Step Directions
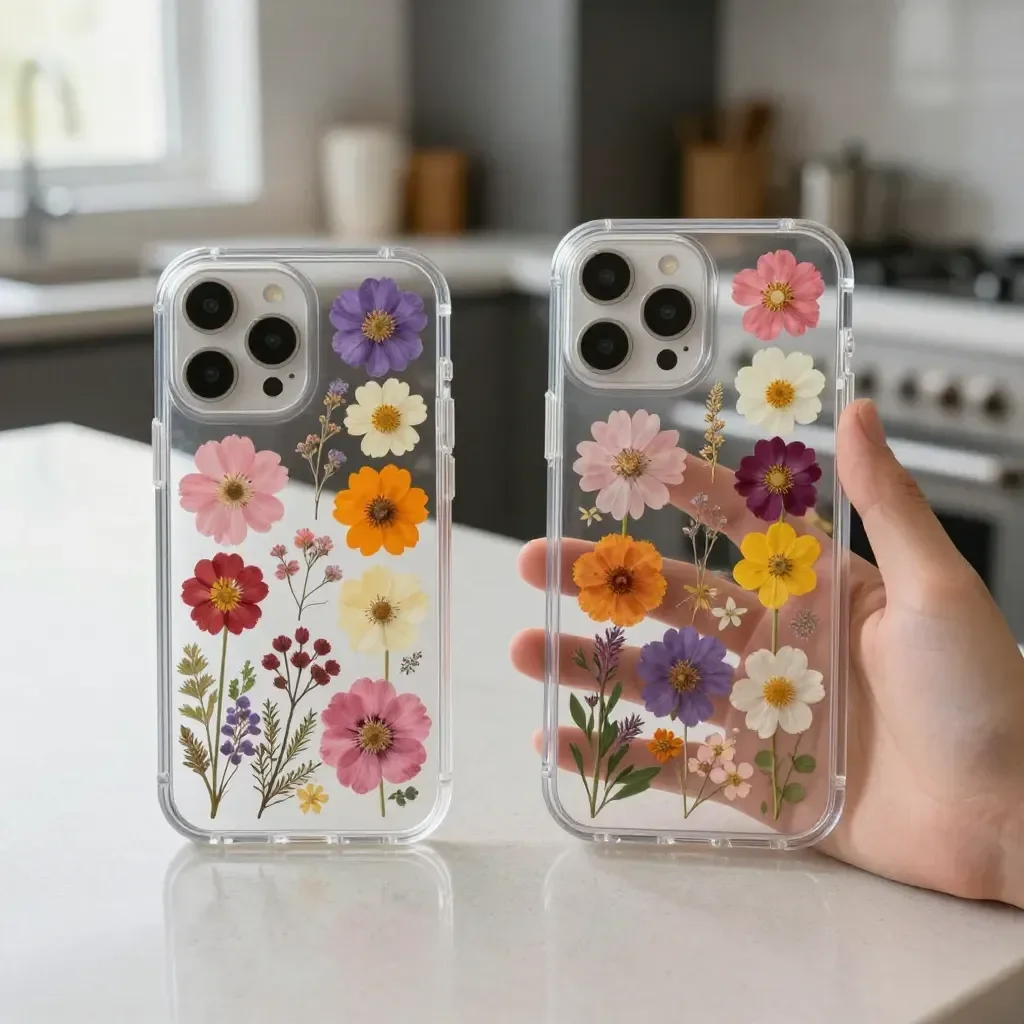
Now, let’s dive into the steps for making your pressed petal phone case. Take your time and enjoy the creative process!
Start by arranging the dried petals inside your clear phone case. Take your time; this is your canvas. Experiment with different layouts until you find one you love—there’s no rush!
Once you’re happy with the layout, gently dab a bit of clear glue on the petals to hold them in place. A little goes a long way; just enough to secure them without soaking them.
Press down lightly to ensure they’re flat and let everything set for a while. You want them to adhere well, so give it a moment before moving on to the next step.
When it’s all dry, seal your artwork with a thin layer of glue over the petals for a nice finish. This final touch not only holds everything in place but also creates a protective layer.
After it dries, simply snap your creation onto your phone. What a lovely reminder of your crafting time together! Each time you see your phone, it will surely bring a smile to your face.
The Learning Behind This DIY
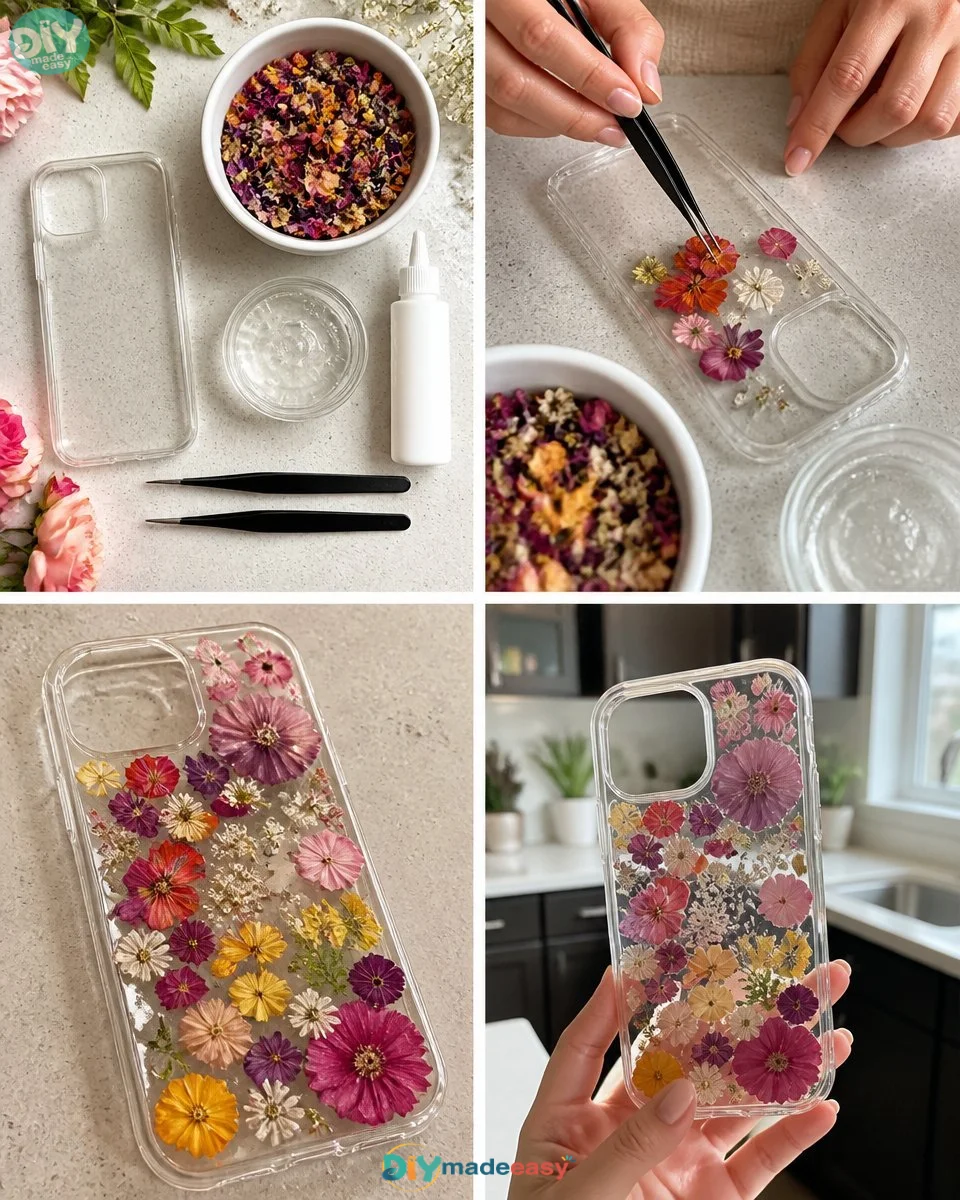
While making the pressed petal phone case, participants naturally strengthen various skills. Crafting supports fine motor skills as kids manipulate tiny petals and use tweezers to place them just right. This activity also enhances coordination because kids must design their layouts, focusing on how different colors and shapes fit together aesthetically.
Additionally, this project introduces cause and effect concepts. When you apply glue, for instance, you can observe how it holds the petals in place versus what happens when you don’t use enough. These hands-on lessons are incredibly engaging for young minds.
Troubleshooting Common Issues
Crafting is a joyful experience, but sometimes things don’t go as planned. Here are a few common issues you may encounter and how to address them:
Petals not sticking: If you find that your petals are lifting, try applying a little more clear glue and pressing them down firmly. Always let the glue dry completely before moving the phone case.
Petals getting squished: Be careful when pressing down, as too much force can flatten the petals excessively. Instead, use a light touch to keep their natural shape.
Messy glue: If glue spills occur, don’t panick! Just wipe it off with a damp cloth. Keeping an old rag nearby can save you time on cleanup.
Easy Variations to Try
To keep your crafting sessions fresh and exciting, consider these variations for your pressed petal phone cases:
Seasonal themes: Use flowers that correspond to the season or special holidays to make festive designs.
Color combinations: Play with different color arrangements or even mix petals from several flowers to create unexpected designs.
Add accents: Incorporate small embellishments like glitter or tiny beads, placing them around your petals for a little sparkle.
Layering: For a more textured look, consider layering petals for a three-dimensional effect.
These suggestions can help you customize your phone case according to your preferences and give you an excuse to keep crafting!
Storing or Reusing This Project
What to do with your materials and tools after making a pressed petal phone case? Here are some tips for storage and reusing:
Clean any remaining glue or petals: Take the time to clean up your workspace to keep it organized for your next crafting adventure.
Store your petals carefully: If you want to make more designs later on, keep your dried petals in a cool, dry place. A small container can prevent them from getting crushed.
Reuse your phone case: If you want a new look, feel free to remove the petals and start again with fresh flowers. Crafting should never feel static!
By maintaining your materials well, you will be ready for the next creative project whenever inspiration strikes.
FAQs About Pressed Petal Phone Case
Q: How messy is this project?
A: While the project is relatively clean, some glue may spill. Having a damp cloth handy can help you quickly clean any mess.
Q: What age group is this project suitable for?
A: This project is great for children ages five and up, but younger kids may need adult guidance, especially with glue and tweezers.
Q: Can we substitute fresh flowers for dried ones?
A: Fresh flowers may release moisture, causing issues with drying and durability. It’s best to use dried petals for the best results.
Q: What are the cleanup steps like?
A: Cleanup involves wiping down your workspace and any excess glue. Since you probably won’t have much mess, it’s a quick process!
Q: Can I store this phone case?
A: Yes, you can either display it or gently remove the petals to use the phone case again. Storage doesn’t have to be permanent—you can always reuse it!
Conclusion
Conclusion
Creating a pressed petal phone case is not just an enjoyable family activity; it’s also a fantastic way to harness the beauty of nature while enhancing your creative skills. Now that you’ve learned the ins and outs of this project, you may want to explore further options like Pressed Flower or Leaves Phone Cases – Instructables for additional inspiration or gather more supplies from sources like Dried Pressed Flowers Real Natural Petals Bulk Dried Leaves Plant. Happy crafting, and may your creativity flourish!
PrintPressed Petal Phone Case
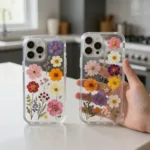
A delightful crafting project to make personalized pressed petal phone cases using dried flowers.
- Prep Time: 15 minutes
- Cook Time: 45 minutes
- Total Time: 60 minutes
- Yield: 1 phone case
- Category: Crafts
- Method: Crafting
- Cuisine: N/A
- Diet: N/A
Ingredients
- Clear phone case
- Dried petals
- Clear glue
- Tweezers
Instructions
- Start by arranging the dried petals inside your clear phone case. Take your time; this is your canvas.
- Once you’re happy with the layout, gently dab a bit of clear glue on the petals to hold them in place.
- Press down lightly to ensure they’re flat and let everything set for a while.
- When it’s all dry, seal your artwork with a thin layer of glue over the petals for a nice finish.
- After it dries, simply snap your creation onto your phone.
Notes
For best results, use dried flowers and consider adult supervision for younger children.
Nutrition
- Serving Size: 1 phone case
- Calories: 0
- Sugar: 0g
- Sodium: 0mg
- Fat: 0g
- Saturated Fat: 0g
- Unsaturated Fat: 0g
- Trans Fat: 0g
- Carbohydrates: 0g
- Fiber: 0g
- Protein: 0g
- Cholesterol: 0mg