


The sun hangs high, casting a warm glow as you suddenly find yourself in need of a quick, enjoyable activity to engage the kids. Their excited chatter fills the air, and the kitchen beckons for a project that can capture that energy. Enter the DIY Glass Bowl Fairy Garden with Moss a delightful way to channel their creativity while sourcing materials from around the home. This project feels almost magical, transforming everyday items into a whimsical garden that can brighten any space. You may also find Colorful Glass Suncatchers Diy Ornaments useful.
Why This DIY Glass Bowl Fairy Garden with Moss Works So Well
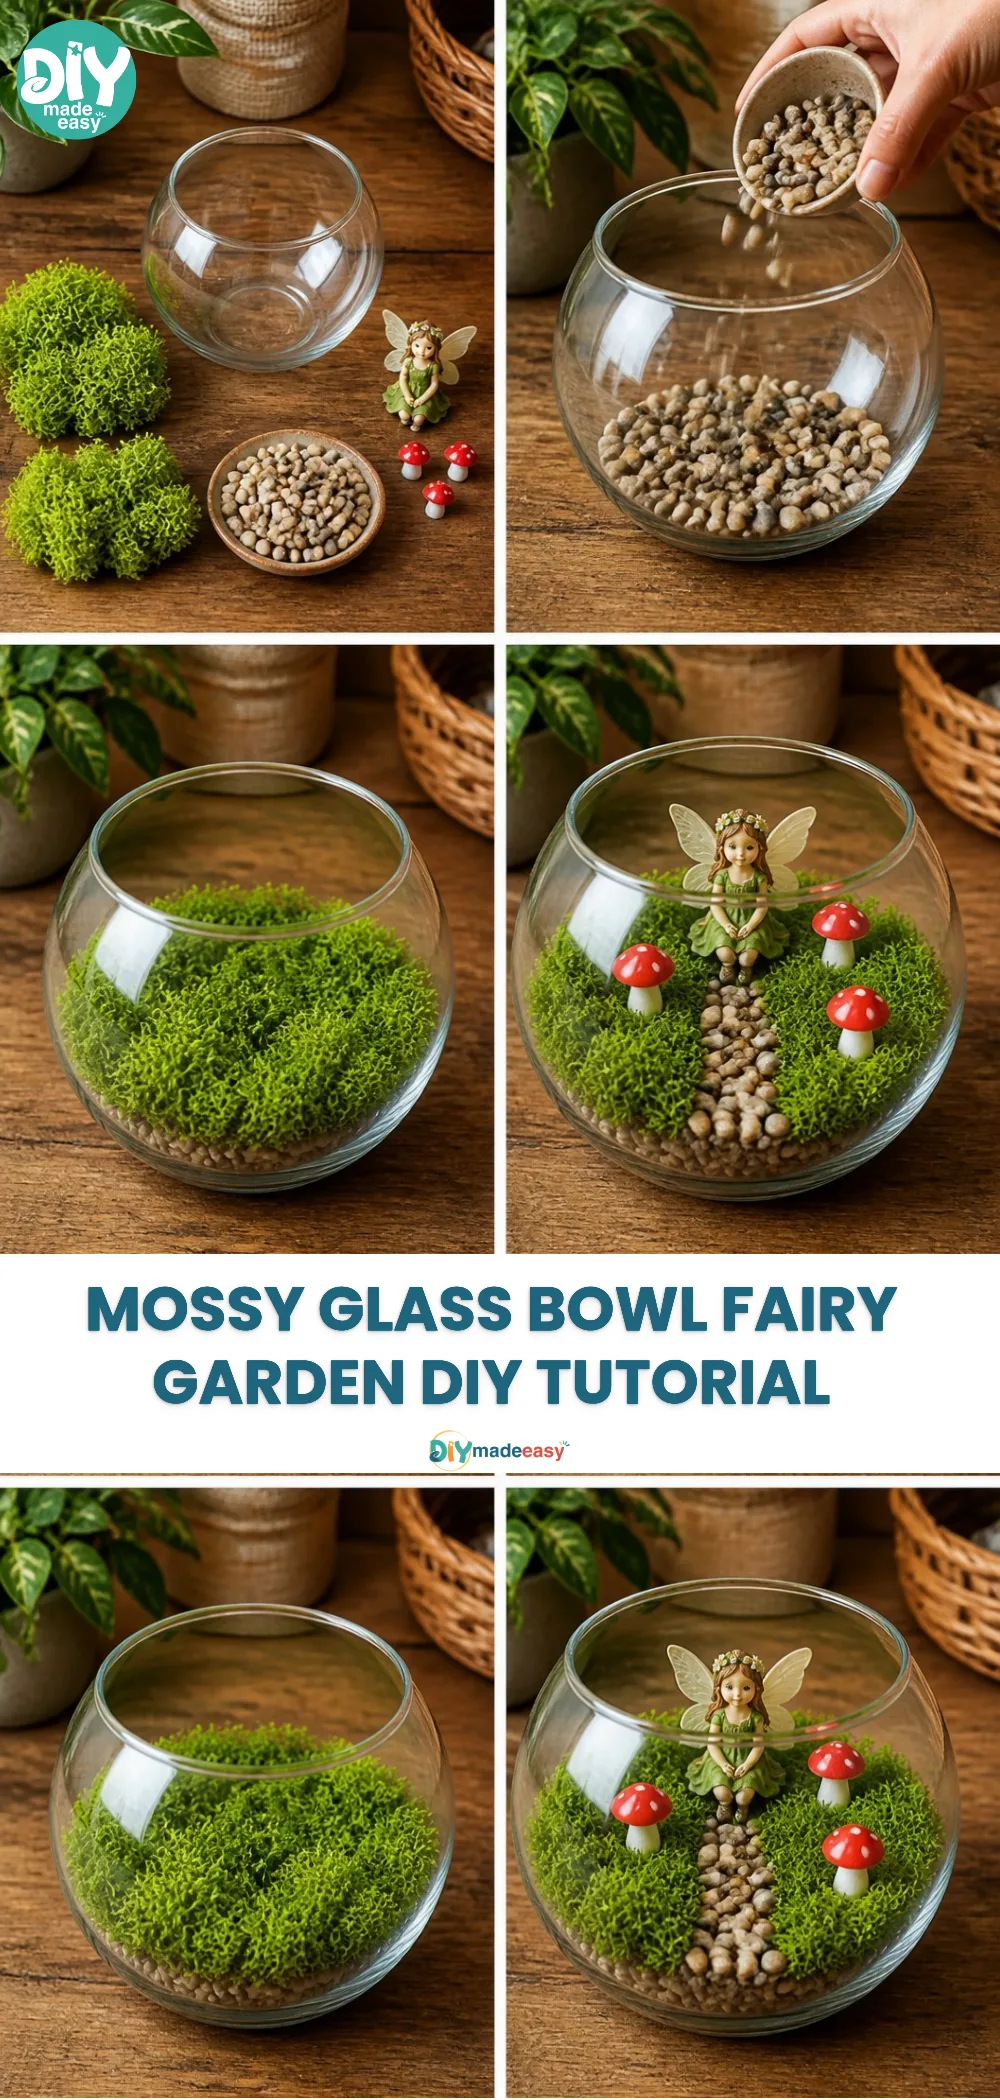
Creating a fairy garden in a glass bowl is an extraordinary blend of creativity and tranquility. It’s low-prep, making it approachable for parents and kids alike, fitting snugly into busy schedules. The beauty of this project is that it leverages simple materials, often readily available at home. It requires minimal clean-up, allowing for more playtime after the crafting is done. Plus, the satisfying outcome a friendly garden that can come alive with stories and imagination means you’ll both feel proud of what you’ve created together. You may also find Diy Crystal Garden Watch Science Bloom useful.
A Quick Look Before You Begin
Before diving into the crafting fun, it’s helpful to have a quick overview of what to expect. The entire process usually takes about an hour from start to finish, but take your time! The set-up is straightforward, involving placing materials in layers, which is also a great opportunity for some gentle guidance from an adult. As you work, the mess level is quite manageable just some soil and decorative bits that are easy to tidy up. This project encourages collaboration, where you can step in if needed, but also allows kids plenty of space to explore their ideas and creativity. You may also find Diy Glass Bead Heart Suncatcher useful.
Materials You’ll Need
Here is the list of materials directly based on the core requirements for this DIY project. Most of these should be common household items or easy to find at local stores: You may also find Diy Glass Bead Suncatcher useful.
- A glass bowl (common household item)
- Potting soil (easy substitute: garden soil)
- Small plants or succulents (optional but vibrant addition)
- Decorative moss (check out faux options)
- Miniature fairy garden items (optional, budget-friendly)
- Craft decorations (like stones, or other natural items for embellishing)
Step-by-Step Directions
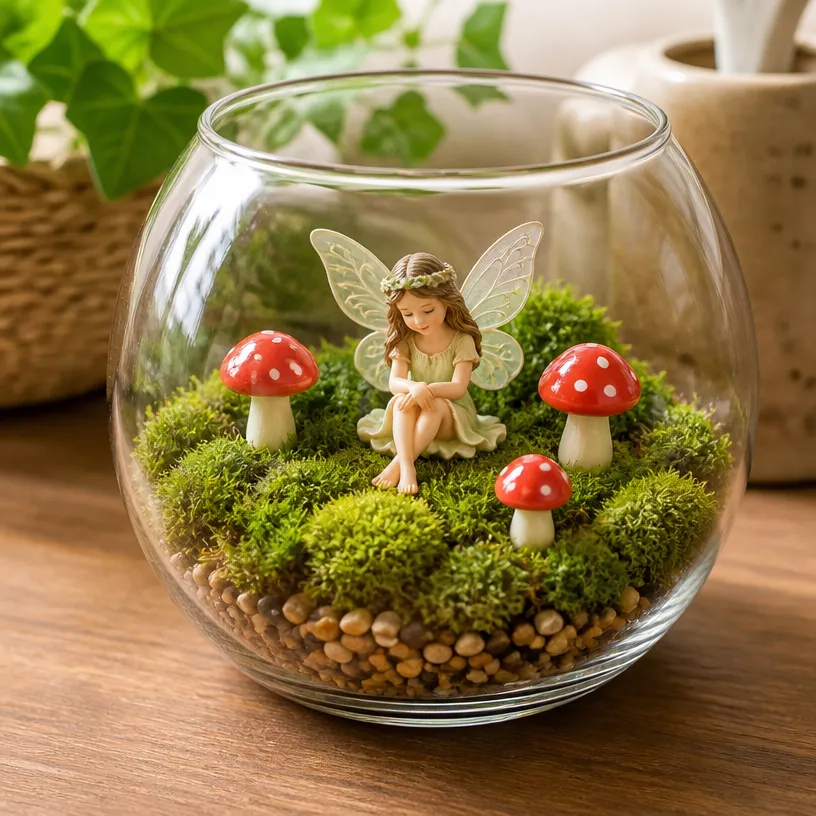
- Start by choosing a clean, clear glass bowl. This will be the foundation of your fairy garden, so make sure it’s free of any residues.
- Add a layer of potting soil to the bottom of the bowl. You want about an inch or so at the base; it will help with drainage and support your plants.
- Decide where you want to place the small plants or succulents in the soil. Gently press them into the soil, ensuring they’re secured but not too tightly.
- Next, take your decorative moss and layer it over the soil. This is where you can let the kids get creative arranging it to look like a magical forest floor.
- Now comes the fun part: decorate! Let your children place miniature items or garden accessories in the bowl. They can arrange everything to reflect their own fairy-tale landscape.
- Once everything is arranged, step back and admire your work. A little watering might be needed for the plants be cautious to avoid making it too soggy.
What Kids Practice While Making This
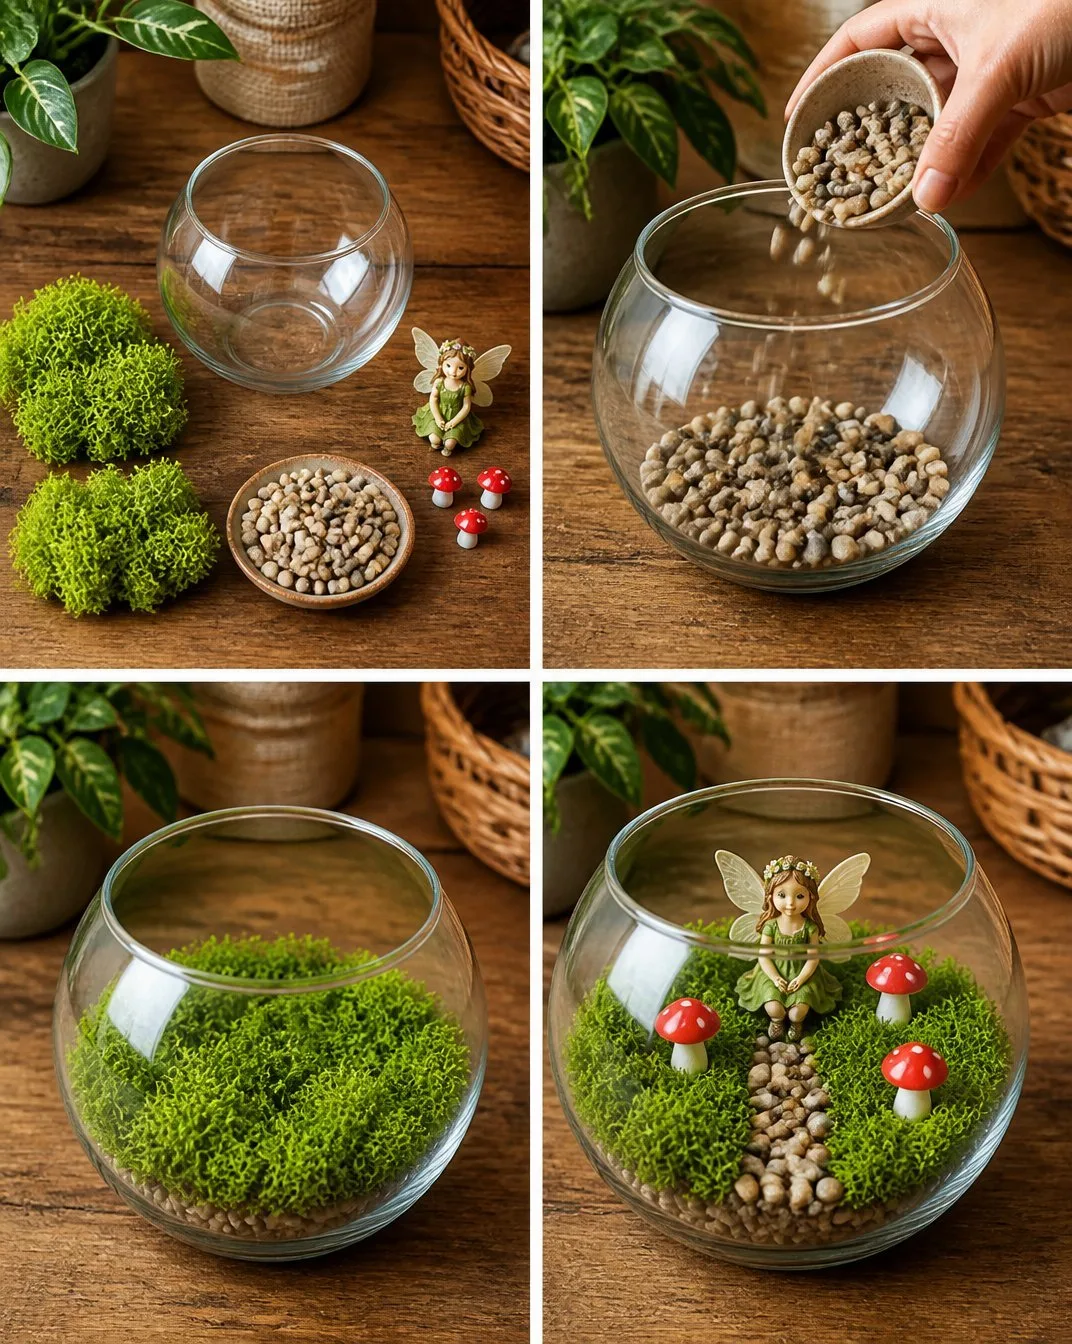
While making the DIY Glass Bowl Fairy Garden, kids practice various skills without even realizing it. They engage in hands-on activities that develop fine motor skills through grasping, arranging, and planting. Moreover, the project encourages coordination as they work to balance their decorations and create an aesthetically pleasing design. Children will also explore basic science concepts such as plant care and growth while understanding the cause and effect of watering and sunlight on their tiny garden.
Troubleshooting Common Issues
Sometimes, things might not go as smoothly as planned. If you notice the soil is too dry after a few days, that means it’s time for a gentle splash of water. If the plants seem to wilt, they might also need more sunlight or could be overcrowded. Adjusting their positions slightly can allow for better growth. And in the case of a little mess from soil spills, a damp cloth or paper towels works wonders to clean up without much hassle.
Easy Variations to Try
To keep the creativity flowing, consider these fun variations:
- Use a larger bowl for a more intricate garden with multiple layers and designs.
- Change themes seasonally, like adding fall leaves for autumn or miniature snowflakes for winter.
- Try crafting a mini garden for different holidays, making it a regular project throughout the year.
Storing or Reusing This Project
After the project is complete, think about its longevity. The glass bowl can be reused for other crafts, and any decorative materials can be saved for future projects too! If you need to clean it up, simply remove the plants and moss, clean the bowl, and store it for the next creative session. Keeping everything organized reduces waste and gives you a chance to revisit this delightful project again later.
FAQs About DIY Glass Bowl Fairy Garden with Moss
Is it messy to make?
While there may be a bit of soil involved, it’s easily cleanable. Just have a damp cloth on hand for quick clean-up!
What age group is this best for?
This activity is suitable for kids aged 5 and up, with adult supervision for younger children, especially with any sharp tools.
Can I substitute any materials?
Absolutely! If you don’t have moss or specific decorations, use small stones, pebbles, or other natural elements.
How do I keep the plants healthy?
Ensure they get enough sunlight and water as needed. Regular checks can help identify any issues early.
Can I use this as a centerpiece for a party?
Definitely! These fairy gardens make for whimsical decorations that can engage children’s imaginations during gatherings.
Conclusion
Creating a DIY Glass Bowl Fairy Garden with Moss is a wonderful way to spark creativity and provide a soothing activity for your children. Not only do they get to craft something beautiful, but they also learn valuable skills along the way. For additional supplies, consider checking out this faux moss option, which can make your project even easier. For more crafting ideas, you can explore this mini fairy garden inspiration!
PrintDIY Glass Bowl Fairy Garden with Moss

Engage your kids in crafting a whimsical fairy garden using simple materials from home. This delightful project encourages creativity and collaboration.
- Prep Time: 15 minutes
- Cook Time: 45 minutes
- Total Time: 60 minutes
- Yield: 1 fairy garden
- Category: Craft
- Method: Crafting
- Cuisine: N/A
- Diet: N/A
Ingredients
- A glass bowl
- Potting soil
- Small plants or succulents (optional)
- Decorative moss
- Miniature fairy garden items (optional)
- Craft decorations (like stones or other natural embellishments)
Instructions
- Start by choosing a clean, clear glass bowl.
- Add a layer of potting soil to the bottom of the bowl.
- Decide where to place the small plants or succulents in the soil.
- Next, layer your decorative moss over the soil.
- Now comes the fun part: decorate with miniature items or garden accessories.
- Once everything is arranged, step back and admire your work.
Notes
Consider using a larger bowl for more intricate designs or changing themes seasonally.
Nutrition
- Serving Size: 1 garden
- Calories: 0
- Sugar: 0g
- Sodium: 0mg
- Fat: 0g
- Saturated Fat: 0g
- Unsaturated Fat: 0g
- Trans Fat: 0g
- Carbohydrates: 0g
- Fiber: 0g
- Protein: 0g
- Cholesterol: 0mg