

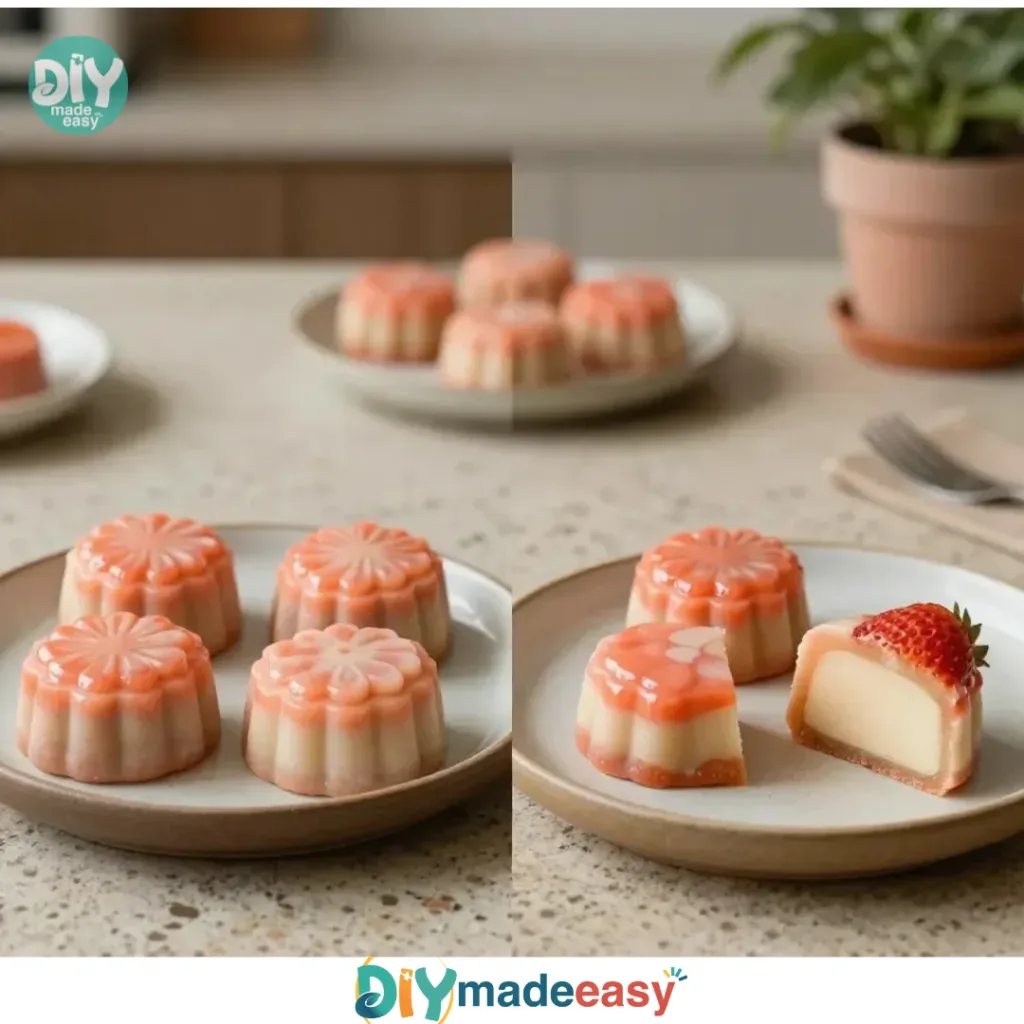
Making creative projects with kids can sometimes feel like a race against the clock, especially on a busy afternoon when they declare it’s time for some artistic fun. When you find yourself needing a last-minute activity that is both engaging and easy to clean up, Marbled Air Dry Clay Pots can be an ideal choice. This project not only sparks creativity but also results in colorful, functional pots that can serve as lovely homes for small plants or a stylish place to store supplies. The best part is that these pots are made from simple materials you likely already have at home. You may also find Fairy Dust Bouncy Balls useful.
Why This Marbled Air Dry Clay Pots Works So Well
Creating Marbled Air Dry Clay Pots is a delightful activity because it’s low-prep and approachable, making it perfect for a quick afternoon crafts session. The process is fun and allows for plenty of creativity without the need for complex instructions or specialized tools. Unlike baking projects that require careful measurements and temperatures, this DIY is straightforward and reliable. Plus, air dry clay offers a forgiving medium that doesn’t require any heat to set, fitting seamlessly into various schedules and ensuring that even the most hectic days can accommodate some creative time. You may also find No Oven Needed Terracotta Pots useful.
A Quick Look Before You Begin
Before diving into making your Marbled Air Dry Clay Pots, it helps to have a clear overview of what to expect. The entire process can take about 30 to 45 minutes, not including drying time, which will typically be around 24 hours based on the clay’s package instructions. Set up is minimal—just a clean workspace and some easy-to-find materials. The mess level is also quite manageable; air dry clay can be easily cleaned up with a little water, making this a stress-free option for parents. Ideally, adult involvement can range from simply supervising to assisting with shaping the pots, depending on the child’s age and comfort level. You may also find Shaving Foam Marbled Hearts useful.
Materials You’ll Need
To create beautiful Marbled Air Dry Clay Pots, gather the following materials: You may also find Subtraction Haircut Using Sticky Notes useful.
- Air dry clay
- Acrylic paints or natural pigments
- Clay cutting tools (scissors or craft knife)
- Rolling pin
- Bowl of water
- Plastic wrap
These materials are commonly found around the home, making this a budget-friendly project. You might already have clay or paints from other craft adventures, which adds to the convenience and spontaneity of this activity.
Step-by-Step Directions
Follow these steps to make your Marbled Air Dry Clay Pots successfully:
Start by kneading a portion of air dry clay until it’s soft and pliable. This will help ensure it’s easy to work with. You should feel it becoming smoother in your hands.
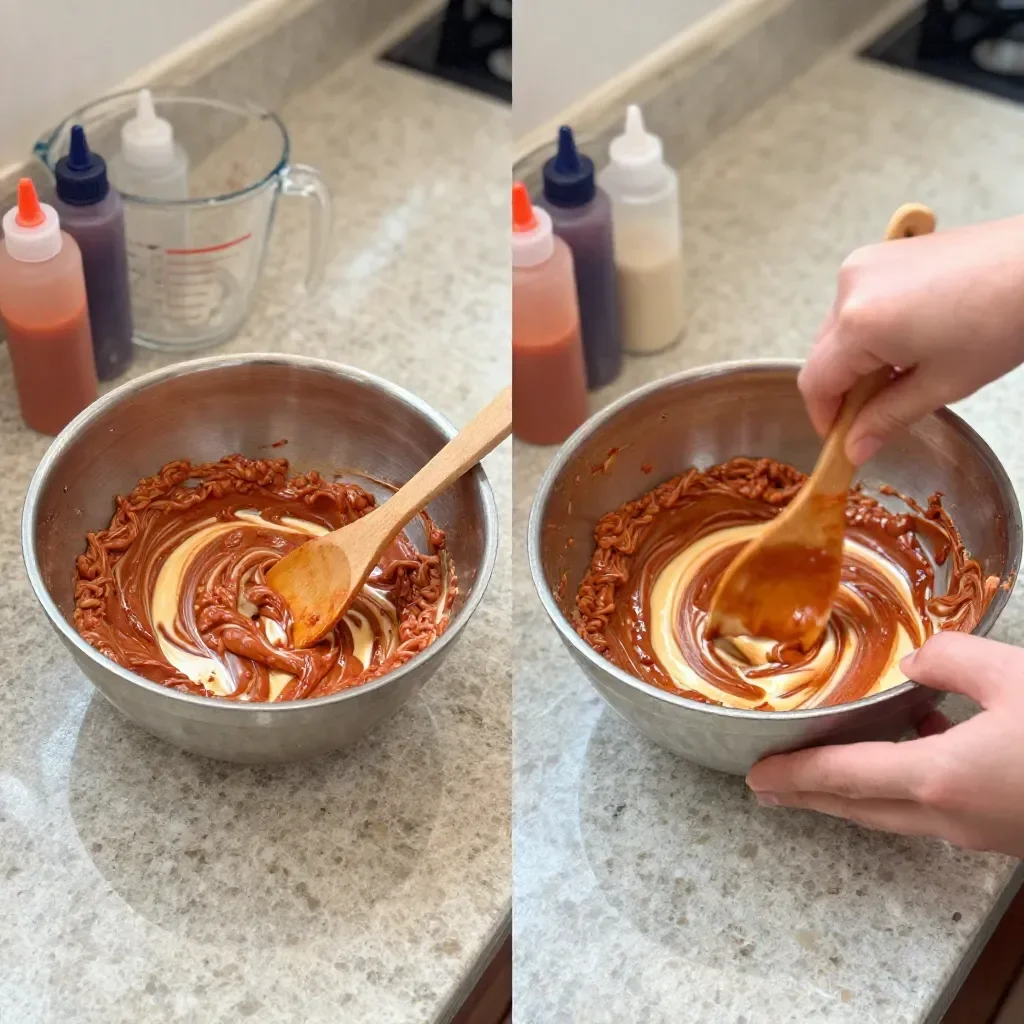
Separate the clay into smaller pieces, mixing each with a small amount of acrylic paint. Feel free to choose any colors that appeal to you—this is a fun way to explore color mixing!
Roll the colored pieces into snake shapes and swirl them together for a marbled effect. This step is perfect for engaging the kids as they can experiment with how much swirling creates the best marbling.
Flatten the marbled clay into a pancake shape using a rolling pin. Aim for an even thickness to ensure your pot’s walls will hold up well.
Shape the flattened clay into a pot, ensuring the rim is thicker for a defined edge. This is where creativity shines, as kids can create various shapes—round, square, or even abstract designs.
Smooth any rough edges with water if needed. Dip your fingers in water to help blend and refine the edges. It’s like giving the pot a spa treatment!
Allow the pot to dry completely according to package instructions (about 24 hours). Ensure it’s placed in a well-ventilated area, but out of direct sunlight.
Once complete, use it for plants, as a decorative piece, or for supplies. The finished pots can be personal gifts or even unique decorations for your space!
The Learning Behind This DIY
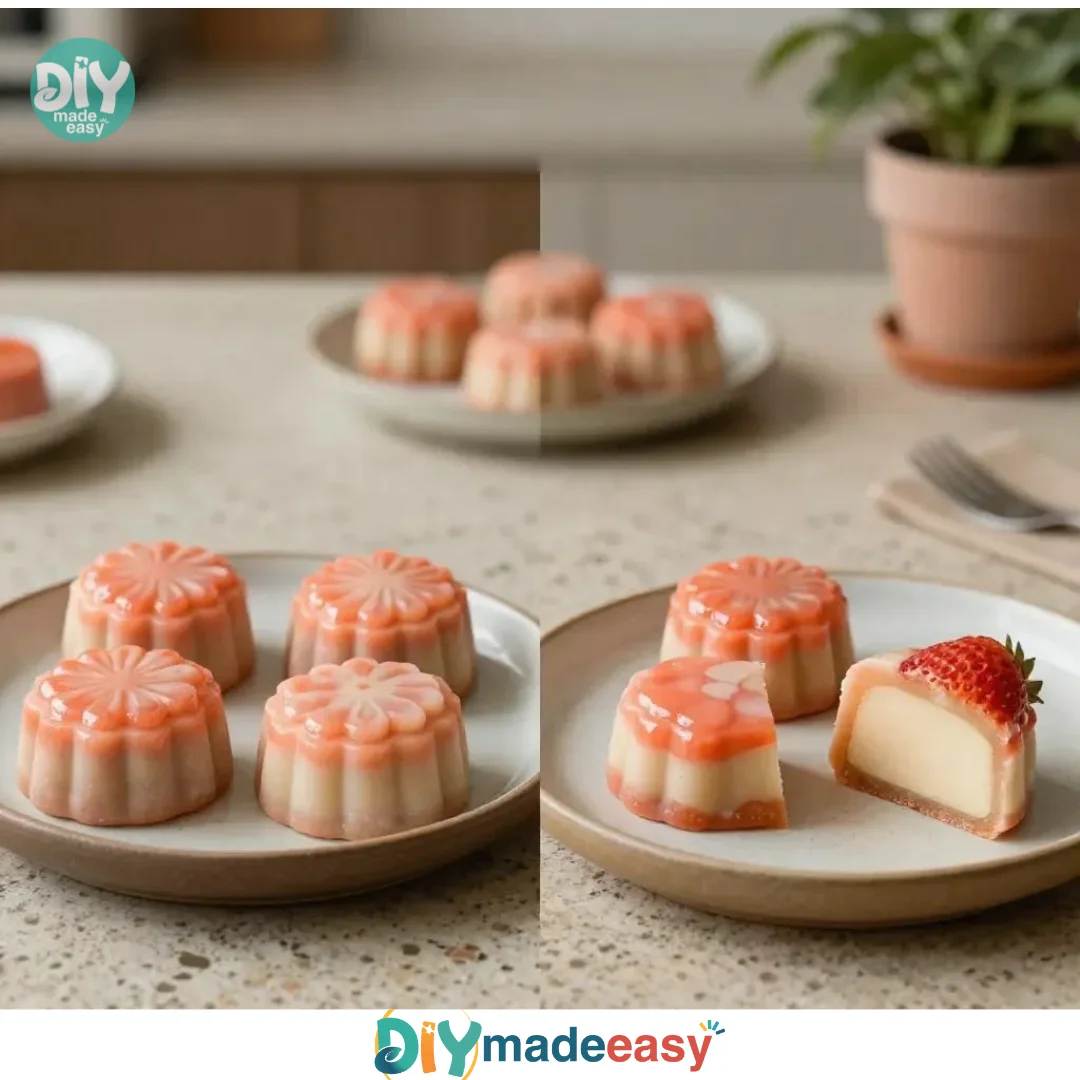
Engaging in crafts like making Marbled Air Dry Clay Pots supports various skills, especially for kids. The hands-on experience helps develop fine motor skills as they knead, roll, and shape the clay. They learn about the cause and effect of mixing colors, observing how different shades create new ones. This project also introduces basic science concepts, such as how air dry clay sets over time without heat, blending creativity with educational value. All these activities foster coordination and enhance their artistic expression in a balanced way.
Troubleshooting Common Issues
If something doesn’t go as planned during your clay project, don’t worry. One common issue is that the clay might dry out too quickly—this typically happens if it’s left exposed for a prolonged period. If you find that the clay is getting too stiff, cover it with a damp cloth to keep it moist while working. If rough edges appear after shaping, simply dip your finger in water to smooth them out. These small fixes can help avoid frustration and keep the creative flow going!
Easy Variations to Try
Creating Marbled Air Dry Clay Pots can be customized plenty! Here are a few variations to inspire your creativity:
- Try different shapes: Instead of pots, create bowls, trays, or decorative tiles. Each shape carries its unique appeal.
- Seasonal Themes: Incorporate seasonal colors or decorations, like fall colors for autumn or bright florals for spring.
- Textured pots: Use stamps or natural materials like leaves to imprint textures onto the clay before it dries.
- Paint after drying: Let the pots dry first, then paint with additional designs or embellishments to make them even more personal.
Storing or Reusing This Project
When you’re finished with the Marbled Air Dry Clay Pots, consider how to store or reuse your materials efficiently. If you have leftover clay, wrap it tightly in plastic wrap to prevent it from drying out. Store the pots in a cool, dry place, and if they are used for plants, make sure to consider drainage options. If using for supplies, label the pots to maximize organization and reduce clutter.
FAQs About Marbled Air Dry Clay Pots
Will this project be messy?
It might get a bit messy, but nothing a little water and paper towels can’t handle. Just cover your work surface to make cleanup easier.
What age is this project suitable for?
This activity is perfect for a wide range of ages, from preschoolers with supervision to older children who may need minimal guidance. Adjust your involvement based on their comfort and skill level.
Can I use different materials instead of air dry clay?
While air dry clay works best for this project due to its ease and accessibility, you could explore alternatives like polymer clay, keeping in mind that different materials have varying drying and baking requirements.
How long do the pots take to dry?
Typically, they should dry for about 24 hours, but this can vary based on humidity and temperature. Always refer to the package instructions for the best results.
Can I reuse the clay if it dries out?
If your clay has dried out but is still somewhat pliable, you can try to revive it with a little water. However, if it has hardened completely, it may be time to get a fresh batch.
A Final Helpful Note
Making Marbled Air Dry Clay Pots is not just a creative activity; it’s a way to bond with children and instill confidence in their artistic abilities. Allow for flexibility in colors and shapes, embracing the uniqueness of each creation. Enjoy the process as much as the results, knowing that each pot is a personal expression of creativity that adds joy to your home.
Conclusion
Crafting with kids can become a treasured moment of creativity and joy. For more inspiring ideas, check out this fantastic guide on DIY Marbled Clay Bowls or explore some unique tips for marbled clay jewelry. Happy creating!
PrintMarbled Air Dry Clay Pots
Create colorful and functional marbled pots using air dry clay and acrylic paints in a fun craft project for kids.
- Prep Time: 15 minutes
- Cook Time: 0 minutes
- Total Time: 30 minutes
- Yield: Varies based on pot size
- Category: Craft
- Method: DIY
- Cuisine: N/A
- Diet: N/A
Ingredients
- Air dry clay
- Acrylic paints or natural pigments
- Clay cutting tools (scissors or craft knife)
- Rolling pin
- Bowl of water
- Plastic wrap
Instructions
- Knead a portion of air dry clay until it’s soft and pliable.
- Separate the clay into smaller pieces, mixing with a small amount of acrylic paint.
- Roll the colored pieces into snake shapes and swirl them together.
- Flatten the marbled clay into a pancake shape using a rolling pin.
- Shape the flattened clay into a pot with a thicker rim.
- Smooth any rough edges with water if needed.
- Allow the pot to dry completely according to package instructions (about 24 hours).
- Use the finished pots for plants or decorative storage.
Notes
Engaging in this craft supports fine motor skills and creativity. You’ll need minimal adult supervision, making it a great activity for kids.
Nutrition
- Serving Size: 1 pot
- Calories: 0
- Sugar: 0g
- Sodium: 0mg
- Fat: 0g
- Saturated Fat: 0g
- Unsaturated Fat: 0g
- Trans Fat: 0g
- Carbohydrates: 0g
- Fiber: 0g
- Protein: 0g
- Cholesterol: 0mg