

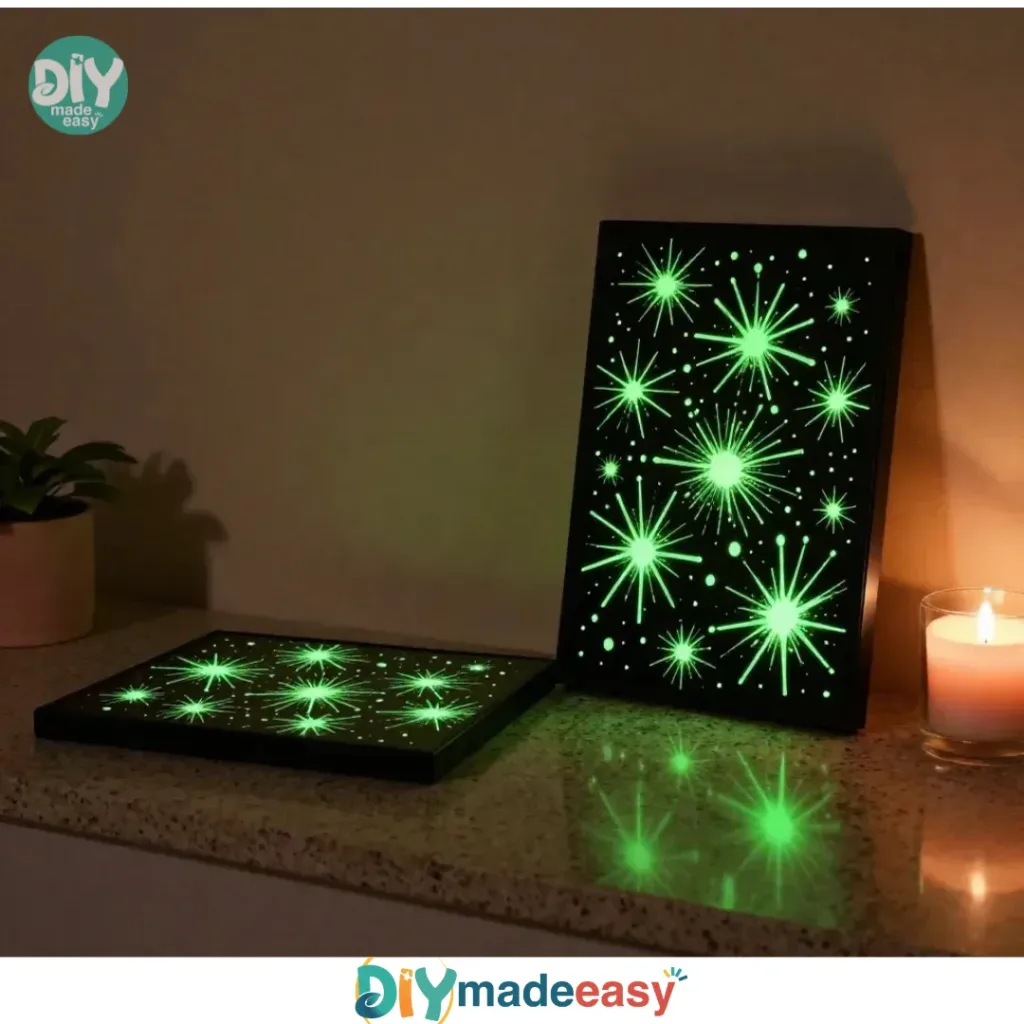
Making art with your kids can transform a hectic afternoon into a joyful bonding experience. Just imagine, your little ones are bouncing around, asking for something fun and creative to do. In this moment, why not dive into making your own glow puffy paint art? This activity not only taps into their natural creativity but also adds a spark of excitement with the glow-in-the-dark elements. With simple materials and an easy process, you all will be able to create dazzling artworks that come to life after dark. Moreover, if you’re looking for another creative project, you might also enjoy learning about how to grow your own rainbow.
Why You’ll Love Making Make Your Own Glow Puffy Paint Art
You may also find Make Your Own Aroma Stones At Home useful.
The beauty of making your own glow puffy paint lies in its simplicity and low-prep requirements. This project is approachable for all ages and abilities, requiring few materials that most households already have. Kids can express themselves freely while experimenting with color and texture. Plus, the delight of watching their vibrant creations glow can make the activity even more rewarding. You may also find Whimsical Bubble Painting Art Kids Diy Fun useful.
Not only is it low on prep work, but it also fits perfectly into busy schedules. Whether it’s a quick weekend project or a spontaneous weekday activity, you can whip up this DIY in no time. And when art time is over, the cleanup is easy. With just a quick rinse or wipe down, you can get back to your day.
A Quick Look Before You Begin
Getting started with your glow puffy paint art is easier than you might think. The entire setup process takes just a few moments. With some mixing and painting time thrown in, you’ll find that the whole activity can fit nicely within a dedicated hour or so. Adults can participate actively by helping with mixing or supervising, ensuring safety and fun. While the mess level is minimal, it’s always wise to lay down some newspaper or a plastic sheet to catch any drips.
Materials You’ll Need
To create your glow puffy paint, gather these essential materials:
- 1 cup white school glue
- 2 cups shaving cream
- Food coloring or washable liquid paint
- Glow in the dark powder (optional)
- Mixing bowl
- Spoon or spatula for mixing
- Paintbrushes or squeeze bottles
- Craft paper or cardboard
- Container for storage
Most of these supplies are common household items, making this activity budget-friendly. If you don’t have glow powder, don’t fret; the paint is still vibrant without it, and food coloring is readily available in most kitchens.
Step-by-Step Directions
Now, let’s dive into the magical creation of your own glow puffy paint art. Follow these steps closely for the best results and enjoy the unexpected surprises along the way.
Measure 1 cup of white school glue into a mixing bowl. The glue acts as the base for your paint.
Gently add 2 cups of shaving cream to the glue. This provides the fluffy texture that will make your paint unique.
Mix the glue and shaving cream together gently to maintain fluffiness. Be careful not to overmix, as you want to preserve that airy quality.
Add a few drops of food coloring or paint and stir until desired hue is achieved. Feel free to let the kids choose their favorite colors or experiment with new combinations!
Sprinkle in glow-in-the-dark powder if you’re using it, and mix until smooth but fluffy. The amount of powder can vary based on how much glow you want in your project.
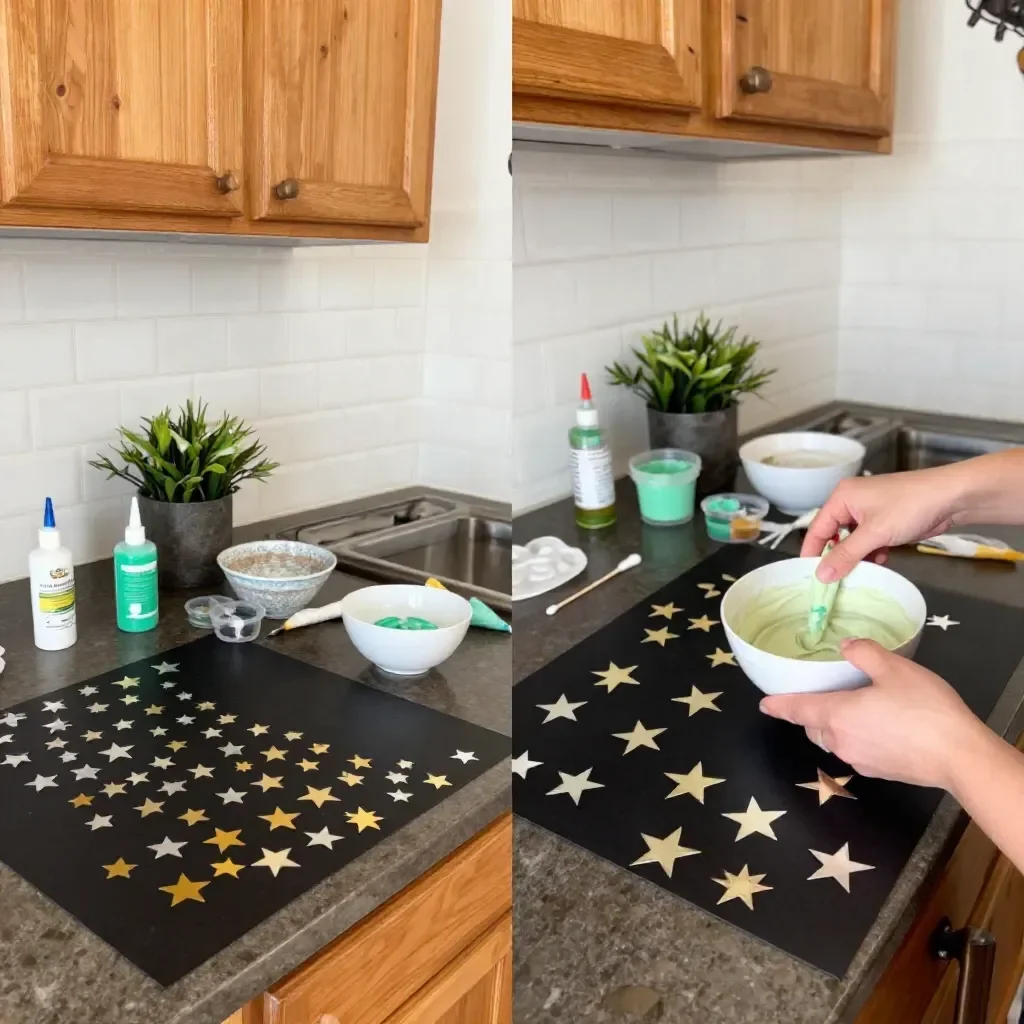
Use brushes or squeeze bottles to paint your design on craft paper or cardboard. Encourage creativity—abstract designs, simple shapes, or characters all come to life with this paint!
Allow artwork to dry completely for several hours or overnight. During this waiting time, share stories about the art or plan for what comes next.
The Learning Behind This DIY
While your kids are having fun, they are also picking up useful skills! This activity introduces basic science concepts, such as mixing substances to see how they change. The fluffy texture of the paint develops an understanding of physical properties. As kids squeeze the bottles or maneuver brushes, they practice their fine motor skills and hand-eye coordination. The cause-and-effect relationship, like seeing how colors blend or change with the addition of powder, sparks curiosity and fosters learning.
Troubleshooting Common Issues
If something doesn’t quite go as planned, don’t worry—it’s all part of the creative process! Sometimes the paint might be too runny; if that’s the case, adding a little extra glue can help thicken it up. If it’s too thick, try incorporating a bit more shaving cream. Just remember, art is about enjoying the journey, not achieving perfection.
Easy Variations to Try
To keep the fun going, here are a few variations you can try:
- Seasonal themes: Create pumpkins for Halloween or flowers for spring.
- Texture additives: Incorporate salt or sand for unique surface effects.
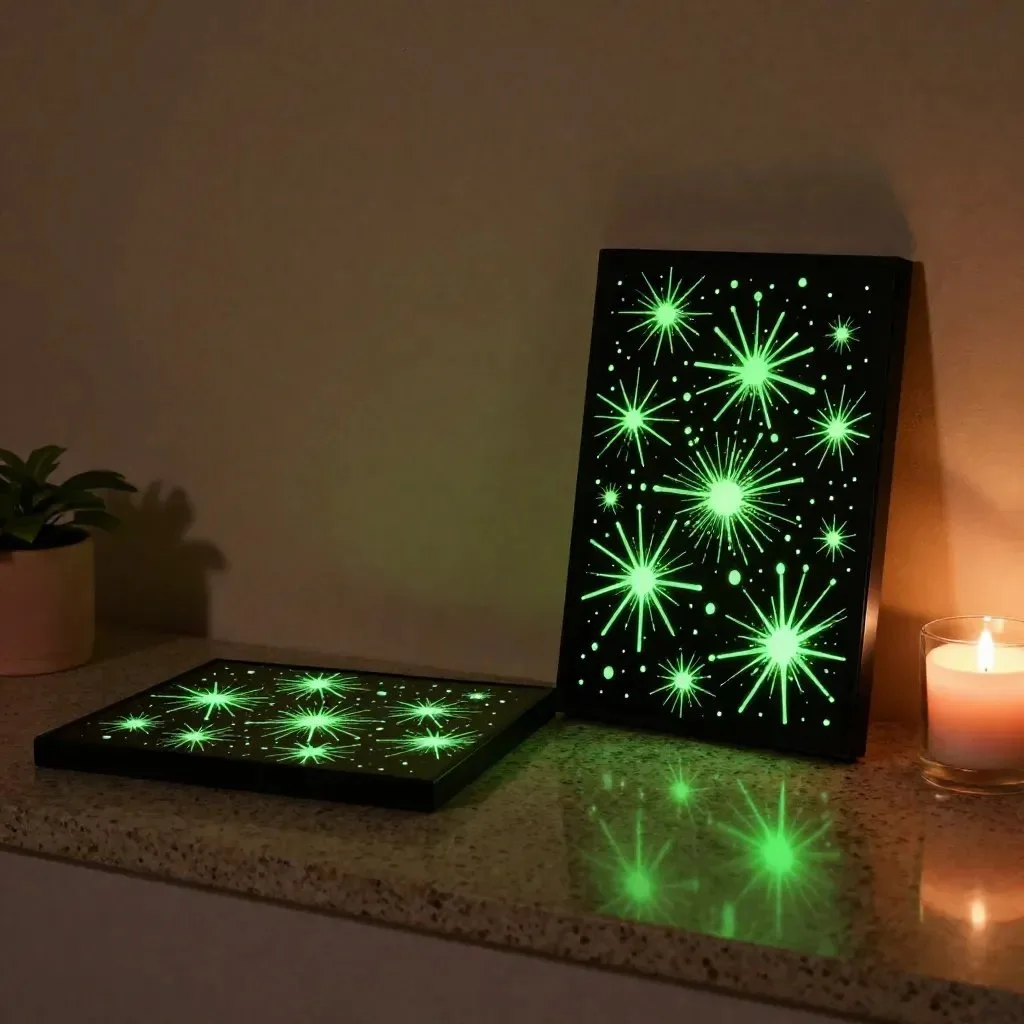
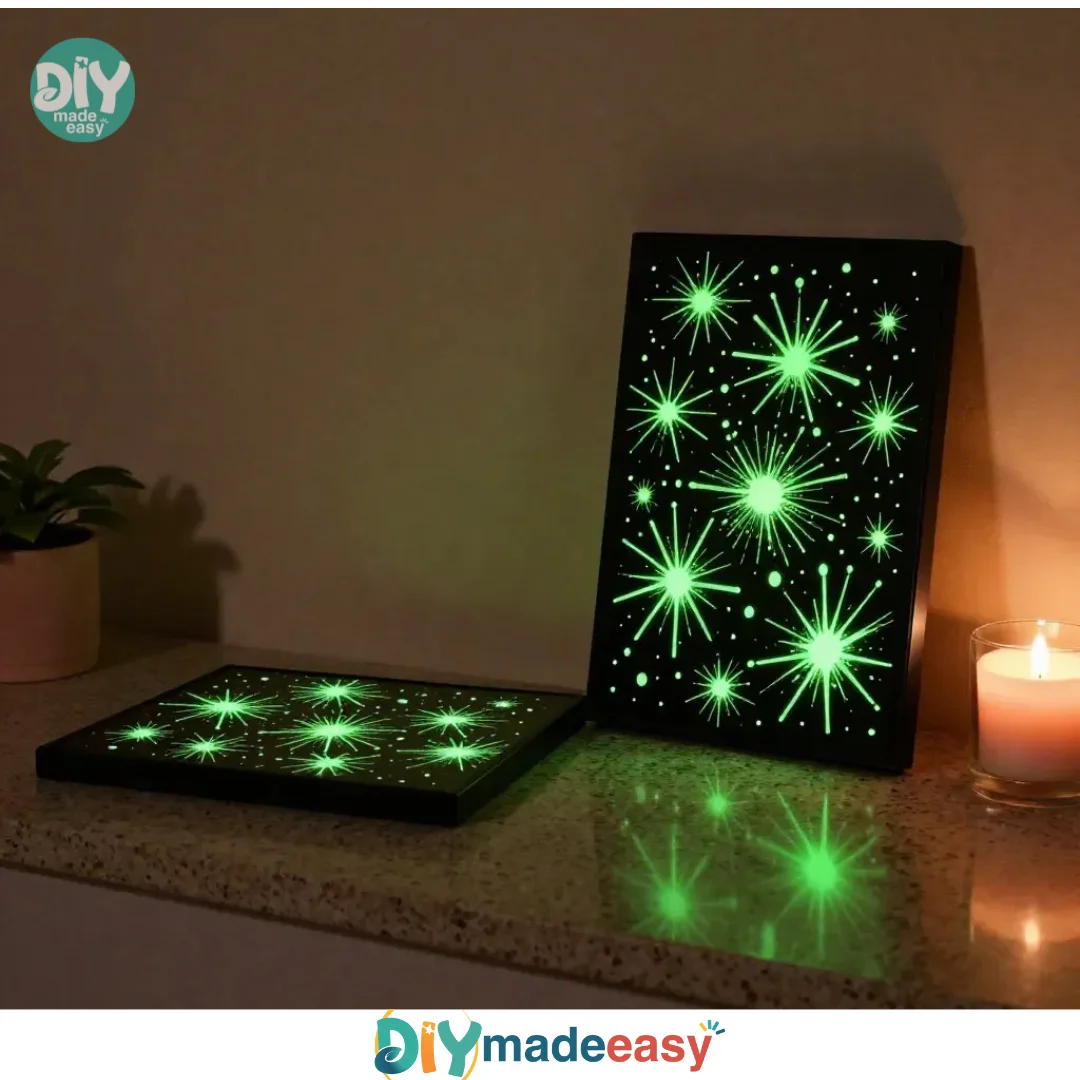
- Glow patterns: Use stencils to create glowing patterns or shapes in the dark.
- Mixed media: Combine this paint with other projects like resin art for stunning results.
Storing or Reusing This Project
After your artwork is complete, you can choose to store any leftover paint in a sealed container. This will help keep it fresh for future projects. Consider keeping the art too; display it proudly or use it as gift wrapping for special occasions. It’s also a great way to teach kids about reusing materials creatively!
FAQs About Make Your Own Glow Puffy Paint Art
What if my kids spill the paint? It’s common for little hands to get messy with paint. Use an old tablecloth or newspapers for easy cleanup, and don’t stress; it’s all part of the fun!
Is this activity safe for younger children? Yes, all materials used are non-toxic. Nonetheless, supervise younger kids during the project, especially when using scissors or other tools.
Can I substitute food coloring? Absolutely! If you have washable paint at home, that works too. Just ensure it’s safe for the intended use.
How long will the paint last? When stored properly, your paint can last for weeks. However, for the best outcome, use it fresh for the brightest results.
Can we reuse the glow powder? If stored correctly, the glow powder should last indefinitely, but its effectiveness may lessen over time.
Conclusion
Creating your own glow puffy paint is not just a craft; it’s a cherished experience that families can share. As you enjoy this project, consider exploring other painting ideas, like homemade paint recipes to find new creative outlets. Alternatively, check out this fun hearts rock painting kit, which offers an exciting twist on your painting adventures. Let your creativity shine brightly!
PrintMake Your Own Glow Puffy Paint Art
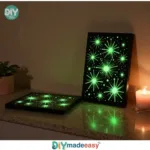
Engage your kids in a fun and messy creative experience with DIY glow puffy paint that glows in the dark.
- Prep Time: 10 minutes
- Cook Time: 0 minutes
- Total Time: 60 minutes
- Yield: Variable; accommodates multiple projects
- Category: Craft
- Method: Mixing
- Cuisine: N/A
- Diet: N/A
Ingredients
- 1 cup white school glue
- 2 cups shaving cream
- Food coloring or washable liquid paint
- Glow in the dark powder (optional)
- Mixing bowl
- Spoon or spatula for mixing
- Paintbrushes or squeeze bottles
- Craft paper or cardboard
- Container for storage
Instructions
- Measure 1 cup of white school glue into a mixing bowl.
- Add 2 cups of shaving cream to the glue.
- Mix the glue and shaving cream together gently.
- Add a few drops of food coloring or paint and stir until desired hue is achieved.
- Sprinkle in glow-in-the-dark powder if using, and mix until smooth but fluffy.
- Use brushes or squeeze bottles to paint your design on craft paper or cardboard.
- Allow artwork to dry completely for several hours or overnight.
Notes
Cover your workspace with newspaper or plastic to catch drips. Supervise younger children during the project.
Nutrition
- Serving Size: 1 serving (of paint)
- Calories: 50 (per tablespoon of paint)
- Sugar: 0g
- Sodium: 5mg
- Fat: 0g
- Saturated Fat: 0g
- Unsaturated Fat: 0g
- Trans Fat: 0g
- Carbohydrates: 0g
- Fiber: 0g
- Protein: 0g
- Cholesterol: 0mg