

It’s a busy afternoon, and your kids are buzzing with creativity, eager to make something special. You glance around and voila! DIY Autumn Leaf Salt-Dough Ornaments for Keepsakes come to mind. This easy project not only occupies those curious hands but also provides a wonderful opportunity to appreciate the beauty of autumn leaves while creating lasting memories. The best part is that it requires very basic materials that you likely already have at home, making it an ideal quick craft for today. You may also find Colorful Glass Suncatchers Diy Ornaments useful.
Why You’ll Love Making DIY Autumn Leaf Salt-Dough Ornaments for Keepsakes
You may also find Diy Bubble Print Butterfly Wings Craft For Kids useful.
This project is appealing for several reasons. First, it’s low-prep! You can whip up the dough with just three key ingredients: flour, salt, and water. Plus, you get to engage your children with nature as you collect assorted leaves for the decoration. Second, the approachability of decorating each ornament means that kids of various ages can participate, whether they’re shaping the ornaments or painting them afterward. Lastly, you can confidently rely on this method; it yields beautifully textured keepsakes that will make lovely gifts or beautiful home décor. You may also find Diy Cotton Pad Ice Cream Craft For Kids useful.
A Quick Look Before You Begin
Making DIY Autumn Leaf Salt-Dough Ornaments for Keepsakes is straightforward and requires minimal setup. You can expect the overall process to take about an hour or so, depending on your drying method oven baking will expedite the process, whereas air-drying will need additional waiting time. Mess is manageable; you’ll mainly deal with flour and paint, both of which can be cleaned up easily. An adult’s involvement is recommended during the baking phase to ensure safety, but your kids can handle much of the creative work. You may also find Diy Fidget Paper Clip Craft For Kids Fidget Craft useful.
Materials You’ll Need
- 1 cup flour (common household item)
- 1/2 cup salt
- 1/2 cup water
- Assorted leaves (optional for the decorative effect)
- Acrylic paint (for final touches)
- Twine (for hanging)
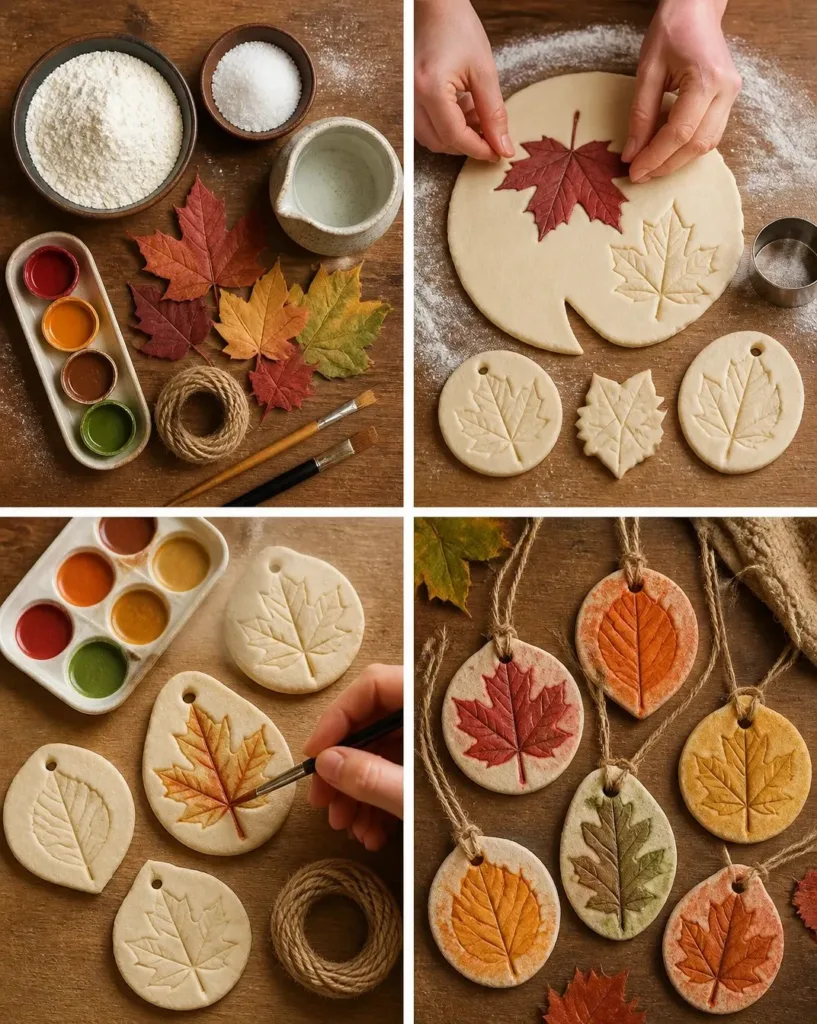
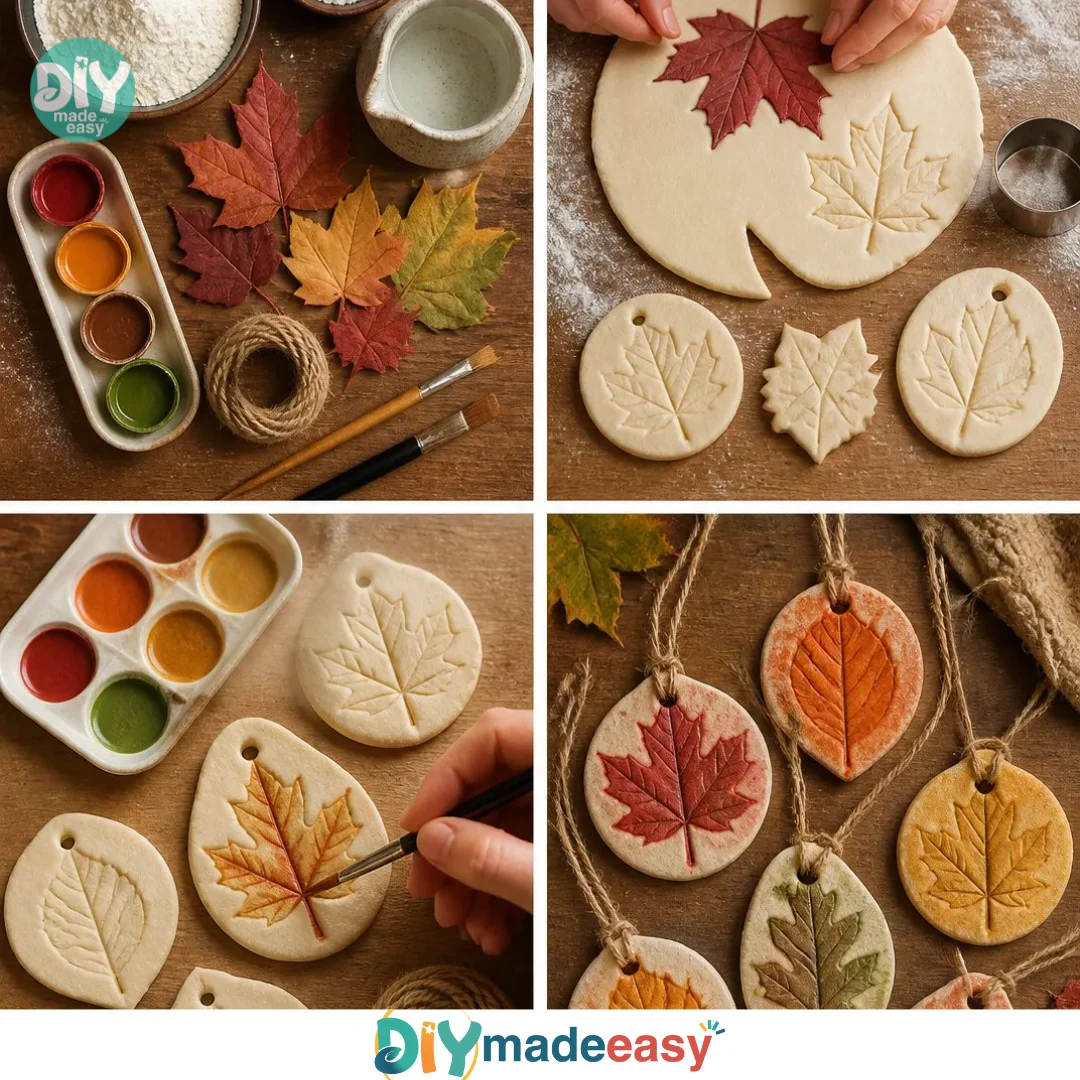
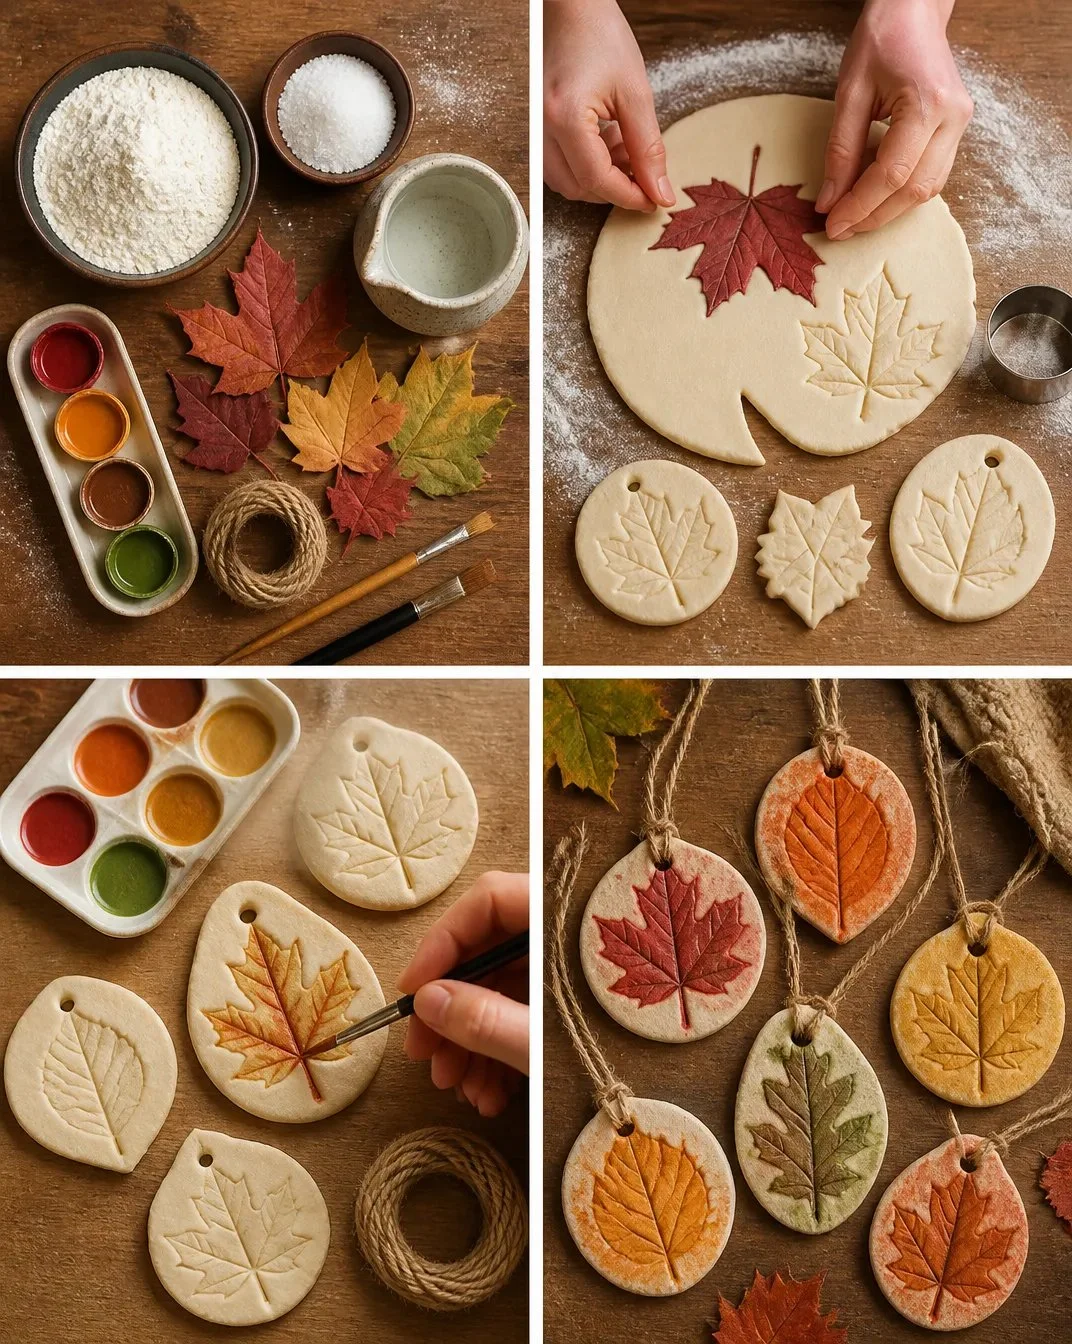
Gather these materials before starting for a smoother crafting experience. The flour and salt form the base of your dough, while assorted leaves will help create lovely imprints. Acrylic paint adds a splash of color at the end, and twine will allow you to turn your creations into hanging ornaments!
Step-by-Step Directions
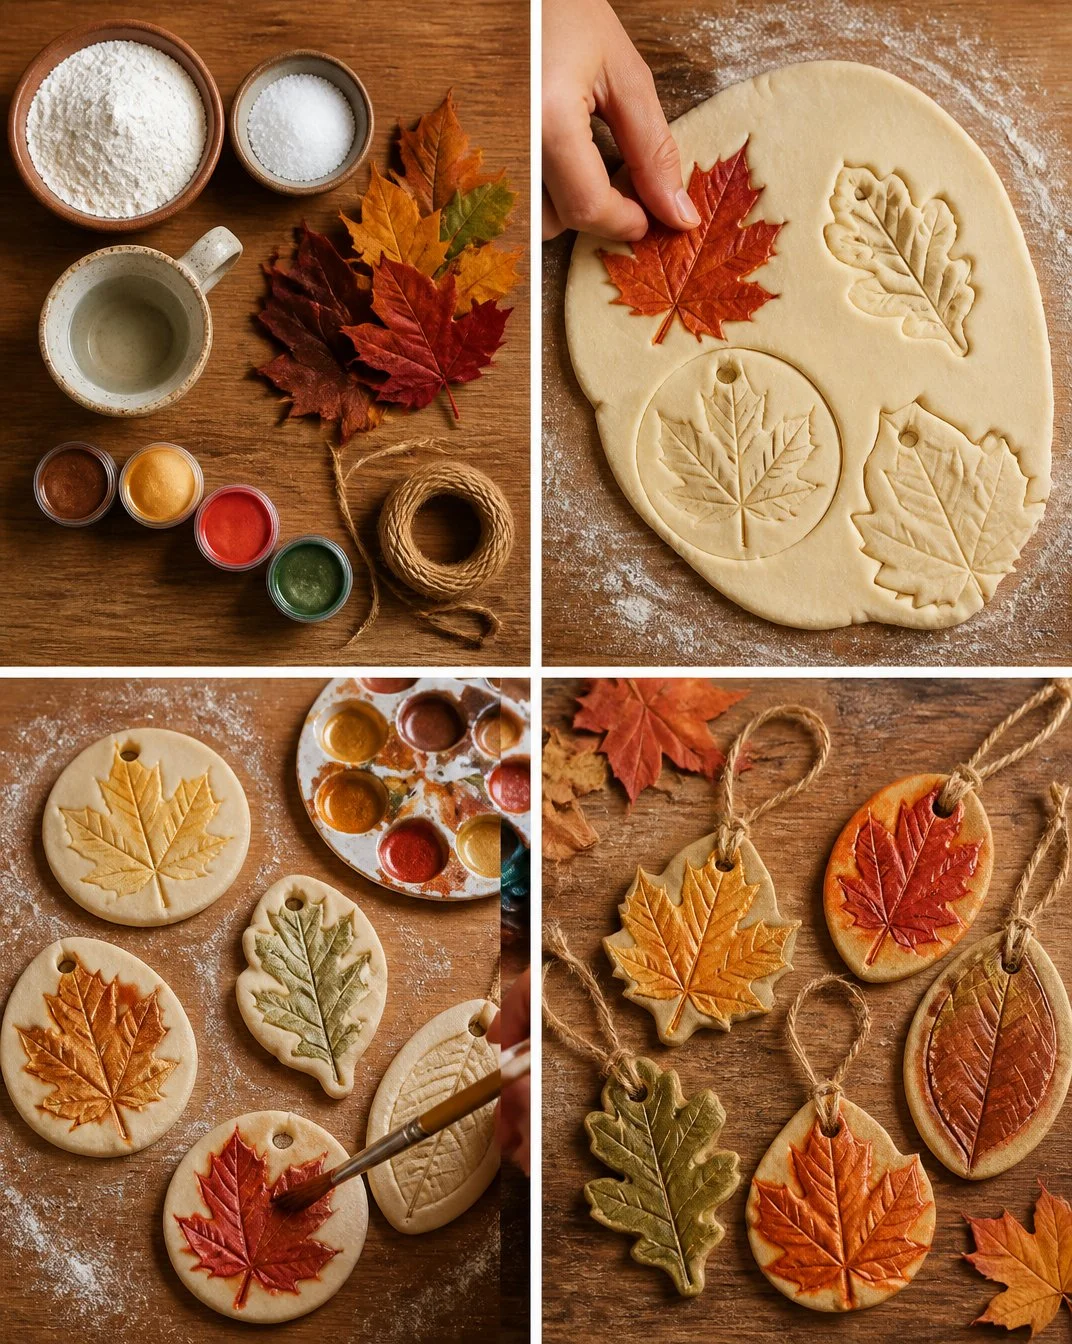
- In a bowl, mix the flour and salt thoroughly. This step ensures an even texture as you add water.
- Gradually pour the water into the mixture, stirring until a smooth dough forms. This may take a minute; keep an eye out for any lumps.
- Roll the dough out on a lightly floured surface until it reaches about 1/4 inch thick. You want it thin enough to show the leaf imprints but still sturdy.
- Firmly press the assorted leaves into the rolled dough, taking care to transfer their veins and shapes well. You may want to experiment with different leaf types for varied designs.
- Gently remove the leaves to reveal the imprints left on the dough.
- Cut around the impressions, creating a nice shape for each ornament. Don’t forget to make a small hanging hole near the top; a straw or your finger works well for this.
- If opting to bake, set your oven to a low temperature and place the cut ornaments on a baking tray. Bake until hard, taking about 30-60 minutes, depending on the thickness. Alternatively, leave them to air dry completely for a couple of days.
- Once dried and cool, lightly paint the raised details of your ornaments. This is where you can add personal touches and additional designs.
- Finally, allow the paint to dry, and thread twine through each hanging hole to prepare them for display.
The Learning Behind This DIY
While your kids engage in making these delightful ornaments, they touch on several important concepts. For instance, they practice fine motor skills as they roll, mold, and paint the dough. They also learn about cause and effect when pressing leaves onto the dough to produce prints, seeing how pressure changes the material’s appearance. Plus, they can explore creativity, choosing colors and designs that reflect their personalities. It’s a wholesome experience that combines art with a touch of science.
Troubleshooting Common Issues
Not everything may go perfectly the first time, and that’s okay! Sometimes, the dough might be too sticky. If this happens, simply add a light dusting of flour to your work surface and your hands while shaping. Alternatively, if the ornaments crack during baking, this can occur if they were too thick or if they were baked at too high a temperature. In that case, try leaving them to air-dry next time rather than using the oven. Reassuringly, even imperfections can add to the charm of your keepsakes.
Easy Variations to Try
Feel like switching things up? Here are some suggestions:
- Use cookie cutters to create different shapes aside from leaves.
- Experiment with food coloring mixed into the dough for vibrant colors.
- Try pressing other natural materials like flowers or pinecones into the dough for varied designs.
- Consider making ornaments for holidays, such as stars or snowflakes for winter festivities.
- For an added sensory touch, sprinkle a bit of cinnamon into the dough for a lovely autumn scent.
Storing or Reusing This Project
Once your painted ornaments are complete, you might wonder what to do with them. These keepsakes can be hung around the house or given as gifts, offering a personal touch that friends and family will cherish. If something happens to them, like a breakage, don’t fret. You can make more! Cleaning up is a breeze: just gather any leftover dough and store it in an airtight container for future use.
FAQs About DIY Autumn Leaf Salt-Dough Ornaments for Keepsakes
Is this a messy activity?
Yes, but it’s manageable! Both flour and paint can be cleaned up easily with a wet cloth. Just be prepared with some paper towels nearby.
Can I substitute any ingredients?
Sure! You can use more or less salt according to your preference, and you might try using alternative flour types, such as whole wheat flour.
How long will these ornaments last?
If properly dried and stored, these ornaments can last for many months or even years. Just keep them out of direct sunlight to preserve their colors!
Conclusion
Making DIY Autumn Leaf Salt-Dough Ornaments for Keepsakes is a splendid way to enjoy crafting time with your children while celebrating the beauty of the season. These simple yet artistic creations allow kids to explore both nature and their creativity. Should you wish to learn more about enhancing your experience with salt dough, visit Salt Dough Autumn Leaves – Learning and Exploring Through Play for additional fun ideas. You can also check out the Autumn Salt Dough Recipe – The Imagination Tree for variations that can add even more excitement to your crafting sessions. Enjoy this hands-on adventure, and let your imagination run wild!
PrintDIY Autumn Leaf Salt-Dough Ornaments
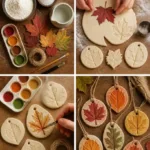
Engage your kids in crafting beautiful autumn leaf salt-dough ornaments, perfect for keepsakes and home decor.
- Prep Time: 15 minutes
- Cook Time: 30 minutes
- Total Time: 45 minutes
- Yield: 4 ornaments 1x
- Category: Crafts
- Method: Crafting
- Cuisine: N/A
- Diet: N/A
Ingredients
- 1 cup flour
- 1/2 cup salt
- 1/2 cup water
- Assorted leaves (for decoration)
- Acrylic paint (for final touches)
- Twine (for hanging)
Instructions
- Mix the flour and salt in a bowl thoroughly.
- Pour the water gradually into the mixture, stirring until a smooth dough forms.
- Roll the dough out on a lightly floured surface to about 1/4 inch thick.
- Press the assorted leaves into the rolled dough firmly.
- Remove the leaves to reveal the imprints left on the dough.
- Cut around the impressions to create the shape of each ornament, ensuring a small hanging hole is made.
- Bake in a preheated oven at a low temperature for 30-60 minutes, or air dry completely for a couple of days.
- Paint the raised details of your ornaments once dried and cool.
- Thread twine through each hanging hole for display.
Notes
An adult’s involvement is recommended during the baking phase for safety. Add food coloring or experiment with shapes for variations.
Nutrition
- Serving Size: 1 ornament
- Calories: 50
- Sugar: 0g
- Sodium: 1200mg
- Fat: 1g
- Saturated Fat: 0g
- Unsaturated Fat: 1g
- Trans Fat: 0g
- Carbohydrates: 11g
- Fiber: 0g
- Protein: 1g
- Cholesterol: 0mg