

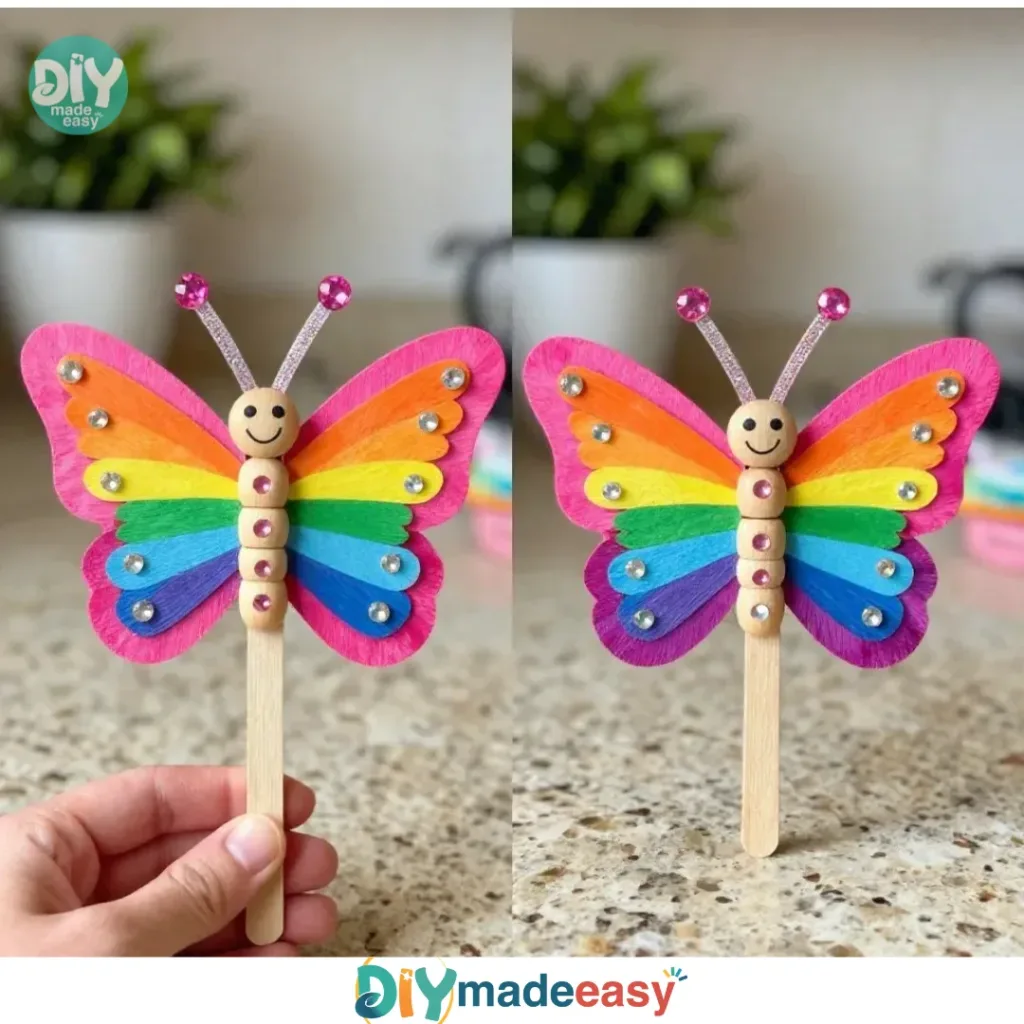
Irresistible Magic Butterfly Craft Becomes Cozy You may also find Butterfly Suncatchers useful.
Afternoons can often be a whirlwind of activity, with kids buzzing around looking for something fun to do. Maybe it’s a last-minute boredom buster that you need, or perhaps your children are eager to create something colorful and magical right now. Enter the irresistible Magic Butterfly craft, perfect for those busy days when you still want to engage in a creative project. This DIY endeavor transforms simple colorful paper into a lively butterfly that can fill your home with joy. The project is fun, easy, and a great way to spend quality time with both little ones and older kids. You may also find Creative Science Craft Kids Rainbow Light Show useful.
Why This Irresistible Magic Butterfly Craft Becomes Cozy Works So Well
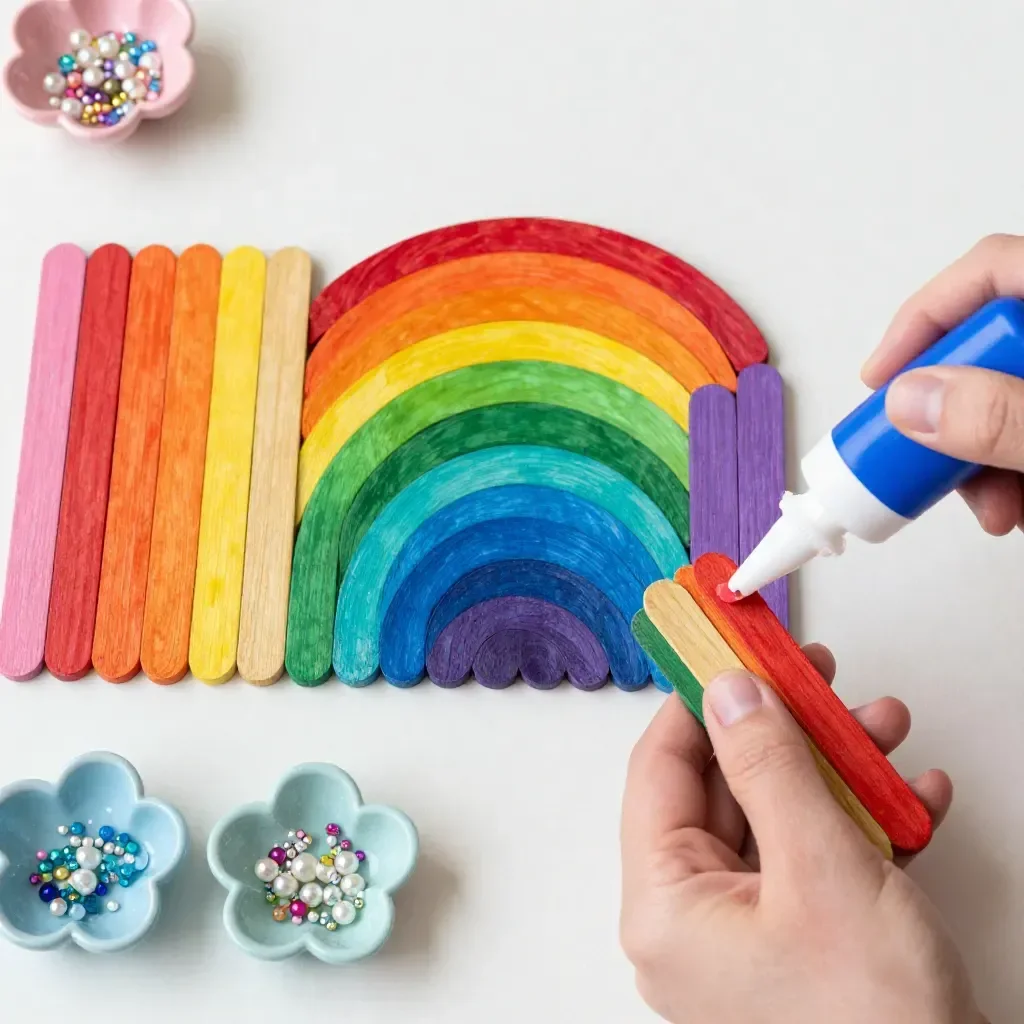
This butterfly craft is designed with ease in mind. First, it requires minimal prep and only basic materials that you probably already have at home. You don’t need any special tools or complicated instructions. Just grab some colorful paper or cardstock, scissors, and a few art supplies. With its simple, straightforward steps, the craft becomes approachable for various ages. As a parent, you’ll appreciate how this project fits seamlessly into real-life schedules without overwhelming anyone.
The cozy aspect of this project lies in its potential for connection. While your kids explore their creativity, you can bond with them over colors and patterns. And once everyone’s butterfly is complete, you will have a colorful display to brighten your living space. Plus, the finished butterflies can easily become part of seasonal decor or a delightful gift for family and friends.
A Quick Look Before You Begin
Preparing for your butterfly craft can be a breeze when you know what to expect. This project doesn’t demand a lengthy time commitment; you can complete it in about an hour, depending on drying time. The cleanup is also quite manageable, especially if you use washable paints. Adult involvement helps ensure the safety and success of the craft, but kids can take the reins during most of the process.
Before gathering your materials, think about where you’ll be working. A kitchen table or a craft area makes a great setting, and having some newspaper or a plastic sheet can protect surfaces from paint splatters. This setup encourages creativity to flow without the stress of mess.
Materials You’ll Need
- Colorful paper (construction paper or cardstock)
- Scissors
- Craft glue or a glue stick
- Paintbrushes
- Washable paints (in vibrant colors)
- Markers or crayons
- Googly eyes (optional)
- Pipe cleaners (for antennae, optional)
- String or thread (optional for hanging)
These materials are common household items, making it easy to source everything you need in one quick trip through your home. Using washable paints means any spills can be easily cleaned, and this DIY project becomes all the more inviting. Feel free to substitute items if needed; for example, if you don’t have paints, markers can work for decorating the butterflies instead.
Step-by-Step Directions
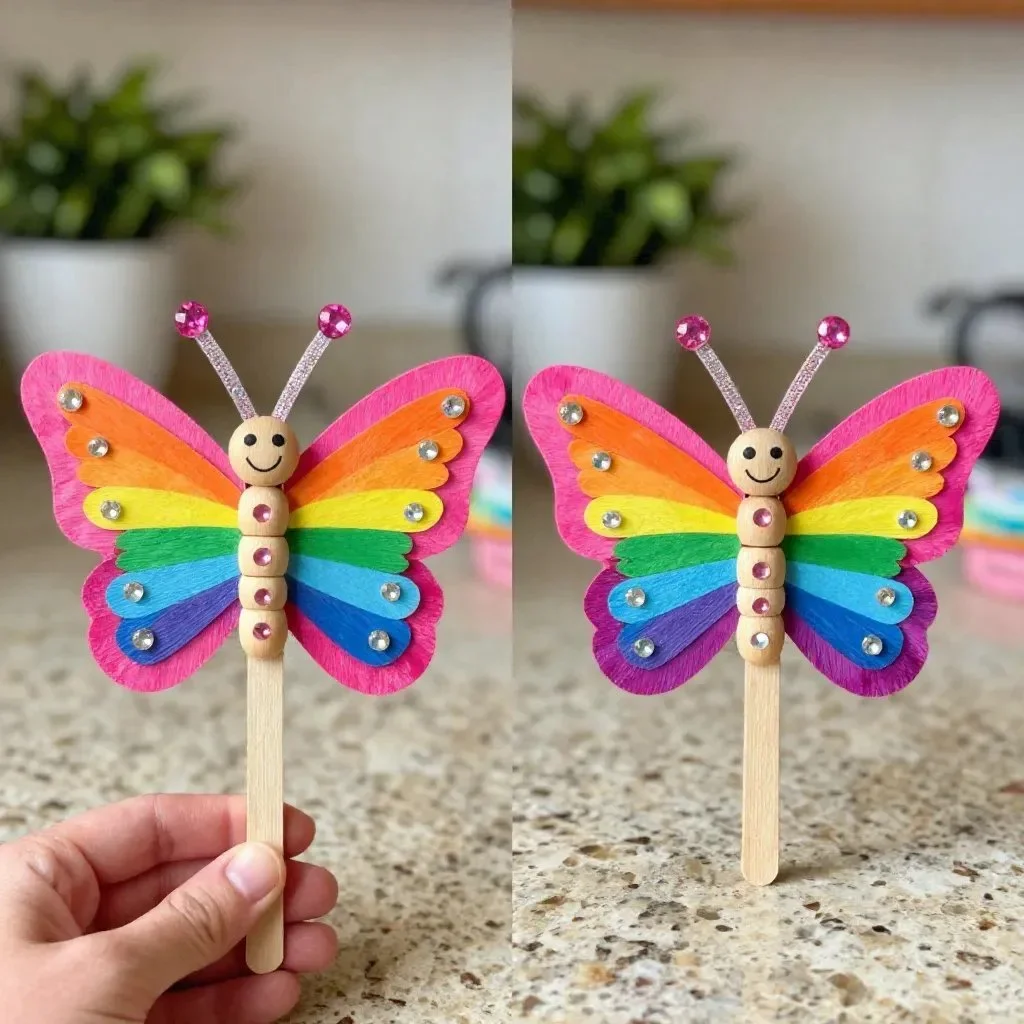
Choose your base paper and lay it flat, envisioning the butterfly’s design. Take a moment to consider colors, patterns, and techniques that will bring your butterfly to life.
Fold the paper in half and sketch the outline of a butterfly. Create symmetrical wings to ensure it looks delightful when opened.
Cut out the butterfly shape carefully. This step allows your kids to practice their scissor skills while creating their masterpiece.
Open the folded paper to reveal the butterfly. This moment of unfolding is exciting and rewarding, marking the transformation from a plain piece of paper to something amazing.
Paint vibrant colors onto your butterfly. Encourage your kids to experiment with colors and designs! Mesmerizing patterns can emerge during this creative phase.
Allow to dry completely. This patience-testing step is crucial, as wet paint could smudge and undo all the vibrant work.
Personalize with markers or crayons. Kids can now add details, like patterns, dots, or even doodles that represent their personality.
Attach googly eyes and pipe cleaners if desired. Adding eyes can really bring the butterfly to life, while pipe cleaners make excellent antennae.
For display, attach a string or thread or find a cozy spot. Hang up your butterflies around the house and enjoy the cheerful atmosphere they create.
The Learning Behind This DIY
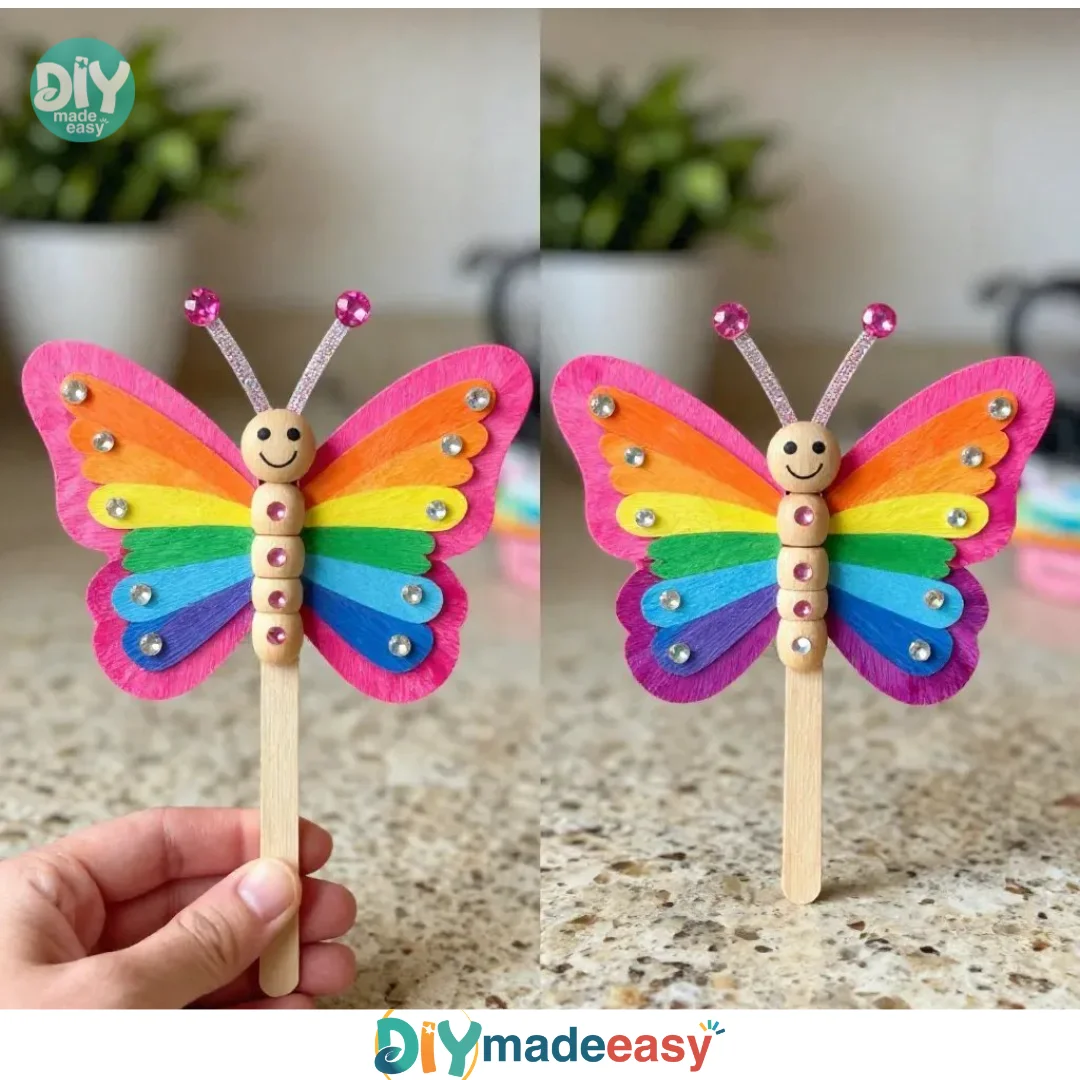
This craft isn’t just enjoyable; it also serves educational purposes. While making the butterflies, kids practice fine motor skills and hand-eye coordination through cutting and painting motions. They’ll experiment with colors and learn about blending techniques. This hands-on activity sparks curiosity about the natural world, encouraging discussions about butterflies and their habitats.
Parents can also introduce concepts of symmetry and balance through the butterfly’s design. Engaging in this kind of craft reinforces creativity while also fostering analytical thinking. It’s an effortless way to integrate learning into playtime.
Troubleshooting Common Issues
If Something Doesn’t Go as Planned
Sometimes, the craft may not turn out as envisioned, which is perfectly okay. If the butterfly wings appear uneven or if paint smudges, you can reassure your kids that creativity often comes with unexpected results. Encourage them to embrace these surprises as part of the artistic process. They may even find that their unique designs are more special than perfect ones.
For those moments when paint runs or the paper tears, have some tissues or paper towels on hand. Quick fixes, such as cutting a new wing or using markers to camouflage a flaw, allow kids to feel empowered rather than frustrated.
Easy Variations to Try
Simple Ways to Change It Up
Once you’ve mastered the basic butterfly craft, consider trying out some fun variations! You can:
- Use different types of paper, like patterned scrap paper or metallic foils, for a unique look.
- Create a themed butterfly craft based on seasons or occasions, such as spring flowers or autumn leaves.
- Introduce collaborative elements by having kids create a butterfly family or have a friendly competition to see who can design the most colorful butterfly.
These twists not only inspire creativity but also provide opportunities for learning about colors and design.
Storing or Reusing This Project
What to Do With It After
After the butterflies are complete, think about how to care for them. If you plan on displaying them, a string or thread makes for a simple hanging solution. Have fun decorating various spots around the house or outside.
If you want to keep your space tidy, store completed butterflies in a folder or box. This way, you can revisit them for decorations or craft inspiration in the future. Encourage your kids to think about reusing their crafts in different ways, nurturing a mindset focused on creativity and resourcefulness.
FAQs About Irresistible Magic Butterfly Craft Becomes Cozy
Is this project messy, and how do we clean up afterwards?
It can be a bit messy, especially with paints involved. However, using washable paints makes it easier to clean. Just lay out some newspaper to catch any spills and have some wet wipes or towels on hand for quick cleanup.
What age is this activity appropriate for?
This butterfly craft is suitable for kids aged 3 and up, with adult supervision. Younger kids will need help with scissors and glue, while older children can do most steps on their own.
Can we use other materials instead of construction paper?
Absolutely! If you don’t have construction or cardstock paper, consider using old magazines, wrapping paper, or even recycled paper for a creative twist.
Will my kids be able to create a butterfly that looks like the example?
While it’s natural to hope for similar results, encourage your kids to express themselves! Every craft is unique, and various styles and designs can be equally beautiful, even if they don’t match the initial idea.
How can we store the completed butterflies?
You can use a folder to keep them flat or a box to protect them if they are 3D. If you want them to last longer, consider using a display method like hanging them with string.
Conclusion
Conclusion
The Magic Butterfly craft provides an excellent opportunity to foster creativity and family bonding amidst busy schedules. It’s refreshing to take a moment, gather some materials, and create something beautiful together. For those looking to explore even more creative projects, consider checking out Magical Snowstorm in a Jar or Crafts for Kids: Fun Projects. Plus, you can expand your interests by tuning into the Get Writing Podcast for inspiring discussions. Happy crafting!
PrintIrresistible Magic Butterfly Craft
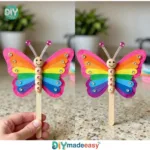
A fun and easy DIY craft that transforms colorful paper into beautiful butterflies, perfect for quality family time and seasonal decor.
- Prep Time: 10 minutes
- Cook Time: 50 minutes
- Total Time: 60 minutes
- Yield: Multiple butterflies
- Category: Craft
- Method: Crafting
- Cuisine: N/A
- Diet: N/A
Ingredients
- Colorful paper (construction paper or cardstock)
- Scissors
- Craft glue or a glue stick
- Paintbrushes
- Washable paints (in vibrant colors)
- Markers or crayons
- Googly eyes (optional)
- Pipe cleaners (for antennae, optional)
- String or thread (optional for hanging)
Instructions
- Choose your base paper and lay it flat, envisioning the butterfly’s design.
- Fold the paper in half and sketch the outline of a butterfly.
- Cut out the butterfly shape carefully.
- Open the folded paper to reveal the butterfly.
- Paint vibrant colors onto your butterfly.
- Allow to dry completely.
- Personalize with markers or crayons.
- Attach googly eyes and pipe cleaners if desired.
- For display, attach a string or thread or find a cozy spot.
Notes
Encourage creativity and personal expressions while crafting. Cleanup is manageable with washable paints.
Nutrition
- Serving Size: N/A
- Calories: 0
- Sugar: 0g
- Sodium: 0mg
- Fat: 0g
- Saturated Fat: 0g
- Unsaturated Fat: 0g
- Trans Fat: 0g
- Carbohydrates: 0g
- Fiber: 0g
- Protein: 0g
- Cholesterol: 0mg