

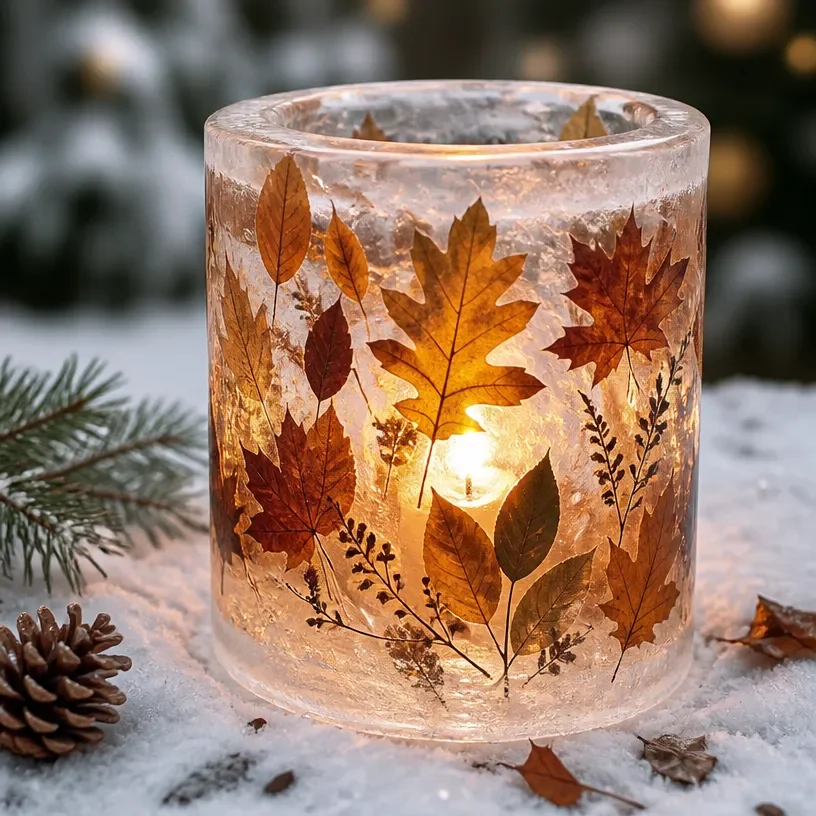
Building an ice lantern can be a delightful activity, especially on a chilly afternoon when the kids are feeling creative. Picture this: a busy day in the kitchen, the aroma of comfort food wafting through the air, and your kids eager to craft something that captures the magic of winter. Encouraging them to make an ice lantern not only lets them explore their artistic side but also results in a stunning decorative piece. With items you likely have at home, this project is a wonderful way to spend time together, and you might even end up learning something new along the way. You may also find Butterfly Glow Lantern useful.
Why This Ice Lantern Works So Well
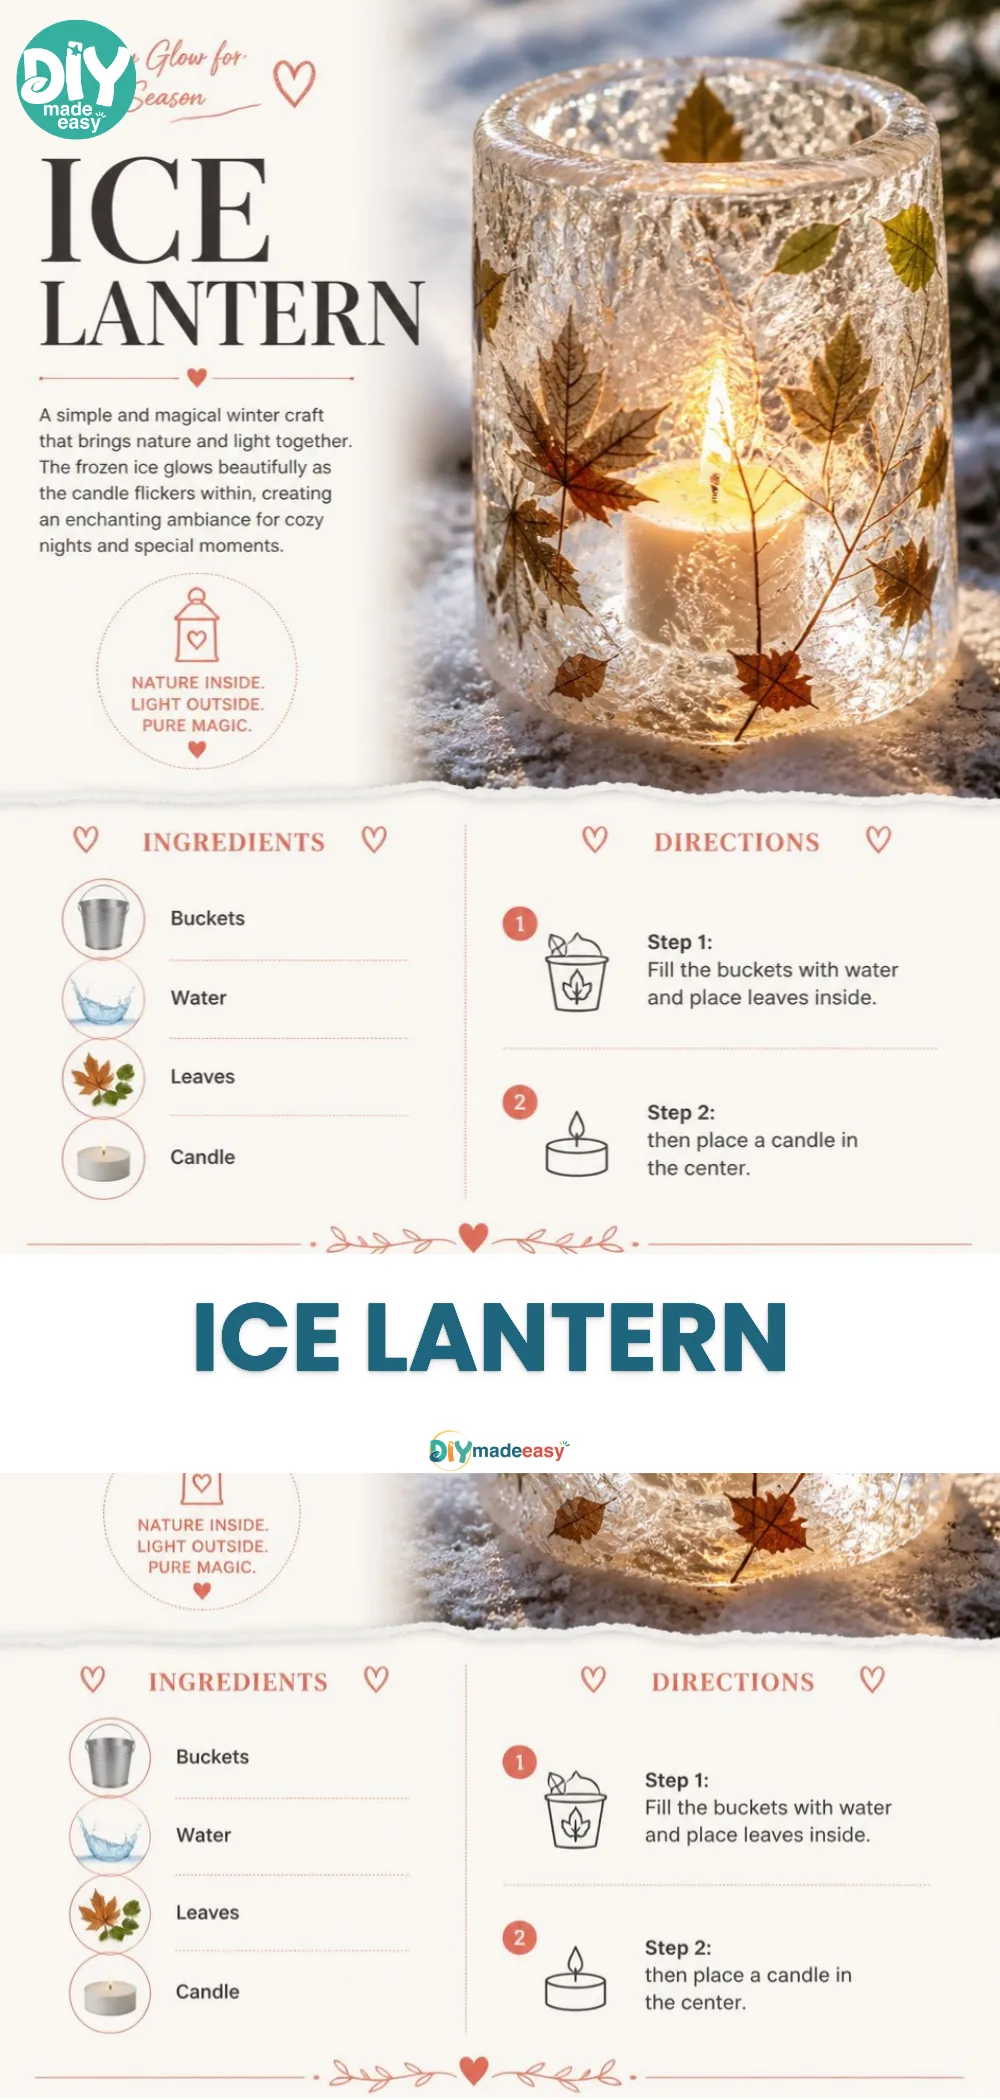
Creating an ice lantern is truly simple and doesn’t require extensive materials or preparation. It’s an ideal project for real-life schedules, as it needs minimal adult supervision. You can set up the components and let the kids take the lead, checking in occasionally to keep the excitement alive. The appeal of working with ice is great, as it offers a different texture and experience compared to traditional crafting. As the lantern solidifies, everyone gets to witness the transformation, which is always satisfying.
A Quick Look Before You Begin
This DIY project is easy to wrap your head around. The total time involved can vary, but most of the work is hands-off. That means you can get on with other tasks while the ice freezes. Mess is minimal, primarily related to any spills while filling the molds, and most clean-up is simple. You need a quiet moment to enjoy the anticipation of watching the lantern form as the water turns to ice.
Materials You’ll Need
- A container (like a bucket or bowl) – common household item
- Water – easy substitute if you hydrate
- Optional decorations (like berries or leaves) – fun way to personalize
- A smaller container for the core – budget-friendly item
These materials are widely available and can bring out the creativity of each participant. You’ll find that having alternatives on hand, like colorful tissue paper, could brighten up the project even further, similar to ideas you might explore with colorful tissue paper lanterns.
Step-by-Step Directions
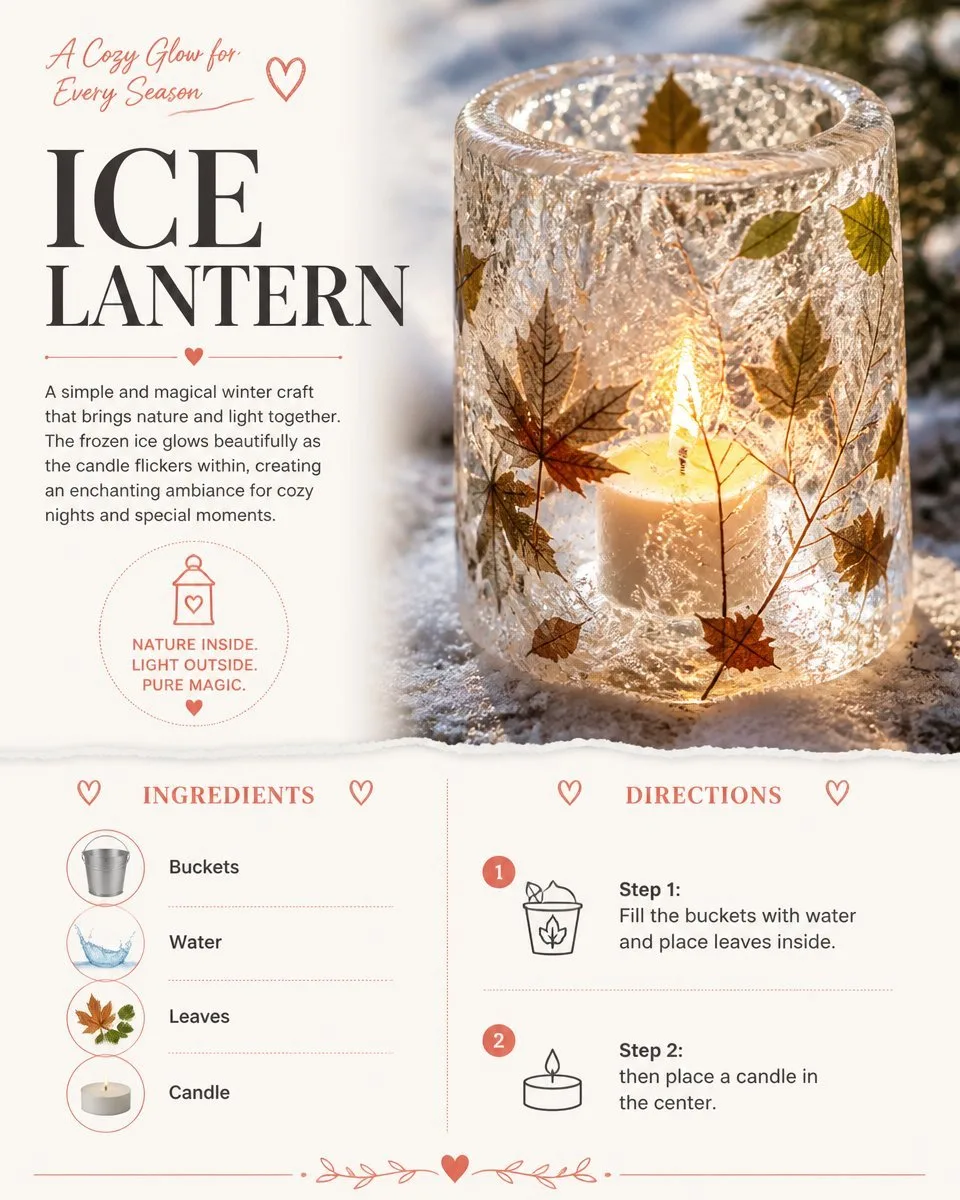
Choose Your Container
Begin by selecting a larger container for the lantern’s outer shell. This can be a bucket or any other waterproof vessel.Fill with Water
Pour water into the container, leaving some space at the top.Add Decorative Elements
If you like, drop in leaves, branches, or berries to enhance the look.Insert a Smaller Container
Place a smaller container in the center to create the space for your candle. Weigh it down with a few stones to keep it steady.Freeze
Put the whole setup in the freezer overnight. Time varies, but ideally, it should freeze solid.Remove the Ice Lantern
When it’s completely frozen, take the container out and let it sit for a few minutes at room temperature to loosen the outer shell.Unmold
Carefully flip it upside down and tap gently to release the ice.Decorate
If desired, you can paint or add more decorations once it’s out!
This straightforward process provides an excellent opportunity to bond while creating something beautiful. It might remind you of the joy of crafting with seasonal decorations, similar to assembling haunted mason jar lanterns.
The Learning Behind This DIY
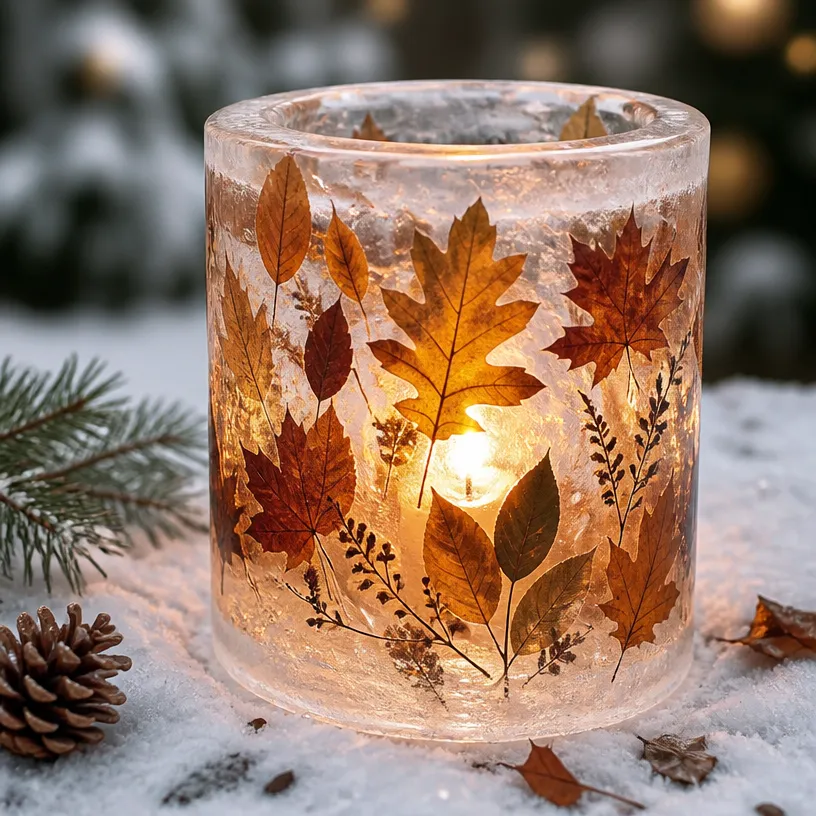
Making an ice lantern incorporates interesting science concepts and skills. Ice formation demonstrates properties like freezing point while also introducing concepts of patience and anticipation. Children practice fine motor skills while decorating or transferring items, enhancing their hand-eye coordination. Not only that, but as they see the results of their efforts, they experience cause and effect – a beautiful part of learning through crafting.
Troubleshooting Common Issues
While making ice lanterns is usually straightforward, a few hiccups can occur. If the lantern doesn’t hold its shape, it may not have frozen completely or may require more time in the freezer. Sometimes, if the outer layer seems too thin, you can double the amount of water next time to ensure sturdiness. Adjusting how you weigh the inner container can also help prevent it from shifting.
Easy Variations to Try
There are many fun twists you can put on your standard ice lantern. For a festive touch, consider adding colorful fruit slices or flowers to the ice. Alternatively, create holiday-themed lanterns by using colored Christmas lights or other seasonal objects. If you’re up for a challenge, consult ideas similar to the colorful rainbow lanterns for parties.
Storing or Reusing This Project
When your ice lantern is not being used, storing it is simple. Keep it in the freezer if you intend to reuse it or take it outside if you want to showcase it temporarily. Cleanup is straightforward; the melted ice can simply be left to drain away, and any decorations you’ve used can be composted or disposed of easily.
FAQs About Ice Lantern
What if the lantern cracks when freezing?
If you notice cracks, it often means the ice is freezing too rapidly or unevenly. Try decreasing the water temperature or using warmer water for better results.
How long does the ice lantern last?
Typically, these lanterns can last for a couple of hours depending on the temperature. Make sure to place them in a cool spot if you want them to last longer.
Can we paint our ice lanterns?
Absolutely! You can use food coloring or even water-based colors. Just ensure they are safe for the ice.
What’s the best way to clean up?
Cleaning is usually simple; any spills can be wiped up with a cloth, and leftover ice can melt away.
What are good decorations to add?
Berries, leaves, or even edible flowers work well. Just be mindful that colored items like paper may bleed into the ice as it melts!
Conclusion
Making an ice lantern can be a rewarding experience, turning a simple activity into a cherished memory. If you want to explore even more creative projects, consider checking out resources on fancy ice lanterns or see the insights about making an ice lantern that might inspire your next crafting session. Engage in a fun, hands-on project that delights everyone involved!
PrintDIY Ice Lantern
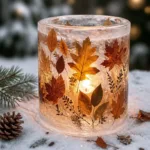
A simple and delightful project for kids to create beautiful ice lanterns using common household items.
- Prep Time: 10 minutes
- Cook Time: 720 minutes
- Total Time: 730 minutes
- Yield: 1 ice lantern
- Category: Craft
- Method: Freezing
- Cuisine: None
- Diet: None
Ingredients
- A container (like a bucket or bowl)
- Water
- Optional decorations (like berries or leaves)
- A smaller container for the core
Instructions
- Choose your container
- Fill with water
- Add decorative elements
- Insert a smaller container
- Freeze the setup overnight
- Remove the ice lantern
- Unmold the lantern
- Decorate if desired
Notes
Adjust the number of decorations according to your preference. Make sure the inner container stays centered while freezing.
Nutrition
- Serving Size: 1 lantern
- Calories: 0
- Sugar: 0g
- Sodium: 0mg
- Fat: 0g
- Saturated Fat: 0g
- Unsaturated Fat: 0g
- Trans Fat: 0g
- Carbohydrates: 0g
- Fiber: 0g
- Protein: 0g
- Cholesterol: 0mg