

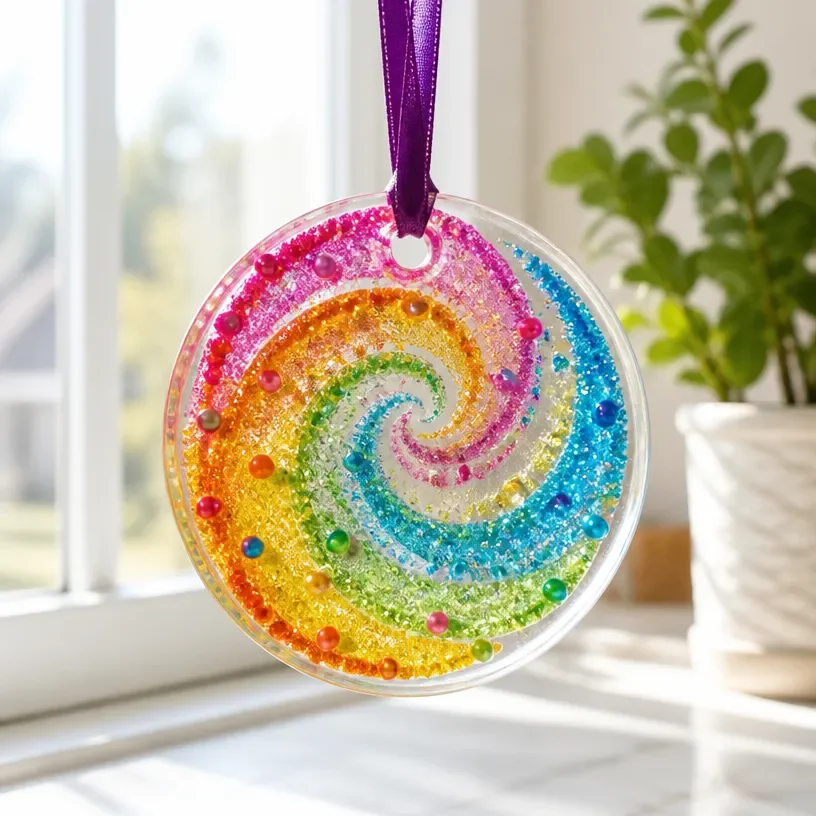
Creating art with children can often be a delightful challenge, especially when you find yourself on a busy afternoon with kids eager to create something colorful and beautiful. If you’re looking for a quick, engaging project that offers both fun and creativity, DIY Swirl Pattern Glue Suncatchers are perfect. Not only do they allow children to express themselves artistically, but they also bring a touch of vibrant color and light to any window in your home. This project is straightforward, making it an excellent choice for those last-minute crafting sessions. You may also find Diy Bioplastic Suncatchers Colorful Swirls useful.
Why This DIY Swirl Pattern Glue Suncatchers Works So Well
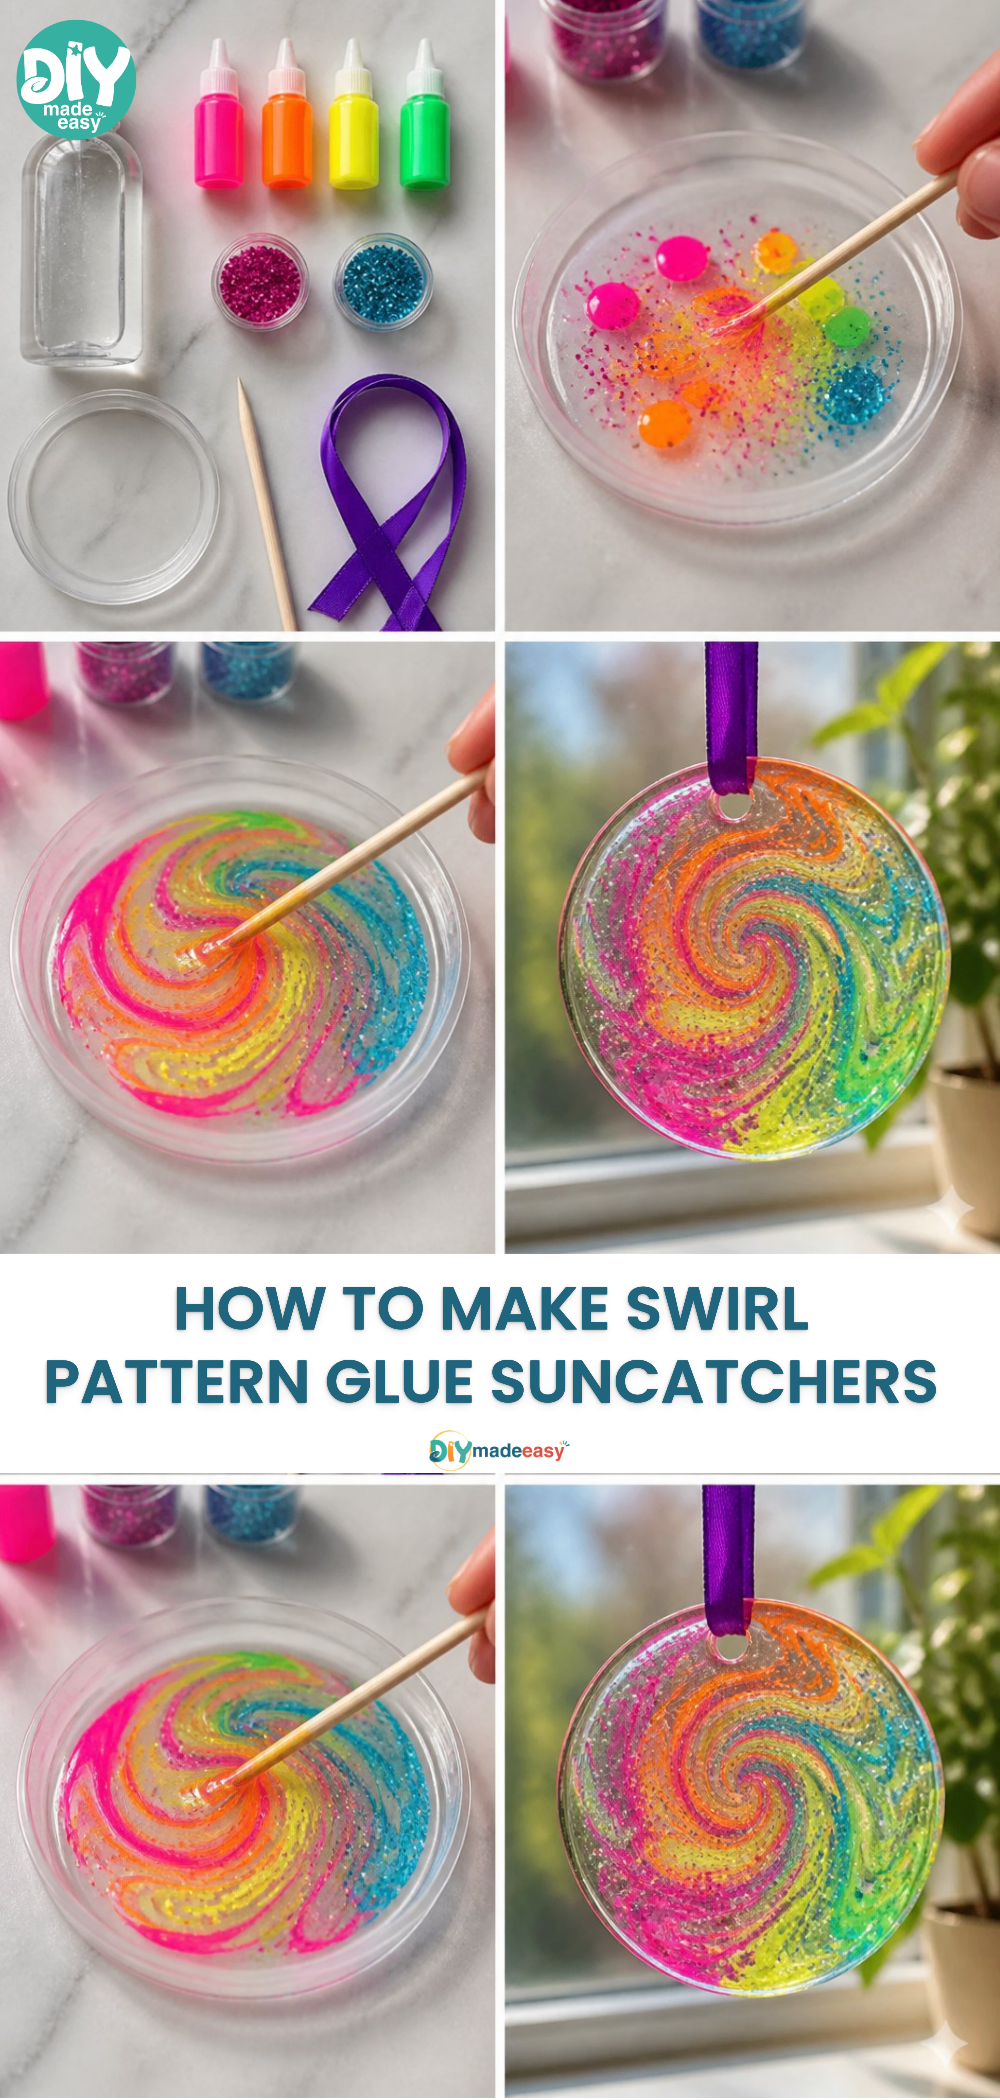
You may also find Diy Glue Suncatchers Easy Window Decor useful.
One of the standout features of this project is its simplicity. You don’t need to gather an extensive list of materials or spend hours preparing. With just a few things from around the house, you can dive right into crafting. The step-by-step process is reliable, guiding kids through each stage without confusion. Plus, the results are almost always satisfying, empowering young creators with the confidence to express their imaginative flair. You may also find Diy Glue Suncatchers useful.
These suncatchers are also fantastic for busy schedules. Even if the day seems full, a short crafting session can provide a joyful break, allowing you to spend quality time together as a family. You might even find that making these suncatchers becomes a cherished routine—a reliable way to brighten up a dreary day. You may also find How To Make Swirled Glue Suncatchers useful.
A Quick Look Before You Begin
As you prepare for this fun activity, it’s helpful to have an overview of what to expect. Most projects like this can require careful timing and setup, but making DIY Swirl Pattern Glue Suncatchers comes together seamlessly. The messy aspect is minimal, as the glue and colors can be managed relatively easily.
Adult involvement is beneficial but not always necessary. While younger kids may need some assistance, older children can often handle the project independently. You’ll appreciate seeing creativity unfold as vibrant colors swirl together, seamlessly blending into unique patterns.
Materials You’ll Need
For this DIY project, ensure you have the following supplies:
- White school glue (common household item)
- Food coloring or liquid watercolors (easy substitute)
- Wax paper or transparency sheets (affordable and accessible)
- Scissors (adult supervision recommended)
- Small containers or cups for mixing
- Toothpicks or craft sticks for swirling (easy to find)
These simple materials set the stage for a colorful creation that will brighten your space and unleash creativity.
Step-by-Step Directions
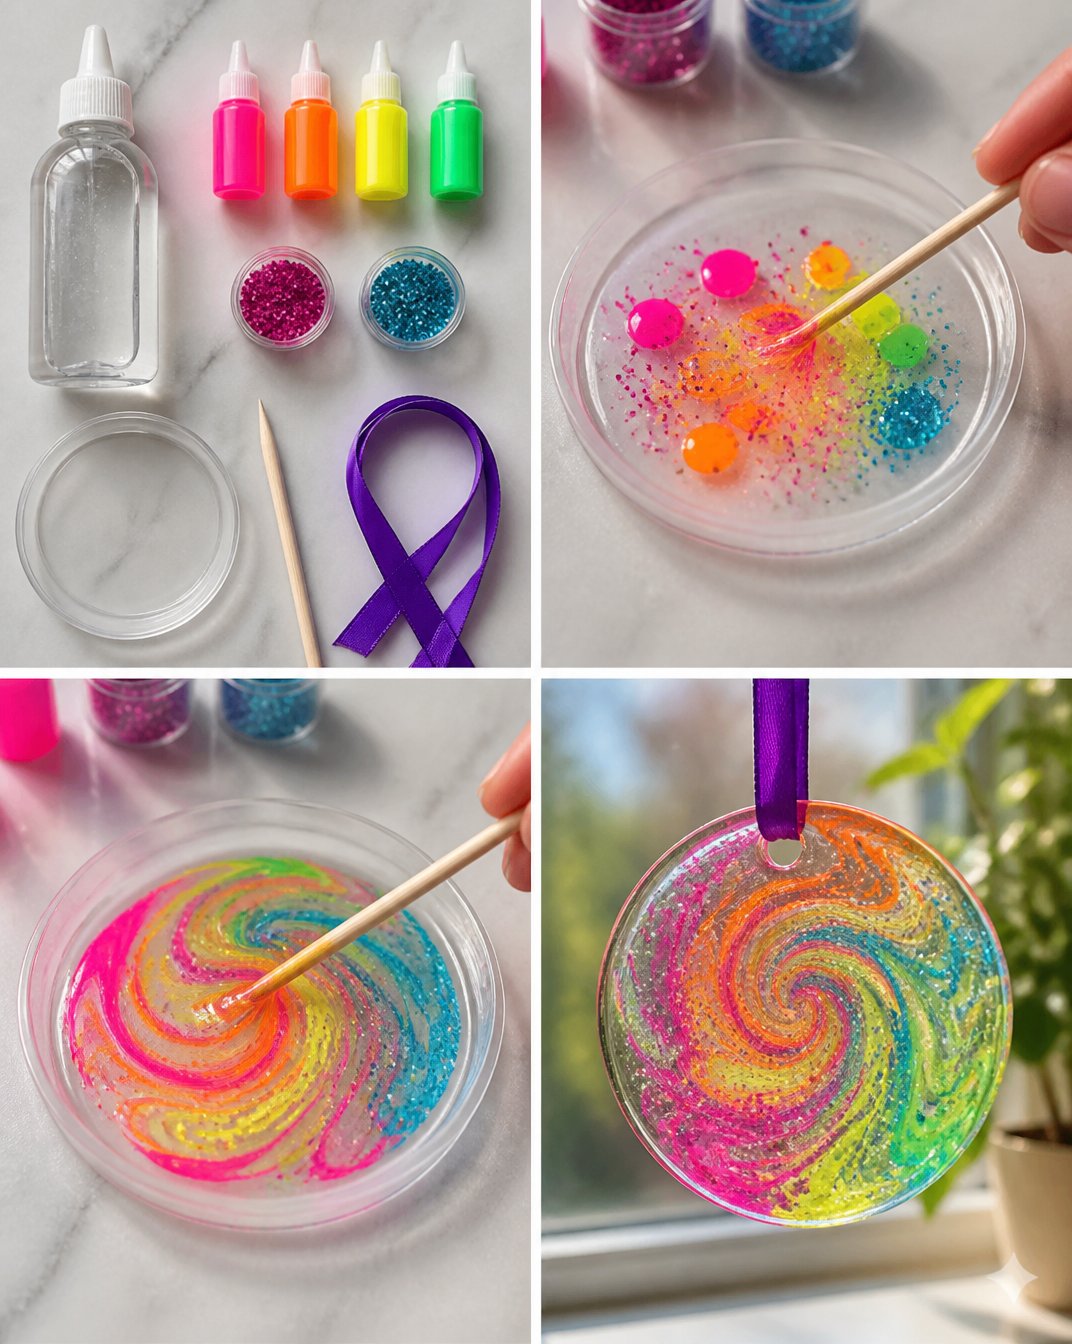
Prepare Your Workspace: Clear a flat surface and lay down wax paper or transparency sheets to protect it and catch any spills.
Mix the Colors: In small containers, pour a bit of white school glue and add a few drops of food coloring or liquid watercolor. Use a stir stick to mix each color until you achieve your desired shades.
Start Creating Swirls: Use the stir sticks to drop small blobs of colored glue onto the wax paper. Encourage your kids to experiment with different colors and sizes.
Swirl the Colors: Once you have a few colors down, take a toothpick or another stick to gently swirl the colors together. You can create different patterns by mixing just enough without blending them completely.
Let it Dry: Allow the suncatchers to dry completely. This can take several hours or overnight, depending on humidity.
Cut to Shape: Once dry, carefully peel the suncatcher from the wax paper or transparency sheet. Cut it into shapes or leave it as is to create playful designs.
Hang and Enjoy: Use tape or suction cups to place your suncatcher in a sunny window. Watch how the light plays through the colors, creating a beautiful display.
The Learning Behind This DIY
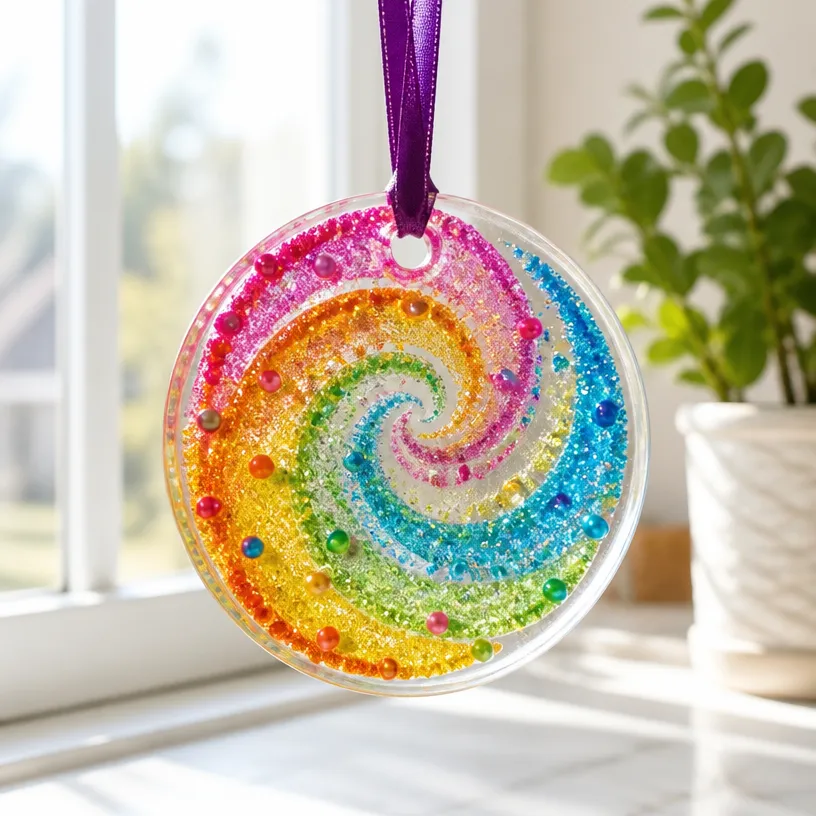
Through this crafting experience, kids practice fine motor skills as they pour, mix, and swirl glue. The project also fosters their understanding of colors and blending, introducing them to basic color theory. While engaging in this activity, children can observe cause and effect, discovering how various colors interact and change when mixed.
Troubleshooting Common Issues
If something doesn’t go as planned, don’t worry; it’s part of the creative process. Sometimes, the glue might not hold up as expected or the colors may not be as vibrant after drying.
If the colors are muddy, encourage kids to use less glue or try distinct blobs instead of mixing them too much. If pieces tear or don’t stick well, a little extra glue applied can help reattach them. The goal is to enjoy the process, not to achieve perfection.
Easy Variations to Try
For those wanting to shake things up, here are some variations to consider:
Seasonal Themes: Use specific colors for different holidays—orange and black for Halloween, or red and green for Christmas.
Shape Exploration: Experiment with different shapes such as hearts or stars to create themed suncatchers for special occasions.
Layered Effects: Apply a layer of clear glue over the dried suncatcher to create a glossy finish that enhances the colors.
Storing or Reusing This Project
After your crafting session, consider how to store these beautiful suncatchers.
If you’d like to reuse materials, you can save the leftover glue in covered containers for future projects. For the suncatchers, they can be cleaned gently with a damp cloth, or you can choose to store them flat in an envelope. This way, they can be kept safe until the next sunny day.
FAQs About DIY Swirl Pattern Glue Suncatchers
What’s the cleanup like for this project?
Cleanup is straightforward! Any excess glue can be wiped off surfaces with a damp cloth, and materials like wax paper are easy to dispose of.
Are these suncatchers safe for all age groups?
Yes, this project can be adapted for various ages. Younger children may need more assistance, while older kids can enjoy the creative freedom.
Can I use different types of glue?
While white school glue is ideal, you can experiment with other kid-friendly adhesives that dry clear.
How long do they last?
Once dried, suncatchers can last for a long time if handled gently. Keep them out of harsh weather to maintain their color vibrance.
A Final Helpful Note
Completing DIY Swirl Pattern Glue Suncatchers should be a stress-free, joyful endeavor. Encourage creativity, let go of the need for perfection, and enjoy the shared time together.
The simple act of making something beautiful out of everyday materials can provide a sense of accomplishment for both kids and adults. Trust the process, and you’ll likely be pleased with what your family can create together.
Conclusion
As you embark on this colorful journey with your children, remember that the experience is just as important as the final product. For more creative ideas similar to these suncatchers, you might enjoy exploring this colorful DIY glue suncatcher craft or learning about cosmic suncatchers in this guide from Babble Dabble Do How to Make Cosmic Suncatchers. These projects will expand your crafting adventures and brighten your home. Happy crafting!
PrintDIY Swirl Pattern Glue Suncatchers
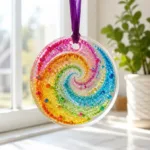
A fun and engaging project for children to create colorful suncatchers using glue and food coloring.
- Prep Time: 15 minutes
- Cook Time: 0 minutes
- Total Time: 15 minutes
- Yield: 4 suncatchers
- Category: Craft
- Method: Crafting
- Cuisine: N/A
- Diet: N/A
Ingredients
- White school glue
- Food coloring or liquid watercolors
- Wax paper or transparency sheets
- Scissors
- Small containers or cups for mixing
- Toothpicks or craft sticks for swirling
Instructions
- Prepare your workspace: Clear a flat surface and lay down wax paper or transparency sheets.
- Mix the colors: In small containers, pour glue and add food coloring. Mix until desired shades.
- Start creating swirls: Drop small blobs of colored glue onto the wax paper.
- Swirl the colors: Use a toothpick or stick to swirl colors together.
- Let it dry: Allow the suncatchers to dry completely.
- Cut to shape: Peel the suncatcher from the wax paper and cut it into shapes.
- Hang and enjoy: Use tape or suction cups to hang your suncatcher in a sunny window.
Notes
Adult supervision recommended for younger children. Cleanup is straightforward with a damp cloth.
Nutrition
- Serving Size: 1 suncatcher
- Calories: 5
- Sugar: 1g
- Sodium: 5mg
- Fat: 0g
- Saturated Fat: 0g
- Unsaturated Fat: 0g
- Trans Fat: 0g
- Carbohydrates: 1g
- Fiber: 0g
- Protein: 0g
- Cholesterol: 0mg