


Creating a wonderful DIY project can turn a busy afternoon into an exciting adventure. If your kids are clamoring for something creative to do right now, the DIY Bottle Cap Globe: Patchwork Upcycling Craft Tutorial is the perfect solution. It’s vibrant, engaging, and remarkably simple, requiring just a few household items. This activity not only encourages artistic expression but also sparks conversations about recycling and upcycling, making it an educational experience as well. You may also find Diy Rainbow Bottle Cap Daisy Wreath Tutorial useful.
Why You’ll Love Making DIY Bottle Cap Globe: Patchwork Upcycling Craft Tutorial
You may also find Diy Beaded Snail Craft Step By Step Tutorial useful.
This project stands out for many reasons. Firstly, it comes together quickly, which is a significant perk for busy families. You won’t need to spend hours preparing; just gather your supplies and you’re ready to dive in. The materials required are common household items, making it easy to start without a last-minute shopping trip. You may also find Diy Coffee Filter Jellyfish Craft Tutorial useful.
Additionally, the process of turning ordinary bottle caps into a colorful globe emphasizes creativity. Kids can express themselves through the selection and arrangement of colors, and the final product stands as a testament to their efforts. This project also involves various skills that are crucial for development, such as fine motor skills and hand-eye coordination, as they work on gluing the caps. You may also find Diy Crystal Growing Star Tutorial At Home Crafts useful.
Another great aspect is the cleanup. With just a few materials, the mess is minimal, making it less daunting for parents. Overall, the DIY Bottle Cap Globe: Patchwork Upcycling Craft Tutorial proves to be not only enjoyable but also practically designed for real-life schedules.
The Flow of Making DIY Bottle Cap Globe: Patchwork Upcycling Craft Tutorial
Creating a bottle cap globe is an engaging process that requires an easy setup. Expect to spend about 30 to 45 minutes on this entire activity, including time for the glue to dry. Set up a workspace where kids can easily access materials it could be at the dining table or on a craft mat on the floor.
As you gather the items, consider having some paper towels handy to catch any glue spills, keeping the workspace tidy. Adult supervision is encouraged, especially when it comes to applying the glue. This can help guide younger kids and allow them to explore their creativity while ensuring safety.
Materials You’ll Need
For this DIY project, gather the following materials:
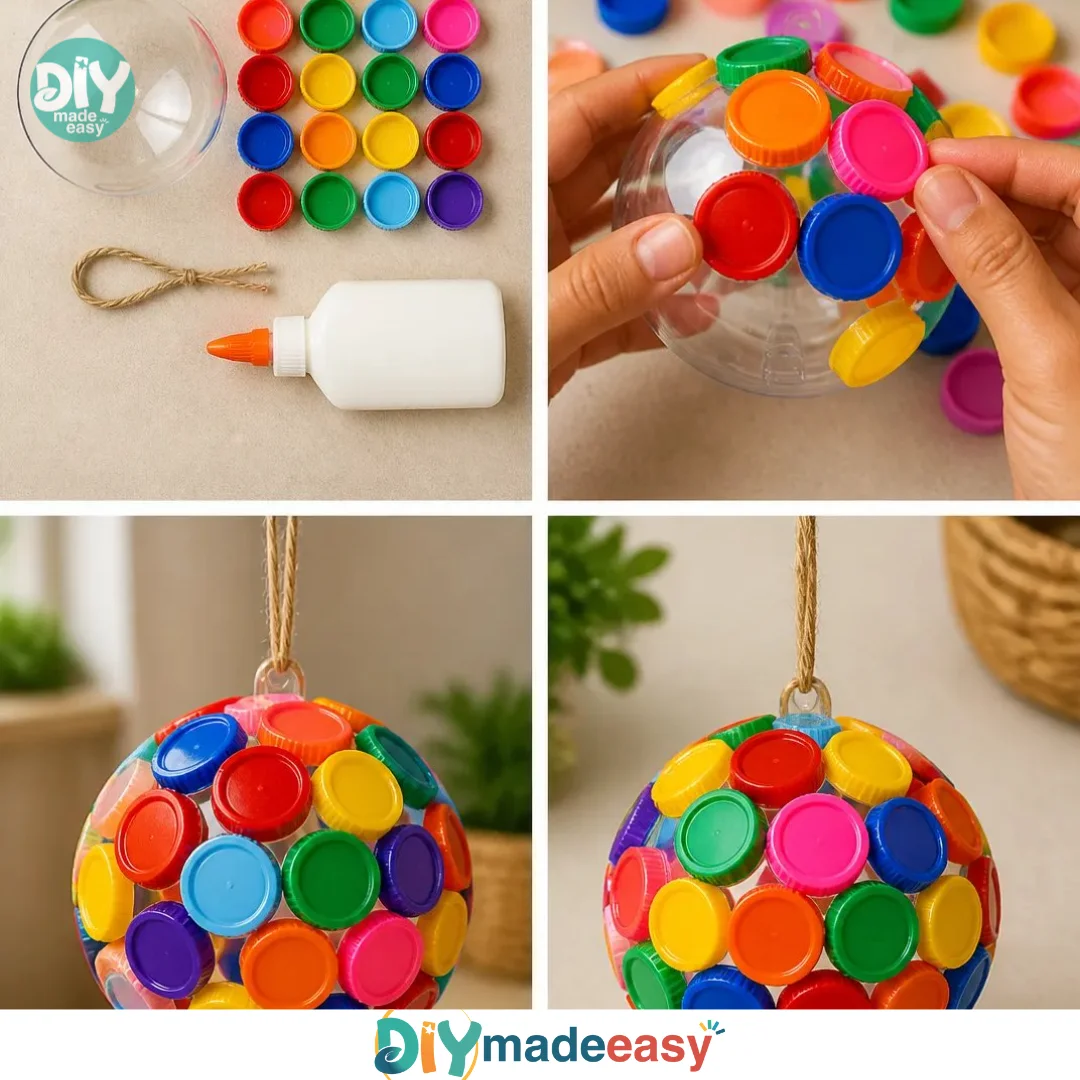
- 24 colorful bottle caps
- 1 clear plastic ornament half
- Strong craft glue
- Jute loop
Each of these items is easily found either around the house or in a crafting supply box. The colorful bottle caps can be collected from drinks over time, and the ornament half can often be found in holiday supplies. Using common materials encourages a budget-friendly and resourceful approach to crafting.
Step-by-Step Directions
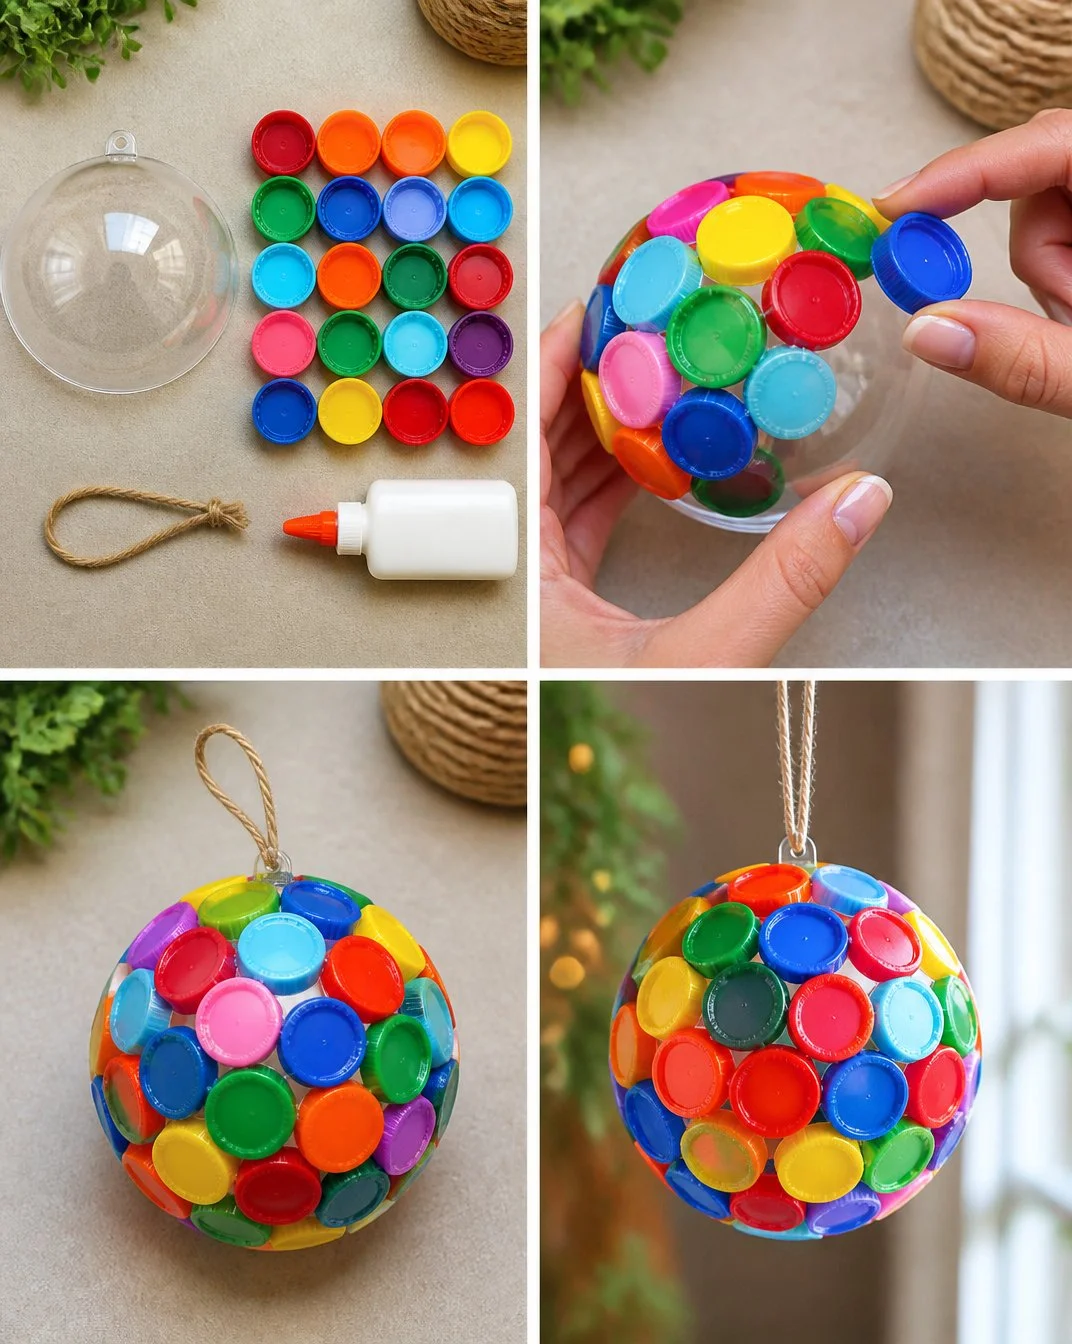
Arrange the bottle caps: Begin by laying the colorful bottle caps out in a bright patchwork on the dome of the clear plastic ornament half. Experiment with different arrangements until you find a layout you love.
Glue securely: Once satisfied with the arrangement, apply strong craft glue generously to the back of each bottle cap and press them firmly onto the plastic dome. Ensure to cover the entire surface, adding pops of color as you go.
Allow to cure: Let your masterpiece sit undisturbed for several hours or overnight if possible. This waiting time ensures the glue will cure properly, making the globe sturdy.
Attach a jute loop: Once everything is set and completely dry, thread a jute loop through the top of the ornament half. This addition not only allows you to hang your creation but also adds an organic touch to the globe.
This straightforward project encourages kids to embrace their creativity while providing a sense of accomplishment once it’s completed.
The Learning Behind This DIY
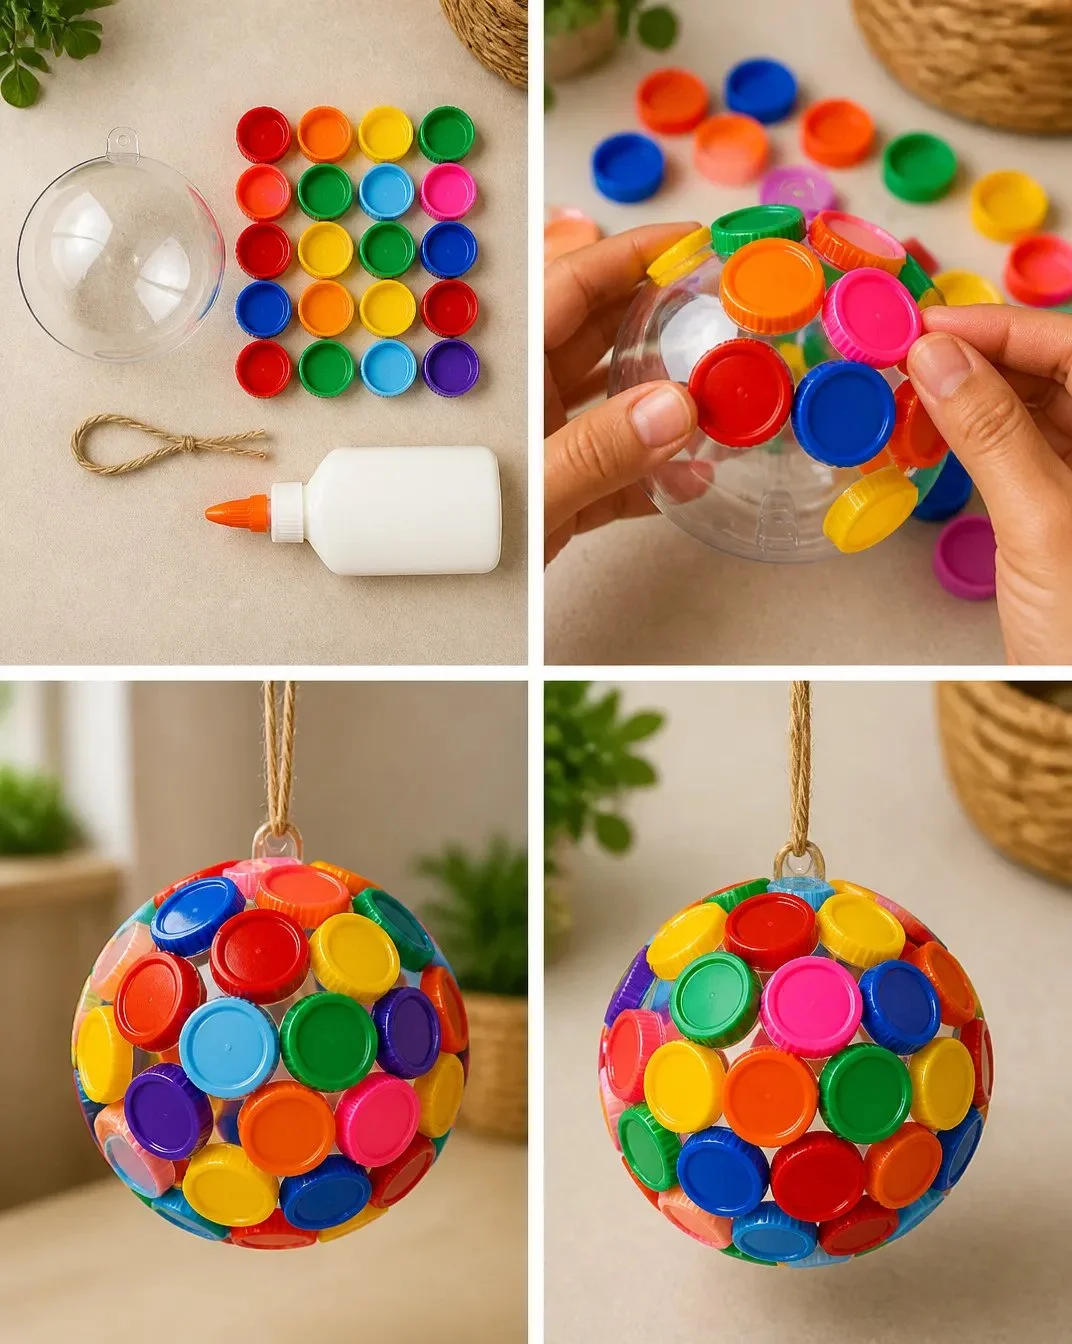
While making this DIY Bottle Cap Globe, children engage in various learning opportunities. The activity fosters fine motor skills as they manipulate the small bottle caps and use glue. Coordinating those actions requires attention and precision, which are crucial skills in early development.
Moreover, as they arrange the caps into a colorful pattern, they practice decision-making and creativity. Children may also discuss color theory or the concept of patchwork designs, enhancing their understanding of art. This hands-on project beautifully bridges play and educational experiences.
Troubleshooting Common Issues
Sometimes things don’t go as planned, and that’s perfectly okay. If you notice that the bottle caps aren’t sticking well, it could be due to the glue not being compatible with the plastic. In this case, ensuring a generous application can help, or you may wish to try a different type of glue.
If the arrangement doesn’t look balanced or visually pleasing, suggest revisiting the initial layout before securing the caps in place. This allows them to make adjustments without worrying about fixing any glue mishaps later.
Easy Variations to Try
Change things up by trying different themes with this project. Here are some easy variations:
- Seasonal Colors: Have your children use colors specific to each holiday, like red and green for Christmas or pastels for Easter.
- Themed Globes: Consider creating themed globes, like ocean colors for summer or warm tones for fall.
- Adding Patterns: Incorporate patterned bottle caps, giving the globe a unique twist.
- Layering: For a more complex project, layer the caps in different rows or heights to create a three-dimensional look.
These options help keep the project fresh and engaging each time you work on it.
Storing or Reusing This Project
After completing your beautiful globe, consider how to store it or give it a new purpose. If you want to keep it as a decoration, find a prominent hanging spot where it can be admired. Alternatively, if you want to reuse the materials, the glue can be easily peeled off if need be.
Encouraging children to think about the lifespan of their crafts is an excellent way to instill an understanding of reducing waste and reusing materials in other projects.
FAQs About DIY Bottle Cap Globe: Patchwork Upcycling Craft Tutorial
Can I substitute the bottle caps for something else?
Yes, if you don’t have enough bottle caps, you could use painted cardboard circles or even pieces of foam to create a similar effect.
Can we do this project indoors, or is it better outside?
This project can be done indoors or outdoors. If you’re worried about spills, a well-protected table or outside space is ideal.
How can we display the globe once it’s finished?
You can hang it from a window, over a doorway, or display it as a centerpiece on a table. Let your kids decide where they want their creation to go!
Conclusion
Engaging in DIY activities like the DIY Bottle Cap Globe: Patchwork Upcycling Craft Tutorial not only provides a fun project for you and your children but also delivers valuable lessons about creativity and resourcefulness. For more ideas on recycling and upcycling craft projects, check out these helpful resources about recycling and upcycling craft projects. Additionally, if you’re interested in keeping your home draft-free while reusing old materials, you might enjoy this guide on creating a DIY Draft Stopper from Flannel Shirts. Enjoy crafting together!
PrintDIY Bottle Cap Globe: Patchwork Upcycling Craft Tutorial
Transform ordinary bottle caps into a vibrant, colorful globe, perfect for encouraging creativity and teaching children about recycling.
- Prep Time: 15 minutes
- Cook Time: 0 minutes
- Total Time: 45 minutes
- Yield: 1 finished globe 1x
- Category: Craft
- Method: Crafting
- Cuisine: N/A
- Diet: N/A
Ingredients
- 24 colorful bottle caps
- 1 clear plastic ornament half
- Strong craft glue
- Jute loop
Instructions
- Arrange the bottle caps: Begin by laying the colorful bottle caps out in a bright patchwork on the dome of the clear plastic ornament half. Experiment with different arrangements until you find a layout you love.
- Glue securely: Once satisfied with the arrangement, apply strong craft glue generously to the back of each bottle cap and press them firmly onto the plastic dome. Ensure to cover the entire surface, adding pops of color as you go.
- Allow to cure: Let your masterpiece sit undisturbed for several hours or overnight if possible. This waiting time ensures the glue will cure properly, making the globe sturdy.
- Attach a jute loop: Once everything is set and completely dry, thread a jute loop through the top of the ornament half. This addition not only allows you to hang your creation but also adds an organic touch to the globe.
Notes
Encourage children to be creative and experiment with different color patterns. Adult supervision is recommended during gluing.
Nutrition
- Serving Size: 1 globe
- Calories: 0
- Sugar: 0g
- Sodium: 0mg
- Fat: 0g
- Saturated Fat: 0g
- Unsaturated Fat: 0g
- Trans Fat: 0g
- Carbohydrates: 0g
- Fiber: 0g
- Protein: 0g
- Cholesterol: 0mg