

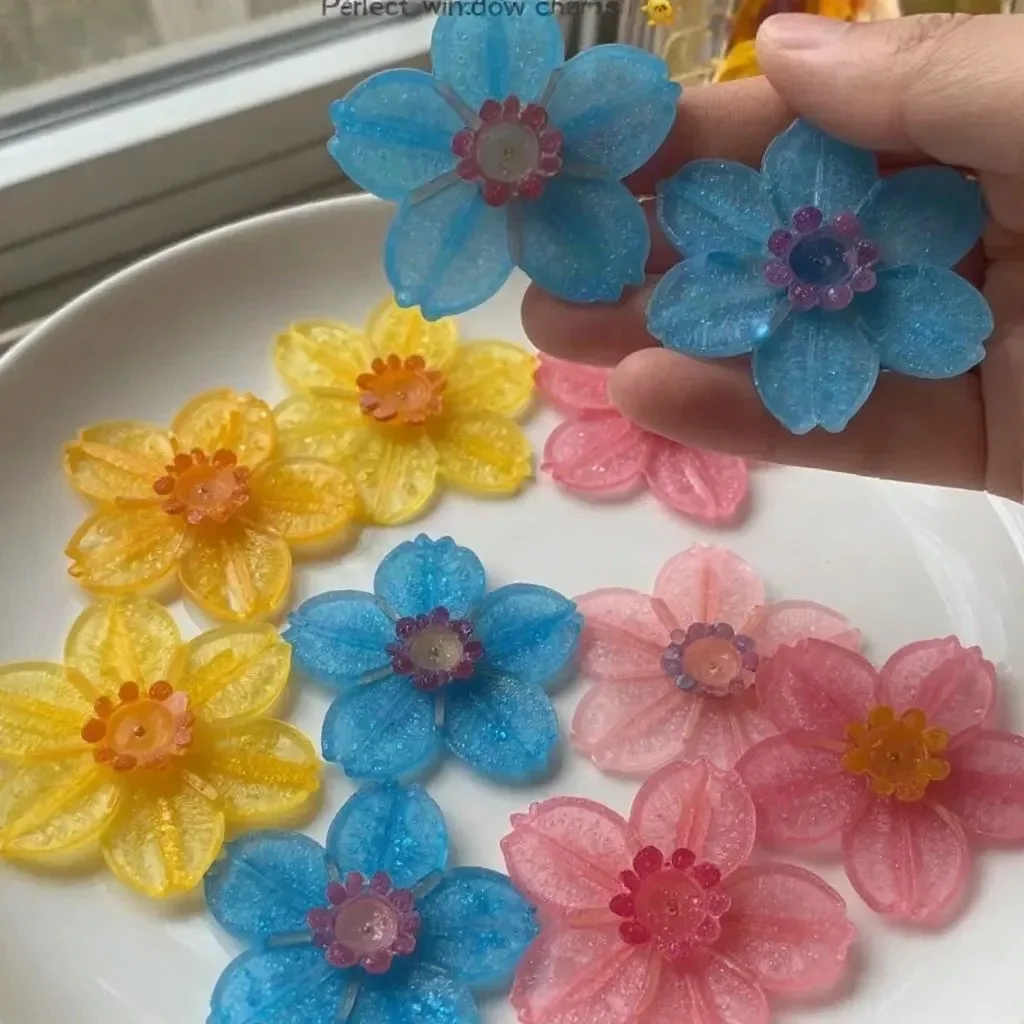
Creating things with the kids can turn a busy afternoon into a joyful experience. When they rush in, eager to make something fun and colorful, you want a project that feels easy and rewarding. That’s where DIY Faux Stained-Glass Glue Flowers come into play. This creative activity brings bursts of color into your home while providing an interactive way for kids to express their artistic flair. With just a few simple materials you likely already have, you can create stunning decorations that catch the light beautifully. You may also find Diy Glue Suncatchers useful.
Why You’ll Love Making DIY Faux Stained-Glass Glue Flowers
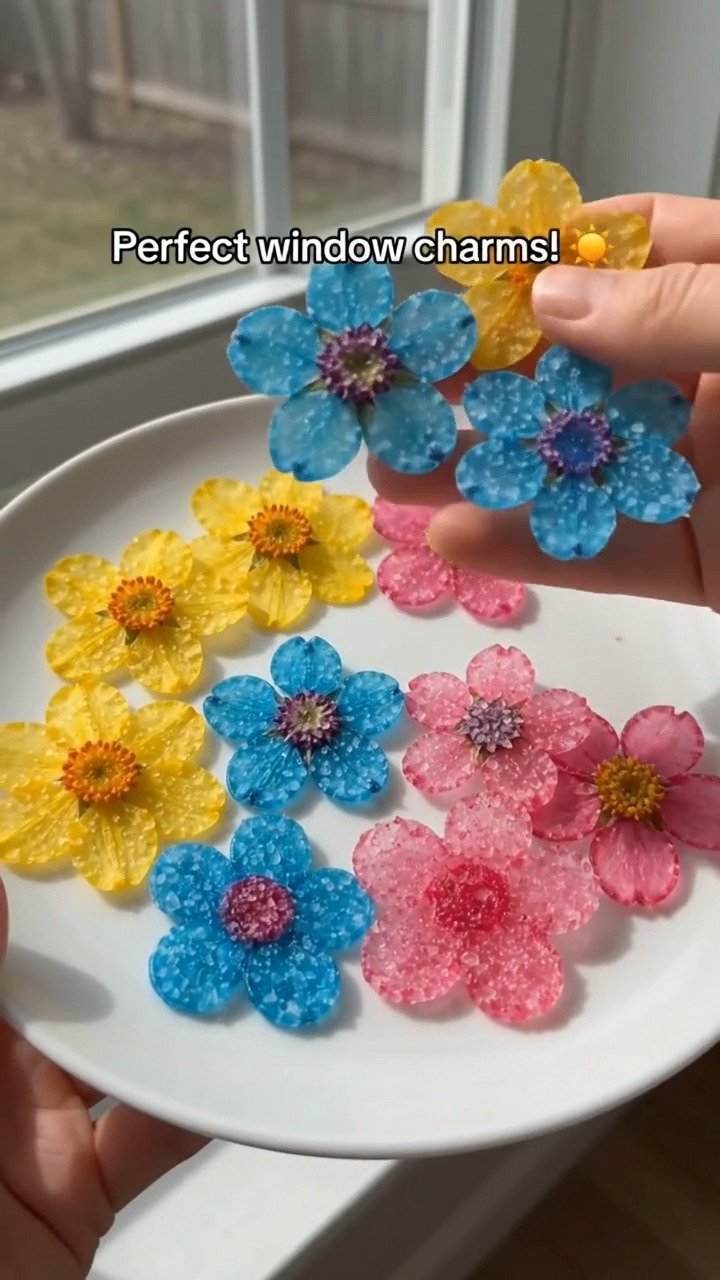
This project is perfect for all ages, making it a go-to for parents facing various schedules or needing a quick, low-prep activity. You’ll love that it uses items you already have, such as glue, food coloring, and glitter. Each step is straightforward and doesn’t require advanced skills or lots of time. Plus, the outcome is always delightful; children can watch as their creations dry into beautiful, translucent flowers that brighten any window. DIY projects like these help build confidence as kids see their creativity come to life, giving them something tangible to be proud of. You may also find Beautiful Bioplastic Suncatchers Flowers useful.
A Quick Look Before You Begin
Setting up this activity is quick and easy, making it perfect for those spontaneous crafting moments. You’ll only need about an hour for this project, plus the 24-hour drying time to let the flowers fully set. While adults should help with certain tasks for safety, kids can take the lead in mixing colors and spreading glue. Be aware that there can be a bit of mess, so having some old newspaper or a surface you can easily wipe down will help keep things tidy. This project’s simplicity means you can easily step in to assist when needed and enjoy the time together without feeling overwhelmed. You may also find Bioplastic Suncatchers Natural Flowers useful.
Materials You’ll Need
1 cup clear liquid craft glue
6 drops liquid food coloring in assorted colors
1 tablespoon fine craft glitter
1 sheet of parchment paper or clear plastic
1 pair of craft scissors You may also find Clear Glue Mosaic Suncatcher useful.
This list includes all the basics to get started. Most of these are common household items, making it an easy choice for a quick craft session. You can even substitute with available items; for example, if you don’t have glitter, the project can still proceed without it.
Step-by-Step Directions
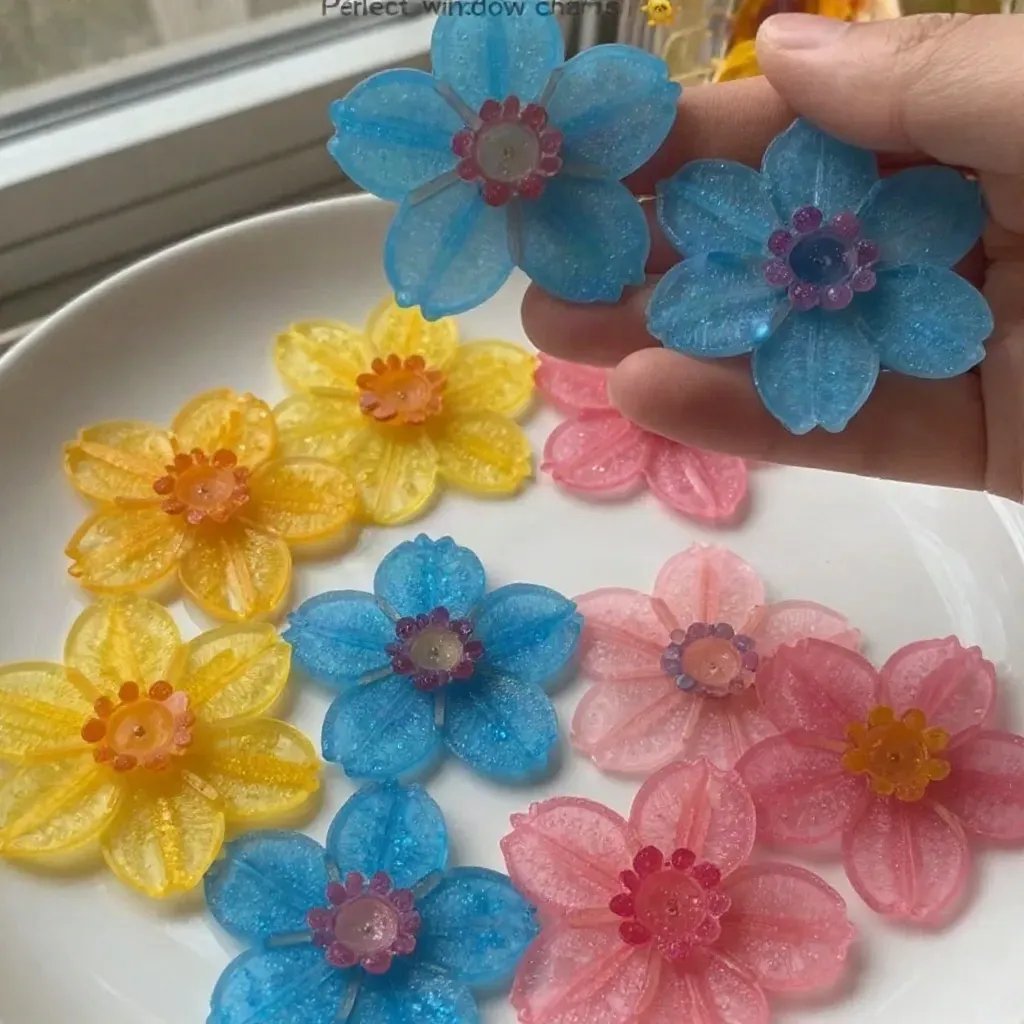
In small cups, mix the clear liquid craft glue with food coloring and fine craft glitter. Be creative with your color combinations! This is where the fun begins, as kids will love experimenting with different shades.
Use a spoon or paintbrush to spread the colored glue into flower shapes on the parchment paper. Encourage your kids to play around with the shapes and sizes of their flowers—there’s no right or wrong here!
Let the glue flowers dry undisturbed for 24 hours until they are translucent and firm. During this time, the colors will deepen, resulting in beautiful finished pieces.
Gently peel the flowers off the paper and trim any loose edges with craft scissors under adult supervision. This is the moment to proudly display their artwork in a sunny spot!
The Learning Behind This DIY

While kids may see this as a fun art project, there’s much more happening under the surface. Mixing the glue with food coloring introduces basic color theory; kids can learn about color mixing and how different hues affect the overall finish. As they practice spreading glue, they are improving their fine motor skills and hand-eye coordination. Additionally, the waiting period helps teach patience as they slowly anticipate the reveal of their colorful creations.
Troubleshooting Common Issues
Sometimes, things don’t go as planned. If the glue isn’t sticking or the flowers tear upon removal, it might be that the drying time was too short, or the glue was applied too thin. Don’t worry; this is part of the learning process. Simply remind kids that every craft is an opportunity to improve and try again. If you find that the flowers aren’t staying together, adding a bit more glue to the mix next time can help. Little hiccups like these are to be expected and can turn into valuable lessons about trial and error.
Easy Variations to Try
If you want to shake things up, consider these fun twists on the basic project:
- Use different shapes, like hearts or stars, instead of just flowers.
- Create seasonal themes—make leaves during autumn or snowflakes in winter.
- Try using transparent contact paper instead of parchment for a different texture.
- Incorporate natural elements, such as small twigs or leaves, within the glue for added detail.
These small variations can help keep the project fresh and exciting for repeat crafting sessions.
Storing or Reusing This Project
After creating your faux stained glass flowers, you might wonder what to do with them. They can be fantastic decorations for windows or even gifts for friends and family. If you have leftover glue mixture, be sure to store it in an airtight container to avoid drying out. The flowers themselves can be stored flat in a box or hung for display, reducing clutter and making the most of your creative session.
FAQs About DIY Faux Stained-Glass Glue Flowers
One of the most common questions parents have is about the mess involved. It’s helpful to lay down some newspaper, which makes cleanup much easier. Similarly, regarding age ranges, kids as young as five can participate with adult supervision, especially when using scissors or managing the glue.
Another question often asked is about ingredient substitutions. If you don’t have food coloring, some people have successfully used watercolors or liquid inks as alternatives, just be cautious of any staining potential. Remember, the goal is to have fun and create without worrying too much about a perfect outcome.
Lastly, parents often ask how to store or reuse the flowers once they are made. These art pieces can bring joy for a long time and are a beautiful way to brighten up any space.
Conclusion
Conclusion
Crafting keeps us connected and engaged, especially during quality family time. If you’re looking for more inspired projects like this, consider checking out how to make faux stained glass with acrylic paint and glue for a different artistic experience at this informative guide. For even more tips and techniques, visit this resource to explore how to make stunning faux stained glass with just glue and paint. Happy crafting!
PrintDIY Faux Stained-Glass Glue Flowers
A fun and colorful craft project for kids using glue, food coloring, and glitter to create faux stained-glass flowers.
- Prep Time: 15 minutes
- Cook Time: 1440 minutes
- Total Time: 1455 minutes
- Yield: Varies by project
- Category: Craft
- Method: Crafting
- Cuisine: N/A
- Diet: N/A
Ingredients
- 1 cup clear liquid craft glue
- 6 drops liquid food coloring in assorted colors
- 1 tablespoon fine craft glitter
- 1 sheet of parchment paper or clear plastic
- 1 pair of craft scissors
Instructions
- In small cups, mix the clear liquid craft glue with food coloring and fine craft glitter.
- Use a spoon or paintbrush to spread the colored glue into flower shapes on the parchment paper.
- Let the glue flowers dry undisturbed for 24 hours until they are translucent and firm.
- Gently peel the flowers off the paper and trim any loose edges with craft scissors under adult supervision.
Notes
It’s helpful to lay down some newspaper for easy cleanup, and kids as young as five can participate with adult supervision.
Nutrition
- Serving Size: 1 craft project
- Calories: 0
- Sugar: 0g
- Sodium: 0mg
- Fat: 0g
- Saturated Fat: 0g
- Unsaturated Fat: 0g
- Trans Fat: 0g
- Carbohydrates: 0g
- Fiber: 0g
- Protein: 0g
- Cholesterol: 0mg