

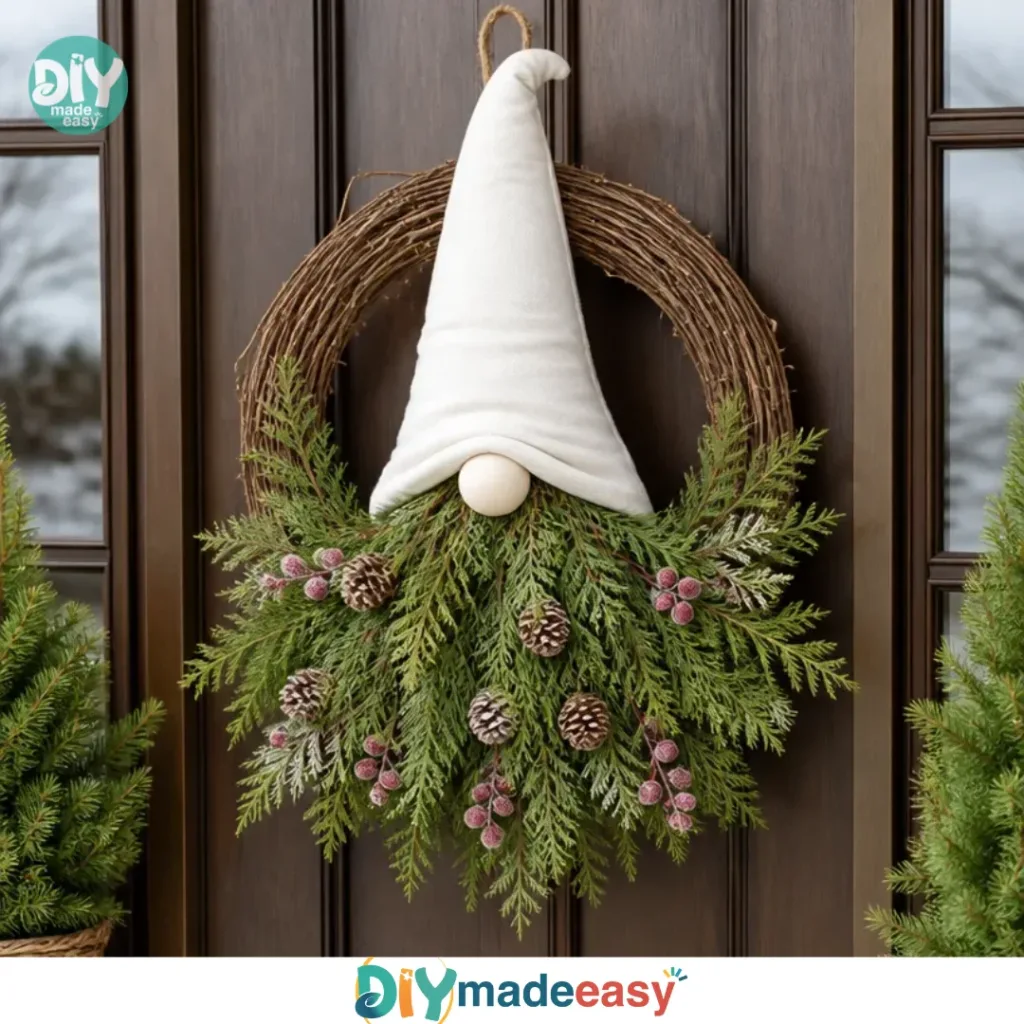
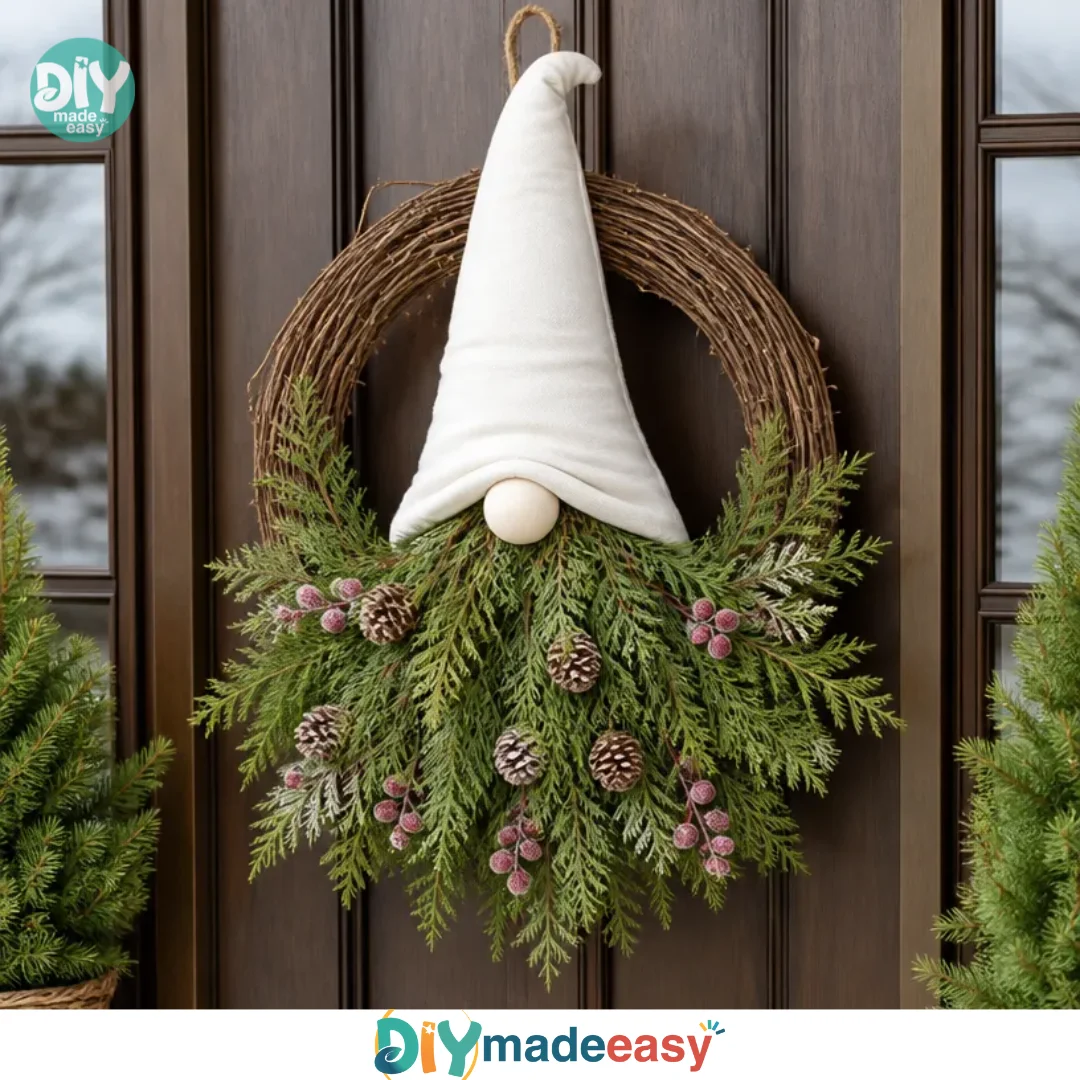
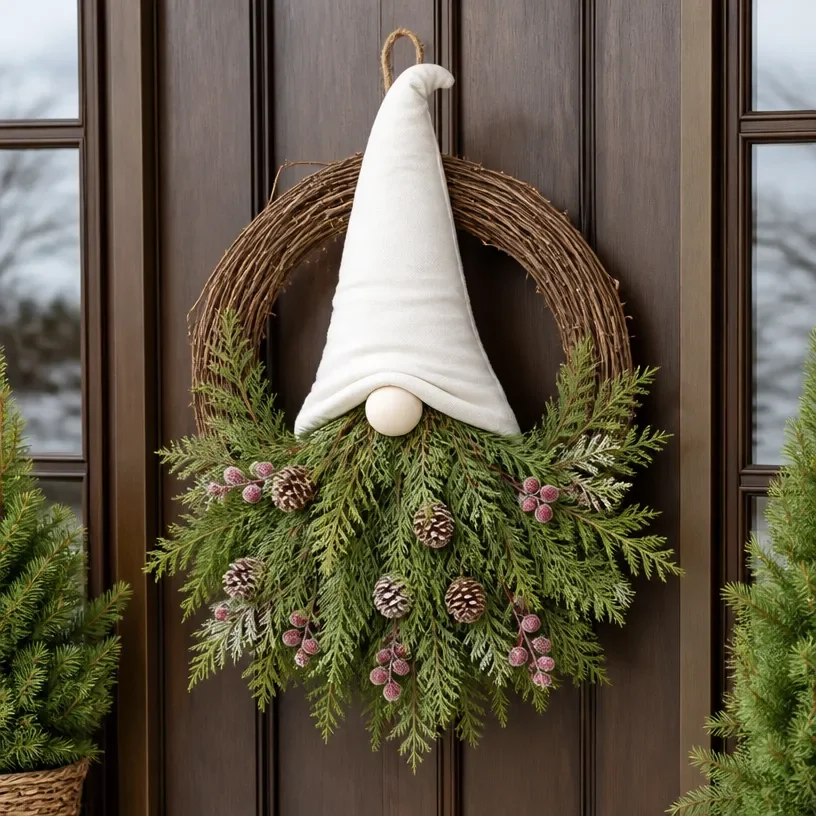
Christmas is a time when families come together to celebrate, and one of the easiest ways to add a personal touch to your holiday decor is with handmade crafts. If you’re looking for a fun and engaging project, the Christmas Gnome Wreath DIY Tutorial is perfect for busy afternoons or those last-minute activity needs. This delightful wreath combines simple materials like a twig wreath form, evergreen branches, and a charming gnome hat made from fabric. Not only will it brighten up your home, but it also provides a wonderful opportunity for kids to get their hands dirty and explore their creative sides. With a few straightforward steps, you can create a festive decoration that embodies the spirit of the holidays. You may also find Diy Rainbow Bottle Cap Daisy Wreath Tutorial useful.
Why This Christmas Gnome Wreath DIY Tutorial Works So Well
You may also find Colorful Home Decor Diy Rainbow Spoon Petal Wreath useful.
This project is a fantastic way to bring the family together without requiring extensive preparation. The materials are easy to gather, and the steps are simple enough that even younger kids can join in the fun. Most importantly, the reliance on everyday household items helps ensure that you can start crafting right away without costly trips to the store. Moreover, the Christmas Gnome Wreath combines the joys of crafting with the satisfaction of creating a unique piece of decor that the whole family can enjoy. You may also find Diy Beaded Snail Craft Step By Step Tutorial useful.
Creating such a delightful wreath can also greatly reduce holiday stress. It’s a project that, once you understand the flow, becomes very manageable amidst the hustle and bustle of the season. Additionally, it fosters creativity, allowing everyone to express their individuality through the colors and decorations used on their gnomes. You may also find Diy Cardboard Tubes Flower Wreath Home Decor useful.
A Quick Look Before You Begin
Starting the Christmas Gnome Wreath can be a smooth experience if you have a good grasp of what to expect. You’ll want to set aside about an hour for this project, which is a reasonable amount of time to enjoy the crafting process without feeling rushed. Gather your crafting materials and prepare a workspace where you can easily access everything you’ll need.
The mess level is quite low for this project, especially if you lay down some newspaper or an old cloth to catch any stray bits of greenery or glue. An adult may guide younger crafters, especially when using scissors or gluing items together, but many parts of this project encourage independent creativity. Just remember that crafting without a strict schedule allows everyone to enjoy the process, which often results in the most memorable holiday decor.
Materials You’ll Need
- Twig wreath form
- Evergreen branches and frosted berry stems
- Cream fabric and tall white cone
- Pinecones and twine
- Craft glue and wire
Using common household items like fabric and pinecones makes this project budget-friendly and accessible. You’ll likely have most materials on hand or can easily find them at a local craft store. The evergreen branches bring a delightful scent to your wreath, reminding everyone of the holiday season.
Step-by-Step Directions
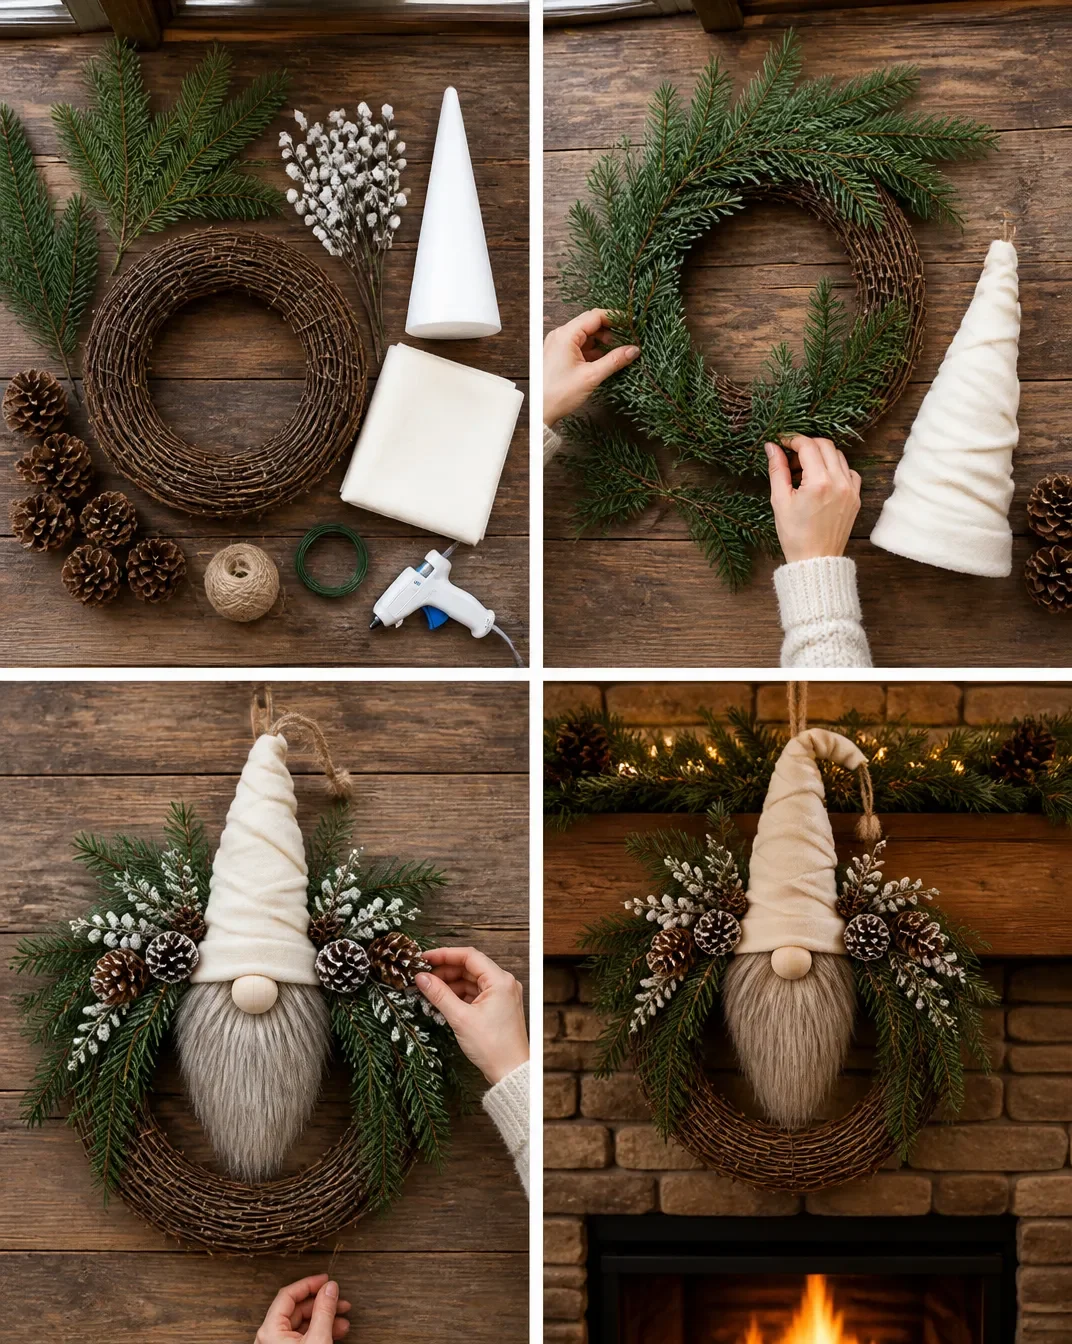
Lay the twig wreath flat on your craft table: Start with a clean space and position your twig wreath where it’s easy to access. Arrange the evergreen branches around the wreath to see how you’d like them to be positioned.
Secure the greenery in place using floral wire or craft glue: Once you’re satisfied with the arrangement, use a piece of floral wire or a dollop of craft glue to attach the green branches. It may take a little time to ensure each piece feels secure, so take care during this step.
Wrap the cream fabric around the tall white cone to form the gnome hat shape: For the gnome hat, wrap the cream fabric tightly around the white cone. Tuck it in and secure the fabric with glue, creating the perfect whimsical shape for your gnome’s headwear.
Attach the hat and pinecones to the top of the wreath with glue: Once your gnome hat is ready, glue it securely to the top of the wreath. Place the pinecones around the hat to enhance the natural look and add more charm to your wreath.
Tie a loop of twine at the top for hanging your finished holiday decoration: Finally, cut a piece of twine, tie it into a loop, and glue it to the top for effortless hanging. This small detail completes your wreath, making it ready to brighten your home for the holidays.
The Learning Behind This DIY
This craft is not just about creating a beautiful wreath. It also supports valuable learning experiences for kids. The fine motor skills involved in wrapping fabric and gluing pieces together help develop dexterity. As children manipulate materials, they practice coordination and gain confidence in their abilities.
Additionally, there’s a subtle introduction to science concepts. As they work with different natural materials, kids can learn about texture, colors, and even the different types of evergreen plants used in the project. This wreath project provides a wonderful opportunity for hands-on learning that extends beyond just the final product.
Troubleshooting Common Issues
When crafting, sometimes things don’t go as expected. If the evergreen branches don’t stay put, consider using stronger floral wire or additional glue. Alternatively, if your gnome hat is not holding its shape, make sure to adjust the fabric tightly around the cone.
If glue spills occur, act quickly to wipe it up with a damp cloth. It’s always wise to keep cleaning supplies nearby to handle minor messes. Crafting is all about the process, so remember that small “mistakes” can turn into unique design features.
Easy Variations to Try
- Swap fabric colors: Experiment with different colors for the gnome hat to match specific decor themes.
- Add embellishments: Consider adding homemade ornaments or ribbons for extra pizzazz.
- Incorporate seasonal items: Switch up the pinecones with small ornaments or other natural items like acorns for a different look.
- Mini versions: Create smaller wreaths using the same steps for a unique garland.
These variations keep the project engaging and allow for personal touches that the family can enjoy together.
Storing or Reusing This Project
Once the holiday season comes to a close, consider storing your gnome wreath in a safe place to reuse for next year. Gently wrap it in tissue paper or place it in a box to ensure it remains intact. If you choose to move or freshen up the look, you can add new elements each year, giving your wreath a new lease on life.
Cleanup is straightforward. Once you’ve finished crafting, simply gather any scattered materials and recycle or compost anything that’s no longer usable. This not only reduces waste but also promotes a sense of responsibility towards your environment.
FAQs About Christmas Gnome Wreath DIY Tutorial
Is this suitable for younger kids?
Absolutely! This project is perfect for different age spans. Just make sure any child under 6 has adult supervision, especially during the gluing steps.
Can I substitute any materials?
Yes! You can use different types of fabric or greenery if you’d like. Just make sure that whatever you choose complements the gnome theme you’re going for.
How do I store this after the holidays?
Wrap your wreath gently in tissue paper or store it in a box to protect it for next year. It’ll be ready to go when the season returns!
Will it look different than what I see online?
Every wreath will have its own charm based on your choices. Embrace the unique aspects of your creation rather than striving for perfection!
Conclusion
Creating your own Christmas Gnome Wreath is not just another craft; it’s an enriching experience for the whole family. With simple yet effective techniques, this project can become a cherished holiday tradition. If you’re interested in exploring more festive crafting ideas, you can check out Make This Dollar Store Gnome Wreath in 20 Minutes! or try the Easy DIY Dollar Tree Fall Gnome Wreath for more seasonal inspiration. Happy crafting!
PrintChristmas Gnome Wreath DIY Tutorial

Create a festive Christmas Gnome Wreath using simple materials, perfect for family crafting fun during the holidays.
- Prep Time: 10 minutes
- Cook Time: 50 minutes
- Total Time: 60 minutes
- Yield: 1 wreath
- Category: Crafts
- Method: Crafting
- Cuisine: N/A
- Diet: N/A
Ingredients
- Twig wreath form
- Evergreen branches and frosted berry stems
- Cream fabric and tall white cone
- Pinecones and twine
- Craft glue and wire
Instructions
- Lay the twig wreath flat on your craft table.
- Secure the greenery in place using floral wire or craft glue.
- Wrap the cream fabric around the tall white cone to form the gnome hat shape.
- Attach the hat and pinecones to the top of the wreath with glue.
- Tie a loop of twine at the top for hanging your finished holiday decoration.
Notes
Consider storing your gnome wreath gently wrapped to reuse next year. Clean up any spills quickly with paper towels.
Nutrition
- Serving Size: 1 wreath
- Calories: 0
- Sugar: 0g
- Sodium: 0mg
- Fat: 0g
- Saturated Fat: 0g
- Unsaturated Fat: 0g
- Trans Fat: 0g
- Carbohydrates: 0g
- Fiber: 0g
- Protein: 0g
- Cholesterol: 0mg