

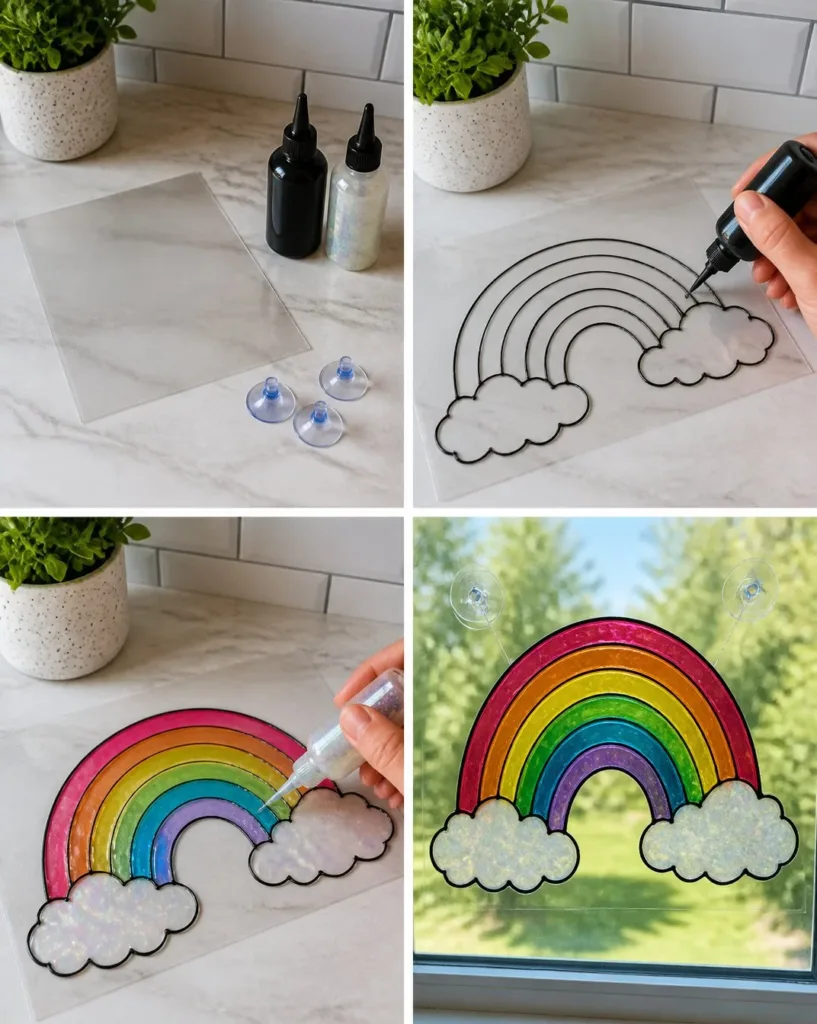
The sun streamed through the window as the kids flitted around the living room, debating what fun project to tackle. With the weekend approaching, they craved something colorful and creative to brighten their space. As their ideas bounced off one another, the thought of making a DIY Faux Glass Rainbow Arch for Home Decor quickly emerged. It was perfect—easy enough for little hands to manage, requiring just a few materials, and the results would be wonderfully cheerful. This project promised to fill the afternoon with laughter, creativity, and the joy of making something beautiful together. You may also find Diy Rainbow Coffee Filter Ghost Garland Halloween Decor useful.
Why This DIY Faux Glass Rainbow Arch for Home Decor Works So Well

Creating a DIY Faux Glass Rainbow Arch for Home Decor is an appealing choice for families because it involves minimal prep and encourages creativity. With just a few affordable materials, this project can cater to various ages and skill levels. It’s low-pressure; you don’t need to worry about intricate techniques or messes. Children can express their unique styles, and parents can feel reassured knowing that the process is both manageable and rewarding. You may also find How To Make Faux Stained Glass Flowers Diy Tutorial useful.
How This DIY Comes Together
Getting started on this delightful project will not take too long. Expect to set aside about an hour in total, allowing for some drying time. It’s a great activity to engage in during the day while letting the kids stretch their creative wings. You’ll likely find yourself swept up in the joy of crafting too. This activity is relatively clean, particularly since the main component is paint applied onto a clear plastic sheet.
Materials You’ll Need
To successfully create your rainbow arch, gather the following materials:
- Clear plastic sheet
- Black dimensional paint
- Translucent paint
- Suction cups
These are mainly common household items that you may already have, making it a budget-friendly project. The black dimensional paint adds depth, while the translucent paint allows for colorful bands that will beam beautifully in the light.
Step-by-Step Directions
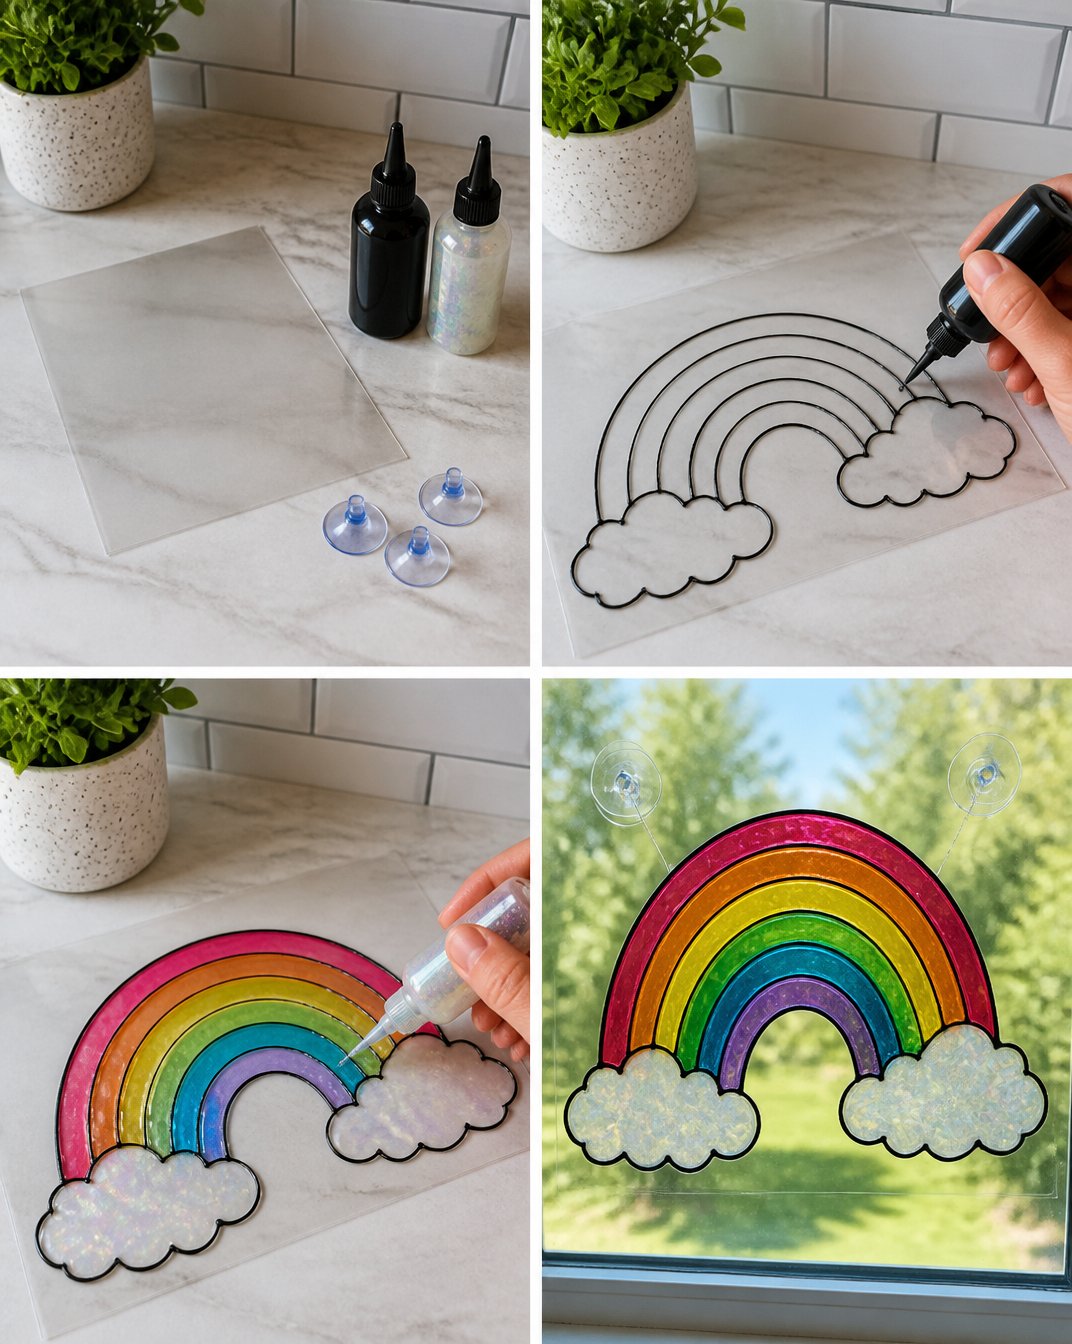
Now, let’s dive into the steps for making your DIY Faux Glass Rainbow Arch:
Outline the Rainbow and Clouds: Start by sketching a colorful rainbow arch and fluffy clouds on the clear plastic sheet. Use a pencil or light marker for this part, so it can be easily covered by the paint later.
Fill Each Band with Translucent Paint: Carefully fill in each band of the rainbow using your chosen translucent colors. Opt for bright shades like red, orange, yellow, green, blue, and purple. Be mindful of any spills as you apply the paint; working with a drop cloth can help.
Dry Flat: Once you’ve filled in the rainbow and clouds, let the completed arch dry flat. This step is crucial to avoid any smudging or mixing of colors.
Hang with Suction Cups: After everything is dry, use suction cups to secure your rainbow arch to a window or wall. This will allow the light to shine through and illuminate your work.
The Simple Science or Skills at Work
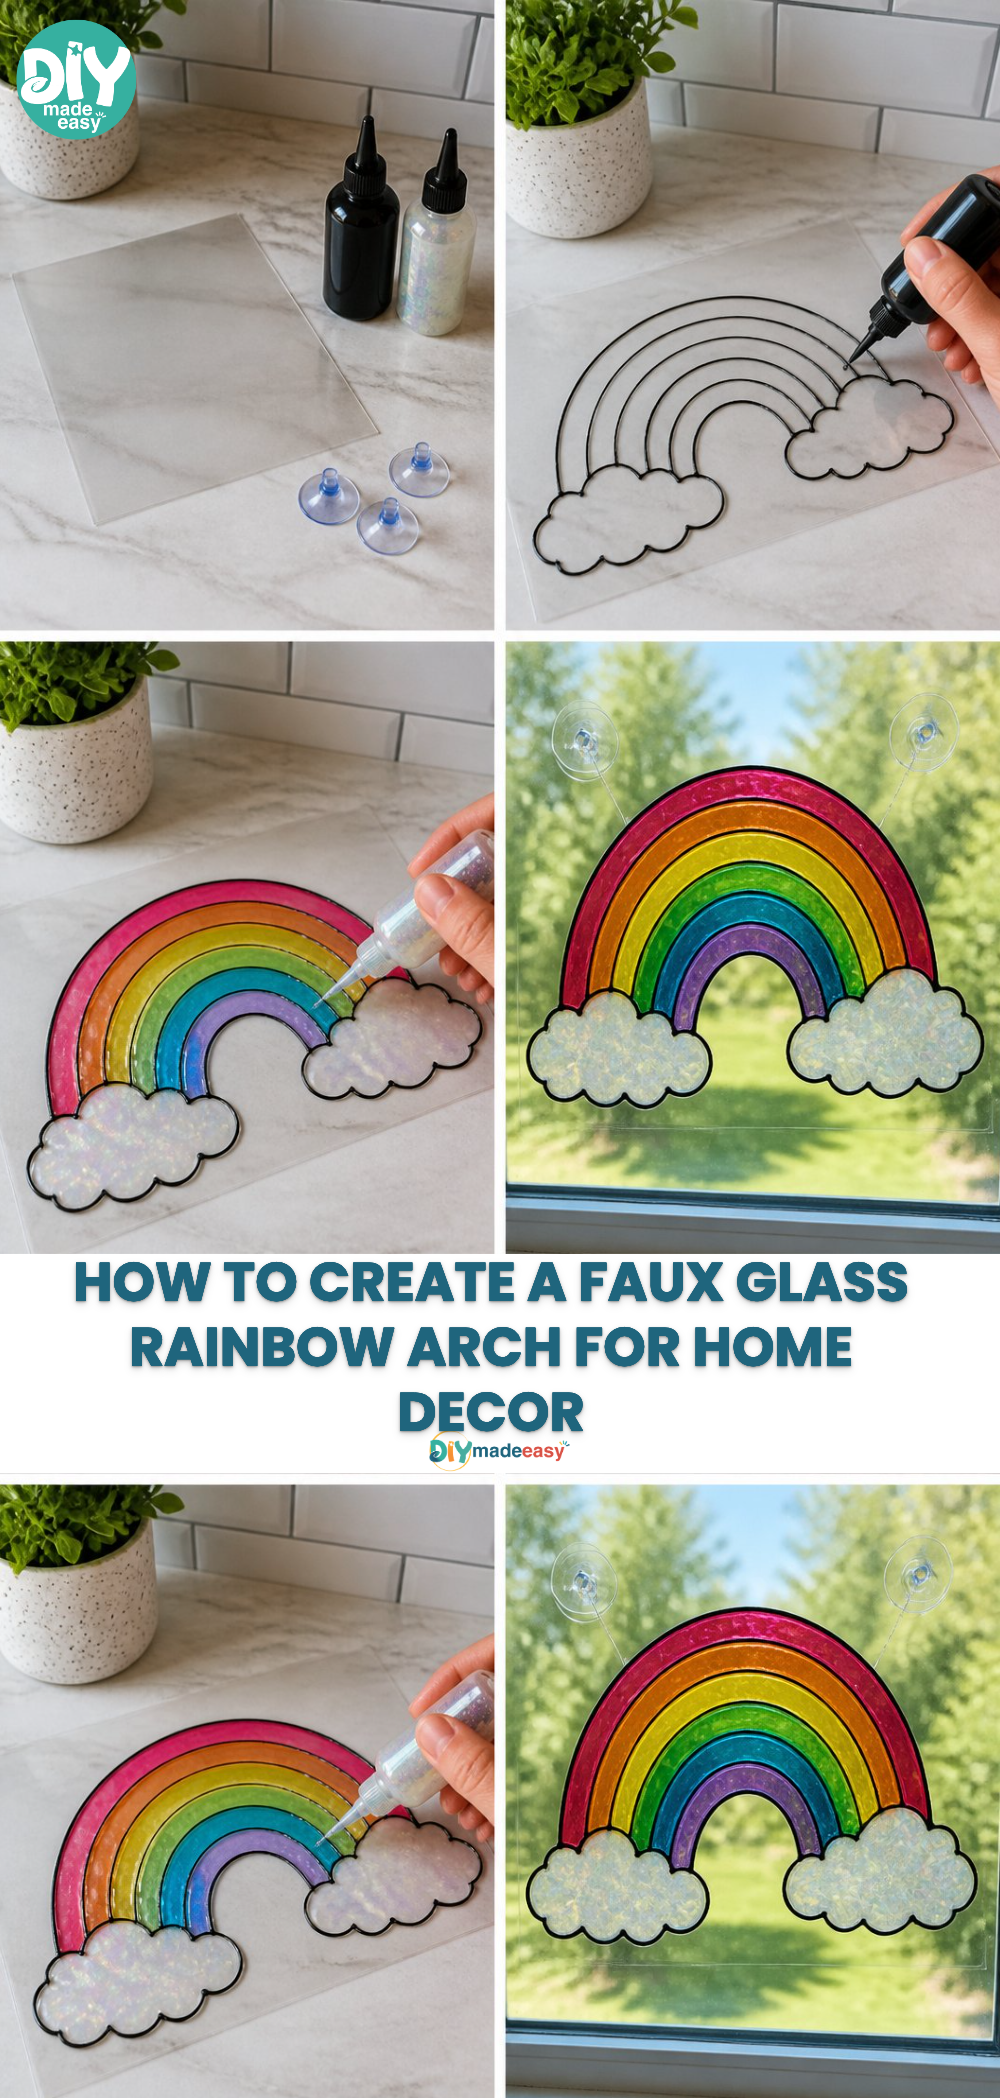
While making this arch, kids will be engaging in science concepts such as color mixing and light reflection. They’ll practice fine motor skills through painting and coordination when handling the materials. Observing the translucent paint in light can ignite curiosity about how colors blend and behave, offering a wonderful opportunity for learning through play.
Troubleshooting Common Issues
If things don’t go as planned, don’t worry. If the paint runs, that often happens. Simply let it dry and gently lift the clear plastic to reposition any elements. If colors look off, remember that each layer needs to be thin, as thicker applications might alter the hues. Patience is key; allow adequate drying time between layers to keep the colors vibrant.
Easy Variations to Try
If you fancy adding a twist, consider these variations:
- Create a seasonal theme by adding seasonal colors or shapes, such as leaves for autumn or snowflakes for winter.
- Incorporate glitter into the translucent paint before application for extra sparkle.
- Adjust the arch’s design to showcase different shapes or patterns to suit the occasion.
Storing or Reusing This Project
After your crafting is complete, consider how to store or display your rainbow arch. If the suction cups do not hold well, a simple frame can be used to house your creation. When the project outlives its decorative charm, recycle the clear plastic and any leftover materials properly to minimize waste.
FAQs About DIY Faux Glass Rainbow Arch for Home Decor
Q: Will this project make a mess?
A: While it might get a bit messy, especially with paint, it’s manageable. A protective cloth underneath will catch any accidental spills.
Q: Is this activity safe for younger kids?
A: Yes, this project can be done with adult supervision. The materials are generally safe, but ensure small children are guided while using paints.
Q: What if I don’t have all the exact paints?
A: You can substitute with similar colors you have on hand. Just ensure they are translucent to achieve the effect you’re aiming for.
Q: Can I reuse materials for future projects?
A: Absolutely! You can save any leftover paints for future crafts or explore other DIY projects such as rainbow stamp painting or a rainbow-themed garland.
Q: How do I store the rainbow arch?
A: When you’re done displaying your rainbow arch, store it flat in a safe place to avoid any cracks or damage.
A Final Helpful Note
As you embark on creating your DIY Faux Glass Rainbow Arch for Home Decor, remember to have fun with the process. Flexibility with colors and designs is encouraged, making each piece a true reflection of your creativity. Enjoy the cherished moments of this easy project, and let the crafting experience feel achievable, exciting, and fully gratifying.
Conclusion
Completing your DIY Faux Glass Rainbow Arch for Home Decor can be a delightful experience that fosters creativity and collaboration among family members. If you’re looking for an exceptional finishing touch, consider an iridescent acrylic vase that can complement your colorful projects beautifully. Additionally, to elevate your home decor even further, explore arch stencils for painting, which can add an interesting element to your creations. Enjoy the vibrant atmosphere you can create with your own hands!
PrintDIY Faux Glass Rainbow Arch for Home Decor
A colorful and creative DIY project perfect for families, making a faux glass rainbow arch to brighten your home decor.
- Prep Time: 15 minutes
- Cook Time: 45 minutes
- Total Time: 60 minutes
- Yield: 1 rainbow arch
- Category: Craft
- Method: Crafting
- Cuisine: N/A
- Diet: N/A
Ingredients
- Clear plastic sheet
- Black dimensional paint
- Translucent paint
- Suction cups
Instructions
- Outline the Rainbow and Clouds: Start by sketching a colorful rainbow arch and fluffy clouds on the clear plastic sheet.
- Fill Each Band with Translucent Paint: Carefully fill in each band of the rainbow using chosen colors.
- Dry Flat: Let the completed arch dry flat to avoid smudging.
- Hang with Suction Cups: Use suction cups to secure your rainbow arch to a window or wall.
Notes
A protective cloth can help manage spills while painting. Ensure supervision when kids are using paints.
Nutrition
- Serving Size: 1 arch
- Calories: 0
- Sugar: 0g
- Sodium: 0mg
- Fat: 0g
- Saturated Fat: 0g
- Unsaturated Fat: 0g
- Trans Fat: 0g
- Carbohydrates: 0g
- Fiber: 0g
- Protein: 0g
- Cholesterol: 0mg