

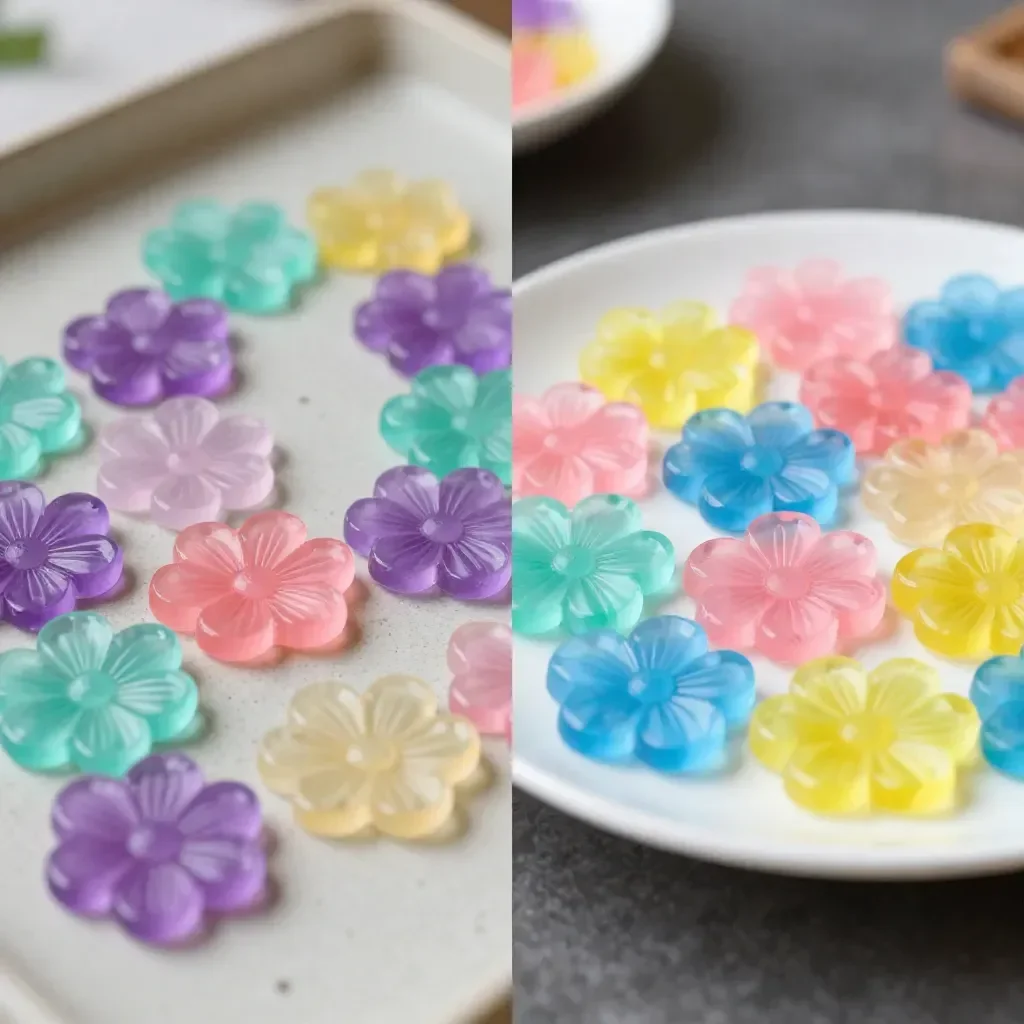
Making a beautiful Glue Flower Window Cling can be a perfect solution for a busy afternoon when kids are eager to engage in a creative activity. There’s something wonderfully satisfying about crafting a colorful piece of art that can brighten up any room. Using simple materials like clear glue, food coloring, and a plastic sheet, this DIY project allows little ones to express their artistic side while also providing a fun opportunity for you to bond with them. Imagine a space where colors dance freely on the window, resembling a garden filled with vibrant flowers. You may also find Bioplastic Suncatchers Natural Flowers useful.
Why This Glue Flower Window Cling Works So Well
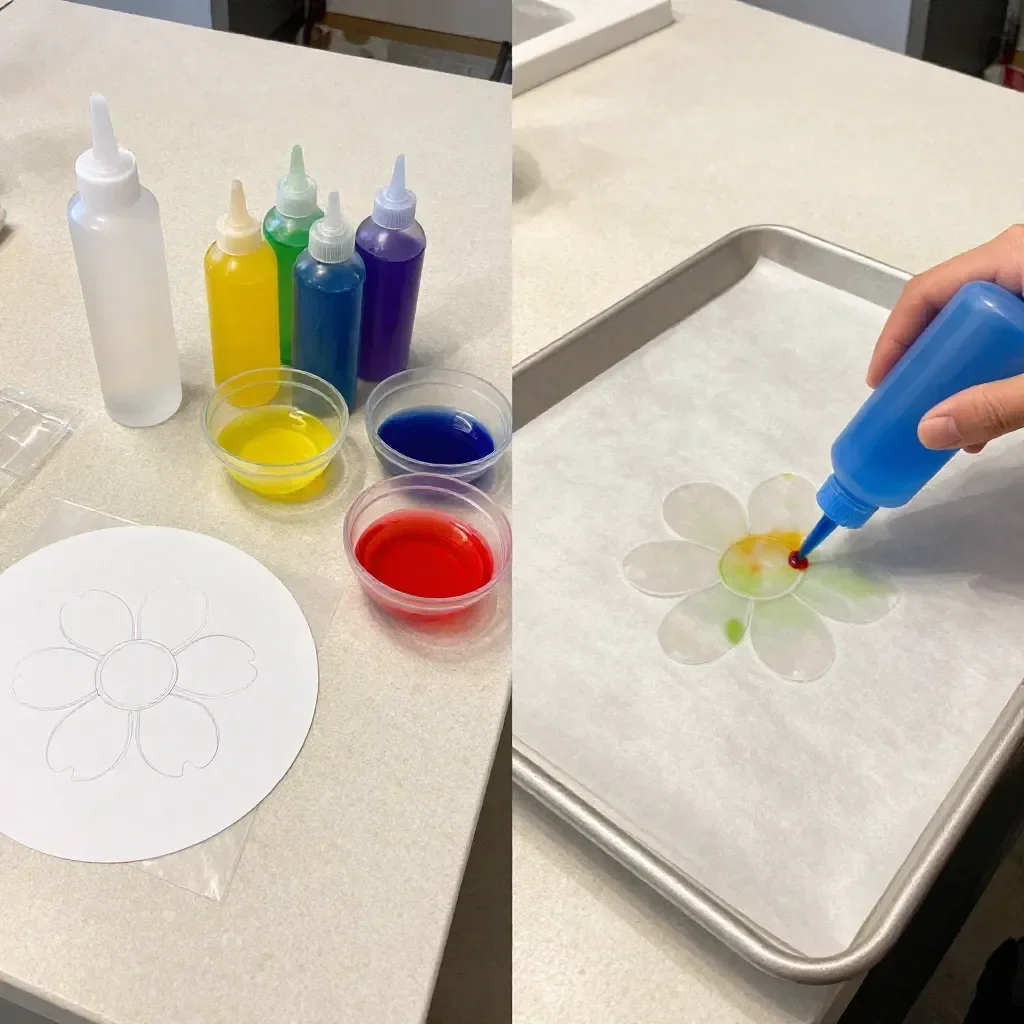
This DIY project is low-prep and approachable, making it an ideal choice for families with busy schedules. The beauty lies in its simplicity; you only need a few readily available items. Plus, the engaging activity can captivate children for hours, allowing them to explore their creativity with minimal adult involvement. Also, since it’s not a time-consuming task, you can easily fit it into your day, whether it’s after a quick lunch or as a weekend activity. This craft is both reliable and enjoyable, helping to create real results that are visually appealing. If you want to explore more fun DIY ideas, you might check out how to make beautiful bioplastic suncatchers to continue the creative fun.
A Quick Look Before You Begin
Creating your Glue Flower Window Cling doesn’t have to be a complicated affair. In just a few steps, you’ll set up a delightful crafting station where your children can enjoy the tactile experience of working with glue and colors. This project typically takes about an hour of active crafting time, followed by a drying period of 24 hours, which provides an excellent opportunity for kids to chat about their favorite flowers while they wait. You will want to have a dedicated area for this project, as it can be a bit messy, but it’s a manageable mess that can lead to smiles and giggles. This DIY is a stress-free way to keep kids entertained while sparking their imagination. You may also find Clear Glue Mosaic Suncatcher useful.
Materials You’ll Need
To get started with your Glue Flower Window Cling, you’ll want to gather the following materials: You may also find Clear Glue Suncatcher Quiet Joy Making useful.
- Clear glue: A common household item that provides the adhesive base for this cling.
- Food coloring: Perfect for adding vibrant hues and personal touches to the flowers.
- Plastic sheet: A flexible surface that will allow you to easily peel off your finished artwork.
- Flower template: A guide to help outline designs that kids will love to fill in.
These items are budget-friendly and easy to find, making this an accessible crafting project for everyone.
Step-by-Step Directions
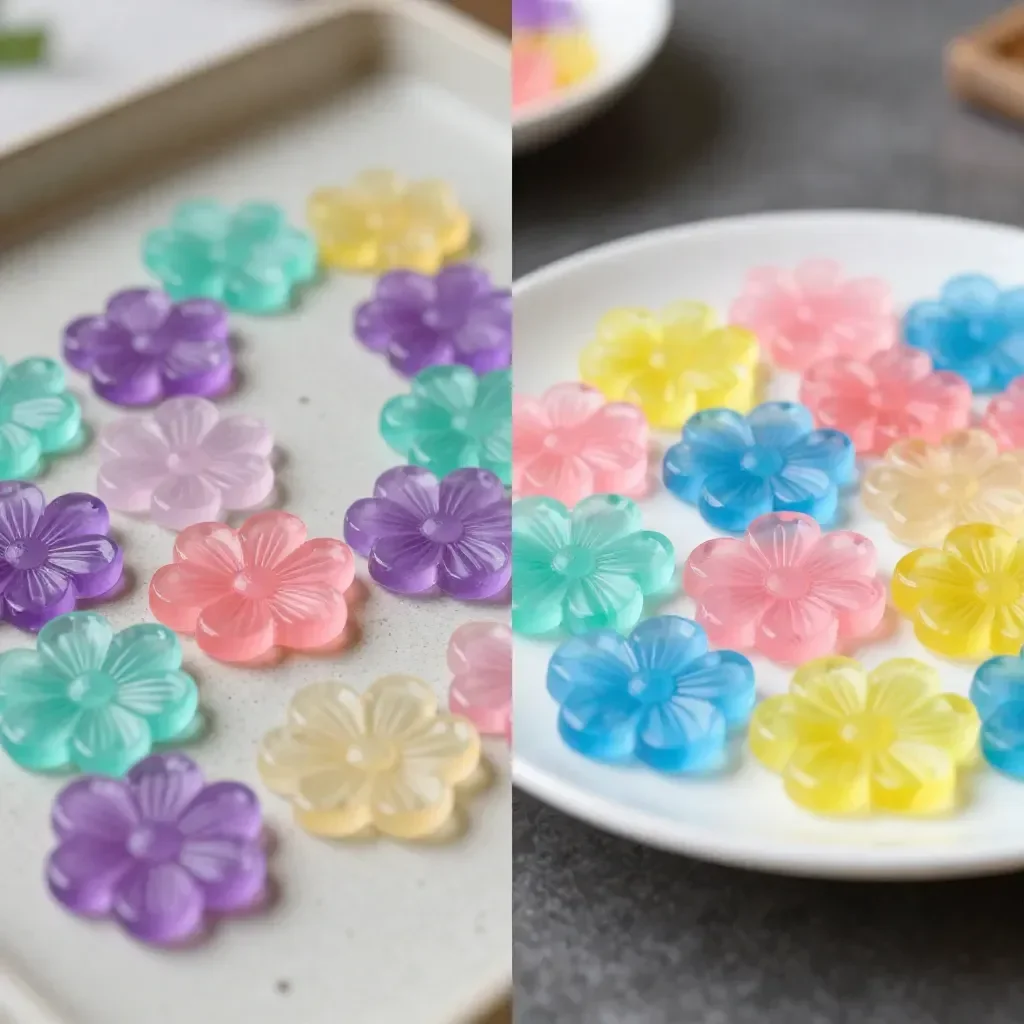
Creating your Glue Flower Window Cling is straightforward. Follow these steps to achieve delightful results:
Begin by placing your flower template underneath the plastic sheet. This will serve as the guide for your children’s designs.
Encourage your little ones to outline the petals with clear glue, letting their creativity flow freely. The clear glue will provide a strong structure for the flowers they create.
Once the petals are outlined, they can fill them with colored glue, mixing and matching as they please. This is where the fun happens; children can explore different color combinations and patterns.
Allow the creation to dry for a full 24 hours, a perfect time to chat about the flowers they love or daydream about a garden. The anticipation will make the final reveal even more exciting.
After it’s dry, gently peel off your beautiful cling and press it onto a sunny window to brighten your home. The finished product will catch the light beautifully.
The Learning Behind This DIY
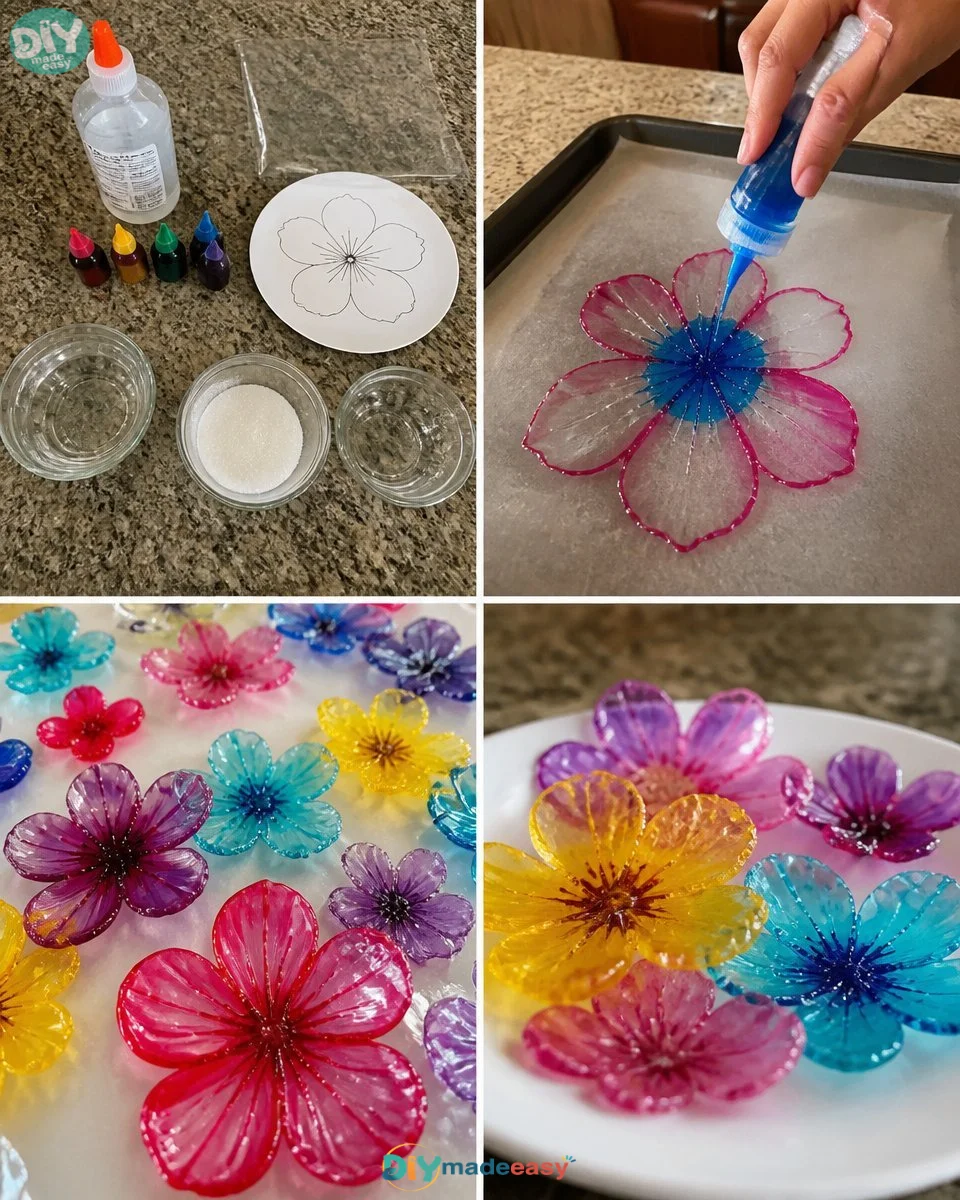
While they are having fun, children also practice valuable skills during this project. Working with glue promotes fine motor skills as they learn to control the flow of the glue and manipulate colors. Additionally, they explore cause and effect; they can observe how the colors blend and change as they mix food coloring into the glue. This hands-on experience can spark discussions about colors, botany, or even the science behind how plants grow and bloom. It’s an enriching experience wrapped up in an enjoyable activity.
Troubleshooting Common Issues
Sometimes, things might not go as planned, and that’s okay! Here are a few common issues and how you can easily address them:
- If the glue doesn’t flow smoothly, ensure that it hasn’t dried out. Fresh glue will provide the best consistency.
- Color mixing may not appear as expected. Encourage kids to experiment with smaller amounts before applying larger amounts to the petals to see which combinations create desired effects.
- If it sticks too much to the plastic sheet, using a different plastic surface with a smoother finish may help in future projects.
Easy Variations to Try
There are countless ways to get creative beyond the original project:
- Add glitter to the colored glue for a sparkly effect.
- Try different shapes like stars or leaves instead of flowers for a change of pace.
- Use seasonal stencils—pumpkins for Halloween or snowflakes in winter—to make themed window clings.
- Incorporate scents into the glue by mixing in essential oils (checking for allergies first) to make the experience even more enjoyable.
Storing or Reusing This Project
Once your kids have crafted their lovely window clings, consider how best to store or reuse them. It’s simple to keep these creations around! If you want to make a seasonal display, these clings can be gently placed in a sealed plastic bag. Alternatively, if they’re already up on the window, you can choose to take them down and save them for next year. This practice not only reduces waste but also keeps the creativity flowing without additional costs.
FAQs About Glue Flower Window Cling
What if my child makes a mess while crafting?
That’s a common concern! Begin by laying down newspapers or an old tablecloth to catch any spills. Most messes can be cleaned up quickly with warm, soapy water on surfaces.
Is it safe for younger children to use glue and food coloring?
Yes, but always supervise them during the project. If you have concerns about allergies or ingestion, you can use non-toxic materials designed specifically for children.
Can I replace the clear glue with another type of adhesive?
Sure, but ensure any alternative glue is safe for children and suitable for this type of project. While white school glue works, it might not create the same transparency.
How long will these clings last?
They should stay vibrant for quite some time, especially if kept out of direct sunlight. However, over time, colors might fade slightly.
Can we collect our masterpieces after they dry?
Absolutely! They can be a vibrant part of your home decor during the seasons they’re displayed.
Conclusion
Conclusion
Making Glue Flower Window Clings is a creative and engaging way for you and your children to spend time together. Not only does it allow for artistic expression, but it also sparks learning opportunities and conversation about nature. If you’re looking to enhance your crafting experience, consider checking out these rainbow flower window clings or more ideas on DIY window clings. Enjoy crafting and watching your little ones transform simple materials into beautiful art!
PrintGlue Flower Window Cling
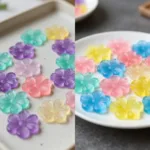
A fun and engaging DIY project for kids to create colorful flower window clings using clear glue and food coloring.
- Prep Time: 15 minutes
- Cook Time: 0 minutes
- Total Time: 1440 minutes
- Yield: Multiple clings
- Category: Craft
- Method: Crafting
- Cuisine: N/A
- Diet: N/A
Ingredients
- Clear glue
- Food coloring
- Plastic sheet
- Flower template
Instructions
- Begin by placing your flower template underneath the plastic sheet.
- Encourage your little ones to outline the petals with clear glue.
- Once the petals are outlined, they can fill them with colored glue.
- Allow the creation to dry for a full 24 hours.
- After it’s dry, gently peel off your beautiful cling and press it onto a sunny window.
Notes
Use newspapers or an old cloth to protect your workspace. Always supervise younger children while they craft.
Nutrition
- Serving Size: 1 cling
- Calories: 0
- Sugar: 0g
- Sodium: 0mg
- Fat: 0g
- Saturated Fat: 0g
- Unsaturated Fat: 0g
- Trans Fat: 0g
- Carbohydrates: 0g
- Fiber: 0g
- Protein: 0g
- Cholesterol: 0mg