

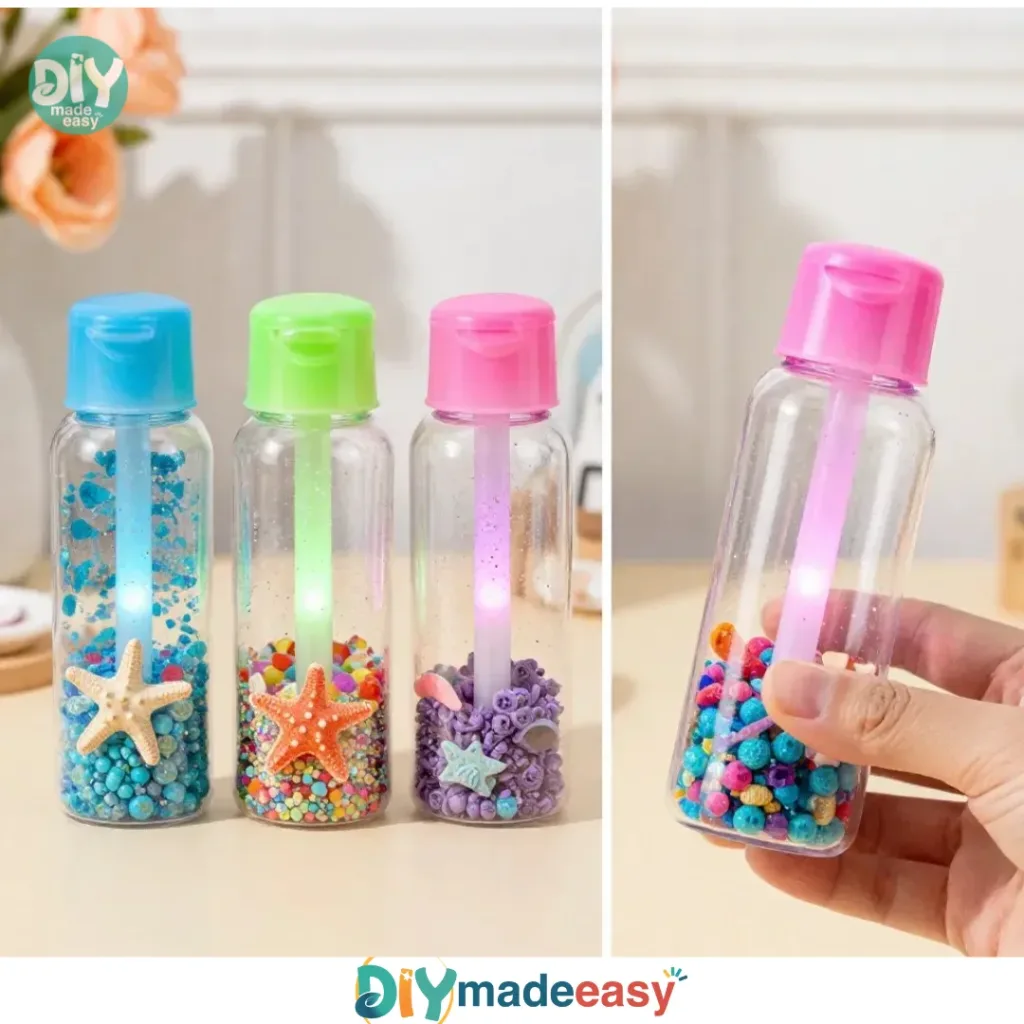
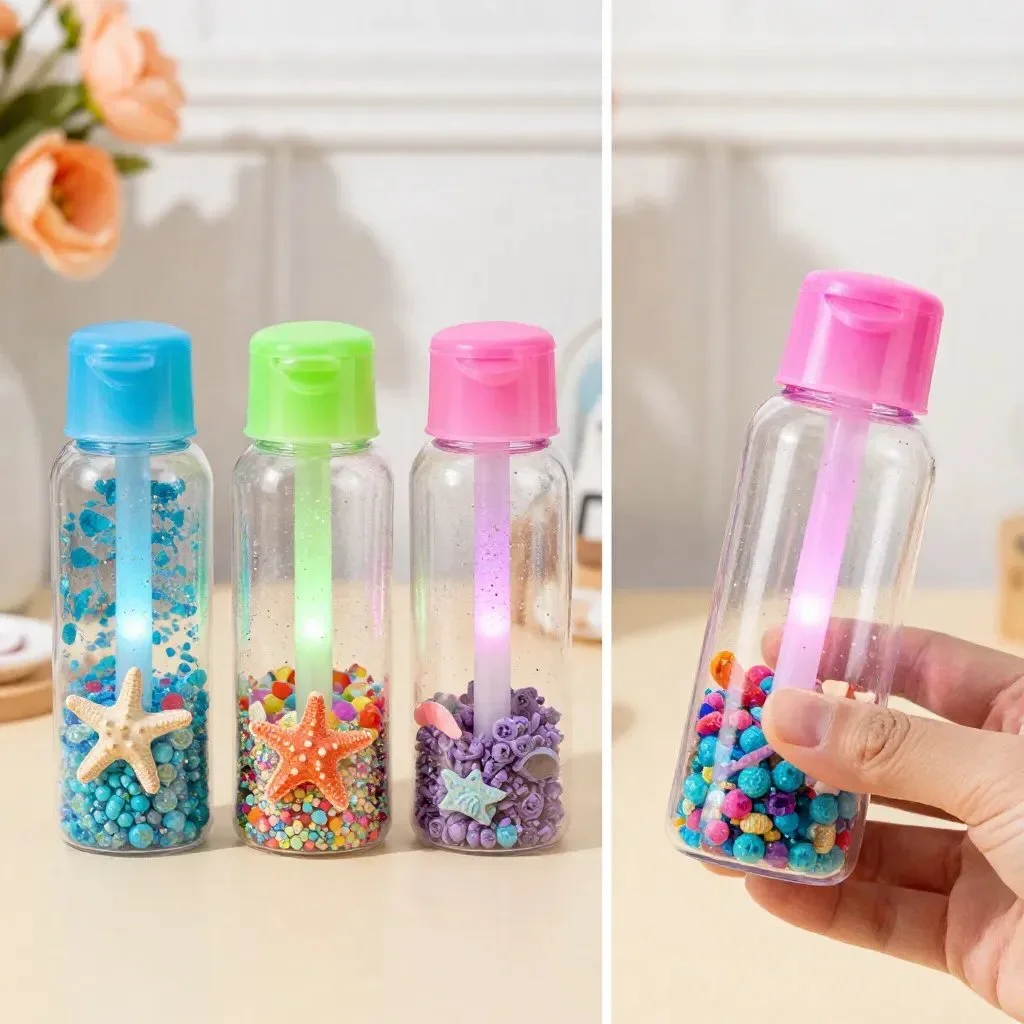
In the midst of a busy afternoon, when kids are restless and creativity is bubbling, it’s often challenging to find an engaging craft that doesn’t require extensive setup. A Glowing Underwater Sensory Craft is a perfect solution. This project is hands-on and captivates kids’ attention with its enchanting colors and lights. Using simple materials like clear plastic containers, LED tea lights, and natural sea elements, children can create their own little underwater worlds. Not only does it encourage imaginative play, but it also provides a calm sensory experience that can be enjoyed in darkened spaces. You may also find Broken Crayons Glowing Rainbow Flowers 2 useful.
Why You’ll Love Making A Glowing Underwater Sensory Craft
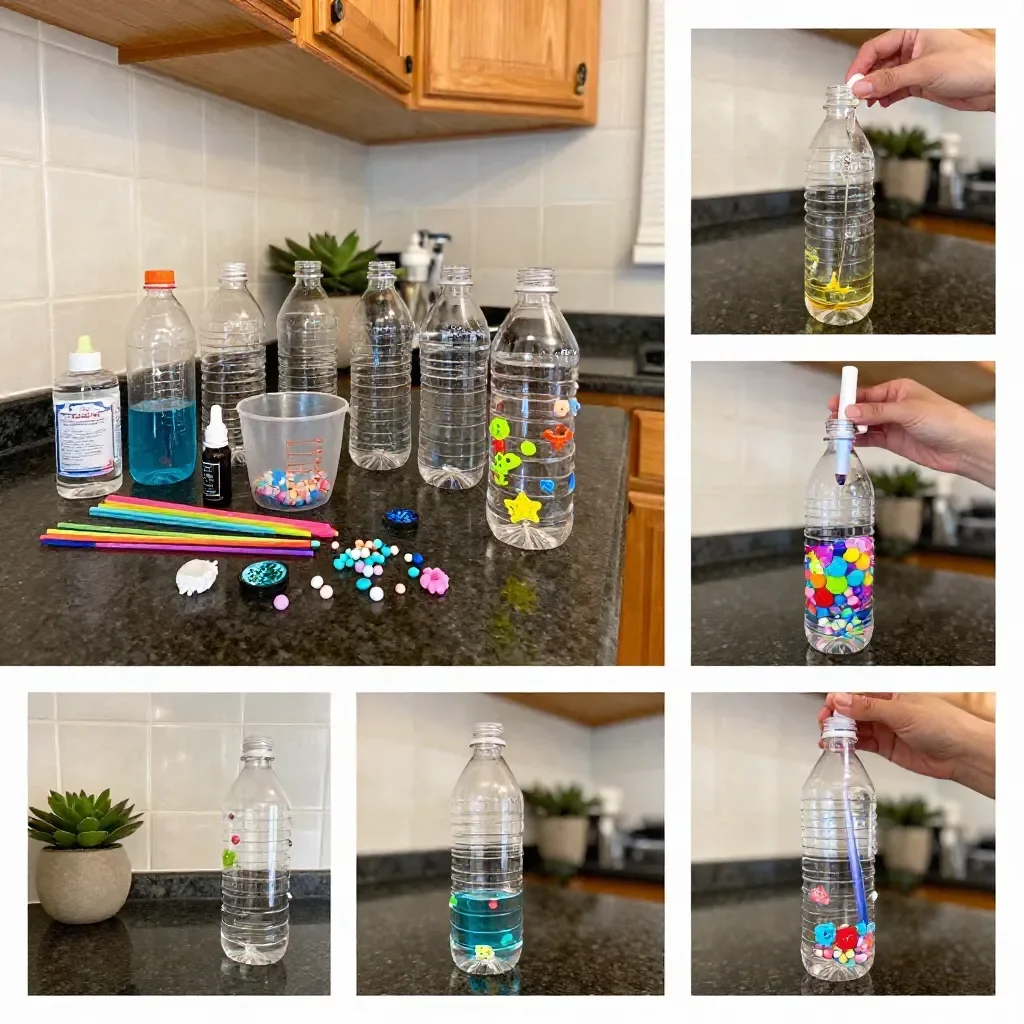
You may also find Broken Crayons Glowing Rainbow Flowers useful.
This glowing underwater sensory craft strikes the right balance between creativity and simplicity, making it an ideal choice for busy days. With minimal prep time needed, you can easily gather materials from around the house. The straightforward process allows children to engage without overwhelming adult supervision, fostering independence and confidence. Plus, the glowing effect from the LED lights keeps the excitement alive, encouraging children to explore their creativity while having fun with their creations. You may also find Crafts For Kids Fun Projects useful.
A Quick Look Before You Begin
Creating this underwater sensory craft doesn’t require hours of preparation. In just about 30-45 minutes, you can have a finished product ready for display. The setup is manageable, making it smooth for parents to guide the kids along the way. Expect some glue and maybe a few spills, but overall, the mess level is low! This craft is also a great opportunity for quality bonding time, as you can work together to bring these glowing wonders to life. You may also find Creative Science Craft Kids Rainbow Light Show useful.
Materials You’ll Need
To get started, you’ll need a few simple supplies that are largely found at home or can be easily acquired. Here’s what you will require:
- Clear plastic containers (any size works)
- Liquid watercolor or acrylic paint (optional)
- LED tea lights
- Transparent adhesive film or plastic wrap
- Natural sea elements (sand, seashells)
- Scissors
- Glue (non-toxic preferred)
- Glitter (optional)
These materials create an engaging project that not only promotes creativity but also offers a chance to teach kids about colors, textures, and light.
STEP-BY-STEP DIRECTIONS
Start by cutting the transparent adhesive film to fit the top of your plastic container. This will create a clear surface for your sensory craft.
Next, use glue to attach the natural sea elements to the bottom of the container. Let the kids arrange seashells, sand, or whatever ocean treasures they’ve found—this is where their creativity shines!
If you choose to use liquid watercolor, mix it with water in a separate cup and then pour it gently into the container. Mix colors to create beautiful and mesmerizing effects.
Position the LED tea light in the center of the container, ensuring it’s secure and won’t tip over.
Once the items are in place, cover the top of the container with another layer of adhesive film and seal it tightly. This protects the contents and enhances the glowing effect.
Finally, place your craft in a dark space to fully enjoy the glow and the mesmerizing colors. Kids will be delighted to see their creations light up the room!
What Kids Practice While Making This
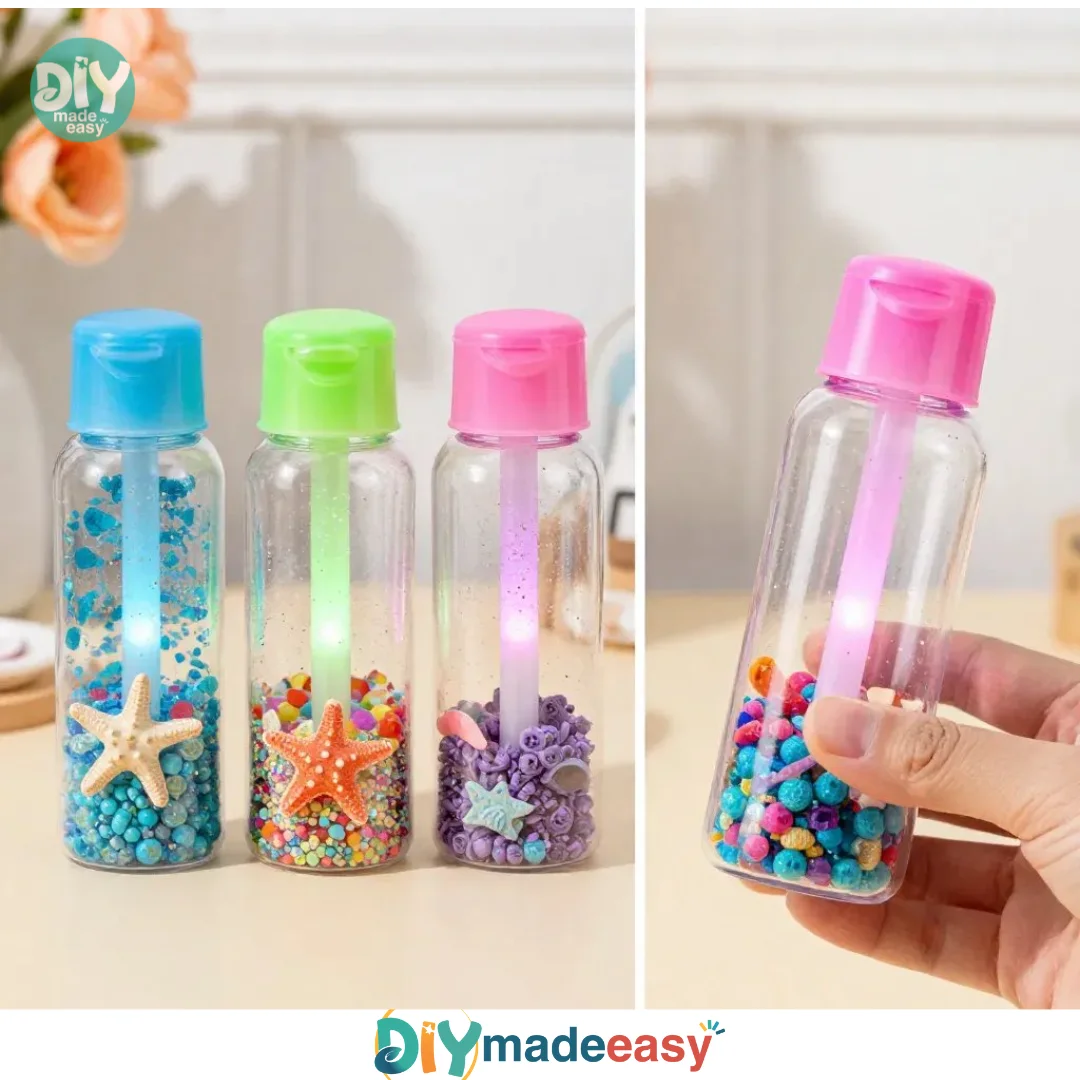
While crafting, kids engage in various skill-building activities. They develop fine motor skills by cutting, gluing, and arranging items. The project also encourages creative thinking, as they decide how to best position sea elements within the container. Furthermore, they explore scientific concepts such as color mixing and light diffusion, which can lead to interesting discussions. This hands-on experience not only fosters creativity but also promotes learning through play.
Troubleshooting Common Issues
As with any craft, things may not always go as planned. Here are a few common issues and how to handle them:
Glue doesn’t stick: If you find that the glue isn’t adhering well to your materials, make sure to use a non-toxic glue that works well with plastics and other surfaces. Let the glue sit for a little longer for stronger adhesion.
Watercolor runs too much: If the watercolor is too liquid, it might cloud the view of your sea treasures. Try adding a bit more water to dilute it or use less liquid overall for a clearer look.
Light won’t stay lit: Ensure the LED tea light is fully charged or has fresh batteries. Sometimes, repositioning it can also help ensure that it’s making good contact.
Easy Variations to Try
Want to change things up a bit? Here are some fun variations to consider:
Seasonal themes: Create underwater scenes that represent different seasons, like a winter wonderland submerged or a blooming spring underwater garden.
Colorful glitter: Add a dash of glitter inside the container for extra sparkle. Kids will love seeing their underwater world shimmer and twinkle.
Different container sizes: Use various sizes of containers to create a mini ocean or a larger scene. This can also serve as a great way to teach kids about size and proportion.
Storing or Reusing This Project
Once the project is complete, think about storage or reuse. If the kids want to keep their crafts, find a nice space to display them safely away from direct sunlight to preserve their colors. If they want to make new versions, the materials can be repurposed for different designs later. Simply clean the containers and refresh the elements as needed.
FAQs About A Glowing Underwater Sensory Craft
One question that often comes up is, “What’s the mess level like?” Expect some glue drips and maybe a little glitter flying around, but overall the setup is quite tidy.
Another common concern is safety. This craft is safe for children as long as they use non-toxic supplies and are supervised during steps that involve scissors or glue.
Parents often wonder whether they can substitute materials. Yes, you can always replace liquid watercolor with food coloring if that’s what you have on hand!
When it comes to the age group suited for this activity, typically, kids ages four and up can manage this project well, given suitable adult supervision.
Lastly, if you want to store the materials, be sure to clean everything carefully and keep them dry to avoid any unwanted mess or spoilage later.
A Final Helpful Note
Working on A Glowing Underwater Sensory Craft can be a wonderful way to spend time together, explore creativity, and calm busy minds. Remember, the focus of this project is on fun and expression rather than perfection. Embrace the process and allow the kids to take the lead. It’s all about enjoying the journey and having a glowing good time!
Conclusion
As you create your underwater sensory craft, don’t forget to check out the fun Neptune Under the Sea Lights & Sounds Activity Gym for more engaging play ideas. And if you’re looking for a family outing, visit the Aquarium Events for a wonderful experience. Embrace creativity, memories, and the joy of making together!
PrintGlowing Underwater Sensory Craft
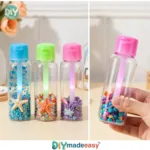
A fun and engaging craft that allows kids to create their own glowing underwater worlds.
- Prep Time: 15 minutes
- Cook Time: 0 minutes
- Total Time: 30 minutes
- Yield: 1 craft
- Category: Crafts
- Method: Crafting
- Cuisine: N/A
- Diet: N/A
Ingredients
- Clear plastic containers (any size)
- Liquid watercolor or acrylic paint (optional)
- LED tea lights
- Transparent adhesive film or plastic wrap
- Natural sea elements (sand, seashells)
- Scissors
- Glue (non-toxic preferred)
- Glitter (optional)
Instructions
- Start by cutting the transparent adhesive film to fit the top of your plastic container.
- Next, use glue to attach the natural sea elements to the bottom of the container.
- If you choose to use liquid watercolor, mix it with water in a separate cup and then pour it gently into the container.
- Position the LED tea light in the center of the container.
- Once the items are in place, cover the top of the container with another layer of adhesive film and seal it tightly.
- Finally, place your craft in a dark space to fully enjoy the glow.
Notes
Encourages imaginative play and fine motor skills while providing a calm sensory experience.
Nutrition
- Serving Size: 1 craft
- Calories: 0
- Sugar: 0g
- Sodium: 0mg
- Fat: 0g
- Saturated Fat: 0g
- Unsaturated Fat: 0g
- Trans Fat: 0g
- Carbohydrates: 0g
- Fiber: 0g
- Protein: 0g
- Cholesterol: 0mg