

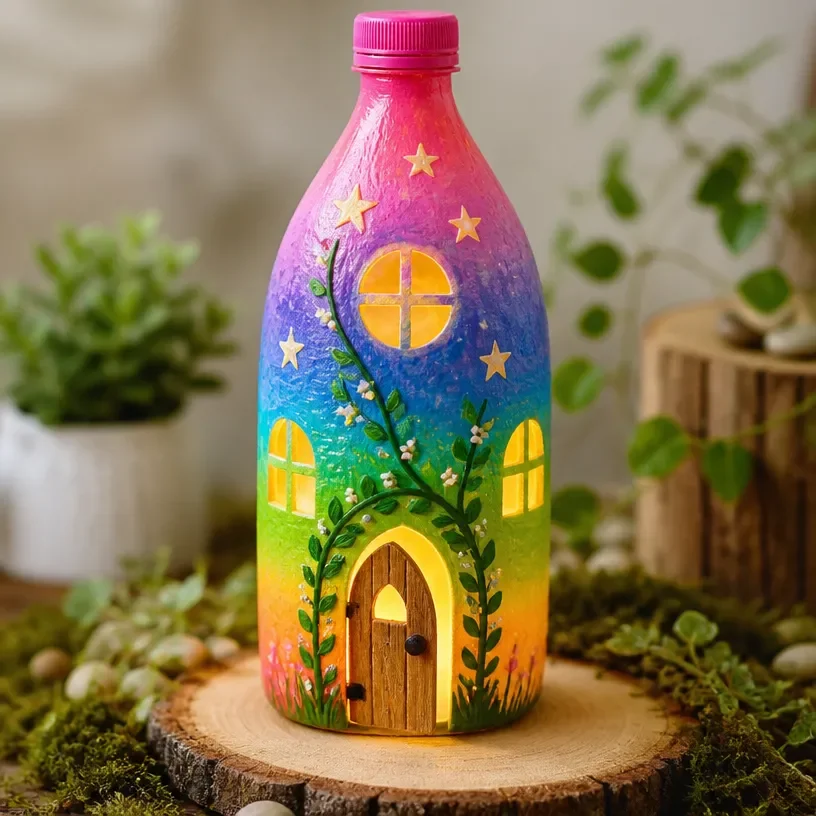
Creating a glowing fairy house can be a delightful way to engage children on a busy afternoon when they are bursting with creativity. If your kids are eager to make something magical right away, then exploring the idea of Glowing Fairy House Ideas for Magical Garden Decor can be the perfect solution. It combines light, imagination, and hands-on crafting, transforming simple materials into enchanting decor for your garden or indoor space. You may also find Diy Upcycled Tin Can Garden Decor Ideas useful.
Why This Glowing Fairy House Ideas for Magical Garden Decor Works So Well
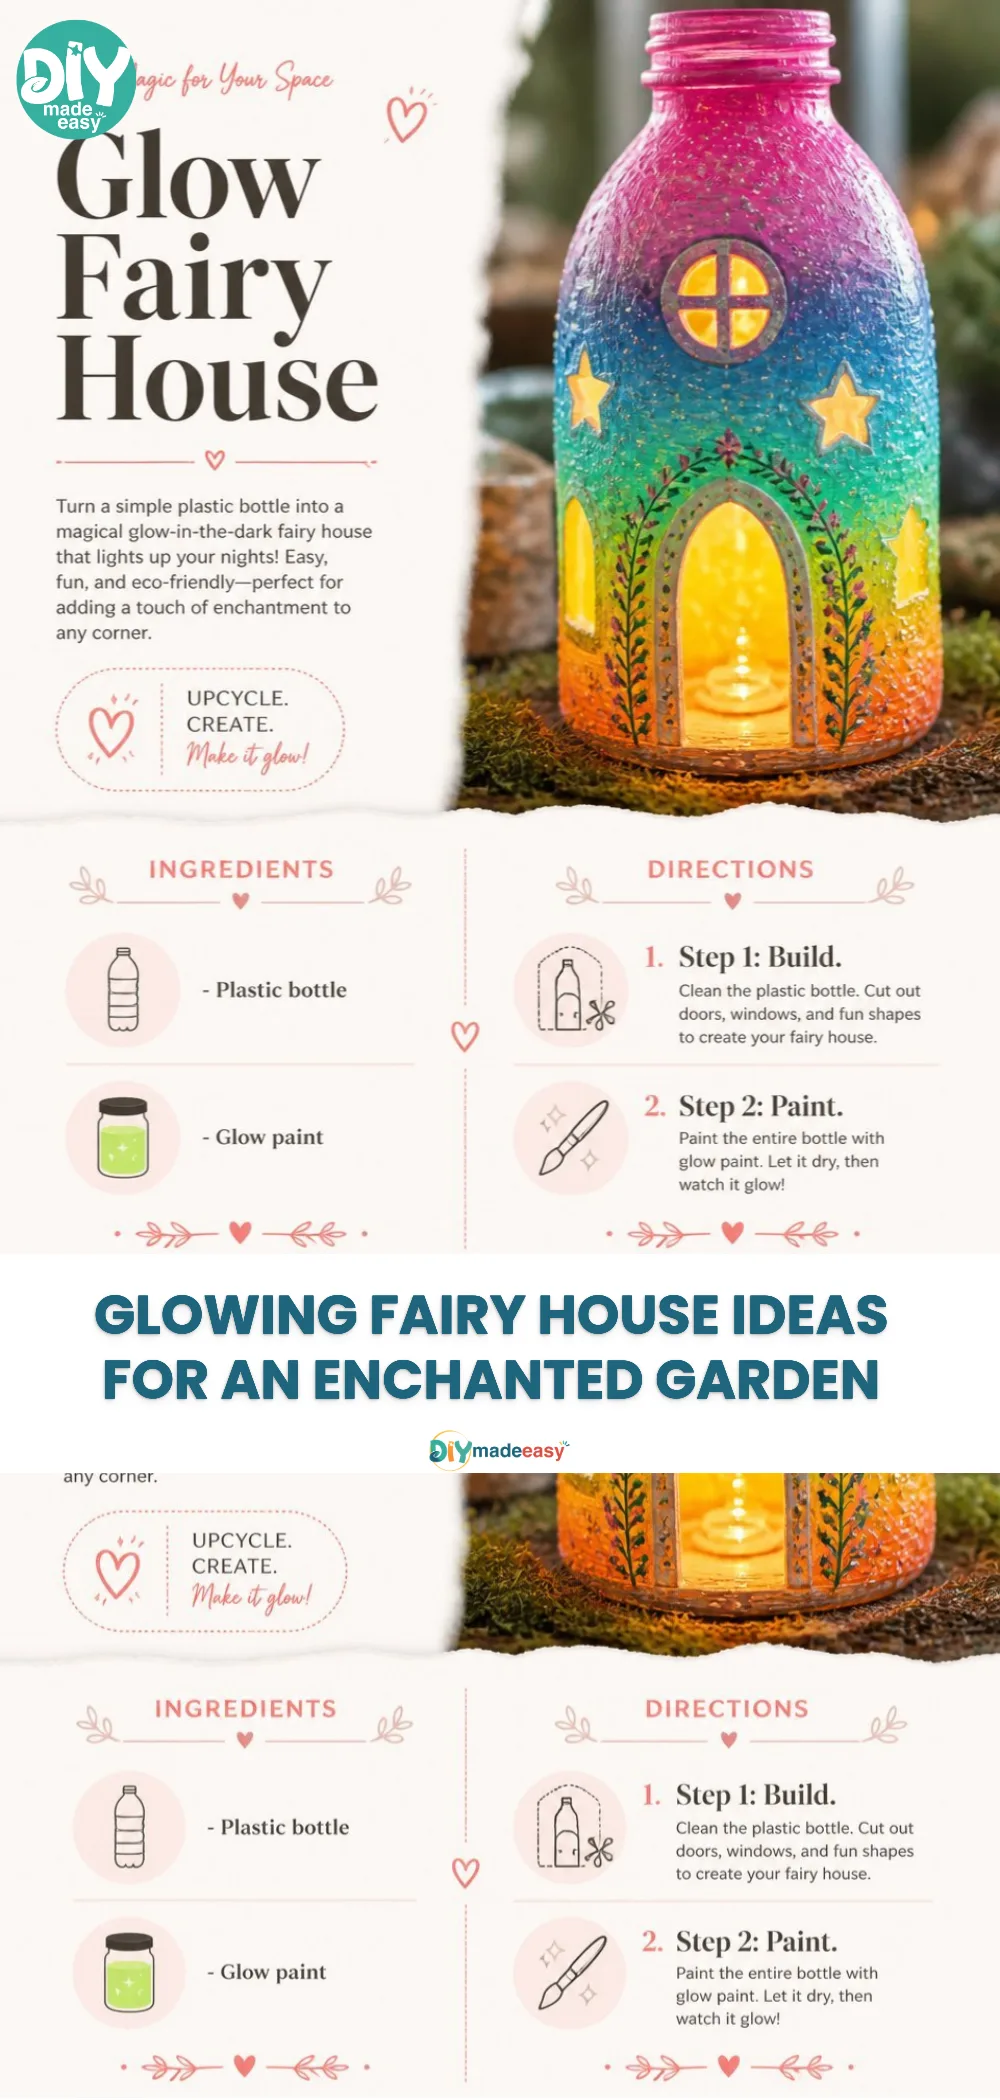
The allure of creating a glowing fairy house comes from its low-prep nature and the joy of customization. This project requires minimal setup, making it ideal for those spontaneous crafting moments. You can easily gather the materials from around your home, simplifying the process further. Children can express their creativity, allowing them to be as detailed or as simplistic as they wish, which keeps them engaged without overwhelming them. Additionally, the end result a warm, glowing fairy house provides immediate visual feedback that can boost their confidence and sense of achievement. You may also find Glowing Holographic Lantern Schoolhouse Decor useful.
A Quick Look Before You Begin
Making a glowing fairy house is an engaging DIY project that doesn’t take much time to set up and clean up afterwards. The entire process can typically be completed in about two hours, including drying times. Expect a moderate mess level since glue and paint can get a bit sticky. Adult involvement can be minimal, mainly for supervision and assistance with tasks like cutting or handling sharp objects. This is a great chance to bond with your children while enjoying a simple, creative activity together. You may also find Big Rainbow Pinwheel Garden Stake Outdoor Yard Decor useful.
Materials You’ll Need
Here’s a straightforward list of materials to gather before you get started: You may also find Colorful Flower Garden Decor Rainbow Painted Rocks useful.
- Empty, clean jars (common household item)
- Acrylic paints (budget-friendly and easy to find)
- Paintbrushes (optional, but helpful for detailed decorating)
- LED tea lights (safe and reusable)
- Glue (for embellishments; optional)
- Decorative items like beads, sequins, or glitter (fun extras)
These items will set you up nicely for your fairy house creation.
Step-by-Step Directions
- Choose Your Jar: Start with an empty jar that will serve as the main structure for your fairy house. A simple mason jar or a glass container works perfectly.
- Clean the Jar: Rinse and dry the jar thoroughly to ensure that paint adheres well. This prevents any residue from affecting the final look.
- Prepare Your Paint: Use acrylic paint in colors of your choice that fits the fairy theme bright colors bring vibrancy, while pastels create a softer look.
- Paint the Jar: Use a paintbrush to apply a thin layer of paint on the outside of the jar. Allow it to dry completely before applying additional coats if desired.
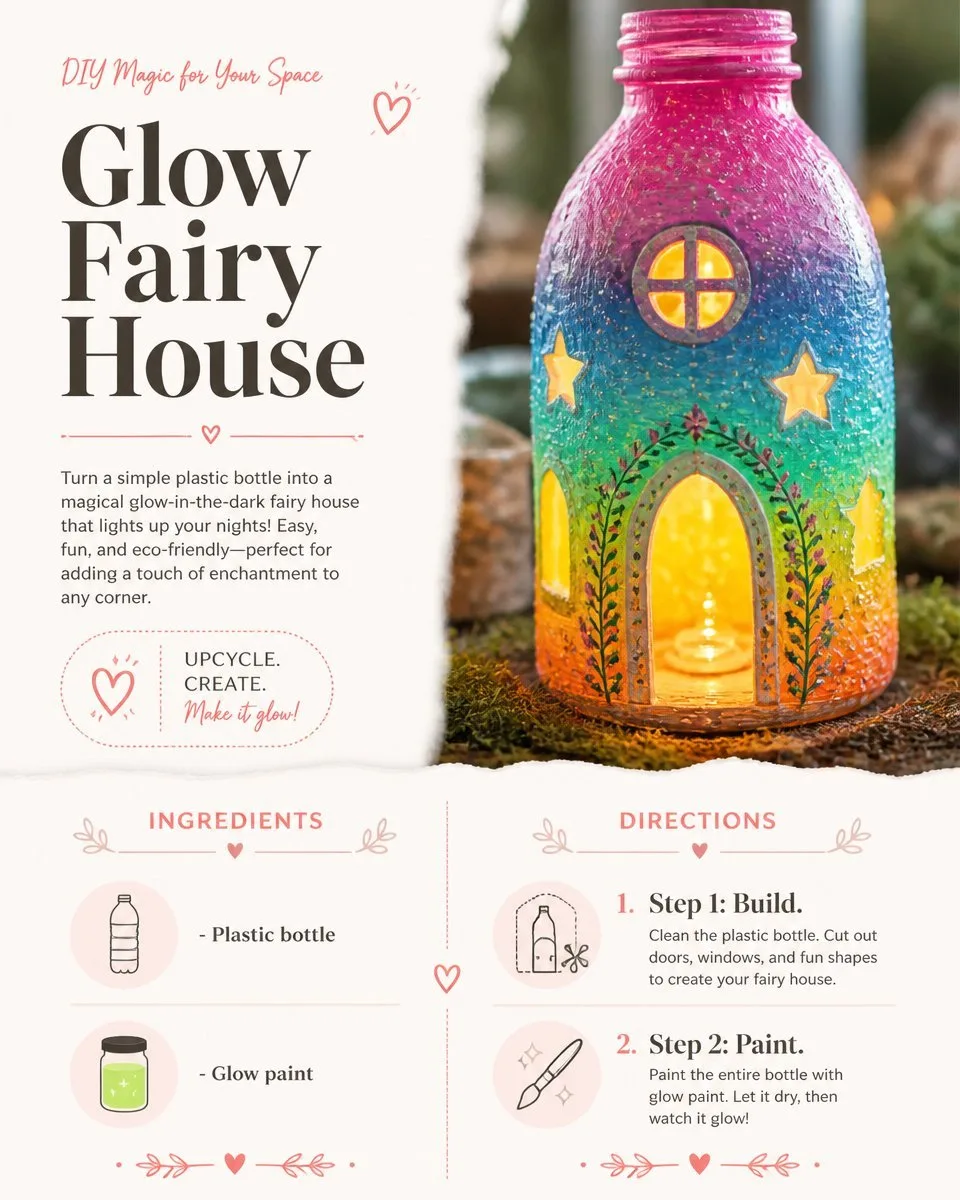
- Add Details: Once the initial coat is dry, feel free to add decorative elements, such as windows or doors, by painting them on with contrasting colors.
- Let It Shine: Place an LED tea light inside the jar once the paint is dry. This will provide the glowing effect that your fairy house needs, making it magical in the evening.
The Learning Behind This DIY
Creating a glowing fairy house promotes various skills in children, including fine motor skills as they manipulate paintbrushes and decorative items. They also engage in a basic understanding of color theory as they mix and match different paints to achieve their desired effect. This DIY involves cause and effect seeing how different materials can create light or block it will enhance their comprehension of simple science concepts. It’s not just about making a pretty object; it’s about the whole process of creation.
Troubleshooting Common Issues
Sometimes, things don’t go as planned with crafts, and that’s okay! A common issue might be that the paint chips off or doesn’t adhere well. This usually happens if the jar isn’t clean enough before painting. To fix this, ensure the jar is thoroughly washed and dried. If the glitter or beads don’t stick on, a little extra glue can help them adhere better. If the LED tea light doesn’t fit well inside, try using a smaller jar or adjusting the placement until it feels secure.
Easy Variations to Try
To keep the project fresh, consider these fun variations:
- Nature Themes: Incorporate elements from nature, like twigs and leaves, into your designs.
- Seasonal Changes: Create fairy houses that reflect different seasons by changing the colors and decorations.
- Night Lights: Use larger jars and add more lights for a magical nightlight accompaniment for your child’s room.
- Color Themes: Pick a color scheme ahead of time to create a beautiful cohesive look across multiple jars.
Storing or Reusing This Project
After creating your glowing fairy house, think about how to store it for future use or holiday decorations. If you want to change it up or update it for different seasons, simply paint over the existing design. Cleanup is straightforward with a little soap and water, as acrylic paint can be easily washed off surfaces. If any remnants of glue or paint remain, soaking the jars can help remove them. Aim to reuse your materials creatively, minimizing waste and encouraging sustainability.
FAQs About Glowing Fairy House Ideas for Magical Garden Decor
How messy is this project for young kids?
While there might be some spills with paint and glue, preparing a covered workspace can limit mess and make cleanup easy. Kids love getting involved, and the mess is part of the fun!
What age range is this project suitable for?
This DIY can be enjoyed by children ages 5 and up, depending on your supervision and involvement level. Younger kids may need help with certain steps, especially cutting or paint application.
Can I use other types of containers?
Absolutely! Any clear container can work for this project. Just ensure that the container can withstand glue and paint.
What should I do if my fairy house doesn’t glow bright enough?
If your fairy house isn’t giving off enough light, consider using a higher-quality LED tea light or painting the inside of the jar with lighter colors to amplify the glow.
How can I store my materials for reuse later?
After finishing, keep leftover paints and decorative items in labeled airtight containers, and store your fairy houses in a safe spot to protect them.
Conclusion
Creating glowing fairy houses is a wonderful way to inspire creativity while providing a magical touch to your home decor. If you’re looking for more fairy inspiration, you can check out 35 Cutest Fairy House Ideas (to DIY) for additional ideas and themes. Moreover, if you want to enhance your fairy-themed decor with special touches, explore fairy door and light options on Etsy. These resources can help add even more magic to your crafting experience!
PrintGlowing Fairy House
A delightful DIY project for creating glowing fairy houses that engage children’s creativity and add a magical touch to your home or garden.
- Prep Time: 15 minutes
- Cook Time: 0 minutes
- Total Time: 120 minutes
- Yield: 1 fairy house
- Category: Craft
- Method: DIY Crafting
- Cuisine: N/A
- Diet: N/A
Ingredients
- Empty, clean jars
- Acrylic paints
- Paintbrushes
- LED tea lights
- Glue (optional)
- Decorative items (beads, sequins, glitter)
Instructions
- Choose your jar: Start with an empty jar that will serve as the main structure for your fairy house.
- Clean the jar: Rinse and dry the jar thoroughly to ensure that paint adheres well.
- Prepare your paint: Use acrylic paint in colors of your choice.
- Paint the jar: Apply a thin layer of paint on the outside of the jar and allow it to dry completely.
- Add details: Paint on decorative elements, like windows or doors, once the initial coat is dry.
- Let it shine: Place an LED tea light inside the jar to provide the glowing effect.
Notes
Promotes creativity, fine motor skills, and introduces basic concepts of color theory and cause-and-effect.
Nutrition
- Serving Size: 1 project
- Calories: 0
- Sugar: 0g
- Sodium: 0mg
- Fat: 0g
- Saturated Fat: 0g
- Unsaturated Fat: 0g
- Trans Fat: 0g
- Carbohydrates: 0g
- Fiber: 0g
- Protein: 0g
- Cholesterol: 0mg