

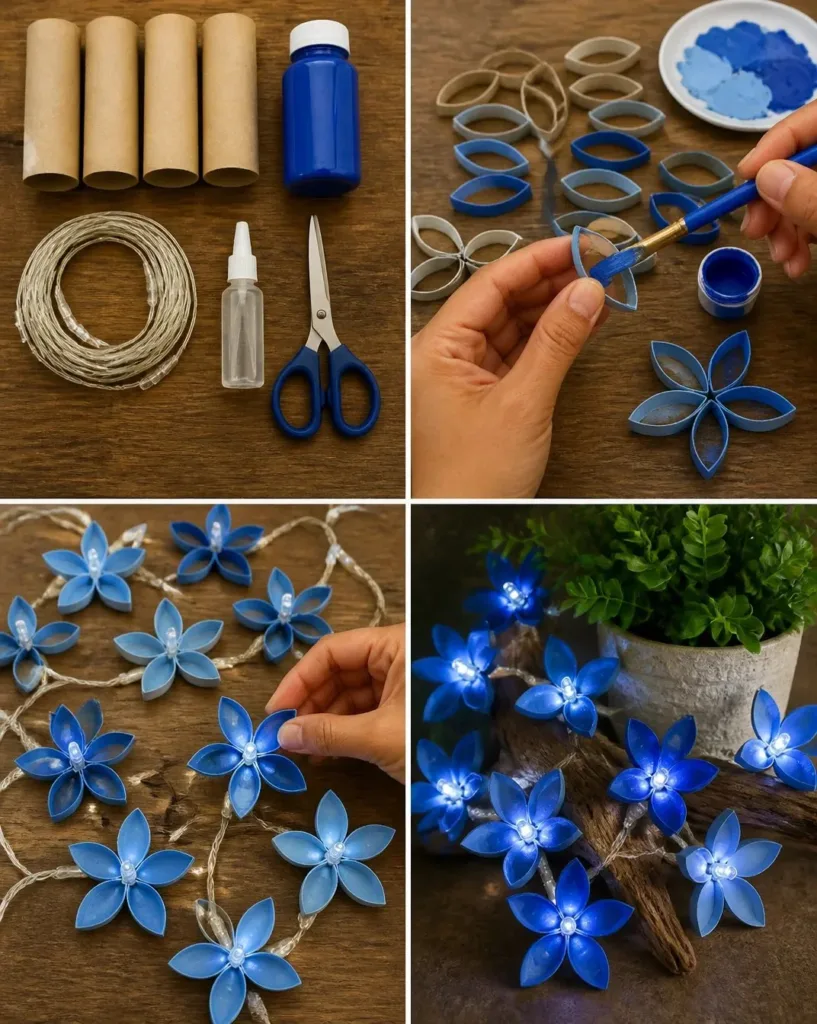
When the afternoon stretches long and kids are buzzing with energy, having a creative project on hand can transform that energy into something beautiful. One delightful and eco-friendly activity you can dive into is making an Eco-Friendly Blue Flower Fairy Light Garland using Recycled Materials. This project not only promotes sustainability but also provides an opportunity for little hands to engage in craft-making. With just a handful of common materials and some guided steps, you can create something magical together. You may also find Diy Butterfly Mobile Recycled Bottles Eco Friendly Decor useful.
Why You’ll Love Making Eco-Friendly Blue Flower Fairy Light Garland Using Recycled Materials
You may also find Diy Rainbow Flowers Recycled Bottle Caps useful.
This project stands out for its simplicity and the joy it brings. You’ll appreciate how easy it is to gather materials that are often found around the home. For busy families, this activity is low-prep; it doesn’t demand hours of tedious setup. Instead, you can jump right in and start crafting together, keeping both creativity and fun at the forefront. You may also find Eco Friendly Ocean Suncatchers Recycled Lids useful.
Besides being approachable, this DIY project offers a reliable way for children to express their creativity while learning about crafting and recycling. The gentle act of transforming what would otherwise be discarded materials into something lovely reinforces the idea of reusability, a crucial lesson for kids. The emotional payoff? Watching the lights twinkle through your handmade flowers can brighten up not just a room, but also your day. You may also find How To Make Flower Hearts Using Clear Glue useful.
A Quick Look Before You Begin
This DIY is all about taking a moment to prepare and set up. Overall, the process of making the Eco-Friendly Blue Flower Fairy Light Garland won’t take a substantial amount of time. Expect to spend around an hour or two to complete everything, including drying time for the paint. Cleanup should be straightforward, especially if you lay down some newspaper or a plastic covering to catch any spills from the paint.
Involving adults is crucial for the more intricate steps, especially when it comes time to use scissors or handle the hot glue. Kids will love getting hands-on but having a more experienced helper nearby will make the experience smoother and more enjoyable. Above all, keep the process light and engage in conversation as you work.
Materials You’ll Need
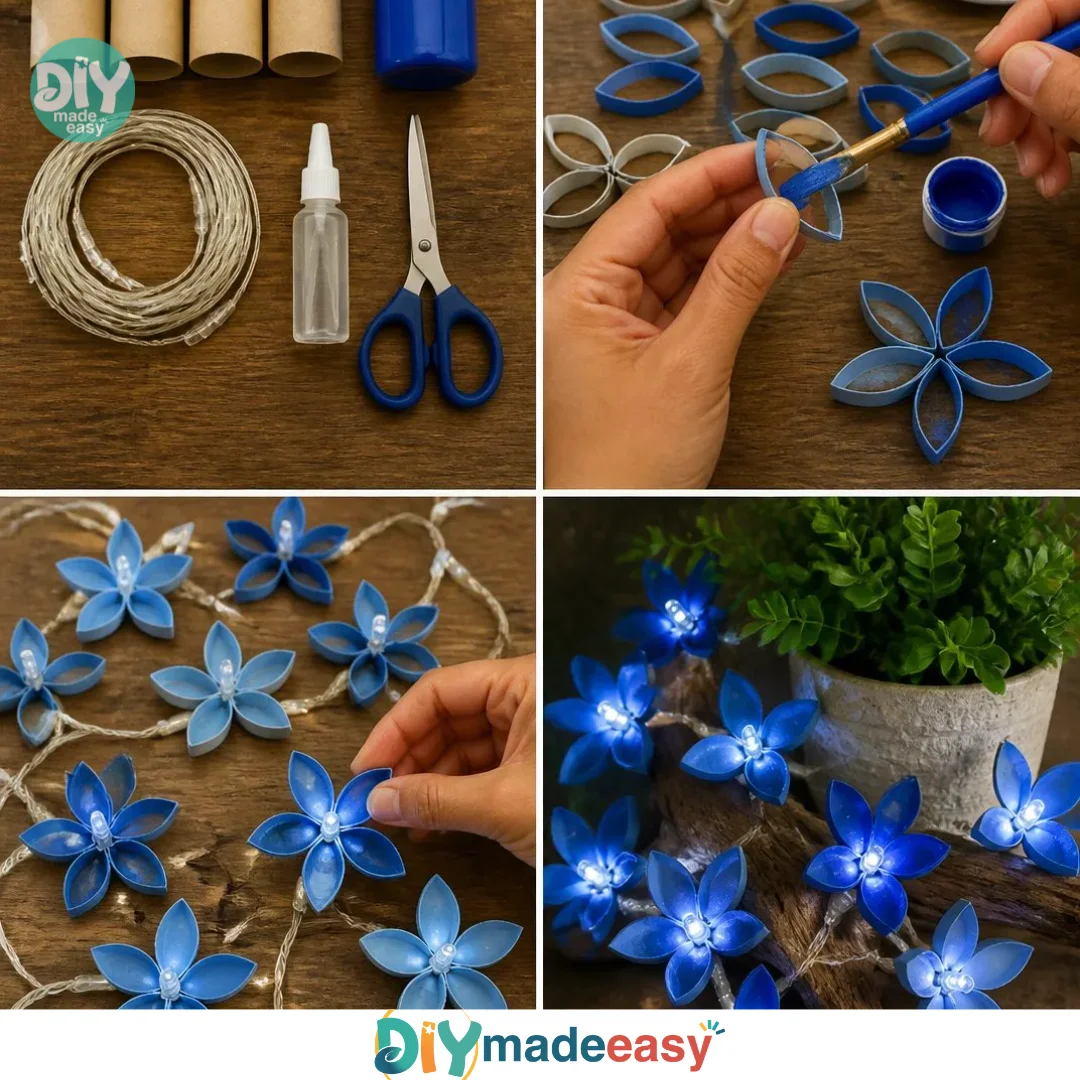
- 4 cardboard tubes
- Translucent blue craft paint
- Clear glue
- 1 10-light LED fairy-light strand
- Scissors
These materials are easy to find and are primarily items you might already have. The cardboard tubes are common household items that often end up in recycling bins, while the paint adds a splash of color. Make sure you have the right type of LED lights, as using cool lights is safer and prevents heat issues.
Step-by-Step Directions
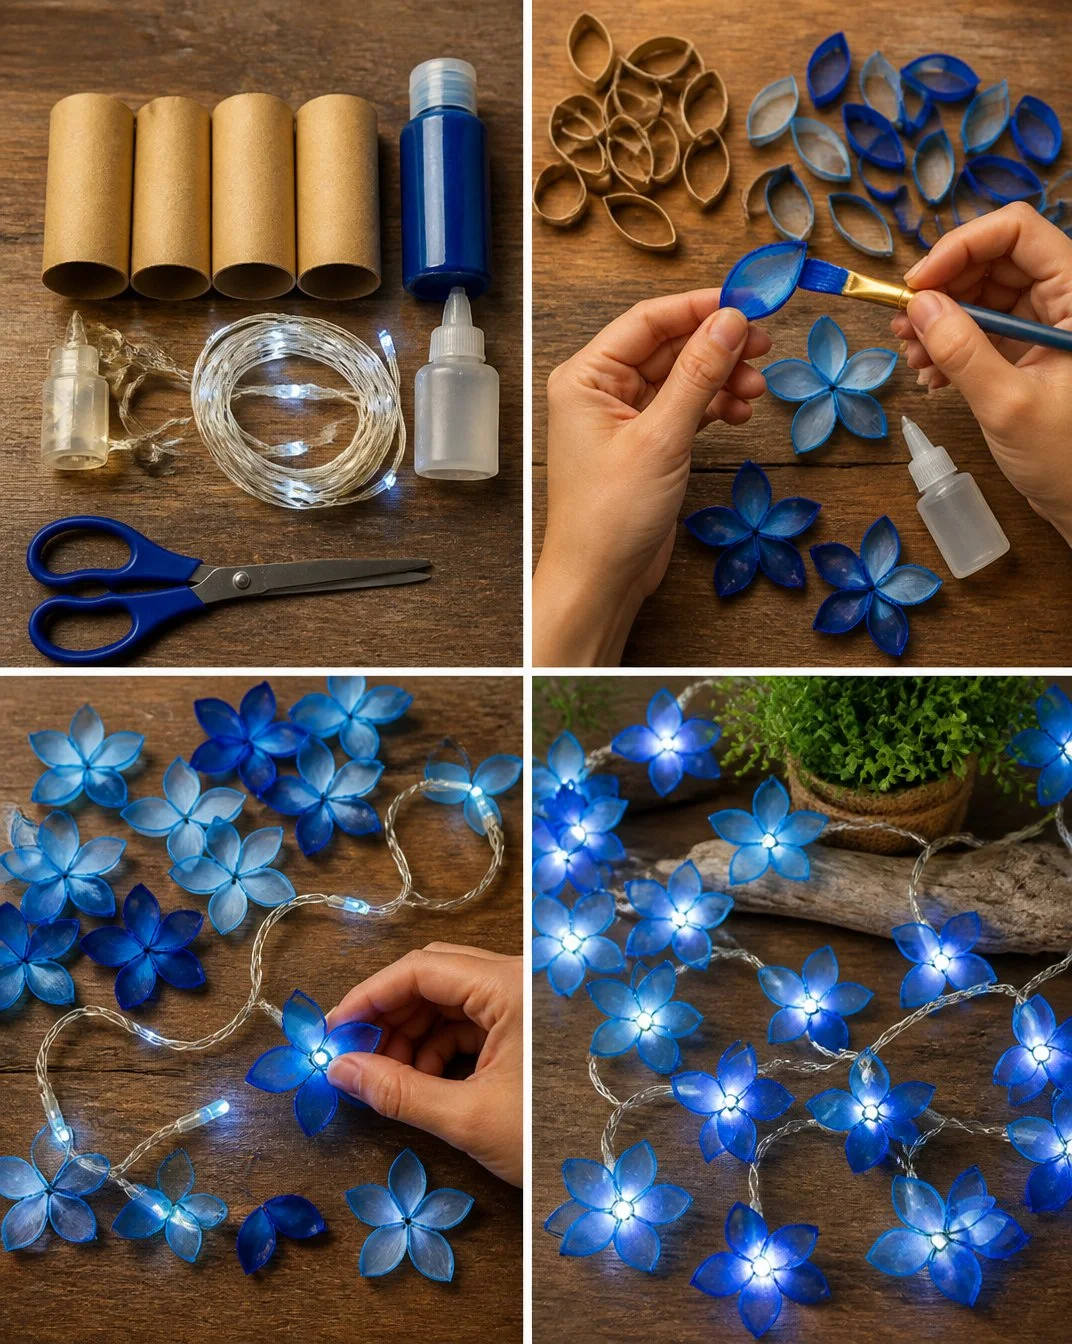
Cut the Cardboard Tubes: Begin by cutting the cardboard tubes crosswise into narrow rings. Aim for rings that are about 1 to 2 inches wide. This will form the petals of your flowers.
Shape the Petals: Now, pinch each ring at both ends to create a pointed petal shape. This step adds a nice dimension to your flowers and takes a little patience, but it’s fundamental for the next part.
Paint the Petals: Use the translucent blue craft paint to color the petals. Feel free to mix in some water to achieve a lighter shade if desired. Allow the petals to dry completely before moving on.
Assemble the Flowers: Once the painted petals are dry, take five petals and arrange them into a flower shape. Glue the inner tips of the petals together to hold them in place. This step is where your creative instincts can take the helm, as you may want to mix up the colors or shapes of your petals for variety.
Repeat the Assembly: Keep assembling flowers until you have enough for your light strand. A good number to aim for is ten or more, depending on how densely you want to cover your lights.
Position the Flowers: Finally, carefully position one cardboard flower around each LED light. Make sure the cardboard is away from any heat-producing light sources. Using cool LED lights ensures safety during the display.
The Learning Behind This DIY
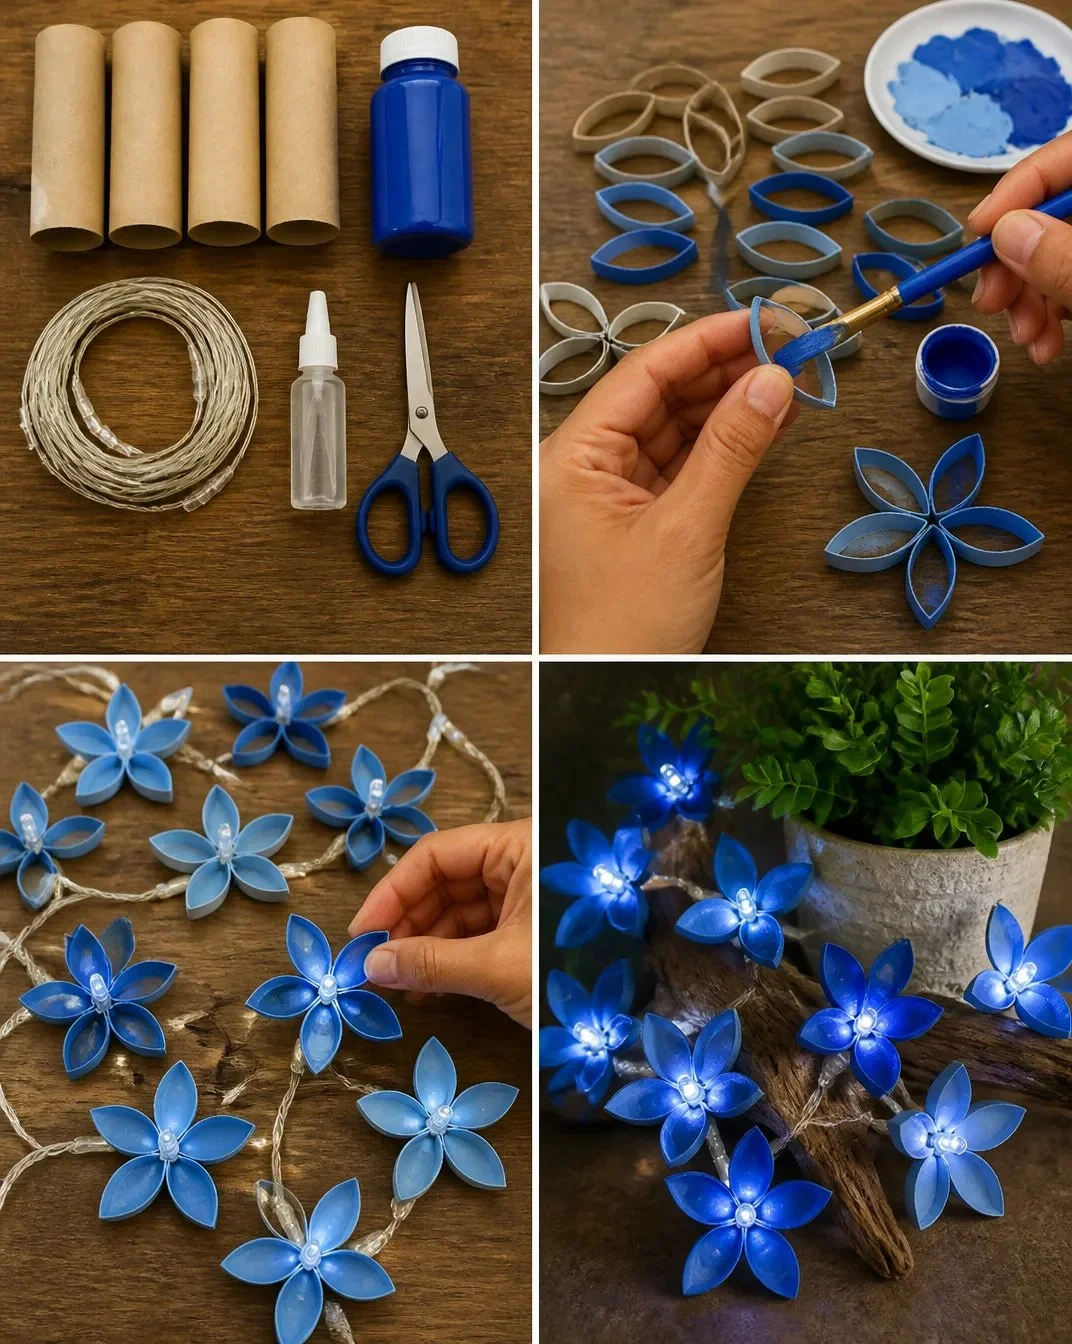
While crafting these beautiful flower garlands, children are engaging in various skills and learning about science concepts too. As they manipulate the cardboard and glue, they practice fine motor skills essential for hand-eye coordination. The shaping and painting also allow for the exploration of color blending and artistic expression.
By creating something practical and decorative, kids learn about cause and effect the flower garland lights up the room, and that magic came from their hands. As they navigate the process, they also grasp the importance of recycling, turning their regular materials into something special.
Troubleshooting Common Issues
This project is relatively straightforward, but sometimes things don’t go according to plan. Here are a few common problems you may encounter along the way and their fixes:
Paint Drips: If the paint drips while drying, ensure you are using a thinner coat. The application style can impact the drying process thinner layers generally make for faster drying.
Petals Not Sticking: If petals aren’t adhering well when glued together, try allowing the glue to become a bit tacky before pressing them together. Patience during this step goes a long way.
Mispositioned Flowers: If you accidentally place the flower too close to the light bulb, gently rearranging it before the glue has dried will work. If needed, some extra glue can help secure them in their new spot.
Easy Variations to Try
Making flower fairy lights can be embellished with a few easy variations to keep the fun going. Here are some suggestions:
Color Customization: Try using different colors of paint or even combining colors to experiment with unique designs. Kids love personalizing their crafts, so let them choose their favorite shades.
Seasonal Themes: Adapt the project for different seasons by changing the color palette or using leaves for a fall theme or pastels for spring.
Larger Flowers: You can make larger petals by cutting the tubes into wider rings. Larger flowers can create a bigger statement when decorating a space.
Add Sparkles: If you have glitter on hand, sprinkle it onto the wet paint for a sparkly finish. This modification can add an extra magical touch to the fairy lights.
Storing or Reusing This Project
After enjoying your Eco-Friendly Blue Flower Fairy Light Garland, consider ways to store or reuse it. If you want to keep it set up, consider placing it in a dedicated space where it’s safe from damage. Applying gentle care will prolong the life of the project.
When it’s time to rate your project, remember that you can dismantle the garland and reuse the cardboard tubes in future crafts. This reinforces the eco-friendly aspect by reducing waste and encouraging continued creativity.
FAQs About Eco-Friendly Blue Flower Fairy Light Garland Using Recycled Materials
How messy is this project?
While there will be some paint involved, laying down paper or plastic will catch most spills. Children can paint with a care approach, and a little prep can minimize any significant mess.
Is this project suitable for all ages?
Yes, children as young as three can help with shaping and painting with supervision, while older kids can tackle cutting with safety scissors.
Can I use other types of glue?
While clear glue works best, you can use any craft glue on hand. Just ensure it’s child-friendly for safety.
What if the cardboard tubes are too thick?
If the tubes are difficult to cut, consider saving them for another project or ask an adult to help you with this step.
Can I really reuse the supplies?
Absolutely, transforming materials is the entire point of this activity. You can store the extra supplies for later crafts.
Conclusion
Making an Eco-Friendly Blue Flower Fairy Light Garland using recycled materials is a unique way to brighten your home and engage in a fun activity with your kids. Not only do you create something beautiful, but you also teach the importance of sustainability through hands-on practice. For more creative ideas, explore 51 Recycled Christmas Decorations: Eco-Friendly and Fun DIY or discover 5 Ways Artificial Christmas Garlands Make the Best Holiday Decor. Dive into this project today and embrace the joy of crafting together!
PrintEco-Friendly Blue Flower Fairy Light Garland
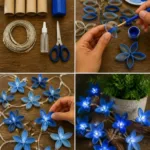
Transform recycled materials into a stunning blue flower fairy light garland with this fun and eco-friendly DIY project that kids will love.
- Prep Time: 15 minutes
- Cook Time: 45 minutes
- Total Time: 60 minutes
- Yield: 1 garland 1x
- Category: Craft
- Method: Crafting
- Cuisine: N/A
- Diet: N/A
Ingredients
- 4 cardboard tubes
- Translucent blue craft paint
- Clear glue
- 1 10-light LED fairy-light strand
- Scissors
Instructions
- Cut the cardboard tubes crosswise into narrow rings, aiming for rings that are about 1 to 2 inches wide.
- Shape each ring by pinching both ends to create a pointed petal shape.
- Paint the petals with translucent blue craft paint, allowing them to dry completely.
- Assemble the flowers by gluing five petals together into a flower shape.
- Repeat assembling flowers until you have enough for your light strand, aiming for ten or more.
- Position one cardboard flower around each LED light, ensuring cardboard is away from heat sources.
Notes
Involving adults for intricate steps like cutting or handling hot glue is essential. Use thin paint coats to avoid drips.
Nutrition
- Serving Size: 1 garland
- Calories: 0
- Sugar: 0g
- Sodium: 0mg
- Fat: 0g
- Saturated Fat: 0g
- Unsaturated Fat: 0g
- Trans Fat: 0g
- Carbohydrates: 0g
- Fiber: 0g
- Protein: 0g
- Cholesterol: 0mg