

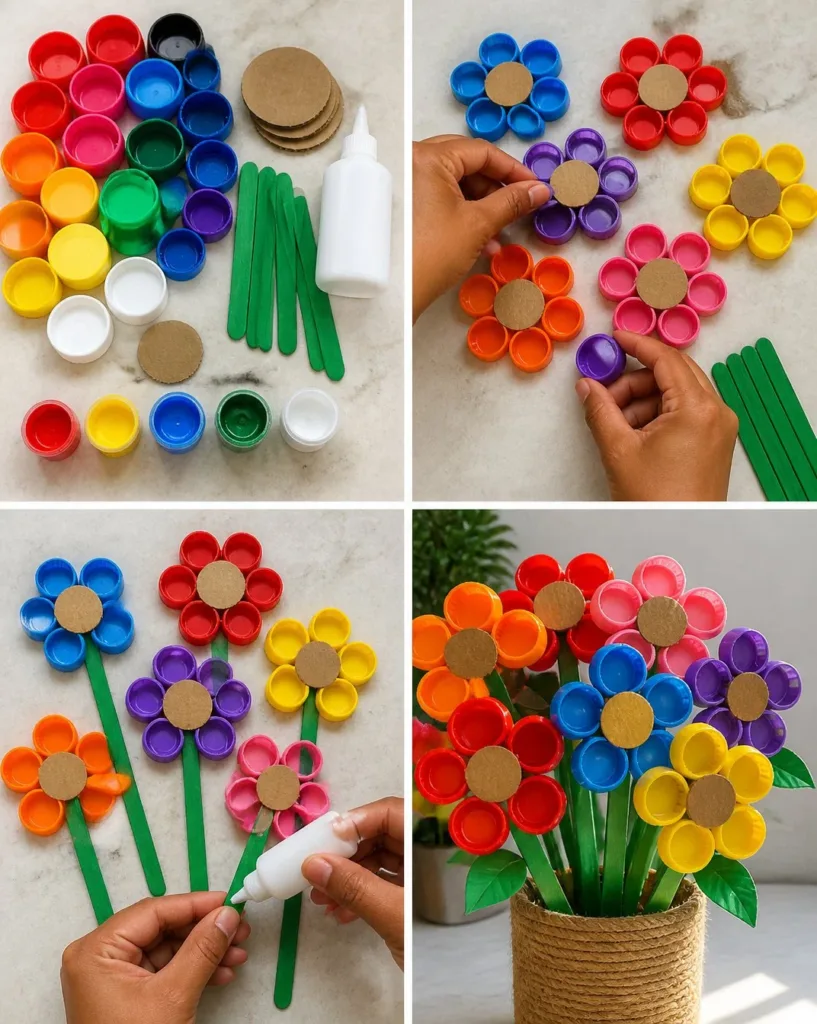
Creating something fun and colorful can be a delightful way to spend an afternoon, especially when kids are eager to express their creativity. If you’re looking for a simple and engaging project, consider crafting DIY Rainbow Flowers from Recycled Bottle Caps. This activity not only fosters imagination but also promotes recycling and creative reuse of everyday materials. It can transform those old plastic bottle caps you have lying around into beautiful, vibrant flowers that brighten any space. You may also find Diy Rainbow Bottle Cap Daisy Wreath Tutorial useful.
Why You’ll Love Making DIY Rainbow Flowers from Recycled Bottle Caps
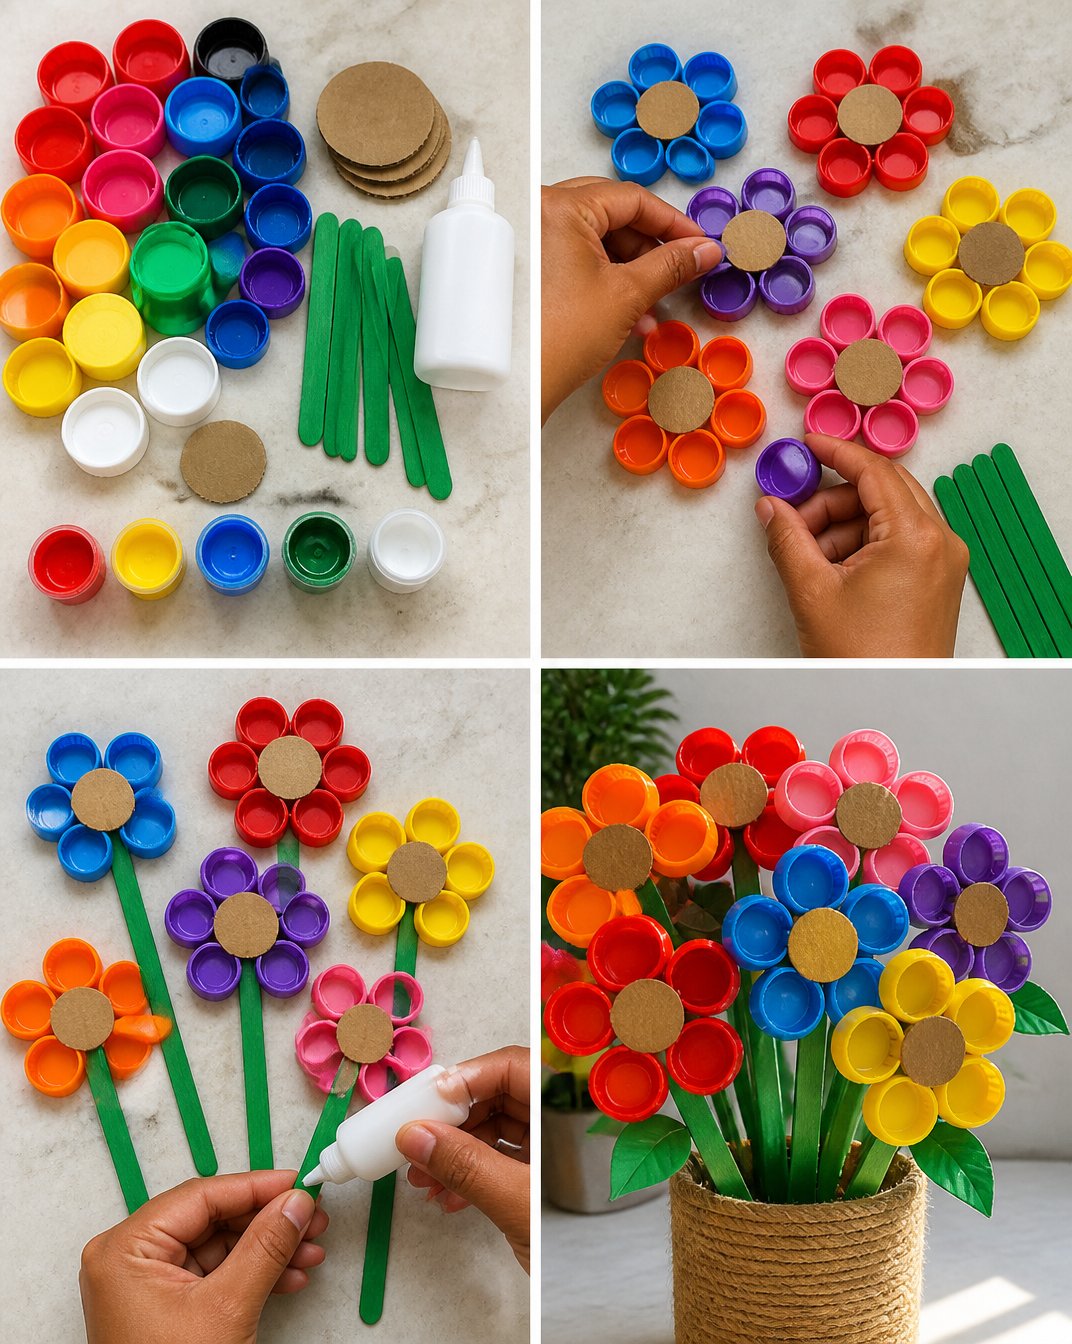
This project stands out because it requires minimal preparation and is highly approachable. With just 35 assorted plastic bottle caps and a few other simple materials, you can create a colorful bouquet that showcases your artistic flair. The beauty of this DIY project is that it seamlessly fits into busy schedules, as it does not require extensive setup or cleanup. The straightforward steps ensure that even beginners can enjoy making these recycled flowers without feeling overwhelmed. Kids will appreciate the hands-on experience, while adults can feel proud of their eco-friendly creations. You may also find Diy Self Watering Planters Recycled Bottles useful.
A Quick Look Before You Begin
Making DIY Rainbow Flowers is a fun and quick project that doesn’t take much time. You can expect to set aside about an hour for making a small bouquet. It’s a great activity for a rainy day or a last-minute craft session. The materials and setup are easy, making this a suitable project for both children and adults. You may also find Diy Butterfly Craft Rainbow Magic useful.
Cleanup is a breeze since most of the materials are recycled. With a little attention, you can keep your workspace tidy and focused on the joy of creating. You might choose to craft indoors, but if the weather is pleasant, taking this project outside can add an extra layer of delight. You may also find Diy Firefly Bottle Lights Magical Nighttime Decor useful.
Materials You’ll Need
To get started, gather the following materials. Having everything ready will make the crafting process smooth and enjoyable.
- 35 plastic bottle caps in assorted colors
- Sturdy cardboard
- Acrylic paint
- Strong craft glue
- Green craft sticks
Most of these items are common household materials, making it easy to pull together your supplies. Feel free to substitute any specific colors or types of paint to match your decor or preference.
Step-by-Step Directions
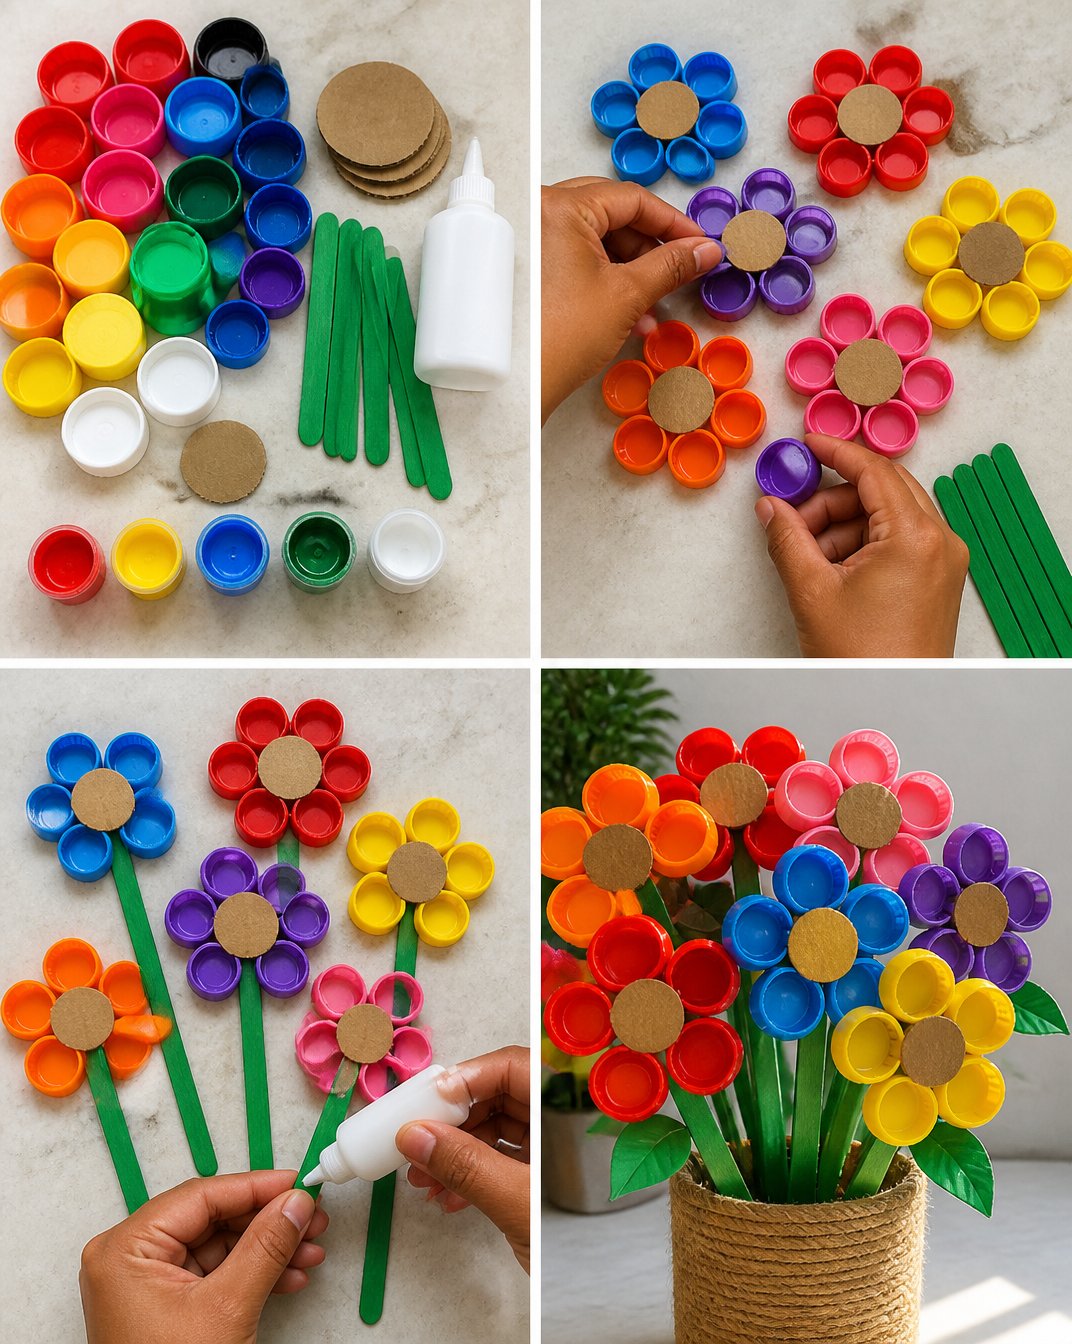
Follow these simple steps to create your beautiful DIY rainbow flowers.
Wash and dry the plastic bottle caps. Make sure they are clean before you start crafting. Rinse them under water and let them air dry.
Arrange five or six bottle caps into a flower shape for each blossom. Experiment with different color combinations to create a vibrant design.
Cut sturdy cardboard circles for the flower centers. The size can vary according to your preference, and if you like, you can paint them in colors that complement your bottle caps.
Let the painted cardboard circles dry. This ensures that they are ready for gluing when you’re done.
Use strong craft glue to secure the bottle-cap petals around each cardboard center. Pressing firmly will help them stick while the glue cures.
Attach a green craft-stick stem to each flower. Ensure the glue binds well, as this will make the flower more durable.
Let the glue cure completely. It’s important to allow enough time for the glue to set before displaying your flowers.
Display the flowers together as a recycled bouquet. Arrange them in a space where they can be admired.
Creating these flowers can be a joyful experience, as you watch your vision come together with each cap and color choice.
The Learning Behind This DIY
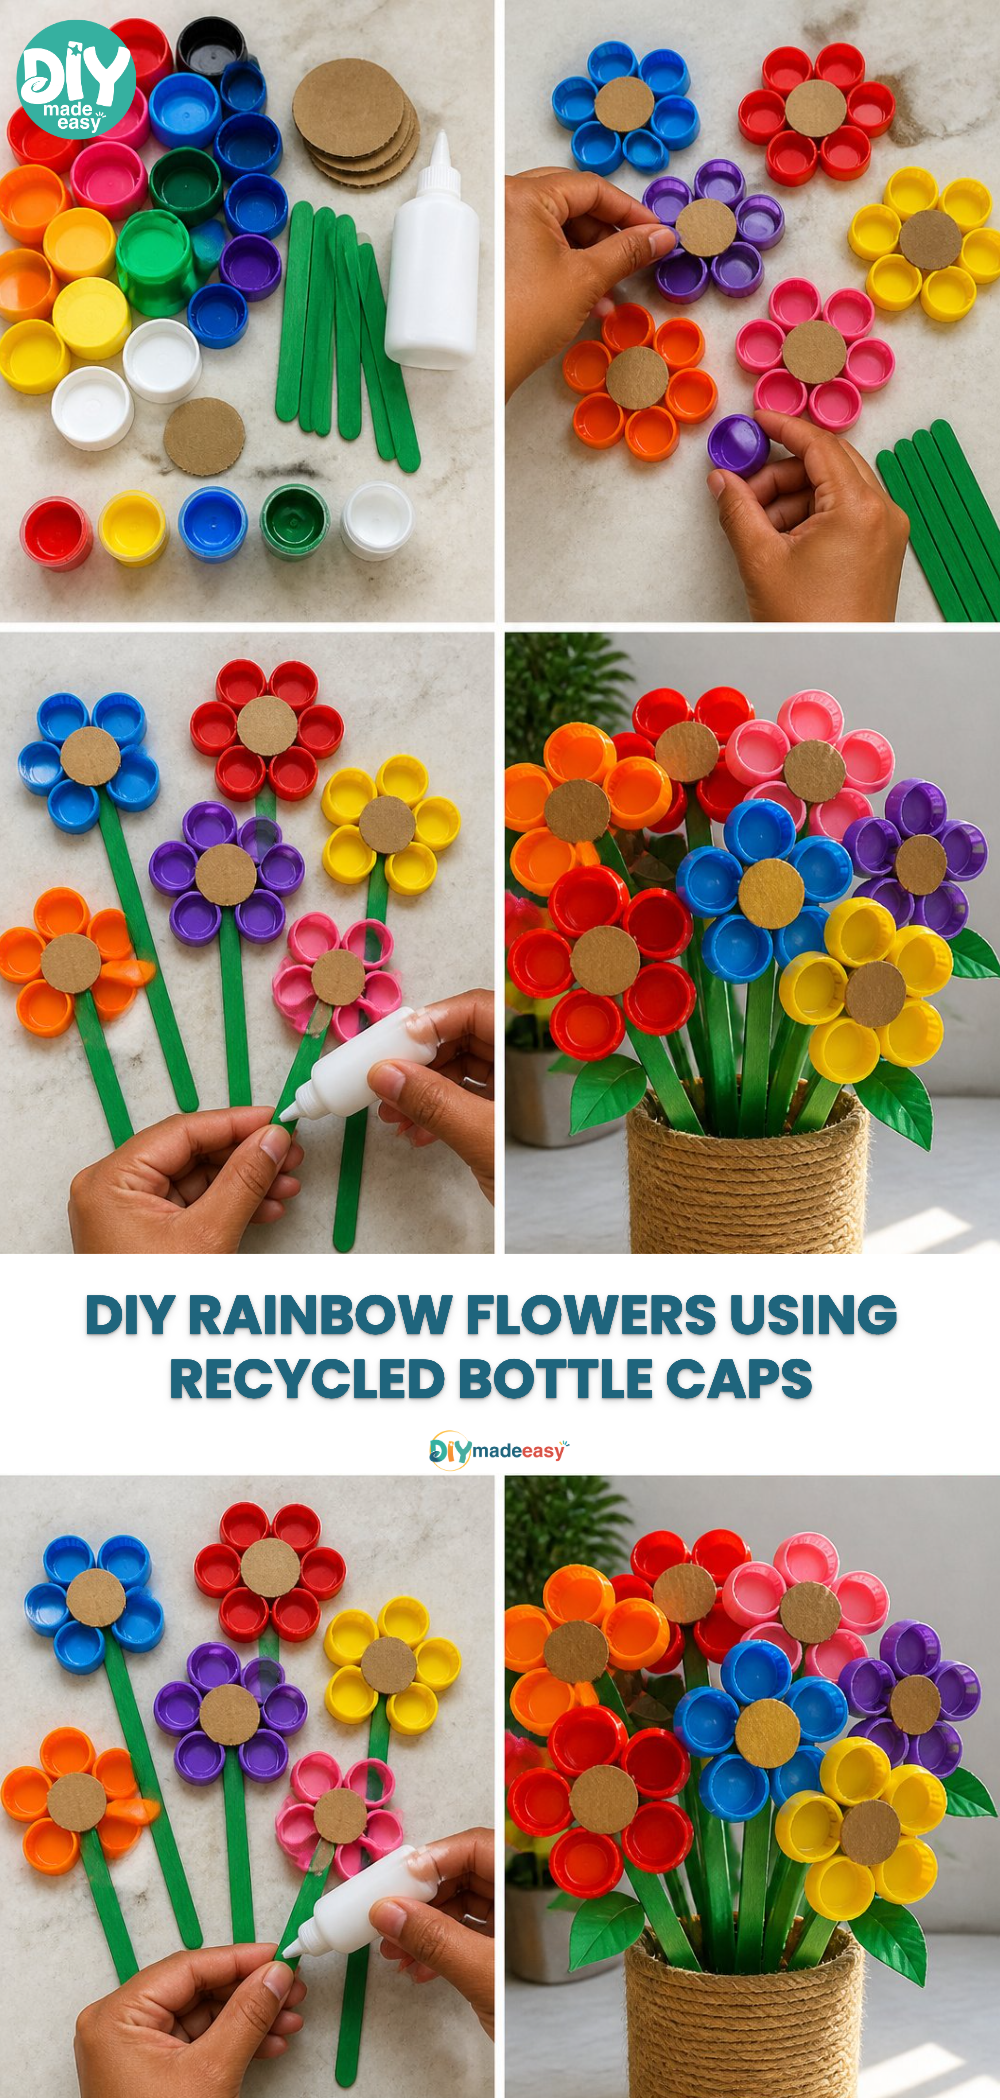
Making DIY rainbow flowers involves various learning opportunities for both kids and adults. The project nurtures fine motor skills through the careful manipulation of small objects. As children pick and arrange the bottle caps, they enhance their hand-eye coordination.
Additionally, this activity introduces basic concepts of color theory as they experiment with different hues and combinations. They will learn cause and effect, such as how glue secures materials, making it a practical lesson in crafting and creating tangible results.
Troubleshooting Common Issues
When crafting, things don’t always go as planned. If you notice your bottle caps aren’t sticking, here are some quick fixes:
Allow more drying time if the glue isn’t holding. Sometimes, the glue needs a bit more time to set securely.
Try a heavier weight for your flower centers. If they tip over easily, ensuring a solid base can help keep your flowers upright.
Adjust your arrangement if it looks off. Don’t hesitate to swap out bottle caps to achieve the look you desire.
These common problems are manageable and can often be solved with a bit of patience and creativity.
Easy Variations to Try
If you’d like to mix things up, here are a few variations on the basic design:
Use different sizes of bottle caps to create a more dynamic bouquet.
Incorporate other materials such as buttons or paper leaves for added texture.
Create themed flowers for holidays, like red and green for Christmas or pastels for Easter.
Use glitter or sequins on the flower centers to make them sparkle.
These optional ideas allow you to tailor the project to different seasons or occasions.
Storing or Reusing This Project
When you’ve finished creating your flowers, think about how you want to store or display them. If they’re in a vase, make sure it’s in a location that limits wear and tear. You can also think about repurposing this project for other crafts later on.
An advantage of using recycled materials is exactly that — they can be reused or turned into new projects when you’re done with them. Keeping a lid on any leftover glue and paint will help you save for subsequent uses.
FAQs About DIY Rainbow Flowers from Recycled Bottle Caps
What do I do if my workspace gets messy?
It’s normal for things to get a bit messy during crafting. Keep some paper towels handy for quick cleanups. The glue can be wiped away easily before it dries, so don’t worry too much.
Are these flowers safe for younger kids?
Yes, but adult supervision is recommended, especially during the gluing process to avoid using too much glue or getting it on the skin. You can cut the craft sticks ahead of time to prevent any sharp edges.
How long do these flowers last?
With proper care, your bottle cap flowers can last for a long time as decorative pieces. They may fade over time if exposed to sunlight but can still be enjoyed for months.
Can I use different types of lids?
Absolutely! Experimenting with different shapes and sizes can yield some fantastic and unique floral designs.
Can I store the extra materials for future use?
Yes, keeping bottle caps and other materials in labeled containers will help you keep track of your crafting goodies for future projects.
Conclusion
Creating DIY Rainbow Flowers from Recycled Bottle Caps is a wonderful way to engage in a fun project while encouraging recycling and creativity. By using common materials, you can easily craft a colorful display. For even more inspiration and ideas related to recycling, check out Upcycled Plastic Bottle Rainbow Flowers – Purple Hues and Me and learn about other creative activities like a Bottle Cap Flower – Crafts by Amanda. Embrace the process and enjoy the beautiful results!
PrintDIY Rainbow Flowers from Recycled Bottle Caps
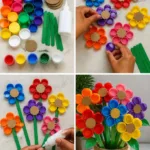
Craft vibrant rainbow flowers using recycled plastic bottle caps, promoting creativity and eco-friendliness in a fun DIY project.
- Prep Time: 15 minutes
- Cook Time: 45 minutes
- Total Time: 60 minutes
- Yield: 1 small bouquet 1x
- Category: Craft
- Method: Crafting
- Cuisine: N/A
- Diet: N/A
Ingredients
- 35 plastic bottle caps in assorted colors
- Sturdy cardboard
- Acrylic paint
- Strong craft glue
- Green craft sticks
Instructions
- Wash and dry the plastic bottle caps. Make sure they are clean before you start crafting.
- Arrange five or six bottle caps into a flower shape for each blossom.
- Cut sturdy cardboard circles for the flower centers.
- Let the painted cardboard circles dry.
- Use strong craft glue to secure the bottle-cap petals around each cardboard center.
- Attach a green craft-stick stem to each flower.
- Let the glue cure completely.
- Display the flowers together as a recycled bouquet.
Notes
Encourage kids to experiment with different color combinations and designs.
Nutrition
- Serving Size: 1 bouquet
- Calories: 0
- Sugar: 0g
- Sodium: 0mg
- Fat: 0g
- Saturated Fat: 0g
- Unsaturated Fat: 0g
- Trans Fat: 0g
- Carbohydrates: 0g
- Fiber: 0g
- Protein: 0g
- Cholesterol: 0mg